Love this? Save it for later!
Share the inspiration with your friends
It was 11:47 PM on a rainy Thursday, and I was staring into the abyss of my open refrigerator. The kind of abyss that stares back with half-empty milk cartons and a lonely, slightly bruised banana. I couldn’t sleep. My brain was still buzzing from a day that felt like it lasted three weeks, and suddenly, I didn’t want savory. I didn’t want protein shakes or cold leftovers. I wanted something warm, sweet, and vaguely autumnal, even though it was technically October and the leaves hadn’t even turned yet.
I didn’t have a pie pumpkin, nor did I have the energy to roast one for three hours. But I did have a can of pumpkin puree that had been hiding in the back of the pantry since last November. Honestly, I thought it might be expired, but I checked the date and prayed. I also had oats, eggs, and a dash of cinnamon that smelled like my grandmother’s kitchen. I mean, who keeps pumpkin puree around in October? Not me, usually. But here we were.
The idea arrived fully formed in my tired, slightly delirious brain. Why not bake it? Just dump everything into a muffin tin and see what happens. It felt like cheating. It felt like I was breaking the rules of “proper” baking by using a spoon instead of a mixer and eyeballing the spices. But you know that feeling when you stop trying to be perfect and just start cooking? That’s when the magic happens.
I mixed the batter in a bowl that had a small chip in the rim. I spilled a little flour on the counter. I didn’t clean it up because, frankly, I just wanted to eat. The smell that filled the apartment at midnight was incredible. It wasn’t just pumpkin; it was comfort. It was warm spices wrapping around me like a blanket. I pulled the tin out of the oven at 12:15 AM, my eyes half-closed, and took a bite of the first cup. It was soft, cake-like, and perfectly sweetened with just maple syrup.
I ate two standing over the sink. And you know what? It was the best meal I’d had all week. That’s why I keep making these healthy pumpkin baked oatmeal cups. They aren’t just breakfast; they are late-night salvation. They are proof that you don’t need fancy ingredients or perfect conditions to make something delicious. Sometimes, you just need oats, pumpkin, and the courage to bake at midnight.
Why You’ll Love This Recipe
Let’s face it, mornings are hard. Waking up when it’s still dark out is tough enough without having to spend twenty minutes standing over a stove. That is exactly why this healthy pumpkin baked oatmeal cups recipe has become my holy grail. It isn’t just about saving time, although that is a huge bonus. It is about the texture and flavor profile that actually makes you excited to eat breakfast instead of rushing out the door.
* **Quick & Easy Prep**: The entire process, from mixing to baking, takes less than 30 minutes. You can prep the night before if you want, but honestly, the five minutes of active mixing time is all you need. It’s perfect for busy weeknights or those chaotic Sunday mornings when you want to sleep in.
* **Simple Ingredients**: You likely already have everything in your kitchen right now. Rolled oats, pumpkin puree, eggs, milk, maple syrup, and spices. No fancy grocery trips needed. No weird powders you’ll use once and forget. Just wholesome, real food that tastes like dessert but fuels you like a proper meal.
* **Perfect for Meal Prep**: These cups are the ultimate meal prep champion. Bake a batch on Sunday, and you have breakfast for the entire week. They travel well in lunchboxes, they reheat nicely in the microwave, and they don’t get soggy like some other oatmeal dishes do.
* **Crowd-Pleaser**: I’ve served these to my skeptical husband, my picky nephew, and a room full of health-conscious friends. Everyone loved them. The texture is tender and cake-like, not mushy or grainy. It’s the kind of breakfast that makes people ask for the recipe before they’ve even finished their coffee.
* **Unbelievably Delicious**: The combination of warm cinnamon, nutmeg, and sweet pumpkin creates a flavor profile that feels indulgent. It’s cozy. It’s nostalgic. It tastes like fall, even if it’s raining outside in July.
What makes this recipe different from the rest? Most baked oatmeal recipes rely on bananas for sweetness and binding, which can make them taste distinctly like banana bread. This version uses pumpkin puree, which adds moisture and richness without overpowering the flavor. It allows the spices to shine. The addition of a little maple syrup balances the earthiness of the oats. It’s a perfectly balanced seasoning profile that feels elevated but is actually incredibly simple.
This recipe isn’t just good—it is the kind that makes you close your eyes after the first bite. It’s comfort food reimagined—healthier, faster, but with the same soul-soothing satisfaction. It’s perfect for impressing guests without stress, or turning a simple meal into something memorable. When you take a bite, you’ll realize that healthy eating doesn’t have to be boring.
What Ingredients You Will Need
This recipe uses simple, wholesome ingredients to deliver bold flavor and satisfying texture without the fuss. The beauty of these pumpkin baked oatmeal cups lies in their simplicity. You don’t need a pantry full of specialty items. In fact, the fewer ingredients you use, the better the flavor shines through. Here is what you’ll need to make this magic happen.
* **Rolled Oats (Old-Fashioned)**: 2 cups. Do not use instant oats or steel-cut oats. Instant oats turn to mush, and steel-cut oats are too chewy for this texture. Old-fashioned rolled oats hold their shape and provide that perfect chew. I prefer store-brand oats for cost, but Bob’s Red Mill is a trusted brand for consistency.
* **Pumpkin Puree**: 1 cup. Make sure it is 100% pure pumpkin, not pumpkin pie filling. Pie filling has added sugar and spices which will throw off the balance. Look for a can with no additives. If you have fresh pumpkin, you can roast and puree it, but the canned version is a huge time-saver.
* **Eggs**: 2 large eggs. These act as the binder, holding everything together so the cups don’t fall apart. Room temperature eggs mix more easily, but cold ones work fine too. Just beat them well before adding.
* **Milk**: ½ cup. You can use dairy milk, almond milk, oat milk, or soy milk. For a richer texture, use full-fat dairy or canned coconut milk. For a lighter option, unsweetened almond milk works perfectly.
* **Maple Syrup**: 3 tablespoons. Use real maple syrup, not pancake syrup. Real maple syrup has a complex flavor that complements the pumpkin. If you need a vegan option, agave nectar works, but the flavor will be slightly different.
* **Vegetable Oil or Melted Coconut Oil**: 2 tablespoons. This adds moisture and helps with browning. Coconut oil adds a subtle tropical note, but vegetable oil is neutral and lets the pumpkin flavor dominate.
* **Cinnamon**: 1 teaspoon. The star of the spice show. It brings warmth and sweetness.
* **Nutmeg**: ¼ teaspoon. Use freshly grated nutmeg if you can. It makes a world of difference compared to pre-ground.
* **Ginger**: ¼ teaspoon. Ground ginger adds a little zing and complexity.
* **Baking Powder**: 1 teaspoon. Helps the cups rise and become fluffy.
* **Salt**: ¼ teaspoon. Essential for balancing the sweetness. It makes the pumpkin taste more like pumpkin.
* **Optional Mix-ins**: Chopped walnuts, pecans, or dark chocolate chips. I usually skip these to keep it simple, but they add a nice crunch if you’re feeling fancy.
I recommend using a good quality maple syrup because it’s the primary sweetener. Cheap syrup tastes artificial. Also, look for firm, small-curd cottage cheese if you want to add protein, but for this basic version, we are keeping it classic. In summer, you could swap in sweet potato puree, but pumpkin is just so much easier to find year-round.
Equipment Needed
You don’t need much to make these cups, which is part of the appeal. Having the right tools makes the process smoother, but you can definitely improvise if you’re missing something.
* **12-Cup Muffin Tin**: This is the most important piece of equipment. A standard metal muffin tin works best. It conducts heat evenly and helps the edges get slightly crispy. If you have a non-stick tin, you might not need as much oil.
* **Silicone Muffin Liners or Paper Cups**: To make cleanup easier, I use silicone liners. They are reusable and don’t stick. Paper cups work too, but sometimes the edges don’t brown as nicely. Greasing the tin directly is another option, but it can be messy.
* **Large Mixing Bowl**: Any bowl that is big enough to hold two cups of oats and the wet ingredients. I like a bowl with a spout for easy pouring.
* **Whisk**: A simple whisk is all you need to combine the wet ingredients. If you don’t have one, a fork works, but a whisk ensures there are no lumps of egg or flour.
* **Measuring Cups and Spoons**: Accuracy matters in baking. A set of standard measuring cups and spoons will help you get the ratio right. If you don’t have them, you can use a standard coffee mug as a rough guide, but it’s less precise.
* **Cooling Rack**: While not strictly necessary, a cooling rack helps the cups cool evenly. If you let them cool in the hot pan, they might steam and become soggy.
I’ve tried using mini muffin tins, and while they are cute, they bake too quickly and dry out. Stick to standard size. Also, don’t skimp on the greasing. Even with non-stick pans, a light spray of oil ensures easy removal. I once tried to skip the liner and just greased the tin poorly. I ended up scraping pumpkin out of every single cup for ten minutes. Learn from my mistake.
Preparation Method
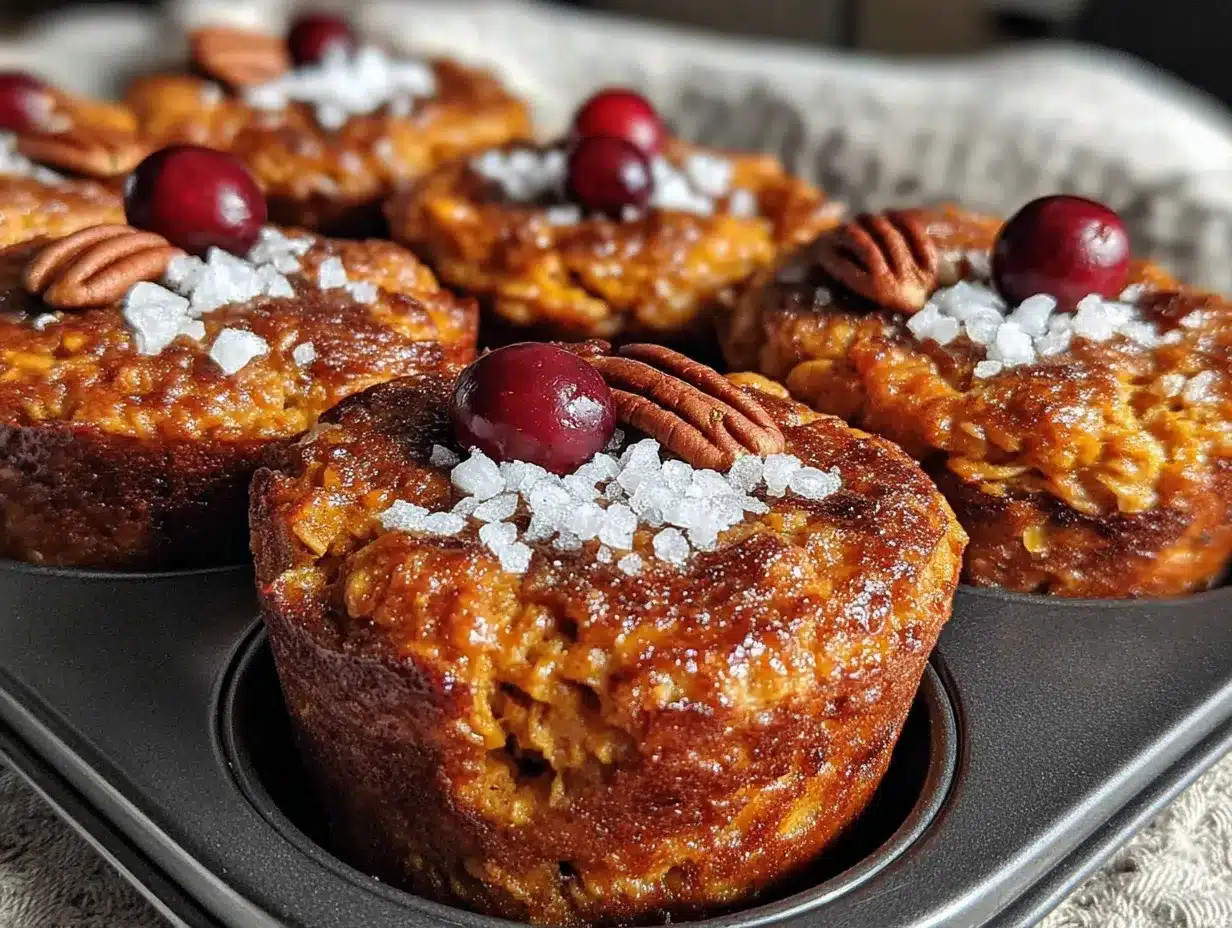
Making these healthy pumpkin baked oatmeal cups is straightforward, but paying attention to a few details ensures the best results. Follow these steps carefully, and you’ll have a batch of delicious, grab-and-go breakfasts in no time.
1. **Preheat the Oven**: Start by preheating your oven to 350°F (175°C). This ensures the oven is at the right temperature when the batter goes in. It also helps the oats set properly. Take about 10 minutes for this step.
2. **Prepare the Muffin Tin**: Lightly grease your 12-cup muffin tin with oil or cooking spray. If you are using paper liners, place them in the cups. If you are using silicone liners, they usually don’t need greasing, but a light spray helps with release. This step takes about 2 minutes.
3. **Mix Dry Ingredients**: In a large mixing bowl, combine the rolled oats, baking powder, cinnamon, nutmeg, ginger, and salt. Whisk them together to distribute the spices evenly. This prevents clumps of cinnamon in the final product. It takes about 1 minute.
4. **Mix Wet Ingredients**: In a separate bowl or jug, whisk together the eggs, milk, maple syrup, and vegetable oil. Whisk until the mixture is smooth and well-combined. You want the syrup and oil to emulsify slightly with the eggs. This takes about 2 minutes.
5. **Combine Wet and Dry**: Pour the wet mixture into the bowl with the dry ingredients. Stir gently with a spatula or spoon until just combined. Do not overmix. You want the oats to be evenly coated, but the batter should still be thick. Add the pumpkin puree now. Stir until the pumpkin is fully incorporated and the batter is a uniform orange color. This step takes about 3 minutes.
6. **Fill the Muffin Cups**: Divide the batter evenly among the 12 muffin cups. Use a measuring cup or ice cream scoop to ensure each cup gets the same amount. This helps them bake evenly. Fill each cup about ¾ full. This takes about 5 minutes.
7. **Bake**: Place the muffin tin in the preheated oven. Bake for 20-25 minutes. The cups are done when the tops are golden brown and a toothpick inserted into the center comes out clean. Start checking at 20 minutes to avoid overbaking.
8. **Cool**: Remove the tin from the oven and let it cool on a wire rack for 10 minutes. The cups will firm up as they cool. If you try to remove them too soon, they might break. This step takes 10 minutes.
9. **Store**: Once cool, remove the cups from the tin. Store them in an airtight container in the refrigerator. They will keep for up to 5 days. You can also freeze them for up to 3 months. This takes about 5 minutes.
Total time is around 45 minutes, including cooling. The sensory cue you’re looking for is a golden top and a firm center. If the toothpick comes out with wet batter, give it 2-3 more minutes. If it comes out clean but the tops are browning too fast, cover them loosely with foil.
Cooking Tips & Techniques
I’ve made these cups dozens of times, and I’ve learned a few tricks along the way. Here is how to avoid common pitfalls and ensure your baked oatmeal cups turn out perfect every time.
* **Don’t Overmix**: When combining the wet and dry ingredients, stop stirring as soon as the oats are coated. Overmixing can develop the gluten in the oats, leading to a tougher texture. You want them tender and cake-like, not chewy.
* **Check Your Oven Temperature**: Oven temperatures can vary. If your cups are browning on top but still raw in the middle, your oven might be too hot. Use an oven thermometer to check. If it is, lower the temperature by 25°F and bake for a few minutes longer.
* **The Toothpick Test**: This is the most reliable way to check for doneness. Insert a toothpick into the center of a cup. If it comes out with wet batter, bake longer. If it comes out with moist crumbs, it’s done. If it’s completely clean, you might be slightly overbaked.
* **Cooling is Crucial**: I know it’s tempting to eat them right out of the oven, but they are very soft when hot. Letting them cool in the pan for 10 minutes allows them to set. If you remove them too soon, they will fall apart.
* **Batch Baking**: If you are making a double batch, don’t overcrowd the oven. Bake one tin at a time if necessary. Rotating the tin halfway through baking ensures even browning.
* **Texture Variations**: For a chewier texture, use less liquid. For a softer, more pudding-like texture, add an extra ¼ cup of milk. I prefer a balance, so I stick to the recipe ratios.
I once added too much cinnamon because I was sleepy. It tasted like medicine. Measure your spices! Also, if you live at a high altitude, you might need to reduce the baking powder slightly or increase the liquid. But for most people, this recipe is foolproof.
Variations & Adaptations
One of the best things about this recipe is its versatility. You can tweak it to fit your dietary needs or flavor preferences without losing the core appeal. Here are some variations I’ve tried and loved.
* **Gluten-Free Option**: Use certified gluten-free rolled oats. Most oats are naturally gluten-free, but cross-contamination is common. Look for a brand that is labeled GF. The texture and taste remain the same.
* **Vegan Adaptation**: Replace the eggs with two flax eggs (2 tablespoons ground flaxseed mixed with 5 tablespoons water, let sit for 5 minutes). Use maple syrup and plant-based milk. The binding might be slightly weaker, so let them cool longer before removing from the tin.
* **Protein Boost**: Add a scoop of vanilla protein powder. This will absorb more liquid, so add an extra ¼ cup of milk. It makes these cups even more filling and perfect for post-workout breakfasts.
* **Nut-Free**: Simply omit any nuts or nut butters. The recipe is naturally nut-free if you don’t add mix-ins.
* **Low-Sugar**: Use stevia or monk fruit sweetener instead of maple syrup. You may need to adjust the amount based on the sweetness of your sweetener. The pumpkin itself provides some natural sweetness.
* **Chai Spice Twist**: Replace the cinnamon and nutmeg with chai spice mix. Add a pinch of cardamom and cloves. It gives a warm, aromatic flavor that is different but equally delicious.
I once tried adding shredded zucchini to use up extra garden produce. It worked surprisingly well, adding moisture without changing the flavor much. But the classic pumpkin spice version is my favorite. It’s reliable, comforting, and always a hit.
Serving & Storage Suggestions
These healthy pumpkin baked oatmeal cups are versatile in how you serve and store them. Here is how to keep them fresh and tasty.
* **Reheating**: The best way to enjoy these is warm. Microwave a cup for 30-60 seconds. It restores the soft, cake-like texture. You can also eat them cold straight from the fridge, which tastes like a dense, healthy muffin.
* **Storage**: Store in an airtight container in the refrigerator for up to 5 days. Layer them with parchment paper to prevent sticking. They maintain their moisture well in the fridge.
* **Freezing**: For longer storage, freeze the cooled cups in a freezer-safe bag or container. They last up to 3 months. Thaw in the refrigerator overnight or microwave from frozen.
* **Serving Ideas**: Top with a dollop of Greek yogurt, a drizzle of extra maple syrup, or fresh berries. They pair well with a cup of black coffee or tea. I also like to serve them with a side of fresh fruit.
* **Flavor Development**: The flavors meld and deepen over the first 24 hours. They taste even better on day two than on day one. So don’t eat them all on the day you bake them!
I usually keep a batch in the fridge and a batch in the freezer. This way, I always have breakfast ready to go. It saves so much time during the week.
Nutritional Information & Benefits
These cups are not only delicious but also nutritious. Here is a breakdown of what makes them a healthy choice.
* **Fiber Rich**: Rolled oats are a great source of fiber, which aids digestion and keeps you full longer. One cup provides about 4-5 grams of fiber.
* **Protein**: The eggs and milk add protein, which is essential for muscle repair and satiety. Each cup has about 5-6 grams of protein.
* **Vitamins**: Pumpkin is packed with Vitamin A, which is good for eye health and immune function. It also contains Vitamin C and potassium.
* **Low Fat**: With minimal oil, these cups are relatively low in fat, making them a balanced breakfast option.
* **No Refined Sugar**: Sweetened with maple syrup, these cups avoid the spike in blood sugar associated with refined sugars.
While I am not a nutritionist, I know that whole foods like oats and pumpkin provide sustained energy. These cups are a great way to start the day without feeling sluggish. They are naturally gluten-free if you use GF oats, and can be made vegan. They are a wholesome, nutrient-dense choice for anyone looking for a healthy breakfast.
Conclusion
These healthy pumpkin baked oatmeal cups are more than just a recipe; they are a solution for busy mornings and a comfort for tired evenings. They are easy to make, delicious to eat, and healthy for your body. I hope you try them and find them as useful and enjoyable as I do.
Feel free to customize them with your favorite mix-ins or spices. Make them your own. I’d love to hear how you like them. Leave a comment below with your favorite variation or tip. Share this recipe with friends who need a quick breakfast idea. And don’t forget to tag me on social media if you make them—I love seeing your creations.
Enjoy your baking, and remember, the best meals are often the simplest ones. Happy eating!
Frequently Asked Questions
Can I use instant oats instead of rolled oats?
No, instant oats will turn into mush. They absorb liquid too quickly and don’t hold their structure. Stick to old-fashioned rolled oats for the best texture.
How do I store leftover baked oatmeal cups?
Store them in an airtight container in the refrigerator for up to 5 days. You can also freeze them for up to 3 months. Reheat in the microwave for 30-60 seconds before eating.
Can I make these cups vegan?
Yes! Replace the eggs with flax eggs (2 tablespoons ground flaxseed mixed with 5 tablespoons water). Use plant-based milk and maple syrup. The cups will be slightly softer but still delicious.
What if I don’t have pumpkin puree?
You can use sweet potato puree as a substitute. It has a similar texture and flavor profile. Just make sure it is plain puree, not pie filling.
Can I add chocolate chips to the batter?
Absolutely! Fold in ¼ cup of dark chocolate chips before baking. They add a nice crunch and sweetness. Just be aware that it will increase the calorie count slightly.
Pin This Recipe!
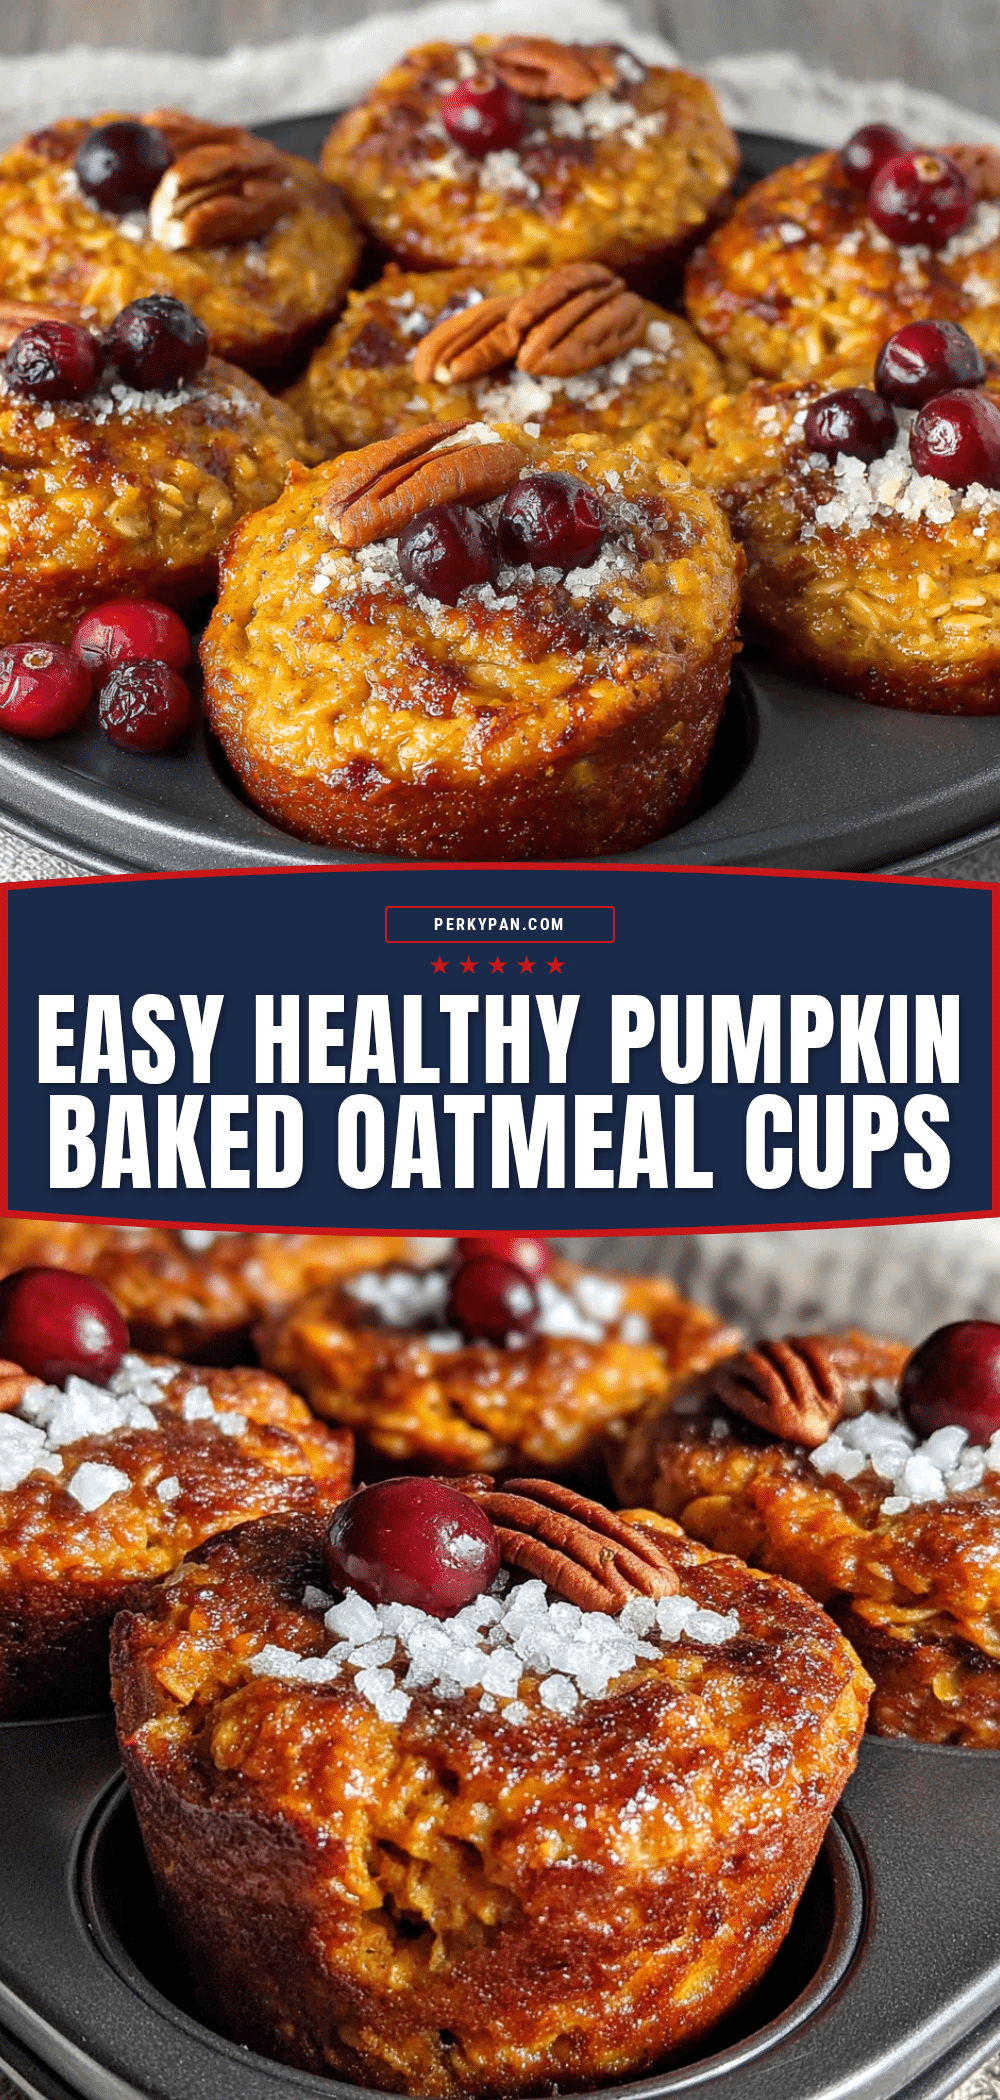
Healthy Pumpkin Baked Oatmeal Cups: Easy 6-Ingredient Snack

These healthy pumpkin baked oatmeal cups are a quick, easy, and delicious breakfast or snack made with simple ingredients like rolled oats, pumpkin puree, and maple syrup. Perfect for meal prep, they are tender, cake-like, and packed with fiber and vitamins.
- Prep Time: 15 minutes
- Cook Time: 25 minutes
- Total Time: 45 minutes
- Yield: 12 servings 1x
- Category: Breakfast
- Cuisine: American
Ingredients
- 2 cups Old-Fashioned Rolled Oats
- 1 cup 100% Pure Pumpkin Puree
- 2 large Eggs
- 1/2 cup Milk (dairy or plant-based)
- 3 tablespoons Real Maple Syrup
- 2 tablespoons Vegetable Oil or Melted Coconut Oil
- 1 teaspoon Cinnamon
- 1/4 teaspoon Nutmeg
- 1/4 teaspoon Ground Ginger
- 1 teaspoon Baking Powder
- 1/4 teaspoon Salt
- Optional: Chopped walnuts, pecans, or dark chocolate chips
Instructions
- Preheat the oven to 350°F (175°C).
- Lightly grease a 12-cup muffin tin with oil or cooking spray, or line with silicone/paper liners.
- In a large mixing bowl, combine the rolled oats, baking powder, cinnamon, nutmeg, ginger, and salt. Whisk to distribute spices evenly.
- In a separate bowl, whisk together the eggs, milk, maple syrup, and vegetable oil until smooth.
- Pour the wet mixture into the dry ingredients. Stir gently until just combined, then add the pumpkin puree and stir until the batter is a uniform orange color.
- Divide the batter evenly among the 12 muffin cups, filling each about 3/4 full.
- Bake for 20-25 minutes, or until the tops are golden brown and a toothpick inserted into the center comes out clean.
- Let the cups cool in the tin on a wire rack for 10 minutes to firm up before removing.
- Store in an airtight container in the refrigerator for up to 5 days or freeze for up to 3 months.
Notes
Do not use instant oats or steel-cut oats as they affect the texture. Ensure you use pure pumpkin puree, not pumpkin pie filling. For vegan versions, substitute eggs with flax eggs. The cups firm up as they cool, so do not remove them from the tin immediately after baking.
Nutrition
- Serving Size: 1 cup
- Calories: 180
- Sugar: 12
- Sodium: 150
- Fat: 5
- Saturated Fat: 1
- Carbohydrates: 32
- Fiber: 4
- Protein: 6
Keywords: pumpkin oatmeal, baked oatmeal cups, healthy breakfast, meal prep, gluten-free, vegan option, fall recipes, quick breakfast


