Love this? Save it for later!
Share the inspiration with your friends
Introduction
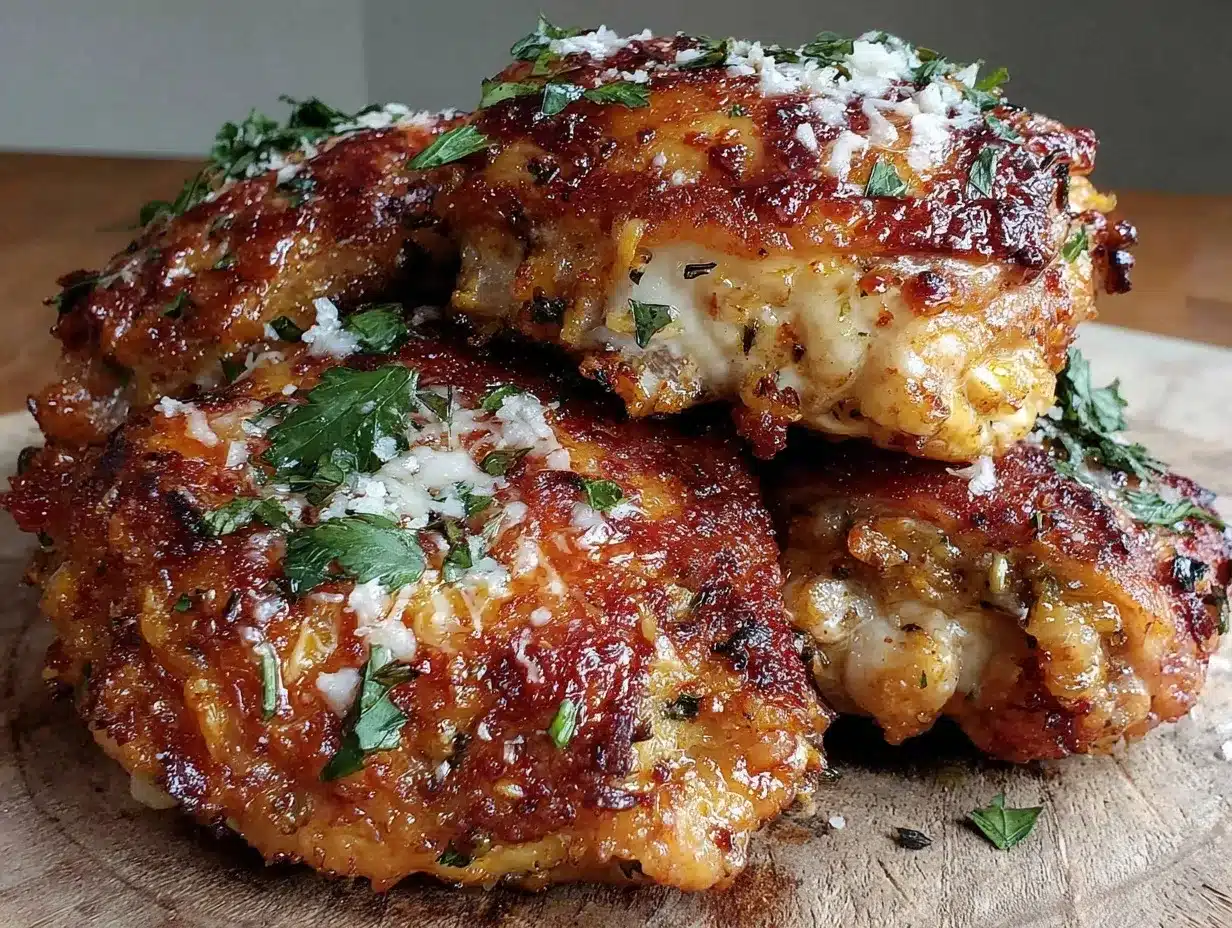
The power went out halfway through a hectic Tuesday evening, and honestly, I was scrambling to figure out dinner. My air fryer was the only appliance I could rely on since the oven was off limits. I grabbed a few chicken thighs from the fridge, a bit of garlic, and parmesan cheese—nothing fancy, but something sparked. The sizzle when the chicken hit the hot air fryer basket was music to my ears. I forgot to preheat the air fryer (classic me), so the first batch took a little longer, but the golden crust that finally emerged was worth the wait. Maybe you’ve been there—rushing, improvising, hoping for a miracle meal. This crispy garlic parmesan chicken thighs air fryer recipe became my unexpected hero that night. It’s quick, packed with flavor, and that crunchy, cheesy coating? Let me tell you, it’s addictive. I keep making this recipe whether the power’s on or off because it’s just that good.
Why You’ll Love This Recipe
As someone who’s tested countless chicken recipes, I can say this one stands out—not just for its simplicity but for that perfect crispy texture you usually find in a restaurant. This crispy garlic parmesan chicken thighs air fryer recipe was chef-tested in my own kitchen and family-approved after several trials. Here’s why it’s a keeper:
- Quick & Easy: Ready in under 30 minutes, making it ideal for those busy weeknights or when you need dinner on the table fast.
- Simple Ingredients: You probably already have garlic, parmesan, and some basic spices—no need for specialty stores.
- Perfect for Any Occasion: Whether it’s a cozy dinner or casual weekend lunch, this recipe fits the bill.
- Crowd-Pleaser: Kids and adults alike rave about the crispy crust and juicy interior every time.
- Unbelievably Delicious: The combo of garlic and parmesan creates a savory punch that keeps you coming back for more.
What really sets this recipe apart is the balance between the crunchy, cheesy exterior and the juicy, tender chicken thigh inside. I use a light dusting of panko breadcrumbs mixed with parmesan for that next-level crust. Plus, air frying means less oil but all the crispiness you’d want. Honestly, it’s the kind of dish that makes you close your eyes after the first bite and say, “Yep, this is comfort food done right.”
What Ingredients You Will Need
This recipe uses simple, wholesome ingredients to deliver bold flavor and satisfying texture without the fuss. Most are pantry staples, so you won’t need a special trip to the store.
- Chicken Thighs: Bone-in, skin-on for best crispiness and juicy flavor (about 4 thighs, roughly 2 pounds / 900 grams).
- Garlic: Fresh cloves, minced (3 cloves) – nothing beats the aroma of fresh garlic, but garlic powder works in a pinch.
- Parmesan Cheese: Grated, preferably fresh or from a trusted brand like Parmigiano-Reggiano for that sharp, nutty taste.
- Panko Breadcrumbs: Japanese-style for extra crunch (about ½ cup / 50 grams).
- Olive Oil: Just a tablespoon to help the coating crisp up nicely (extra virgin recommended).
- Italian Seasoning: A blend of dried herbs like oregano, basil, and thyme (1 teaspoon) to add depth.
- Salt and Pepper: To taste – balance is key here.
- Lemon Zest (Optional): Adds a bright, fresh note that pairs beautifully with garlic and parmesan.
If you want to swap out ingredients, almond flour works well for gluten-free, and dairy-free parmesan alternatives can be used to keep it vegan-friendly. In summer, fresh herbs like parsley or thyme can replace dried ones for a garden-fresh twist.
Equipment Needed
- Air Fryer: Essential for this recipe. A 5-quart or larger capacity works best to fit the chicken thighs comfortably without overcrowding.
- Mixing Bowls: One for the breadcrumb mixture and another for oil and seasoning.
- Grater: For fresh parmesan and lemon zest if using.
- Tongs: Handy for flipping chicken halfway through cooking.
- Baking Sheet or Plate: To hold the coated chicken before air frying.
If you don’t have an air fryer, a convection oven can work as an alternative, but timing and temperature might need adjustments. For budget-friendly air fryer options, smaller models still work but cook in batches. I’ve found that cleaning the basket promptly after each use keeps your air fryer in tip-top shape and prevents any burnt-on residue.
Preparation Method
- Prep the Chicken (5 minutes): Pat the chicken thighs dry with paper towels to remove excess moisture—this is key for crispiness. Season both sides lightly with salt and pepper.
- Make the Coating (5 minutes): In a mixing bowl, combine ½ cup (50 g) panko breadcrumbs, ½ cup (50 g) grated parmesan, 1 teaspoon Italian seasoning, minced garlic, and lemon zest if using. Mix well.
- Oil the Chicken (2 minutes): Brush or lightly coat the chicken thighs with about 1 tablespoon (15 ml) olive oil. This helps the coating stick and crisp up.
- Coat the Chicken (5 minutes): Press each thigh firmly into the breadcrumb mixture, making sure to cover both sides evenly. I like to press it down with my hands so the coating sticks better. If you find some spots bare, just sprinkle a little more of the mix on top.
- Air Fry the Chicken (20-25 minutes): Preheat your air fryer to 400°F (200°C) if your model requires preheating. Place the thighs skin side down in the basket, ensuring they’re not touching. Cook for 10-12 minutes, then flip and cook another 10-13 minutes until the skin is golden brown and internal temperature reaches 165°F (74°C). Use tongs to flip carefully—sometimes the crust can loosen if handled roughly.
Pro tip: If your air fryer tends to dry food out, spray a little olive oil mist halfway through cooking. The crust should feel firm and crunchy to the touch but the meat inside juicy and tender. If you’re unsure about doneness, a meat thermometer is your best friend here.
Cooking Tips & Techniques
Cooking crispy garlic parmesan chicken thighs in the air fryer has its nuances. Here are some tips I’ve learned through trial and error:
- Don’t Overcrowd the Basket: Air needs to circulate freely for that perfect crisp. Cook in batches if necessary.
- Patience with Preheating: Some air fryers don’t preheat automatically. A hot basket before adding chicken makes a huge difference in crispiness.
- Press the Coating Firmly: When you coat the chicken, press the breadcrumb mixture on firmly to avoid flakes falling off during cooking.
- Flip Gently: Use tongs with care when turning the chicken to keep the crust intact.
- Keep an Eye Near the End: The last few minutes can go quickly—check periodically to avoid burning the parmesan crust.
- Rest Before Serving: Let the chicken rest 5 minutes after cooking. This helps juices redistribute and keeps the meat moist.
Early on, I made the mistake of skipping drying the chicken skin, and honestly, it turned out soggy. Lesson learned: dry skin equals crispy skin every time. Also, multitasking works well here—while the chicken cooks, you can prep a quick salad or side dish to save time.
Variations & Adaptations
This recipe is quite versatile and adapts well to different preferences:
- Spicy Kick: Add ½ teaspoon of smoked paprika or cayenne pepper to the breadcrumb mix for a subtle heat.
- Herb Swap: Fresh rosemary or thyme can replace Italian seasoning for a fragrant twist.
- Crunch Upgrade: Mix crushed cornflakes or gluten-free breadcrumbs for a different texture.
- Dairy-Free Option: Use nutritional yeast instead of parmesan for cheesy flavor without dairy.
- Cooking Method: For oven lovers, bake at 425°F (220°C) on a wire rack for 30-35 minutes, flipping halfway through.
One time, I tried adding a little honey to the oil before coating for a touch of sweetness—totally unexpected but delicious. Feel free to experiment with your own favorite spices or coatings to make this recipe truly yours.
Serving & Storage Suggestions
Serve these crispy garlic parmesan chicken thighs hot or warm for best texture. They pair beautifully with a fresh green salad, roasted veggies, or even a creamy mashed potato side. A squeeze of fresh lemon juice over the top just before serving brightens the flavors.
Store leftovers in an airtight container in the refrigerator for up to 3 days. To keep the crust crisp when reheating, use your air fryer or oven at 350°F (175°C) for 5-7 minutes instead of the microwave. This method helps revive the crunch without drying out the meat.
Flavors tend to deepen after a day in the fridge, so sometimes I actually prefer these chicken thighs cold or at room temperature for a snack or salad topping. Just be sure to reheat properly if you want that fresh-from-the-air-fryer crispiness.
Nutritional Information & Benefits
Each serving of this crispy garlic parmesan chicken thighs air fryer recipe offers approximately 350 calories, with 25 grams of protein and moderate fat from the skin and cheese. The use of chicken thighs provides more iron and zinc compared to breasts, supporting immune health.
Garlic contributes antioxidants and supports heart health, while parmesan adds calcium and a satisfying umami punch without excess sodium when used moderately. This recipe is naturally gluten-free if you use gluten-free panko or almond flour, making it suitable for many dietary preferences.
From a wellness perspective, air frying reduces the need for excessive oil, making this a lighter option compared to traditional frying methods—without sacrificing that crave-worthy crunch.
Conclusion
This crispy garlic parmesan chicken thighs air fryer recipe is a real winner in my kitchen. It’s simple to make, packed with flavor, and hits that perfect crispy-and-juicy balance every time. Whether you’re cooking for family, guests, or just yourself, I encourage you to tweak the seasonings and find your own favorite spin on it. I love it because it’s fuss-free yet feels special—like treating yourself without the hassle.
If you try this recipe, I’d love to hear how you made it your own or what sides you paired it with. Don’t hesitate to share your thoughts or questions below. Let’s keep cooking and sharing delicious meals that bring a little joy to the everyday.
Frequently Asked Questions
Can I use chicken breasts instead of thighs in this recipe?
Yes, but keep in mind chicken breasts cook faster and can dry out more easily. Adjust cooking time to about 15-18 minutes at 400°F (200°C) and watch carefully for doneness.
Do I need to preheat the air fryer for this recipe?
Preheating helps achieve the crispiest skin, but if your model doesn’t require it, you can skip this step. Just expect a few extra minutes of cooking time.
How do I make this recipe gluten-free?
Use gluten-free panko breadcrumbs or substitute with almond flour or crushed gluten-free cereal for that crispy coating.
Can I prepare this recipe ahead of time?
You can coat the chicken and keep it covered in the fridge for a few hours before cooking, but it’s best cooked fresh for maximum crispiness.
What sides go well with crispy garlic parmesan chicken thighs?
Roasted vegetables, creamy mashed potatoes, Caesar salad, or even garlic butter green beans complement this dish beautifully.
For those who enjoy smoky flavors, you might appreciate the smoky chipotle chicken thighs I shared earlier. Or if you’re in the mood for a different crispy chicken style, the crispy garlic chicken recipe offers a slightly different take that’s equally delicious.
Pin This Recipe!
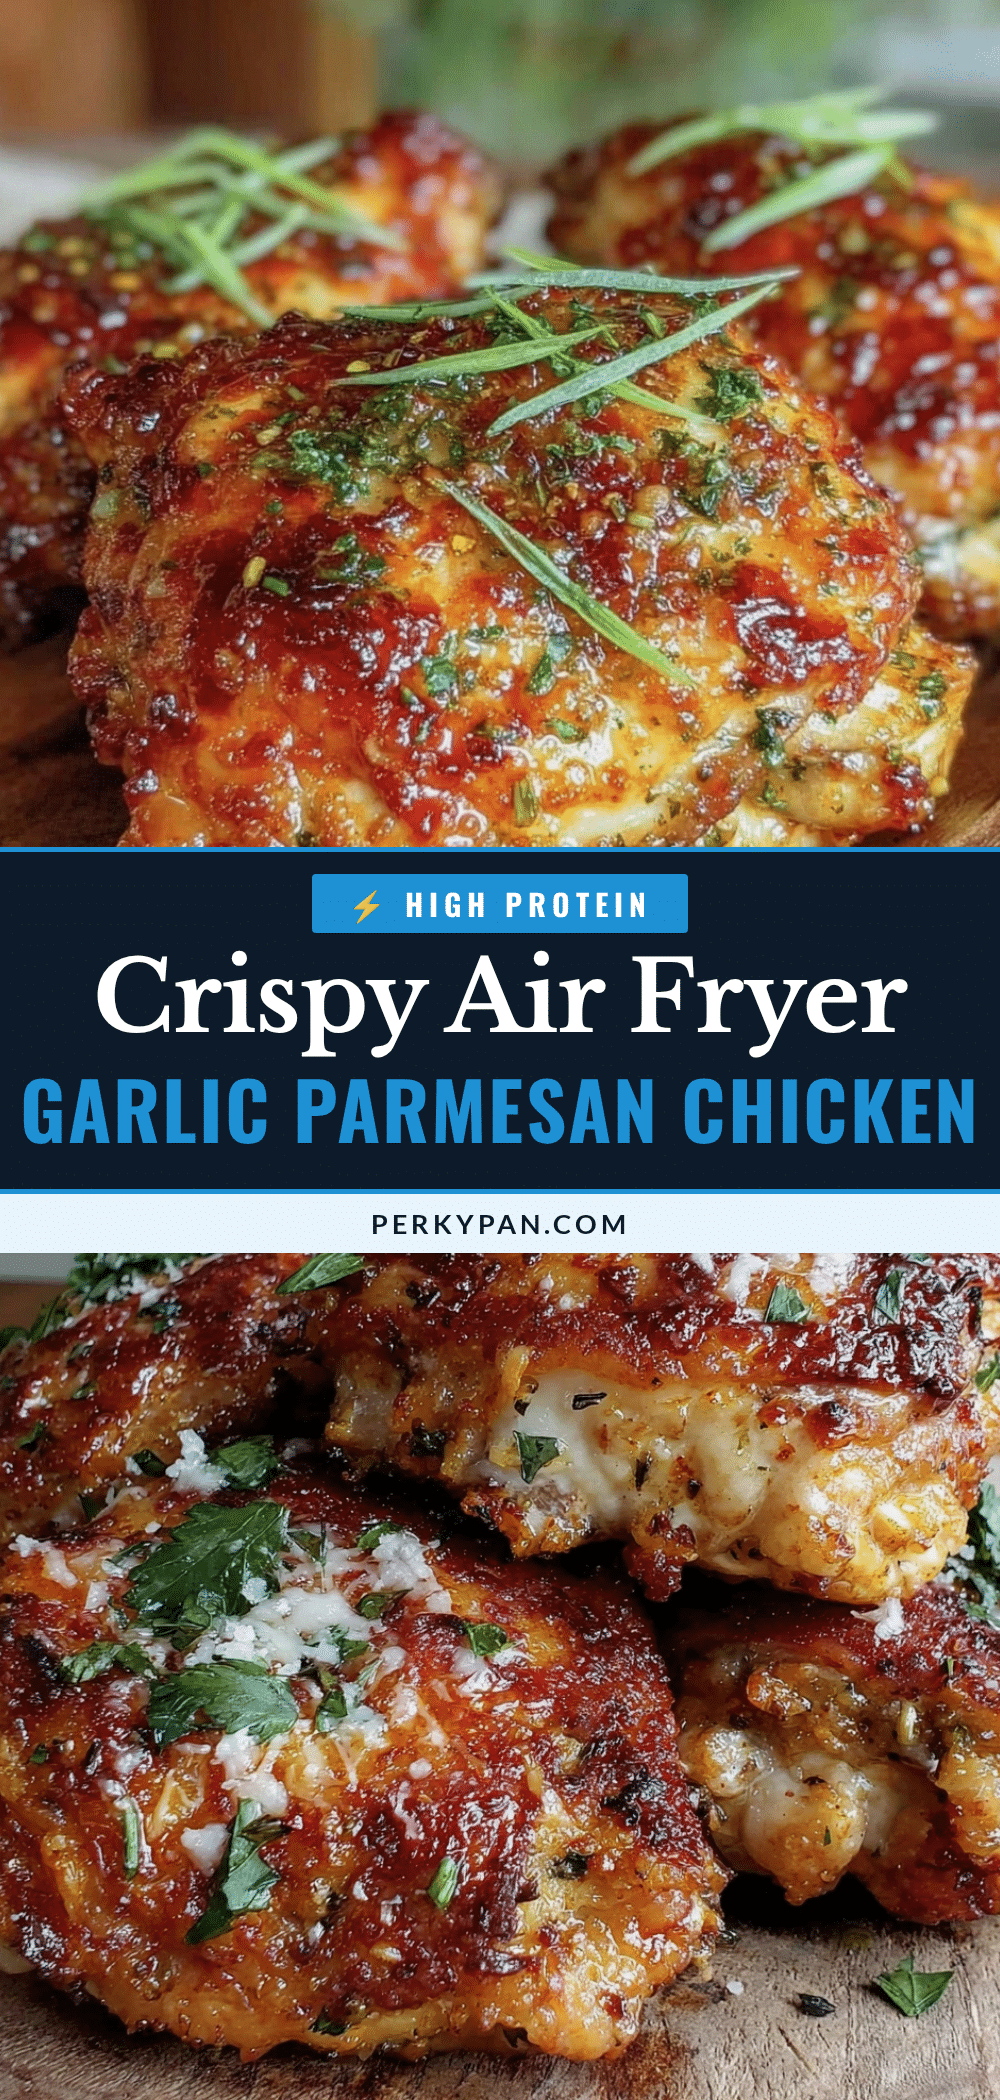
Crispy Garlic Parmesan Chicken Thighs Air Fryer Recipe

A quick and easy air fryer recipe for crispy, juicy chicken thighs coated with garlic, parmesan, and panko breadcrumbs. Perfect for busy weeknights and packed with flavor.
- Prep Time: 12 minutes
- Cook Time: 22 minutes
- Total Time: 34 minutes
- Yield: 4 servings 1x
- Category: Main Course
- Cuisine: American
Ingredients
- 4 bone-in, skin-on chicken thighs (about 2 pounds / 900 grams)
- 3 cloves garlic, minced (or garlic powder as substitute)
- ½ cup (50 g) grated parmesan cheese
- ½ cup (50 g) panko breadcrumbs
- 1 tablespoon (15 ml) extra virgin olive oil
- 1 teaspoon Italian seasoning (oregano, basil, thyme blend)
- Salt and pepper to taste
- Lemon zest (optional)
Instructions
- Pat the chicken thighs dry with paper towels to remove excess moisture. Season both sides lightly with salt and pepper.
- In a mixing bowl, combine panko breadcrumbs, grated parmesan, Italian seasoning, minced garlic, and lemon zest if using. Mix well.
- Brush or lightly coat the chicken thighs with olive oil to help the coating stick and crisp up.
- Press each thigh firmly into the breadcrumb mixture, covering both sides evenly. Add more coating if needed.
- Preheat the air fryer to 400°F (200°C) if your model requires preheating. Place the thighs skin side down in the basket without overcrowding.
- Cook for 10-12 minutes, then flip and cook another 10-13 minutes until the skin is golden brown and internal temperature reaches 165°F (74°C).
- Let the chicken rest for 5 minutes before serving to allow juices to redistribute.
Notes
Do not overcrowd the air fryer basket to ensure crispiness; cook in batches if necessary. Press coating firmly onto chicken to prevent flaking. Flip gently with tongs to keep crust intact. Let chicken rest 5 minutes before serving. For reheating, use air fryer or oven at 350°F for 5-7 minutes to maintain crispiness. Optional: spray olive oil mist halfway through cooking if your air fryer tends to dry food out.
Nutrition
- Serving Size: 1 chicken thigh
- Calories: 350
- Sugar: 1
- Sodium: 450
- Fat: 22
- Saturated Fat: 6
- Carbohydrates: 8
- Fiber: 1
- Protein: 25
Keywords: crispy chicken thighs, garlic parmesan chicken, air fryer chicken, easy chicken recipe, quick dinner, panko crusted chicken