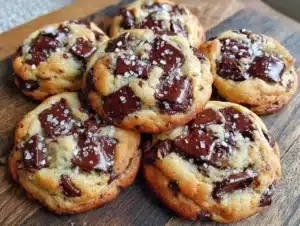
Love this? Save it for later!
Share the inspiration with your friends
It was 10:47 PM on a drizzly Tuesday in October, and I had a very specific craving for something warm, buttery, and just a little bit nutty. I didn’t have the patience for a classic chocolate chip cookie that required softened butter waiting around on the counter, but I had a stick of cold butter in the fridge and a wild idea that had been rattling around in my head for weeks. What if I browned it? Right then, in the dark kitchen with the rain tapping against the window, it felt like the only logical thing to do.
Honestly, I was half-asleep and a little bit reckless with the whisk. I burned the first batch of butter—you know that smell when it goes from nutty to acrid in about three seconds flat? Yeah, that happened. The second attempt, I paid closer attention, watching the butter foam and turn amber like liquid gold. Something about the late hour loosened all the usual rules in my head. I threw in dark brown sugar because that’s all I had, and a splash of vanilla that was probably more generous than necessary.
The dough came together in a weird, sleepy haze. I scooped it, baked a test cookie, and stood there in the dim light of the oven waiting. That first bite—crispy edges, soft center, that deep, toasted flavor from the brown butter—honestly made me laugh out loud. It was 11:30 PM, and I was eating a cookie that tasted like autumn in a single bite. Maybe you’ve been there, standing in your kitchen at an unreasonable hour, just following a gut feeling. This recipe stayed with me because it proved that the best ideas often show up when you’re too tired to overthink them.
Why You’ll Love This Recipe
These brown butter chocolate chip cookies are not just another cookie recipe. They are the result of many late-night trials, a few burnt batches of butter, and one very happy accident. Here is why they will become your go-to for fall baking.
- Quick & Easy : The dough comes together in about 15 minutes, and you don’t need to chill it for hours. Brown the butter, mix the dough, and bake. That is it.
- Simple Ingredients : You likely have everything in your pantry right now. Butter, sugar, flour, eggs, vanilla, baking soda, salt, and chocolate chips. No fancy extracts or hard-to-find flours.
- Perfect for Fall Baking : The nutty, toasty flavor of brown butter is basically autumn in cookie form. It pairs perfectly with a hot mug of apple cider or a cozy cup of coffee on a crisp afternoon.
- Crowd-Pleaser : I have brought these to potlucks, family dinners, and neighbor meet-and-greets. They vanish every single time. Kids love them, adults sneak seconds.
- Unbelievably Delicious : The texture is next-level. Think crispy, lacy edges with a soft, almost fudgy center. The brown butter adds a depth of flavor that regular butter simply cannot match.
What makes this recipe different from the rest is the technique. Browning the butter is not just a fancy step; it fundamentally changes the cookie. It adds a nutty, caramelized flavor that makes these taste like you spent hours in the kitchen. This is not just another chocolate chip cookie recipe. It is the best version, perfected through trial and error so you don’t have to make the same mistakes I did.
These cookies are comfort food reimagined. They are familiar enough to feel nostalgic but elevated enough to impress anyone who tries them. Perfect for a cozy weekend bake or for surprising your family on a random Tuesday night.
What Ingredients You Will Need
This recipe uses simple, wholesome ingredients to deliver bold flavor and satisfying texture without the fuss. Most of these are pantry staples, which makes this recipe incredibly accessible anytime a cookie craving hits.
- Unsalted butter , 1 cup (2 sticks or 226 grams) – You will brown this, so unsalted is best to control the salt level. I prefer using Kerrygold for its rich flavor, but any good-quality butter works. The browning process is where the magic happens, so do not skip it.
- Dark brown sugar , 1 cup packed (200 grams) – This adds moisture and a deeper molasses flavor that complements the nutty brown butter. Light brown sugar works too, but dark gives you that extra cozy, caramel-like taste. I always use dark brown sugar for fall baking.
- Granulated sugar , ½ cup (100 grams) – This helps create those crispy, lacy edges. The combination of both sugars is key for the perfect texture.
- Large egg , 1, plus 1 egg yolk – The extra yolk adds richness and tenderness. Make sure your eggs are at room temperature so they incorporate smoothly into the brown butter.
- Vanilla extract , 2 teaspoons – Use pure vanilla extract if you have it. It brightens all the other flavors. I am partial to Nielsen-Massey, but any brand works.
- All-purpose flour , 2 cups (250 grams) – Spoon and level your flour for the best results. Scooping directly from the bag can pack in too much flour and make your cookies dry.
- Baking soda , 1 teaspoon – This helps the cookies spread and become golden brown. Make sure it is fresh for the best rise.
- Salt , 1 teaspoon – Use flaky sea salt like Maldon for the best flavor, but fine sea salt works too. Salt balances the sweetness and enhances the brown butter notes.
- Semi-sweet chocolate chips , 1 ½ cups (about 260 grams) – I prefer Ghirardelli for their consistent melting quality. You can also chop a high-quality chocolate bar for those beautiful pools of chocolate in the baked cookies.
- Optional: Flaky sea salt , for sprinkling on top – This is not mandatory, but it takes the cookies from great to absolutely unforgettable. That little crunch of salt on top is pure magic.
For substitutions: If you are out of dark brown sugar, use light brown sugar and add a tablespoon of molasses. For a dairy-free version, you can use vegan butter, but the browning process will be slightly different. Coconut sugar can replace the granulated sugar, but the texture will be a bit more crumbly. I have tested these with gluten-free 1-to-1 flour blends, and they work well, though the cookies will be slightly more tender.
Equipment Needed
You do not need a lot of fancy equipment for this recipe. In fact, you probably already have everything you need in your kitchen drawers and cabinets.
- Light-colored saucepan or skillet – This is crucial for browning the butter. A light-colored pan lets you see the butter change color as it browns, so you know exactly when to pull it off the heat. I use my trusty All-Clad stainless steel saucepan. Avoid dark non-stick pans because they make it hard to see the color change.
- Mixing bowls – You will need one large bowl for the wet ingredients and another for the dry ingredients. I love my set of Pyrex glass bowls because they are microwave-safe and easy to clean.
- Whisk – For combining the brown butter and sugars. A sturdy whisk helps incorporate air into the mixture.
- Rubber spatula – For folding in the chocolate chips and scraping down the sides of the bowl. A flexible silicone spatula is your best friend here.
- Cookie scoop – A 1.5-tablespoon scoop ensures uniform cookies that bake evenly. I have a OXO Good Grips scoop that has lasted me years. If you do not have one, use two spoons to portion the dough.
- Baking sheets – Two rimmed baking sheets work best so you can rotate them in the oven. I use Nordic Ware aluminum sheets because they heat evenly and do not warp.
- Parchment paper or silicone baking mats – These prevent sticking and help the cookies spread evenly. Parchment paper is my go-to because it is disposable and easy.
- Cooling rack – Letting the cookies cool on a rack prevents soggy bottoms. A simple wire cooling rack does the job perfectly.
If you do not have a light-colored saucepan, you can use a stainless steel pot. Just keep a close eye on the butter. Budget tip: A good cookie scoop is worth the investment for consistent results, but two spoons work just fine in a pinch.
Preparation Method
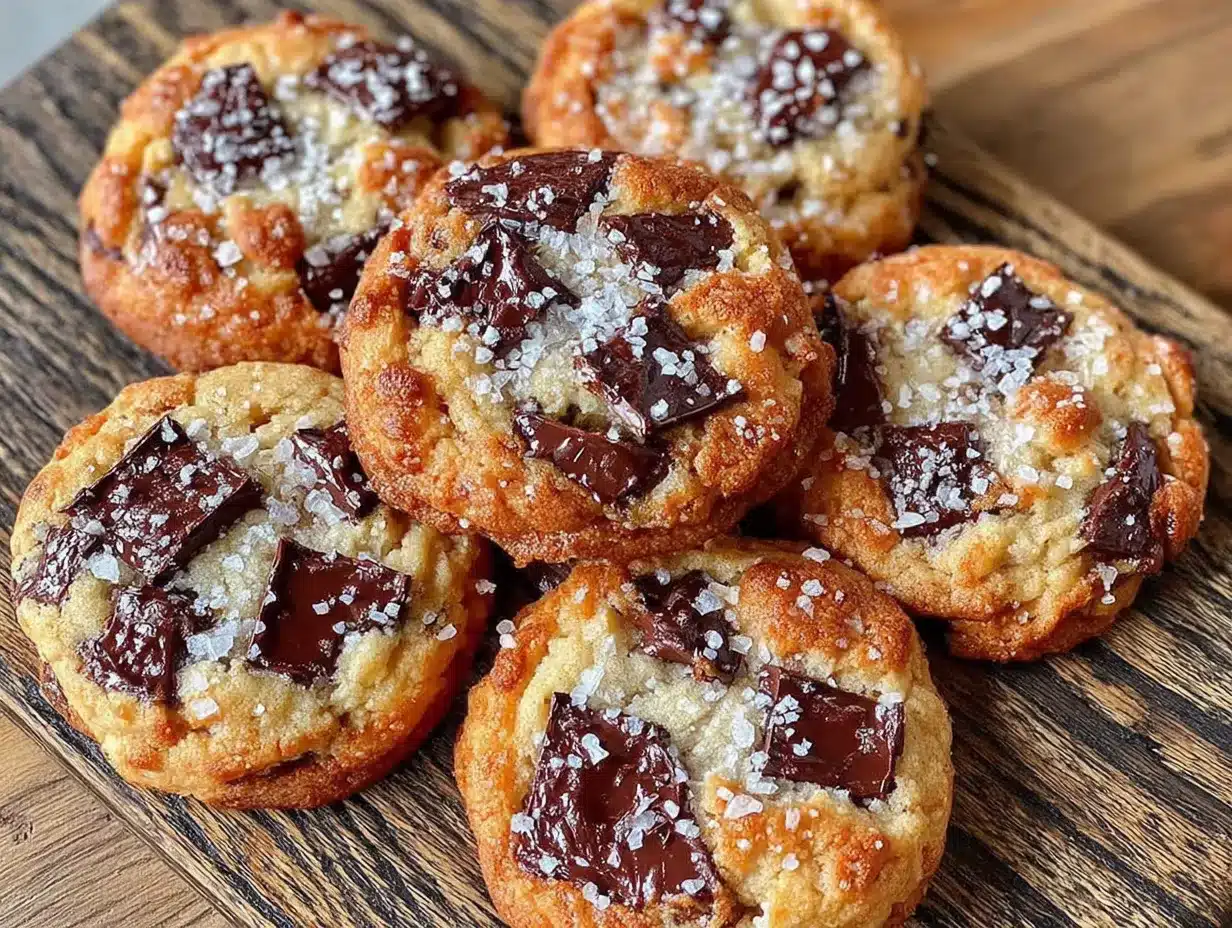
Follow these steps carefully, and you will have the most incredible brown butter chocolate chip cookies. I have included all the little details I learned the hard way so you can skip the mistakes.
- Brown the butter. Place the 1 cup of unsalted butter in your light-colored saucepan over medium heat. Let it melt completely, then continue cooking, swirling the pan occasionally. The butter will foam and crackle as the water evaporates. After about 5-7 minutes, you will see golden brown specks forming at the bottom of the pan. The butter will smell nutty and toasty. As soon as it turns a deep amber color and smells amazing, remove it from the heat immediately. Pour it into a large mixing bowl to stop the cooking process. Do not walk away during this step—it goes from perfect to burnt in seconds.
- Cool the brown butter. Let the brown butter cool for about 10 minutes. It should be warm but not hot. If you add the sugars while it is too hot, it will melt the sugar and change the cookie texture. I usually set a timer for 10 minutes and resist the urge to rush.
- Mix the sugars and butter. Add the 1 cup of dark brown sugar and ½ cup of granulated sugar to the cooled brown butter. Whisk vigorously for about 2 minutes until the mixture looks like wet sand and is slightly thickened. The sugar will not fully dissolve, and that is fine. You want some graininess for texture.
- Add the egg, yolk, and vanilla. Crack in the 1 large egg and 1 egg yolk, then add the 2 teaspoons of vanilla extract. Whisk until the mixture is smooth, glossy, and well combined. It should look like a thick caramel sauce. This takes about 1 minute of steady whisking.
- Combine the dry ingredients. In a separate medium bowl, whisk together the 2 cups of all-purpose flour, 1 teaspoon of baking soda, and 1 teaspoon of salt. Make sure there are no clumps of baking soda.
- Fold in the dry ingredients. Add the flour mixture to the wet ingredients. Use your rubber spatula to fold gently until just combined. A few streaks of flour are okay. Overmixing at this stage will develop gluten and make your cookies tough.
- Add the chocolate chips. Fold in the 1 ½ cups of semi-sweet chocolate chips. Distribute them evenly throughout the dough. The dough will be thick and slightly sticky.
- Portion the dough. Using your cookie scoop, portion the dough into 1.5-tablespoon balls. Place them on a parchment-lined baking sheet, spacing them about 2 inches apart. You should get about 24 cookies. If you want bakery-style giant cookies, use a 3-tablespoon scoop and bake for 12-14 minutes.
- Bake. Preheat your oven to 375°F (190°C). Bake the cookies for 9-11 minutes, or until the edges are golden brown and the centers look slightly underdone and puffy. The cookies will continue to bake on the hot sheet after you take them out. For softer cookies, pull them at 9 minutes. For crispier edges, go to 11 minutes.
- Cool and sprinkle. Let the cookies cool on the baking sheet for 5 minutes. This allows them to set properly. Then transfer them to a wire cooling rack. While they are still warm, sprinkle a pinch of flaky sea salt on top if you are using it. That little salty crunch is worth every penny.
Cooking Tips & Techniques
Over the years, I have learned a few things the hard way. Here are my best tips for perfect brown butter cookies every single time.
Watch the butter like a hawk. I cannot stress this enough. The first time I made these, I got distracted by a phone call and ended up with black butter that smelled like burnt popcorn. The butter will foam, then subside, then foam again. The moment you see golden specks and smell a nutty aroma, pull it off the heat. Swirl the pan a few times after removing it from the heat to let the residual heat finish the browning.
Do not skip the cooling step. I know you are impatient—I am too. But if you add the sugars to hot brown butter, it will melt the sugar too much and your cookies will spread into thin, greasy puddles. Let it cool for a full 10 minutes. Set a timer if you have to.
Use a cookie scoop for even sizing. Uniform cookies bake evenly. I learned this after years of making cookies that ranged from tiny crispy discs to giant underdone blobs. A simple cookie scoop changed my baking game completely.
Chill the dough if you have time. While this recipe works without chilling, letting the dough rest in the fridge for 30 minutes to an hour deepens the flavor even more. The brown butter flavor becomes more pronounced, and the cookies develop a chewier texture. I often make the dough the night before and bake fresh cookies the next day.
Rotate your baking sheets halfway through. Most ovens have hot spots. Halfway through baking, swap the top sheet to the bottom rack and rotate it 180 degrees. This ensures even browning and prevents burnt bottoms.
Do not overbake. The cookies will look slightly puffy and underdone in the center when you pull them out. That is exactly what you want. They will continue to bake on the hot sheet as they cool. Overbaked cookies turn into crunchy, dry discs. Trust the process and pull them early.
Variations & Adaptations
One of the best things about this recipe is how adaptable it is. Here are some variations I have tried and loved.
Autumn Spice Version. Add 1 teaspoon of cinnamon, ½ teaspoon of nutmeg, and ¼ teaspoon of cloves to the dry ingredients. This transforms the cookies into a warm, spiced treat that tastes like pumpkin pie without the pumpkin. I made these for a Friendsgiving party, and they disappeared before the turkey was even carved.
Gluten-Free Adaptation. Substitute the all-purpose flour with a good 1-to-1 gluten-free baking flour blend. I have had success with Bob’s Red Mill 1-to-1 Baking Flour. The cookies will be slightly more tender and delicate, so handle them gently. Add an extra 2 tablespoons of flour to the dough to compensate for the lack of gluten structure.
Vegan Version. Use vegan butter (I recommend Earth Balance) and a flax egg (1 tablespoon ground flaxseed mixed with 3 tablespoons water, let sit for 5 minutes). The browning process works with vegan butter, but it takes a minute or two longer. The cookies will be a bit more crumbly but still delicious.
Chocolate Lover’s Twist. Replace ½ cup of the semi-sweet chips with dark chocolate chunks or white chocolate chips. I once made a batch with half semi-sweet and half milk chocolate, and it was dangerously good. You can also fold in ¼ cup of cocoa powder with the dry ingredients for a double chocolate version.
Nutty Addition. Fold in ½ cup of toasted pecans or walnuts along with the chocolate chips. Toast the nuts in a dry skillet for 3-4 minutes until fragrant, then chop them roughly. The crunch adds a lovely texture that pairs beautifully with the brown butter.
Lower Sugar Option. Reduce the granulated sugar to ¼ cup and the brown sugar to ¾ cup. The cookies will be less sweet but still have that deep brown butter flavor. I have made this version for friends who are watching their sugar intake, and they still rave about them.
Serving & Storage Suggestions
These cookies are best served warm, when the chocolate is still slightly melted and the edges are perfectly crisp. I love pairing them with a cold glass of milk, a hot cup of coffee, or a mug of spiced apple cider. For a truly decadent treat, sandwich two cookies with a scoop of vanilla ice cream for the ultimate ice cream sandwich.
If you are serving them at a gathering, arrange them on a rustic wooden board or a simple white platter. A sprinkle of flaky sea salt on top makes them look bakery-worthy. They are perfect for fall parties, Halloween gatherings, or just a quiet afternoon treat.
Storage: Store the baked cookies in an airtight container at room temperature for up to 5 days. Place a slice of white bread in the container to keep them soft—the bread absorbs excess moisture and the cookies stay chewy. Replace the bread slice every other day if needed.
Freezing: These cookies freeze beautifully. You can freeze the baked cookies in a single layer on a baking sheet, then transfer them to a freezer-safe bag for up to 3 months. To reheat, pop them in a 300°F (150°C) oven for 5-7 minutes, or microwave for 15 seconds. Alternatively, freeze the unbaked dough balls on a baking sheet, then transfer to a freezer bag. Bake directly from frozen, adding 2-3 minutes to the baking time.
Flavor Development: Honestly, these cookies taste even better the next day. The brown butter flavor deepens as the cookies rest. I often make the dough a day ahead and bake fresh cookies when I am ready to serve them. The wait is worth it.
Nutritional Information & Benefits
Here is the estimated nutritional information for one cookie (based on 24 cookies per batch). Please note that these values are approximate and can vary based on the specific brands and ingredients you use.
| Nutrient | Amount per Cookie |
|---|---|
| Calories | 185 |
| Total Fat | 10g |
| Saturated Fat | 6g |
| Cholesterol | 30mg |
| Sodium | 135mg |
| Total Carbohydrates | 23g |
| Dietary Fiber | 1g |
| Sugars | 15g |
| Protein | 2g |
While these are definitely a treat, there are a few redeeming qualities. The brown butter adds a rich flavor that means you can use less sugar overall compared to some recipes. Dark chocolate chips contain antioxidants and flavonoids, which are good for heart health. The egg yolks provide vitamin D and choline, which supports brain function.
For those with dietary restrictions, this recipe can be adapted to be gluten-free or vegan as mentioned in the variations section. The cookies are nut-free as written, making them safe for school lunches. Always check your ingredient labels for potential allergens, especially if you are using alternative flours or vegan butter.
My personal perspective: I believe in enjoying food without guilt. These cookies are a celebration of fall flavors and cozy moments. One cookie with a cup of tea is a beautiful way to slow down and savor the season. Balance is everything.
Conclusion
These cozy brown butter chocolate chip cookies are everything I want in a fall treat. They are warm, nutty, perfectly sweet, and incredibly satisfying. The brown butter adds a depth of flavor that makes them taste like you spent all day in the kitchen, when really, they come together in under 30 minutes. That is my favorite kind of recipe—one that feels special but fits into a busy life.
I encourage you to make these your own. Add extra chocolate chips, throw in some toasted pecans, or sprinkle a generous amount of flaky salt on top. The recipe is a starting point, and your kitchen is the place to play. That is the beauty of baking—it is both science and art, and you get to be the artist.
If you make these cookies, I would love to hear about it. Leave a comment below and tell me how they turned out. Did you add any fun twists? Did you burn your first batch of butter like I did? Share your stories and photos. Tag me on social media so I can see your beautiful creations. Happy fall baking, my friend. You have got this.
Frequently Asked Questions
Can I use salted butter instead of unsalted?
Yes, you can. Just reduce the added salt in the recipe to ½ teaspoon to avoid overly salty cookies. The browning process works the same way with salted butter.
Why did my cookies turn out flat?
Flat cookies usually mean the butter was too warm when you added the dry ingredients, or the dough was not chilled enough. Make sure your brown butter has cooled for at least 10 minutes. If your kitchen is warm, chill the dough for 30 minutes before baking.
Can I make the dough ahead of time?
Absolutely. You can refrigerate the dough for up to 3 days or freeze it for up to 3 months. Chilling the dough actually improves the flavor as the brown butter has time to meld with the other ingredients. Just let the dough sit at room temperature for 10 minutes before scooping if it is too firm.
How do I know when the butter is properly browned?
Look for three signs: the butter will turn a deep amber color, you will see golden brown specks at the bottom of the pan, and it will smell nutty and toasty. The whole process takes about 5-7 minutes over medium heat. Do not walk away from the stove.
Can I use milk chocolate chips instead of semi-sweet?
Yes, you can. Keep in mind that milk chocolate is sweeter and creamier, so the cookies will be noticeably sweeter. If you use milk chocolate, consider reducing the granulated sugar by 2 tablespoons to balance the sweetness.
Pin This Recipe!
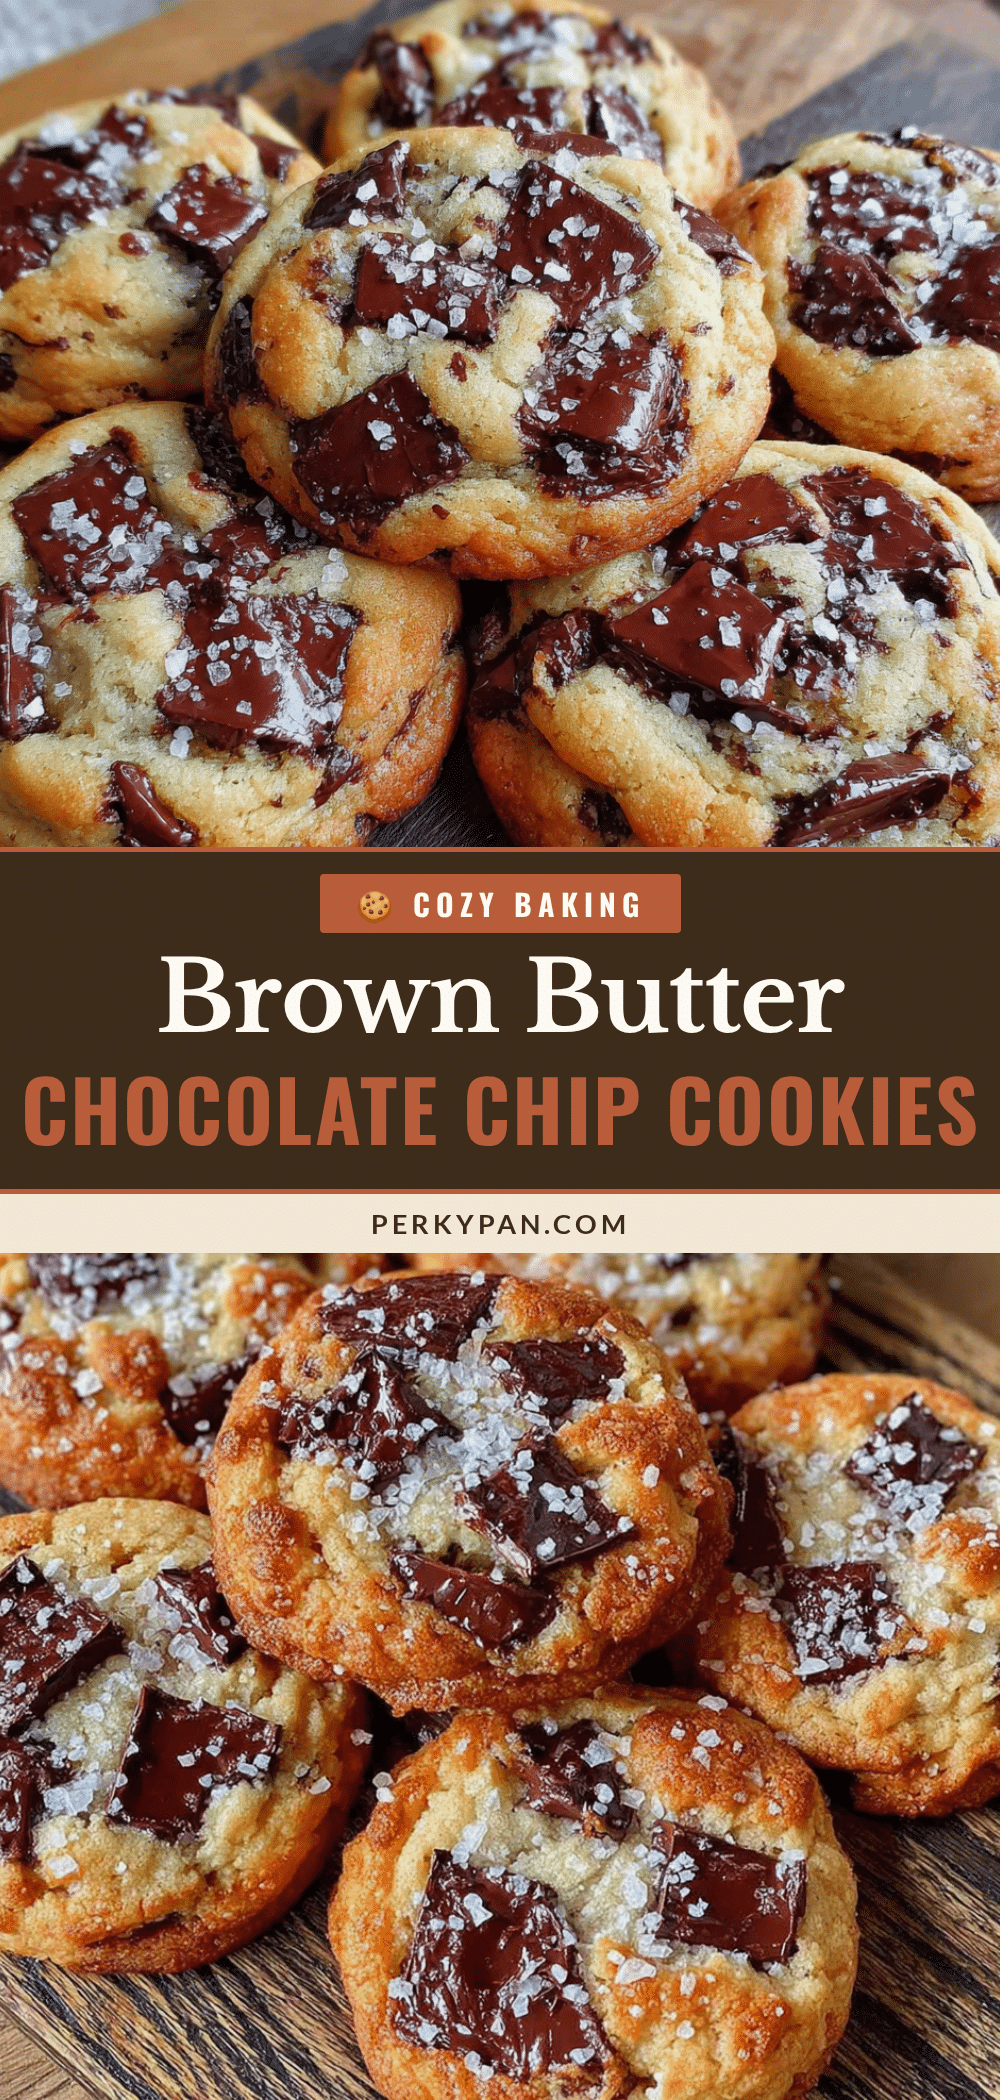
Cozy Brown Butter Chocolate Chip Cookies
These brown butter chocolate chip cookies are the ultimate fall treat, featuring nutty, caramelized brown butter, crispy edges, and a soft, fudgy center. They come together in under 30 minutes with simple pantry ingredients.
- Prep Time: 15 minutes
- Cook Time: 10 minutes
- Total Time: 25 minutes
- Yield: 24 servings 1x
- Category: Dessert
- Cuisine: American
Ingredients
- 1 cup (2 sticks or 226 grams) unsalted butter
- 1 cup packed (200 grams) dark brown sugar
- ½ cup (100 grams) granulated sugar
- 1 large egg plus 1 egg yolk
- 2 teaspoons vanilla extract
- 2 cups (250 grams) all-purpose flour
- 1 teaspoon baking soda
- 1 teaspoon salt
- 1 ½ cups (about 260 grams) semi-sweet chocolate chips
- Optional: flaky sea salt for sprinkling
Instructions
- Brown the butter: Place 1 cup unsalted butter in a light-colored saucepan over medium heat. Melt completely, then continue cooking, swirling occasionally, until golden brown specks form and the butter smells nutty (about 5-7 minutes). Remove from heat immediately and pour into a large mixing bowl to stop cooking.
- Cool the brown butter for about 10 minutes until warm but not hot.
- Add 1 cup packed dark brown sugar and ½ cup granulated sugar to the cooled brown butter. Whisk vigorously for about 2 minutes until the mixture looks like wet sand and is slightly thickened.
- Add 1 large egg, 1 egg yolk, and 2 teaspoons vanilla extract. Whisk until smooth, glossy, and well combined (about 1 minute).
- In a separate medium bowl, whisk together 2 cups all-purpose flour, 1 teaspoon baking soda, and 1 teaspoon salt.
- Add the flour mixture to the wet ingredients. Fold gently with a rubber spatula until just combined (a few streaks of flour are okay).
- Fold in 1 ½ cups semi-sweet chocolate chips until evenly distributed.
- Using a cookie scoop, portion the dough into 1.5-tablespoon balls and place on parchment-lined baking sheets, spacing about 2 inches apart.
- Preheat oven to 375°F (190°C). Bake for 9-11 minutes, until edges are golden brown and centers look slightly underdone and puffy.
- Let cookies cool on the baking sheet for 5 minutes, then transfer to a wire cooling rack. Sprinkle with flaky sea salt while still warm, if desired.
Notes
Watch the butter carefully to avoid burning. Let the brown butter cool for a full 10 minutes before adding sugars. For best results, chill the dough for 30 minutes to 1 hour to deepen flavor. Do not overbake; cookies will continue to set on the hot sheet.
Nutrition
- Serving Size: 1 cookie
- Calories: 185
- Sugar: 15
- Sodium: 135
- Fat: 10
- Saturated Fat: 6
- Carbohydrates: 23
- Fiber: 1
- Protein: 2
Keywords: brown butter, chocolate chip cookies, fall baking, easy cookie recipe, cozy cookies