Love this? Save it for later!
Share the inspiration with your friends
My seven-year-old nephew, Leo, asked me why I couldn’t just dump all the cheese in at once. I was mid-lecture about building flavor layers and the importance of a proper béchamel—a classic know-it-all auntie moment. I started to explain why that wouldn’t work, that you had to add cheese slowly to avoid a greasy mess. Then I stopped. I looked at his earnest, slightly impatient face and thought, why not? Honestly, I was tired. So I dumped in the sharp cheddar, the creamy Gouda, the nutty Gruyère, and the salty Parmesan all at once, gave it a vigorous whisk, and waited for the oily disaster I was sure was coming. The sauce didn’t break. It was the silkiest, most glorious cheese sauce I’d ever made. I had been complicating things for years, and a seven-year-old cracked the code in ten seconds. This make-ahead four-cheese mac and cheese is the direct result of being humbled by a kid. It’s creamy, it’s forgiving, and it’s the only version I make now. Maybe you’ve been there, overthinking a recipe that really just wants to be simple.
Why You’ll Love This Recipe
This isn’t just another mac and cheese recipe. This is the one that saves dinner, wins over picky eaters, and tastes like you spent hours in the kitchen when you really just planned ahead. I’ve tested this make-ahead four-cheese mac and cheese more times than I can count, tweaking the cheese blend and the bake time until it was absolutely foolproof.
- Totally Make-Ahead Friendly: Assemble it the night before, or even two days ahead. Just pop it in the oven when you’re ready. It’s a game-changer for busy weeknights.
- Kid-Approved & Parent-Approved: The creamy texture and rich, cheesy flavor are a hit with even the pickiest eaters. And parents love that it uses real, simple ingredients.
- Four-Cheese Perfection: The blend of cheddar, Gouda, Gruyère, and Parmesan creates a complex, deeply satisfying flavor that no single cheese can match.
- Crowd-Pleaser: Bring this to a potluck or holiday dinner, and watch it disappear. It’s always the first dish to get scraped clean.
- Unbelievably Creamy: The secret is in the technique—or lack thereof, thanks to Leo. This sauce is velvety, smooth, and clings to every single piece of pasta.
This recipe is different because it embraces a little bit of chaos. It proves you don’t need to be a perfectionist to get a perfect result. It’s comfort food, reimagined for real life—faster to prep, easier to store, but with the same soul-soothing satisfaction that makes you close your eyes after that first bite.
What Ingredients You Will Need
This recipe uses simple, mostly pantry-staple ingredients to deliver that incredible, bold cheese flavor. The magic really is in the blend of cheeses, so don’t be tempted to skip any of them if you can help it.
- For the Pasta:
- 1 pound (450g) elbow macaroni (or cavatappi, shells, or rotini)
- Salt, for the pasta water
- For the Creamy Cheese Sauce:
- 4 tablespoons (1/2 stick) unsalted butter
- 1/4 cup (30g) all-purpose flour
- 3 cups (720ml) whole milk, warmed
- 1 cup (240ml) heavy cream (adds richness; half-and-half works too)
- 1 teaspoon dry mustard powder (a little secret for depth of flavor)
- 1/2 teaspoon garlic powder
- 1/4 teaspoon smoked paprika (optional, but lovely)
- 1/2 teaspoon salt, plus more to taste
- 1/4 teaspoon black pepper
- 2 cups (225g) sharp cheddar cheese, freshly shredded
- 1 cup (115g) Gouda cheese, freshly shredded
- 1 cup (115g) Gruyère cheese, freshly shredded
- 1/2 cup (50g) Parmesan cheese, freshly grated
- For the Topping (Optional but Recommended):
- 1 cup (90g) panko breadcrumbs
- 2 tablespoons unsalted butter, melted
- 1/4 cup (25g) Parmesan cheese, grated (for extra crunch on top)
Ingredient Tips: I always recommend shredding your own cheese from a block. The pre-shredded bags have anti-caking agents that can make your sauce grainy. For the best texture, use a block of sharp cheddar from a brand like Cabot or Tillamook. When it comes to Gouda, a smoked variety adds a wonderful layer of flavor that kids love. For a gluten-free option, use a 1:1 gluten-free all-purpose flour blend and gluten-free pasta.
Equipment Needed
You don’t need any fancy gadgets for this make-ahead four-cheese mac and cheese, which is part of its charm. Here’s what you’ll need:
- Large Pot: For boiling the pasta. A 6-quart pot is ideal.
- Large Saucepan or Dutch Oven: For making the cheese sauce. A heavy-bottomed pan prevents scorching.
- 9×13-inch Baking Dish: This is the standard size for this recipe. A 3-quart casserole dish also works.
- Whisk: Essential for a smooth, lump-free béchamel.
- Box Grater or Food Processor: For shredding that block of cheese. I’ve used both, and honestly, the food processor with the shredding disc makes quick work of it.
- Mixing Bowls: One for the cheese and one for the topping.
- Wooden Spoon or Silicone Spatula: For stirring the pasta and sauce.
If you don’t have a Dutch oven, a regular large saucepan is perfectly fine. And if you’re out of panko, you can crush up some plain potato chips or even saltine crackers for the topping—it’s a great budget-friendly swap.
Preparation Method
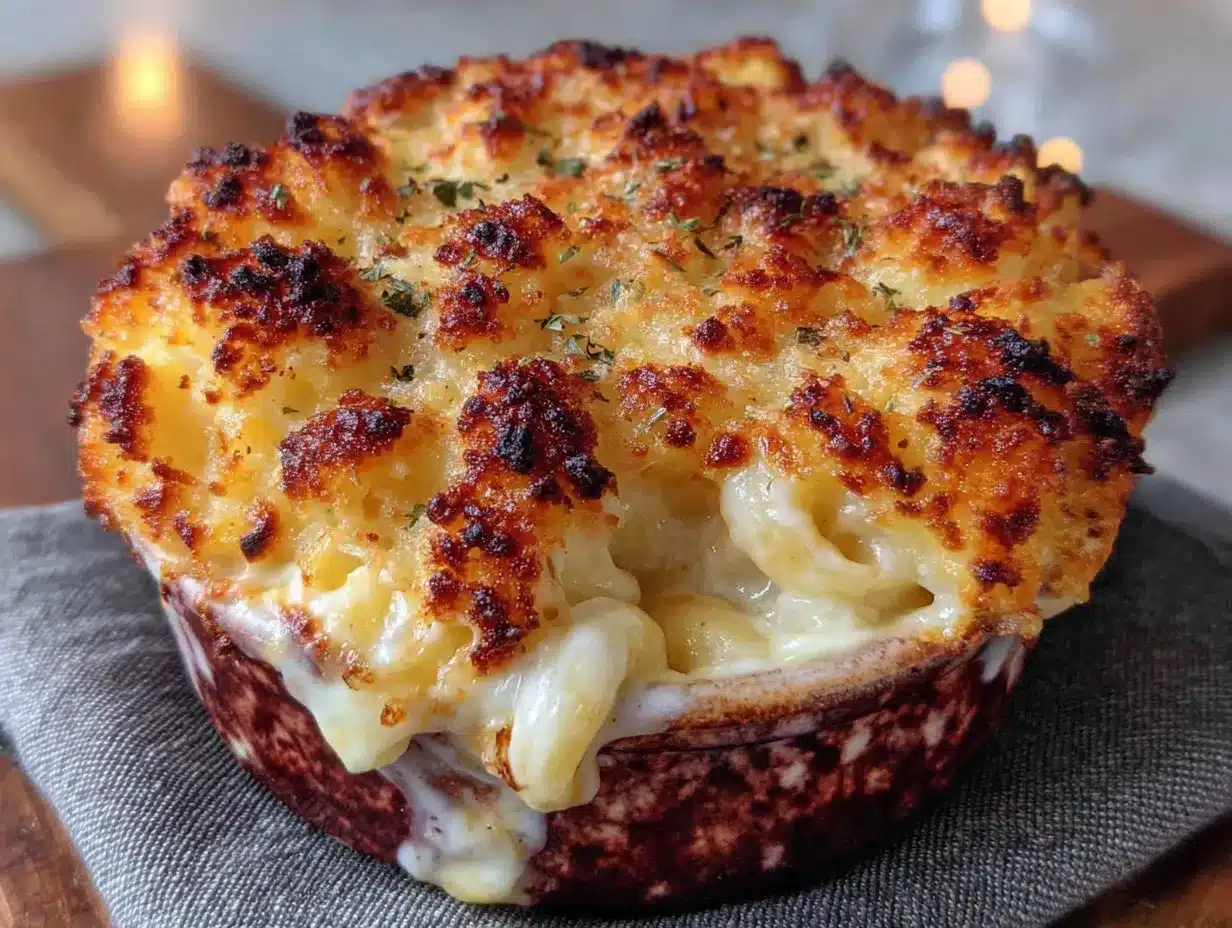
Let’s get cooking! This method is broken down into simple steps, and it comes together faster than you think.
- Cook the Pasta: Bring a large pot of generously salted water to a rolling boil. Add your 1 pound of elbow macaroni and cook according to package directions until al dente. This is usually about 1-2 minutes less than the suggested time because the pasta will continue to cook in the oven. Drain the pasta well, but do not rinse it. The starch on the pasta helps the sauce cling. Set it aside.
- Start the Cheese Sauce (The Leo Method): In a large saucepan or Dutch oven, melt 4 tablespoons of unsalted butter over medium heat. Once it’s foamy, whisk in the 1/4 cup of all-purpose flour. Cook this mixture, whisking constantly, for about 1 minute. You want to cook the raw flour taste out, but you don’t want it to brown. This is your roux.
- Add the Milk and Cream: Slowly pour in the 3 cups of warmed whole milk and the 1 cup of heavy cream, whisking continuously to prevent lumps. Keep whisking until the mixture thickens slightly, about 3-5 minutes. It should be thick enough to coat the back of a spoon.
- Season the Base: Whisk in the 1 teaspoon of dry mustard powder, 1/2 teaspoon of garlic powder, 1/4 teaspoon of smoked paprika (if using), 1/2 teaspoon of salt, and 1/4 teaspoon of black pepper. This is where the flavor foundation is built.
- Add ALL the Cheese at Once: Here’s the part Leo taught me. Reduce the heat to low. Add all of your shredded cheese—the 2 cups of cheddar, 1 cup of Gouda, 1 cup of Gruyère, and 1/2 cup of Parmesan—directly into the pot. Whisk vigorously until the cheese is completely melted and the sauce is smooth and silky. It will come together beautifully. Taste the sauce and add more salt and pepper if needed.
- Combine Pasta and Sauce: Pour the drained, cooked pasta into the pot with the cheese sauce. Use a large wooden spoon or spatula to gently fold the pasta into the sauce until every piece is evenly coated. The mixture will look very saucy, which is exactly what you want, as the pasta will absorb some of it as it sits and bakes.
- Assemble for Baking (or Storing): Transfer the mac and cheese mixture to your greased 9×13-inch baking dish. Spread it into an even layer.
- Prepare the Topping: In a small bowl, combine 1 cup of panko breadcrumbs with 2 tablespoons of melted unsalted butter and 1/4 cup of grated Parmesan cheese. Stir until the breadcrumbs are evenly moistened. Sprinkle this mixture evenly over the top of the mac and cheese.
- To Bake Immediately: Preheat your oven to 375°F (190°C). Bake the mac and cheese for 20-25 minutes, or until the sauce is bubbly and the topping is golden brown and crispy. Let it rest for 5-10 minutes before serving.
- To Store for Later (Make-Ahead Method): Do not bake it yet. Cover the assembled dish tightly with aluminum foil or a lid. You can store it in the refrigerator for up to 2 days.
Cooking Tips & Techniques
I’ve made this make-ahead four-cheese mac and cheese at least a dozen times, and I’ve learned a few things the hard way so you don’t have to.
- Don’t Overcook the Pasta: This is the number one mistake. If you cook the pasta to full tenderness on the stove, it will turn into mush when you bake it. Always cook it a full minute or two less than the package says. It should have a little bite to it.
- Warm Your Milk: I know it’s an extra step, but pouring cold milk into a hot roux can cause it to seize up and become lumpy. Just microwave your milk for a minute or two until it’s warm to the touch. It makes for a much smoother sauce.
- Trust the “All at Once” Method: I was a skeptic, but I am now a true believer. Adding the cheese all at once on low heat, while whisking vigorously, creates an incredibly smooth and stable emulsion. Just make sure your heat is low so the cheese doesn’t scorch.
- Season the Water Generously: Your pasta water should taste like the sea. This is your only chance to season the pasta itself from the inside out. Underseasoned pasta leads to bland mac and cheese.
- The Sauce Should Be Loose: When you first combine the pasta and sauce, it will look almost too runny. Don’t panic. The pasta will absorb that liquid as it rests and bakes, resulting in a perfectly creamy, not dry, final dish.
Variations & Adaptations
This recipe is a fantastic base for all sorts of fun twists. Here are a few ways I’ve made it my own.
- Spicy Buffalo Version: Stir in 1/3 cup of your favorite buffalo wing sauce into the cheese sauce before adding the pasta. Top with crumbled blue cheese and extra panko. It’s a huge hit with adults.
- Loaded Broccoli & Bacon: Steam 2 cups of broccoli florets until tender-crisp. Cook 6 strips of bacon until crispy, then crumble it. Fold the broccoli and half the bacon into the mac and cheese before baking, then sprinkle the remaining bacon on top with the breadcrumbs.
- Hidden Veggie Puree: For the pickiest eaters, try blending a cup of steamed cauliflower or butternut squash into the milk before adding it to the roux. It adds incredible creaminess and a boost of vitamins without changing the cheesy flavor.
- Gluten-Free & Low-Carb: As mentioned, use a 1:1 gluten-free flour blend and your favorite gluten-free pasta. For a lower-carb option, swap the pasta for cooked, well-drained cauliflower florets. The cheese sauce is so rich you won’t miss the noodles.
Serving & Storage Suggestions
This dish is incredibly versatile, whether you are serving it for a Tuesday night dinner or a holiday feast.
- Serving Temperature: Serve this mac and cheese hot, straight from the oven. Let it rest for 5-10 minutes after baking so it sets up a little and is easier to scoop.
- What to Serve With It: It’s a perfect side dish for grilled chicken, meatloaf, or a simple roasted pork tenderloin. For a complete meal, pair it with a crisp green salad with a tangy vinaigrette to cut through the richness.
- Storing Leftovers: Store any leftovers in an airtight container in the refrigerator for up to 4 days. The flavors actually meld together and get even better overnight.
- Reheating Tips: The best way to reheat is in the oven at 350°F (175°C) for 15-20 minutes, or until warmed through. You can also use the microwave, but the topping won’t be as crispy. Add a splash of milk before reheating to restore some creaminess.
- Freezing Instructions: This mac and cheese freezes beautifully. Assemble the dish completely, but do not bake it. Wrap it tightly in a layer of plastic wrap, then a layer of aluminum foil. Freeze for up to 3 months. To bake from frozen, remove the plastic wrap, cover with foil, and bake at 375°F (190°C) for 45-55 minutes, removing the foil for the last 10 minutes.
Nutritional Information & Benefits
While this is definitely a comfort food indulgence, it does have some redeeming qualities. The nutritional information below is an estimate per serving (based on 12 servings).
| Nutrient | Amount Per Serving |
|---|---|
| Calories | ~480 |
| Total Fat | 28g |
| Saturated Fat | 17g |
| Cholesterol | 85mg |
| Sodium | 620mg |
| Total Carbohydrates | 38g |
| Dietary Fiber | 2g |
| Sugars | 6g |
| Protein | 22g |
| Calcium | 450mg (35% DV) |
This dish is an excellent source of calcium and protein, largely thanks to the cheese and milk. It’s a great way to get kids to eat a hearty, filling meal. For a slightly lighter version, you can use 2% milk and reduce the butter in the topping by half. It’s a treat, but a wholesome one made from real food.
Conclusion
This make-ahead four-cheese mac and cheese has become a staple in my kitchen, and I hope it becomes one in yours too. It’s proof that sometimes the best recipes come from letting go of the rules and listening to a kid who just wants dinner on the table. The creamy, cheesy sauce is absolutely irresistible, and the fact that you can prep it entirely ahead of time makes it a lifesaver for busy families. I love this recipe because it delivers every single time, without any stress. Go ahead and make it your own—throw in some bacon, add a pinch of cayenne, or keep it gloriously simple. I’d love to hear how it turns out! Please leave a comment below and share your own twists on this classic. Happy cooking!
Frequently Asked Questions
Can I use pre-shredded cheese for this recipe?
I really don’t recommend it. Pre-shredded cheese is coated in cellulose and other starches to prevent clumping, which can make your sauce grainy and less smooth. For the best, creamiest results, always shred your own cheese from a block. It melts much more evenly.
Why did my cheese sauce turn out grainy?
Grainy cheese sauce is usually a result of overheating. If the heat is too high when you add the cheese, the proteins can seize up and separate from the fat. Always add your cheese on low heat and whisk constantly until just melted. Using pre-shredded cheese can also cause this issue.
Can I make this mac and cheese completely dairy-free?
Yes, you can! Use a good quality plant-based butter, unsweetened oat or cashew milk for the milk, and full-fat canned coconut milk for the cream. For the cheese, look for dairy-free shreds that melt well, like those from brands like Violife or Miyoko’s. The texture will be slightly different, but still delicious.
How long can I keep the unbaked mac and cheese in the fridge?
You can store the fully assembled, unbaked mac and cheese in the refrigerator for up to 2 days. Just make sure it’s tightly covered with foil or a lid. If you plan to bake it directly from the fridge, you may need to add 5-10 minutes to the baking time.
Can I double this recipe for a crowd?
Absolutely! This recipe doubles perfectly. Use a large roasting pan or two 9×13-inch baking dishes. You may need to increase the baking time slightly, especially if you’re baking it from a chilled state. Just keep an eye on it and look for those bubbly edges and a golden topping.
Pin This Recipe!
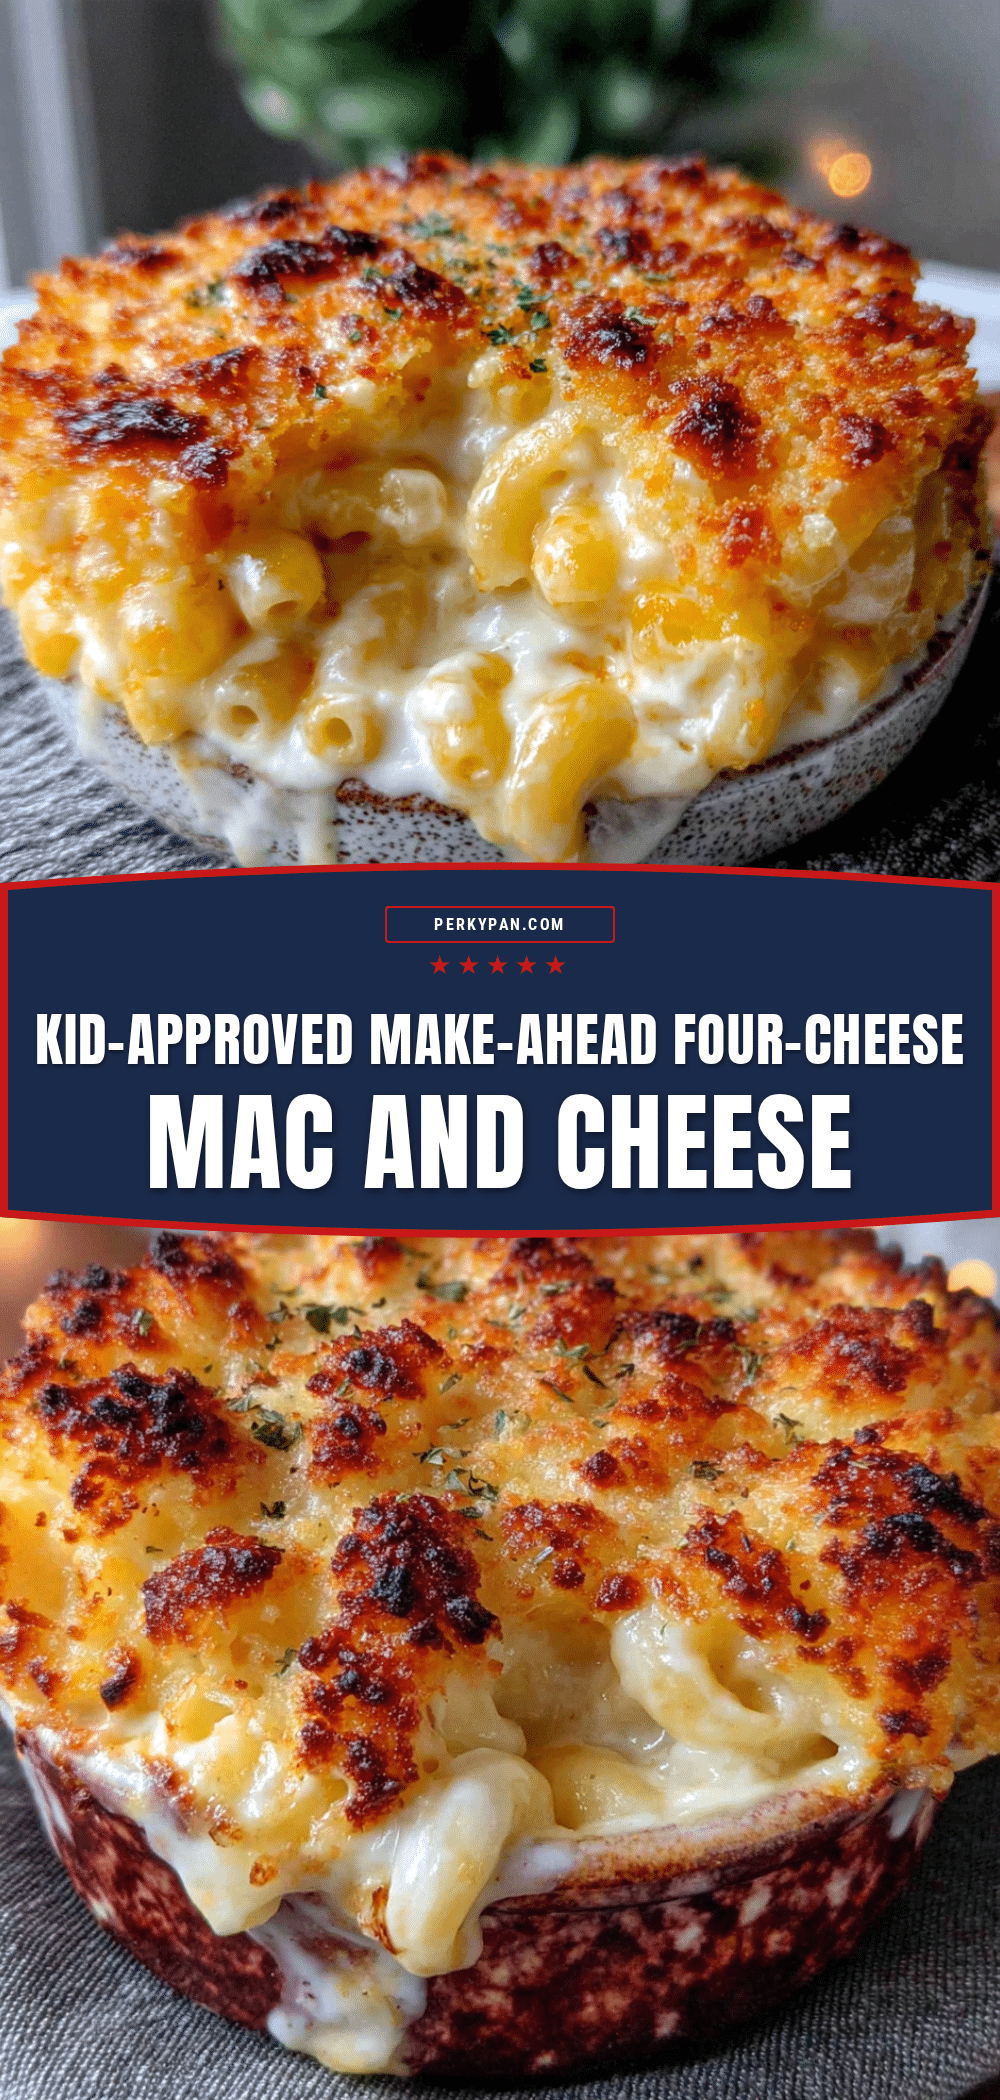
Best Make-Ahead Four-Cheese Mac and Cheese: Kid-Approved!

This creamy, four-cheese mac and cheese is a game-changer for busy weeknights. It’s totally make-ahead friendly, kid-approved, and uses a simple technique that delivers a silky, glorious cheese sauce every time.
- Prep Time: 15 minutes
- Cook Time: 25 minutes
- Total Time: 40 minutes
- Yield: 12 servings 1x
- Category: Main Course
- Cuisine: American
Ingredients
- 1 pound (450g) elbow macaroni (or cavatappi, shells, or rotini)
- Salt, for the pasta water
- 4 tablespoons (1/2 stick) unsalted butter
- 1/4 cup (30g) all-purpose flour
- 3 cups (720ml) whole milk, warmed
- 1 cup (240ml) heavy cream (adds richness; half-and-half works too)
- 1 teaspoon dry mustard powder
- 1/2 teaspoon garlic powder
- 1/4 teaspoon smoked paprika (optional)
- 1/2 teaspoon salt, plus more to taste
- 1/4 teaspoon black pepper
- 2 cups (225g) sharp cheddar cheese, freshly shredded
- 1 cup (115g) Gouda cheese, freshly shredded
- 1 cup (115g) Gruyère cheese, freshly shredded
- 1/2 cup (50g) Parmesan cheese, freshly grated
- 1 cup (90g) panko breadcrumbs
- 2 tablespoons unsalted butter, melted
- 1/4 cup (25g) Parmesan cheese, grated (for topping)
Instructions
- Cook the Pasta: Bring a large pot of generously salted water to a rolling boil. Add the elbow macaroni and cook according to package directions until al dente (about 1-2 minutes less than suggested). Drain well, do not rinse. Set aside.
- Start the Cheese Sauce (The Leo Method): In a large saucepan or Dutch oven, melt 4 tablespoons of unsalted butter over medium heat. Once foamy, whisk in the all-purpose flour. Cook, whisking constantly, for about 1 minute to make a roux.
- Add the Milk and Cream: Slowly pour in the warmed whole milk and heavy cream, whisking continuously to prevent lumps. Continue whisking until the mixture thickens slightly, about 3-5 minutes, until it coats the back of a spoon.
- Season the Base: Whisk in the dry mustard powder, garlic powder, smoked paprika (if using), salt, and black pepper.
- Add ALL the Cheese at Once: Reduce heat to low. Add all the shredded cheese (cheddar, Gouda, Gruyère, and Parmesan) directly into the pot. Whisk vigorously until the cheese is completely melted and the sauce is smooth and silky. Taste and adjust salt and pepper if needed.
- Combine Pasta and Sauce: Pour the drained pasta into the pot with the cheese sauce. Gently fold until every piece is evenly coated. The mixture will look very saucy.
- Assemble for Baking (or Storing): Transfer the mac and cheese mixture to a greased 9×13-inch baking dish and spread into an even layer.
- Prepare the Topping: In a small bowl, combine panko breadcrumbs with melted unsalted butter and grated Parmesan cheese. Stir until evenly moistened. Sprinkle evenly over the mac and cheese.
- To Bake Immediately: Preheat oven to 375°F (190°C). Bake for 20-25 minutes, until bubbly and the topping is golden brown and crispy. Let rest 5-10 minutes before serving.
- To Store for Later (Make-Ahead Method): Do not bake. Cover the assembled dish tightly with aluminum foil or a lid. Refrigerate for up to 2 days. When ready to bake, you may need to add 5-10 minutes to the baking time.
Notes
Always shred your own cheese from a block for the smoothest sauce. Cook pasta al dente to avoid mushiness. Warm the milk before adding to the roux to prevent lumps. The sauce will look loose before baking but will thicken as it rests and bakes. For a gluten-free version, use a 1:1 gluten-free flour blend and gluten-free pasta.
Nutrition
- Serving Size: 1 serving (1/12 of r
- Calories: 480
- Sugar: 6
- Sodium: 620
- Fat: 28
- Saturated Fat: 17
- Carbohydrates: 38
- Fiber: 2
- Protein: 22
Keywords: mac and cheese, four-cheese, make-ahead, kid-friendly, comfort food, cheddar, Gouda, Gruyère, Parmesan