Love this? Save it for later!
Share the inspiration with your friends
My nephew asked why I couldn’t just shape the dough into fingers and press an almond on top for the nail. I was in the middle of explaining the “proper” way—molding each knuckle, scoring the cuticles, using slivered almonds that looked more realistic—when I stopped. He was eight. He didn’t care about my carefully curated Pinterest board of spooky cookies. He just wanted to make witch fingers that actually looked like witch fingers. So I let him try his way. And honestly? His looked better than mine. They were chunkier, more grotesque, more like something a real witch might leave behind. I stood there with my piping bag of “perfect” knuckle lines and realized I’d been overcomplicating this for years. The best Halloween cookies I ever made came from letting a kid take the lead.
That batch of Almond Witch’s Finger Cookies disappeared faster than any batch I’d ever made. Guests at our Halloween party kept circling back to the platter, grabbing two or three at a time. Someone asked if I’d taken a class. Someone else asked for the recipe before they even finished chewing. I had to admit—the secret was simpler than I thought. No special tools, no fussy techniques. Just good shortbread dough, whole almonds, and a little bit of patience. Maybe you’ve been there, standing over a batch of cookies that were supposed to be impressive but ended up feeling like a chore. That was me every October until my nephew fixed my whole approach in about thirty seconds.
These cookies have become my go-to for every Halloween gathering since. They’re the first thing guests notice and the last thing left on the table—if there’s any left at all. I keep making them because they’re genuinely fun to create, and they always start conversations. Plus, they taste incredible. Buttered shortbread with a toasty almond finish? That’s not just Halloween candy territory. That’s year-round bake sale material hiding in a spooky costume.
Why You’ll Love This Recipe
Let me tell you why these Almond Witch’s Finger Cookies have earned a permanent spot in my Halloween rotation. I’ve tested this recipe at least a dozen times across different ovens and altitudes, and it never disappoints. Here’s what makes it stand out:
- Quick & Easy: Comes together in under 45 minutes, including chilling time. Perfect for last-minute Halloween prep or when you realize your party is tomorrow and you have nothing spooky to serve.
- Simple Ingredients: No fancy grocery trips needed. Butter, sugar, flour, almonds, vanilla—you probably have most of this in your pantry right now.
- Perfect for Halloween Gatherings: Great for parties, potlucks, trunk-or-treat events, or just making your kitchen look delightfully creepy for the season.
- Crowd-Pleaser: Always gets rave reviews from both kids and adults. I’ve seen grown men argue over the last cookie shaped like a gnarled finger.
- Unbelievably Delicious: The texture and flavor combo is next-level comfort food. Buttery, slightly crisp, with that satisfying almond crunch—it’s shortbread at its finest, just dressed up for the occasion.
What makes this recipe different from the rest? It’s the technique. Most witch finger recipes use slivered almonds that look flat and fake. Using whole almonds creates that bulbous, realistic nail bed that actually looks like something from a horror movie. Plus, the dough is forgiving enough that even beginners can shape convincing fingers without stress. This isn’t just another version—it’s the best version I’ve found after years of trial and error.
This recipe isn’t just good—it is the kind that makes you close your eyes after the first bite. It’s comfort food reimagined as Halloween theater. Perfect for impressing guests without stress, or turning a simple bake session into something memorable.
What Ingredients You Will Need
This recipe uses simple, wholesome ingredients to deliver bold flavor and satisfying texture without the fuss. Most of these are pantry staples, which makes this recipe perfect for spontaneous baking sessions.
- 1 cup (226g) unsalted butter, softened (I prefer Kerrygold for its rich flavor, but any good-quality butter works)
- 1 cup (200g) granulated sugar (adds sweetness and helps create that tender shortbread texture)
- 1 large egg, room temperature (binds the dough together)
- 1 teaspoon vanilla extract (pure vanilla makes a noticeable difference—avoid imitation if you can)
- ½ teaspoon almond extract (this is the secret weapon that makes the cookies taste like they came from a bakery)
- 2 ½ cups (312g) all-purpose flour (spoon and level for accuracy—packed flour makes tough cookies)
- 1 teaspoon baking powder (helps the cookies spread just slightly without puffing up too much)
- ½ teaspoon salt (balances sweetness and enhances the buttery flavor)
- 48 whole almonds, skin on (look for raw almonds with the brown skin intact—they look more realistic than blanched ones)
- Red food coloring (gel or liquid—just a tiny drop for realistic “cuticle” coloring)
- Seedless raspberry jam (optional, for “blood” effect at the base of the nail)
Ingredient selection tips: For best results, use butter that’s truly softened—leave it on the counter for about an hour before starting. Cold butter won’t cream properly, and melted butter will make the cookies spread too much. I recommend Land O Lakes or Kerrygold for consistent results. For the almonds, look for whole raw almonds with the skin on—they look more like actual fingernails than the blanched variety. If you only have blanched almonds, they’ll still work, but the color won’t be as realistic.
Substitution guidance: Use dairy-free butter for a lactose-free option—just make sure it’s stick-style, not spreadable. For a gluten-free version, swap the all-purpose flour with a 1:1 gluten-free baking blend. I’ve tested this with King Arthur’s Measure for Measure flour, and it works beautifully. The texture is slightly more crumbly, but the taste is still fantastic. If you don’t have almond extract, double the vanilla extract instead—the cookies will still taste great, just with a less pronounced almond flavor.
Equipment Needed
You don’t need much to make these cookies, which is part of their charm. Here’s what you’ll need:
- Large mixing bowl (I use a glass bowl because it doesn’t hold onto odors)
- Electric hand mixer or stand mixer (a hand mixer works perfectly—no need to break out the KitchenAid unless you want to)
- Rubber spatula (for scraping down the bowl and folding in the flour)
- Baking sheets (two standard half-sheet pans work well—line them with parchment paper)
- Parchment paper (non-negotiable—these cookies stick to unlined pans)
- Sharp knife or bench scraper (for cutting the dough into finger-sized pieces)
- Small bowl (for the egg wash)
- Pastry brush (for applying the egg wash—a silicone one is easiest to clean)
- Cooling rack (wire rack for cooling the cookies evenly)
Budget-friendly options: If you don’t have a pastry brush, just use your fingers to spread the egg wash—it works fine. No cooling rack? Let the cookies cool on the baking sheet for 5 minutes, then transfer them to a plate. No electric mixer? You can cream the butter and sugar by hand with a wooden spoon—it’ll take about 5 minutes of vigorous stirring, but it’s totally doable.
Maintenance tip: If you use a stand mixer, make sure the paddle attachment isn’t overworked—stop and scrape down the sides every 30 seconds to ensure even mixing.
Preparation Method
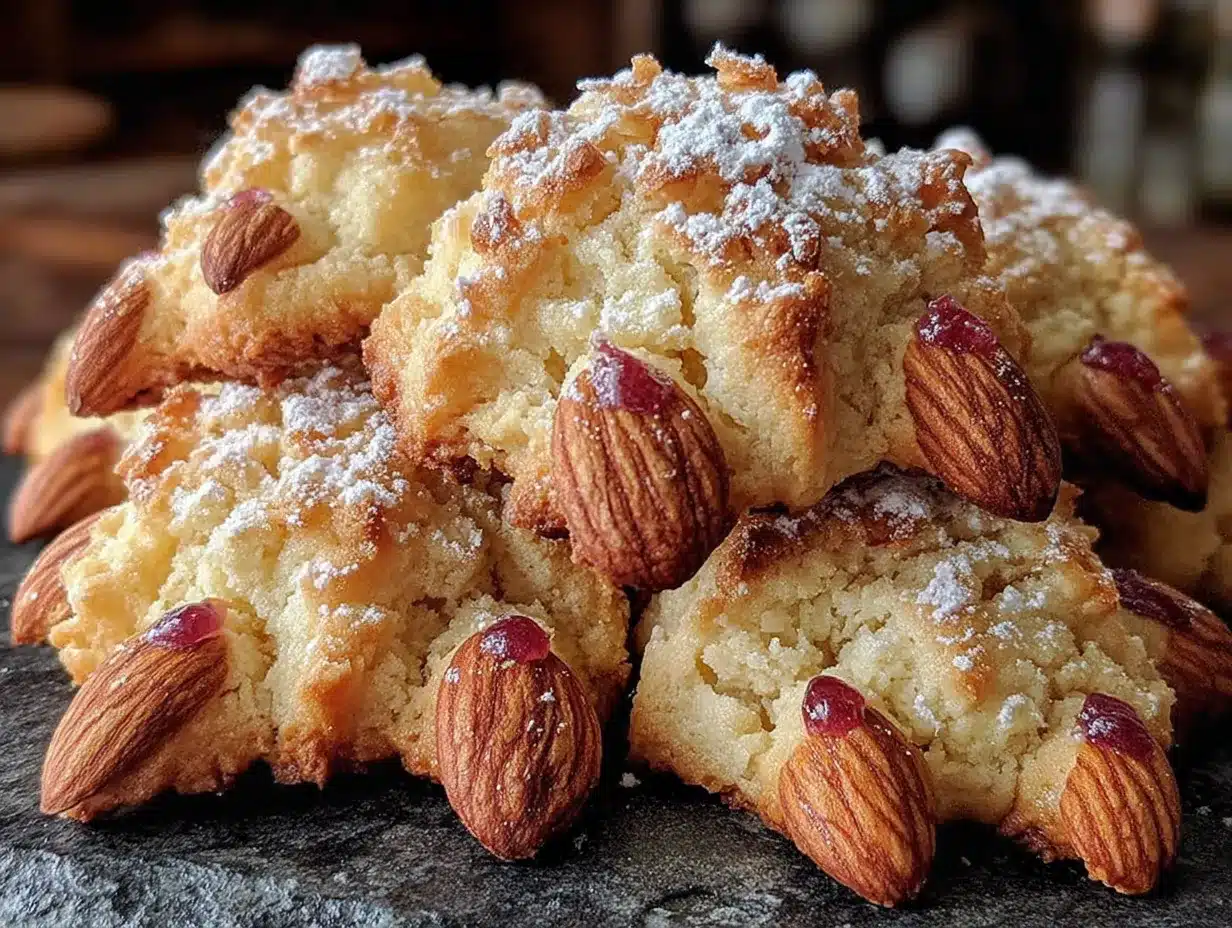
Follow these steps carefully, and you’ll have the most convincing witch fingers your Halloween party has ever seen.
- Cream the butter and sugar. In a large mixing bowl, beat the softened butter and granulated sugar together until light and fluffy—about 3 minutes with an electric mixer on medium speed. The mixture should look pale yellow and slightly increased in volume. Scrape down the sides of the bowl with a rubber spatula.
- Add the wet ingredients. Beat in the egg, vanilla extract, and almond extract until fully combined. The mixture might look slightly curdled at this point—that’s normal. Don’t panic.
- Combine the dry ingredients. In a separate bowl, whisk together the all-purpose flour, baking powder, and salt. This ensures the baking powder is evenly distributed so your cookies rise consistently.
- Mix the dough. Gradually add the dry ingredients to the wet mixture, mixing on low speed until just combined. Stop as soon as you don’t see any more streaks of flour—overmixing develops gluten and makes tough cookies. The dough should be soft but not sticky.
- Chill the dough. Wrap the dough in plastic wrap and refrigerate for at least 30 minutes. This step is crucial—chilled dough is much easier to shape into realistic fingers. If you skip this, the cookies will spread too much in the oven and lose their shape.
- Preheat the oven. While the dough chills, preheat your oven to 325°F (163°C). Line two baking sheets with parchment paper.
- Shape the fingers. Divide the dough into 48 equal pieces—about 1 tablespoon each. Roll each piece into a log shape about 3 inches long. Then, using your fingers, taper one end slightly to create the fingertip shape. Press gently to flatten the other end to create the “wrist” area. Place the shaped fingers on the prepared baking sheets, spacing them about 1 inch apart.
- Create the knuckles. Using the back of a butter knife or a bench scraper, gently press lines into each finger to create knuckle indentations. Make 2-3 lines per finger, pressing just deep enough to leave an impression without cutting through the dough.
- Add the almond nails. Press one whole almond onto the tapered end of each finger, with the pointed end of the almond facing outward toward the “fingertip.” Press gently so the almond sticks—it should sit about ¼ inch into the dough.
- Create realistic details. Use a toothpick to draw small lines around the almond to simulate cuticles. Add a tiny dot of red food coloring mixed with a drop of water at the base of the almond for that “freshly picked” look. This step is optional but makes the cookies look disturbingly realistic.
- Bake the cookies. Bake at 325°F (163°C) for 12-15 minutes, or until the edges are just barely golden. The cookies should still be pale on top—you don’t want them to brown too much or they’ll look less like fingers. Rotate the baking sheets halfway through for even baking.
- Cool completely. Let the cookies cool on the baking sheets for 5 minutes, then transfer them to a wire cooling rack. They’ll firm up as they cool. Don’t try to move them too soon—they’re delicate when warm.
- Optional blood effect. For an extra creepy touch, dab a tiny amount of seedless raspberry jam at the base of each almond before serving. It looks like blood pooling around the nail bed.
Sensory cues: The dough should feel cool and slightly firm after chilling—not rock hard. When you press the knuckle lines, you should see a clear indentation that doesn’t spring back. The cookies are done when the bottoms are just barely golden and the tops are still pale. They’ll smell like butter and almonds—heavenly.
Cooking Tips & Techniques
After making these cookies more times than I care to count, I’ve learned a few things the hard way. Here’s what I wish someone had told me:
Don’t skip the chill. I learned this lesson after my first batch turned into flat, unrecognizable blobs. Chilled dough holds its shape during baking. If your kitchen is warm, pop the shaped cookies back in the fridge for 10 minutes before baking.
Use your fingers, not a tool. The most realistic witch fingers come from shaping the dough with your hands. Your fingers naturally have slight imperfections—different thicknesses, subtle curves—and those imperfections make the cookies look more authentic. Don’t try to make them uniform.
Watch the almond placement. I once pressed the almonds too deep into the dough, and they disappeared during baking. The almond should sit on top of the dough, with just the bottom edge pressed in slightly. You want about half the almond visible above the dough.
Timing strategy: Bake these cookies in batches if you need to. The dough keeps well in the fridge for up to 3 days. I often make the dough the night before a party and bake them fresh the morning of. That way, I’m not rushing around the day of the event.
Consistency tip: If your dough feels too sticky to shape, add a tablespoon of flour at a time until it’s manageable. If it’s too dry and crumbly, add a teaspoon of cold water. The perfect dough should feel like play dough—soft but not sticky, pliable but not greasy.
Variations & Adaptations
These cookies are endlessly customizable. Here are some variations I’ve tried and loved:
- Vegan version: Substitute the butter with vegan butter (I like Earth Balance), use a flax egg (1 tablespoon ground flaxseed mixed with 3 tablespoons water), and skip the egg wash. The texture is slightly less tender but still delicious.
- Gluten-free version: Swap the all-purpose flour with a 1:1 gluten-free baking blend. Add ¼ teaspoon xanthan gum if your blend doesn’t already include it. The cookies will be more crumbly, so handle them gently.
- Chocolate witch fingers: Replace ¼ cup of the flour with unsweetened cocoa powder. The chocolate version looks like dirtier, more gnarled fingers—perfect for a zombie-themed party.
- Spiced variation: Add 1 teaspoon of pumpkin pie spice or cinnamon to the dough for a fall-flavored twist. The warm spices complement the almond beautifully.
- Different nail colors: Use green-tinted almonds (soak raw almonds in green food coloring and water for 30 minutes, then dry) for a truly witchy look. Or use sliced almonds painted with red food coloring for a bloody effect.
- Air fryer method: Bake at 300°F (150°C) in the air fryer for 8-10 minutes. Check at 8 minutes—air fryers run hot. The cookies will be slightly crispier on the outside.
My personal favorite variation is the chocolate version. I made it for a zombie-themed party last year, and guests couldn’t stop talking about how “disturbing” they looked. The dark color makes them look like they’ve been buried for a while—perfectly creepy.
Serving & Storage Suggestions
These cookies are best served at room temperature, arranged on a platter in a way that maximizes the creep factor. Here’s how I like to present them:
Serving temperature: Room temperature is ideal. The cookies firm up as they cool, so they hold their shape better when served at room temperature. If you’ve added the raspberry jam “blood,” serve them within an hour of adding it—the jam can make the cookies soggy if left too long.
Presentation tips: Arrange the cookies on a black or dark purple platter to make the pale fingers stand out. Scatter a few loose almonds around the platter to look like “fallen nails.” For an extra dramatic touch, place the cookies sticking out of a bowl of “dirt” (crushed chocolate cookies) or arrange them in a hand shape on a large board.
Complementary dishes: Serve these alongside other Halloween treats like spider web dip, pumpkin spice bars, or blood orange punch. The buttery shortbread balances well with richer, sweeter treats.
Storage instructions: Store the cookies in an airtight container at room temperature for up to 5 days. Layer them between sheets of parchment paper to prevent sticking. Do not refrigerate—the moisture in the fridge can make them soft and lose their shape.
Freezing instructions: Freeze the baked cookies in a single layer on a baking sheet, then transfer to a freezer-safe bag for up to 3 months. Thaw at room temperature for 30 minutes before serving. You can also freeze the unbaked shaped dough—freeze them on a baking sheet, then transfer to a bag. Bake directly from frozen, adding 2-3 minutes to the baking time.
Flavor development: These cookies actually taste better the day after baking—the flavors meld together and the almond extract mellows out. If you can resist eating them all on day one, you’re in for a treat.
Nutritional Information & Benefits
Here’s the nutritional breakdown per cookie (based on 48 cookies):
| Nutrient | Amount per Cookie |
|---|---|
| Calories | 98 |
| Total Fat | 6g |
| Saturated Fat | 3g |
| Cholesterol | 15mg |
| Sodium | 45mg |
| Total Carbohydrates | 10g |
| Dietary Fiber | 1g |
| Sugars | 5g |
| Protein | 2g |
Health benefits: Almonds are a great source of vitamin E, magnesium, and healthy monounsaturated fats. They’re known to support heart health and provide sustained energy. The butter in these cookies provides vitamin A and healthy fats that help with nutrient absorption. While these are definitely a treat, the almond component adds a small nutritional boost compared to plain sugar cookies.
Dietary considerations: These cookies contain dairy, eggs, and tree nuts (almonds). They are not suitable for those with nut allergies unless you substitute the almonds with a nut-free alternative like candy corn or a slice of dried apricot. For a dairy-free version, use vegan butter. For a lower-sugar option, reduce the sugar to ¾ cup—the texture will be slightly less tender, but they’ll still taste great.
Personal wellness perspective: I believe in balance—these cookies are a special occasion treat, not an everyday snack. They’re worth every calorie because they bring joy, laughter, and a little bit of spooky fun to Halloween gatherings. If you’re watching your sugar intake, just have one or two and savor them slowly.
Conclusion
These Almond Witch’s Finger Cookies have become my signature Halloween contribution, and they never fail to impress. They’re fun to make, delicious to eat, and guaranteed to start conversations. Whether you’re hosting a big Halloween party or just want to surprise your family with something spooky, these cookies deliver.
I love that they’re not just a gimmick—they’re genuinely good shortbread cookies that happen to look like fingers. The almond flavor is subtle but unmistakable, and the texture is perfectly crisp-tender. Plus, they’re so easy to customize. Swap the almonds for pistachios for a green nail effect. Add a drop of peppermint extract for a wintery twist. Make them your own.
I’d love to hear how yours turn out! Drop a comment below and let me know if your guests were fooled—or if you came up with your own creepy variation. Share your photos on social media and tag me so I can see your spooky creations. Happy Halloween, and happy baking!
Frequently Asked Questions
Can I make these cookies ahead of time?
Absolutely! You can make the dough up to 3 days ahead and keep it refrigerated. You can also bake the cookies up to 5 days ahead and store them in an airtight container. They actually taste better the next day.
Why did my cookies spread too much?
This usually happens when the dough isn’t chilled enough. Make sure you chill the dough for at least 30 minutes before shaping. If your kitchen is warm, chill the shaped cookies for 10 minutes before baking. Also, check that your butter was properly softened—not melted.
Can I use almond flour instead of all-purpose flour?
Not directly—almond flour doesn’t have the same gluten structure as all-purpose flour, so the cookies won’t hold their shape. If you want a gluten-free version, use a 1:1 gluten-free baking blend instead.
How do I get the red “blood” effect at the base of the nail?
Mix a tiny drop of red food coloring with a drop of water and apply it with a toothpick at the base of the almond before baking. Alternatively, add a dab of seedless raspberry jam after baking for a more realistic bloody effect.
Can I freeze these cookies?
Yes! Freeze baked cookies in an airtight container for up to 3 months. You can also freeze the unbaked shaped dough—just bake directly from frozen, adding 2-3 minutes to the baking time.
Pin This Recipe!
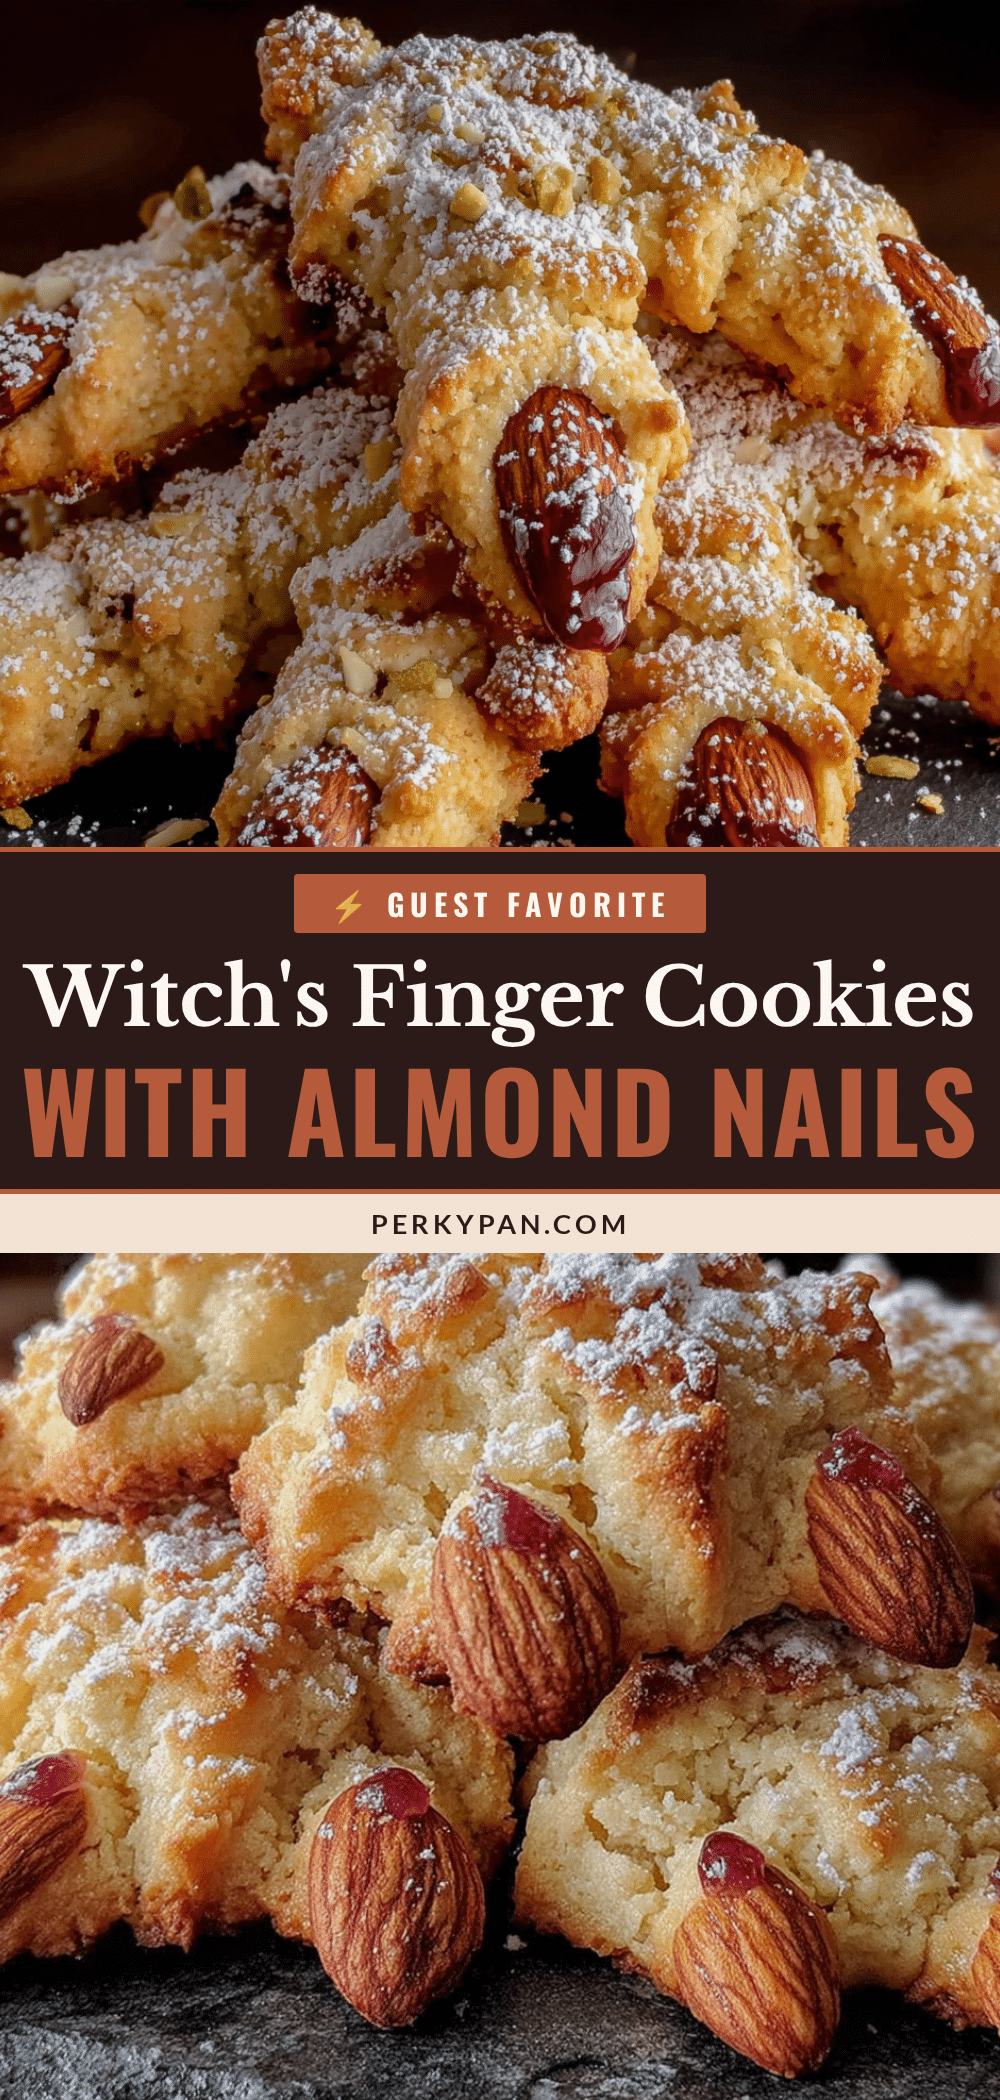
Almond Witchs Finger Cookies: The Best Guest-Favorite Halloween Recipe

These Almond Witch’s Finger Cookies are the perfect Halloween treat—buttery shortbread shaped like realistic fingers with whole almond nails. They’re quick, easy, and always a crowd-pleaser.
- Prep Time: 15 minutes
- Cook Time: 15 minutes
- Total Time: 45 minutes
- Yield: 48 cookies 1x
- Category: Dessert
- Cuisine: American
Ingredients
- 1 cup (226g) unsalted butter, softened
- 1 cup (200g) granulated sugar
- 1 large egg, room temperature
- 1 teaspoon vanilla extract
- ½ teaspoon almond extract
- 2 ½ cups (312g) all-purpose flour
- 1 teaspoon baking powder
- ½ teaspoon salt
- 48 whole almonds, skin on
- Red food coloring (gel or liquid)
- Seedless raspberry jam (optional, for ‘blood’ effect)
Instructions
- Cream the butter and sugar together until light and fluffy, about 3 minutes.
- Beat in the egg, vanilla extract, and almond extract until combined.
- In a separate bowl, whisk together flour, baking powder, and salt.
- Gradually add dry ingredients to wet mixture, mixing on low until just combined.
- Wrap dough in plastic wrap and refrigerate for at least 30 minutes.
- Preheat oven to 325°F (163°C). Line baking sheets with parchment paper.
- Divide dough into 48 equal pieces. Roll each into a 3-inch log, tapering one end for the fingertip and flattening the other for the wrist.
- Use the back of a knife to press 2-3 knuckle lines into each finger.
- Press one whole almond onto the tapered end of each finger, pointed end outward.
- Use a toothpick to draw cuticle lines around the almond. Add a tiny dot of red food coloring mixed with water at the base of the almond.
- Bake at 325°F (163°C) for 12-15 minutes, until edges are just barely golden. Rotate sheets halfway through.
- Cool on baking sheets for 5 minutes, then transfer to a wire rack to cool completely.
- Optional: Dab a tiny amount of seedless raspberry jam at the base of each almond before serving.
Notes
Chill the dough thoroughly to prevent spreading. Use whole almonds with skin on for realistic nails. For best results, shape fingers with your hands for natural imperfections. Cookies taste even better the next day.
Nutrition
- Serving Size: 1 cookie
- Calories: 98
- Sugar: 5
- Sodium: 45
- Fat: 6
- Saturated Fat: 3
- Carbohydrates: 10
- Fiber: 1
- Protein: 2
Keywords: Halloween cookies, witch finger cookies, almond cookies, shortbread cookies, spooky cookies, Halloween dessert


