Love this? Save it for later!
Share the inspiration with your friends
Introduction
“I wasn’t planning on baking anything that day,” I admit, recalling a rather chaotic Thursday afternoon when I found myself staring at a carton of egg whites about to expire. The box was teetering on the edge of the fridge shelf, and honestly, I was craving something sweet but didn’t want to feel weighed down afterward. I grabbed my mixing bowl and started experimenting—no grand plan, just a bit of curiosity and a dash of hope.
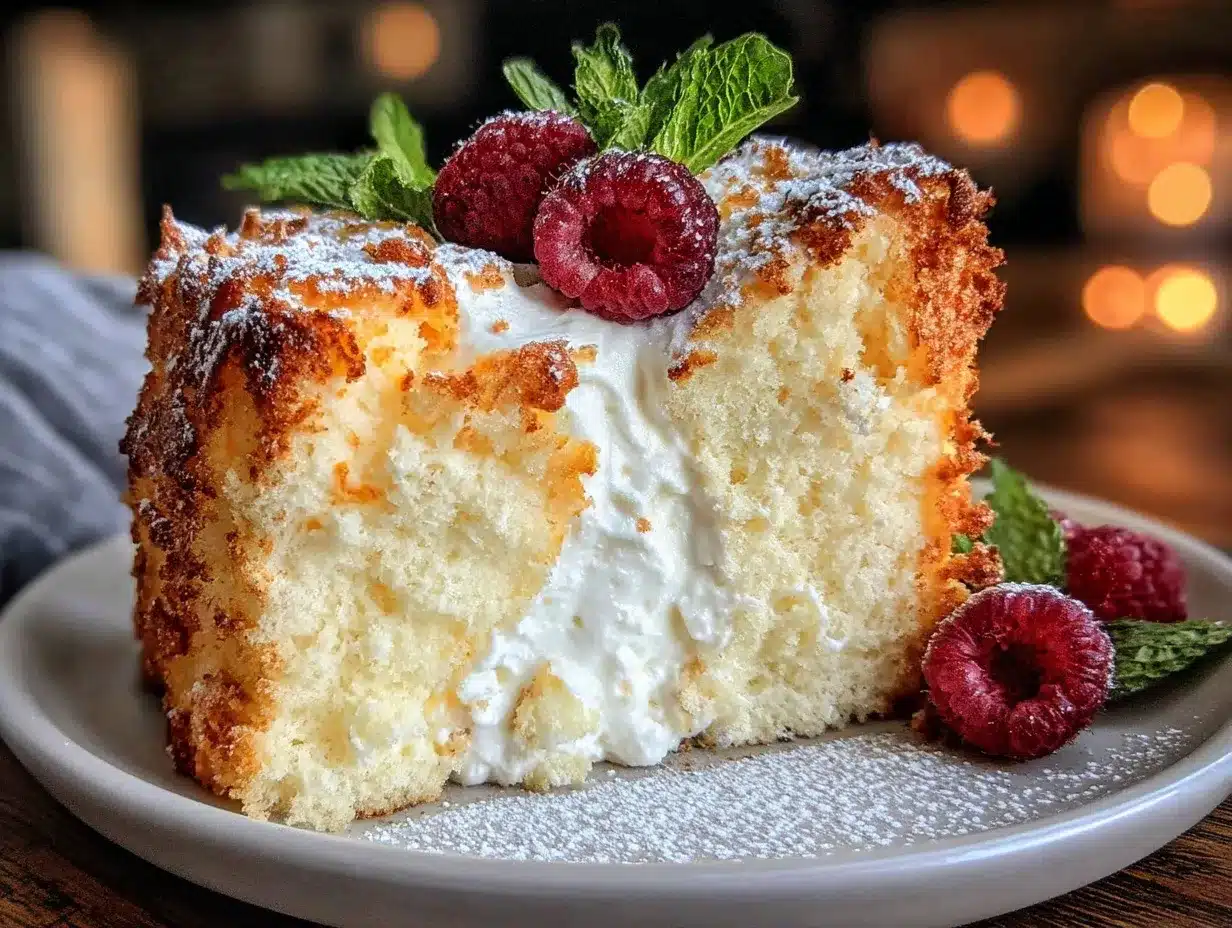
That’s how this light protein-powered angel food cake came to be. I remember the kitchen timer ringing while I was mid-text, and somehow the cake rose into this fluffy, cloud-like masterpiece. There was a tiny crack in my mixing bowl, spilling egg whites all over the counter, but I shrugged it off because the smell that filled the kitchen was pure magic. Maybe you’ve been there—caught between a craving and a clean kitchen, wondering if you can have your cake and feel good about it too.
Since that day, this recipe has stuck with me, not just because it’s delightfully airy and sweet but because it packs a protein punch without the heaviness you’d expect. It’s perfect for those moments when you want a wholesome treat that feels indulgent but won’t derail your nutrition goals. So, if you’re curious about how to whip up a dessert that’s as light as a whisper but satisfying enough to keep you coming back, stick around—I’ll walk you through every step of this simple, protein-powered angel food cake.
Why You’ll Love This Recipe
After testing this recipe more times than I’d like to admit (my kitchen definitely bears the scars), I’m confident it’s one of the best ways to enjoy a sweet treat without the usual guilt.
- Quick & Easy: Ready in under 45 minutes, making it ideal for those busy evenings when you need a dessert fast.
- Simple Ingredients: You likely have everything in your pantry already—egg whites, protein powder, a bit of sugar, and a few more basics.
- Perfect for Any Occasion: Whether it’s a light finish to a dinner party or a weekend brunch centerpiece, this cake shines.
- Crowd-Pleaser: I’ve served this to friends who usually skip dessert, and they keep asking for the recipe.
- Unbelievably Delicious: The texture is incredibly fluffy, and the subtle protein addition adds a depth of flavor you wouldn’t expect.
What sets this apart? It’s not just about swapping ingredients; it’s about balancing the fluffiness of traditional angel food cake with a protein boost that actually tastes great. I use a carefully chosen whey protein powder that doesn’t overwhelm the delicate sweetness but adds that nutritional oomph.
This cake isn’t just a dessert—it’s my go-to wholesome treat that reminds me dessert can be both satisfying and smart. Honestly, once you try it, you’ll want to keep this recipe close, just like I do.
What Ingredients You Will Need
This recipe uses simple, wholesome ingredients to deliver bold flavor and satisfying texture without the fuss. Most are pantry staples, and a few can be swapped to fit your preferences.
- Egg whites (10 large, room temperature) – The base for that airy, cloud-like structure.
- Whey protein powder (1/2 cup / 50g, vanilla-flavored recommended) – Adds protein without heaviness. I prefer Optimum Nutrition Gold Standard for smooth texture.
- Cake flour (3/4 cup / 90g, sifted) – Keeps the crumb tender; substitute with all-purpose flour plus 1 tbsp cornstarch if needed.
- Granulated sugar (3/4 cup / 150g, divided) – Sweetens the cake; you can swap half for coconut sugar for a slight caramel note.
- Cream of tartar (1/2 tsp) – Stabilizes the egg whites for maximum fluffiness.
- Vanilla extract (1 tsp) – Boosts flavor with warmth and sweetness.
- Salt (a pinch) – Balances the sweetness and enhances other flavors.
Substitutions: For a dairy-free version, replace whey protein with pea protein powder. For gluten-free, use gluten-free cake flour blend. In summer, adding fresh berries on the side is a lovely seasonal touch.
Equipment Needed
- Angel food cake pan (tube pan, 10-inch / 25 cm) – Essential for that signature rise and shape. If you don’t have one, a bundt pan works but expect a slightly different texture.
- Electric mixer (stand or hand) – For whipping egg whites to stiff peaks. I’ve tried manual whisking (yikes!)—not impossible, but a real workout.
- Sifter – To get the flour and protein powder lump-free, which makes a huge difference for a light crumb.
- Mixing bowls – Large and clean, no grease allowed or the egg whites won’t whip properly.
- Rubber spatula – For gentle folding without deflating the batter.
Pro tip: Make sure your pans are completely dry and clean—any grease can sabotage the rise. I keep a dedicated set of kitchen towels just for drying my baking equipment.
Preparation Method
- Preheat your oven to 350°F (175°C). Position the rack in the center. This ensures even baking and perfect rise.
- Sift together the dry ingredients: cake flour, protein powder, and 1/2 cup (100g) of the sugar. Sifting twice helps create an ultra-light texture. Set aside.
- Beat egg whites: In a large, clean bowl, start whipping the egg whites at medium speed. When they begin to foam, add the cream of tartar and a pinch of salt. Increase speed to high and gradually add the remaining 1/4 cup (50g) sugar. Continue whipping until stiff, glossy peaks form. This step is crucial—if your peaks aren’t stiff, the cake won’t rise properly.
- Fold in dry ingredients: Using a rubber spatula, gently fold the sifted dry mix into the egg whites in thirds. Fold carefully to avoid deflating the batter. You want to keep as much air as possible—that’s the secret to the cake’s lightness.
- Transfer batter to the pan: Pour the batter into your ungreased angel food cake pan. Level the top gently with the spatula. Bake for 30-35 minutes or until the top is golden and springs back when lightly pressed.
- Cool upside down: Once out of the oven, invert the pan immediately onto a bottle or funnel to cool completely. This keeps the cake from collapsing. I’ve forgotten this step once—lesson learned the hard way!
- Remove and serve: Use a thin knife to loosen the edges before carefully removing the cake from the pan. Serve plain or with fresh fruit and a dollop of yogurt or whipped cream.
Cooking Tips & Techniques
Getting angel food cake just right can be a bit finicky, but here’s what I’ve learned from my many attempts.
- Whip egg whites to perfection: Clean, grease-free bowls and room temperature eggs make all the difference. Cold egg whites take longer to whip and often don’t reach full volume.
- Don’t rush folding: Fold the dry ingredients gently but thoroughly. Overmixing deflates the batter; undermixing leaves lumps.
- Use the right protein powder: Some powders have a chalky taste and can weigh down the cake. Stick with a mild vanilla whey or a neutral plant-based one.
- Watch the oven: Oven temperatures vary—if your cake browns too fast, lower the heat slightly next time.
- Cooling is key: Don’t skip the upside-down cooling step. It preserves the cake’s height and texture perfectly.
Honestly, I’ve had my share of soggy bottoms and flat tops, but those moments taught me patience and precision. You’ll get the hang of it, and soon it’ll feel like second nature.
Variations & Adaptations
If you want to switch things up, here are some ideas I’ve tried and loved:
- Chocolate protein twist: Replace half the vanilla protein powder with chocolate-flavored for a subtle cocoa note.
- Berry infusion: Fold in 1/2 cup of finely chopped fresh strawberries or blueberries for a fruity surprise.
- Gluten-free version: Use a gluten-free cake flour blend and a plant-based protein powder for allergy-friendly baking.
- Lower sugar: Reduce sugar by 1/4 cup and add a teaspoon of almond extract to boost flavor without sweetness.
- Lemon zest: Add 1 tablespoon of fresh lemon zest to the dry ingredients for a refreshing citrus note.
I once made this with a scoop of collagen protein for a friend focused on joint health, and it worked surprisingly well—the texture stayed light, and the flavor was subtle.
Serving & Storage Suggestions
This cake is best served at room temperature or slightly chilled. It pairs beautifully with fresh berries, a dollop of Greek yogurt, or a light drizzle of honey. For an extra touch, sprinkle a little powdered sugar over the top just before serving.
Store any leftovers in an airtight container at room temperature for up to 2 days. Beyond that, refrigeration helps, but the cake may dry out slightly. Wrapped tightly, it freezes well for up to 2 months—just thaw overnight in the fridge.
Reheat slices gently in the microwave for about 10 seconds if you prefer a warm treat. The flavors mellow and deepen with time, so it’s a lovely make-ahead dessert for gatherings.
Nutritional Information & Benefits
Per serving (1/12 slice approx.):
| Calories | 120 |
|---|---|
| Protein | 9g |
| Carbohydrates | 15g |
| Fat | 0.5g |
| Sugar | 12g |
This recipe’s highlight is the high protein content, thanks to the added whey powder, making it a suitable option for those wanting a dessert that supports muscle repair and satiety. It’s naturally low in fat and can be gluten-free with small tweaks. Note that it contains egg whites and dairy-based protein powder, so it’s not suitable for vegans or those with egg allergies.
Conclusion
So, there you have it—a light protein-powered angel food cake that’s simple, satisfying, and just a bit special. Whether you’re looking to impress a crowd or treat yourself without guilt, this recipe stands out. I love it because it reminds me that desserts can be both a joy and a wholesome choice.
Feel free to tweak it to your taste and share what works best for you. I’d love to hear how you make it your own! Drop a comment below or share your adaptations—let’s keep the conversation going. Happy baking!
FAQs
Can I use whole eggs instead of egg whites?
Traditional angel food cake relies on whipped egg whites for its airy texture, so whole eggs won’t produce the same result. Stick to egg whites for best fluffiness.
What if I don’t have an angel food cake pan?
You can use a bundt pan or tube pan, but make sure it’s ungreased to help the cake climb the sides and rise properly.
Can I make this cake dairy-free?
Yes! Swap the whey protein for a plant-based alternative like pea protein and ensure your other ingredients are dairy-free.
How do I store leftover angel food cake?
Store in an airtight container at room temperature for up to 2 days or freeze for longer storage. Reheat gently if desired.
Why isn’t my cake rising properly?
Common issues include greasy bowls, under-whipped egg whites, or overmixing the batter. Make sure to whip egg whites to stiff peaks and fold gently.
Pin This Recipe!
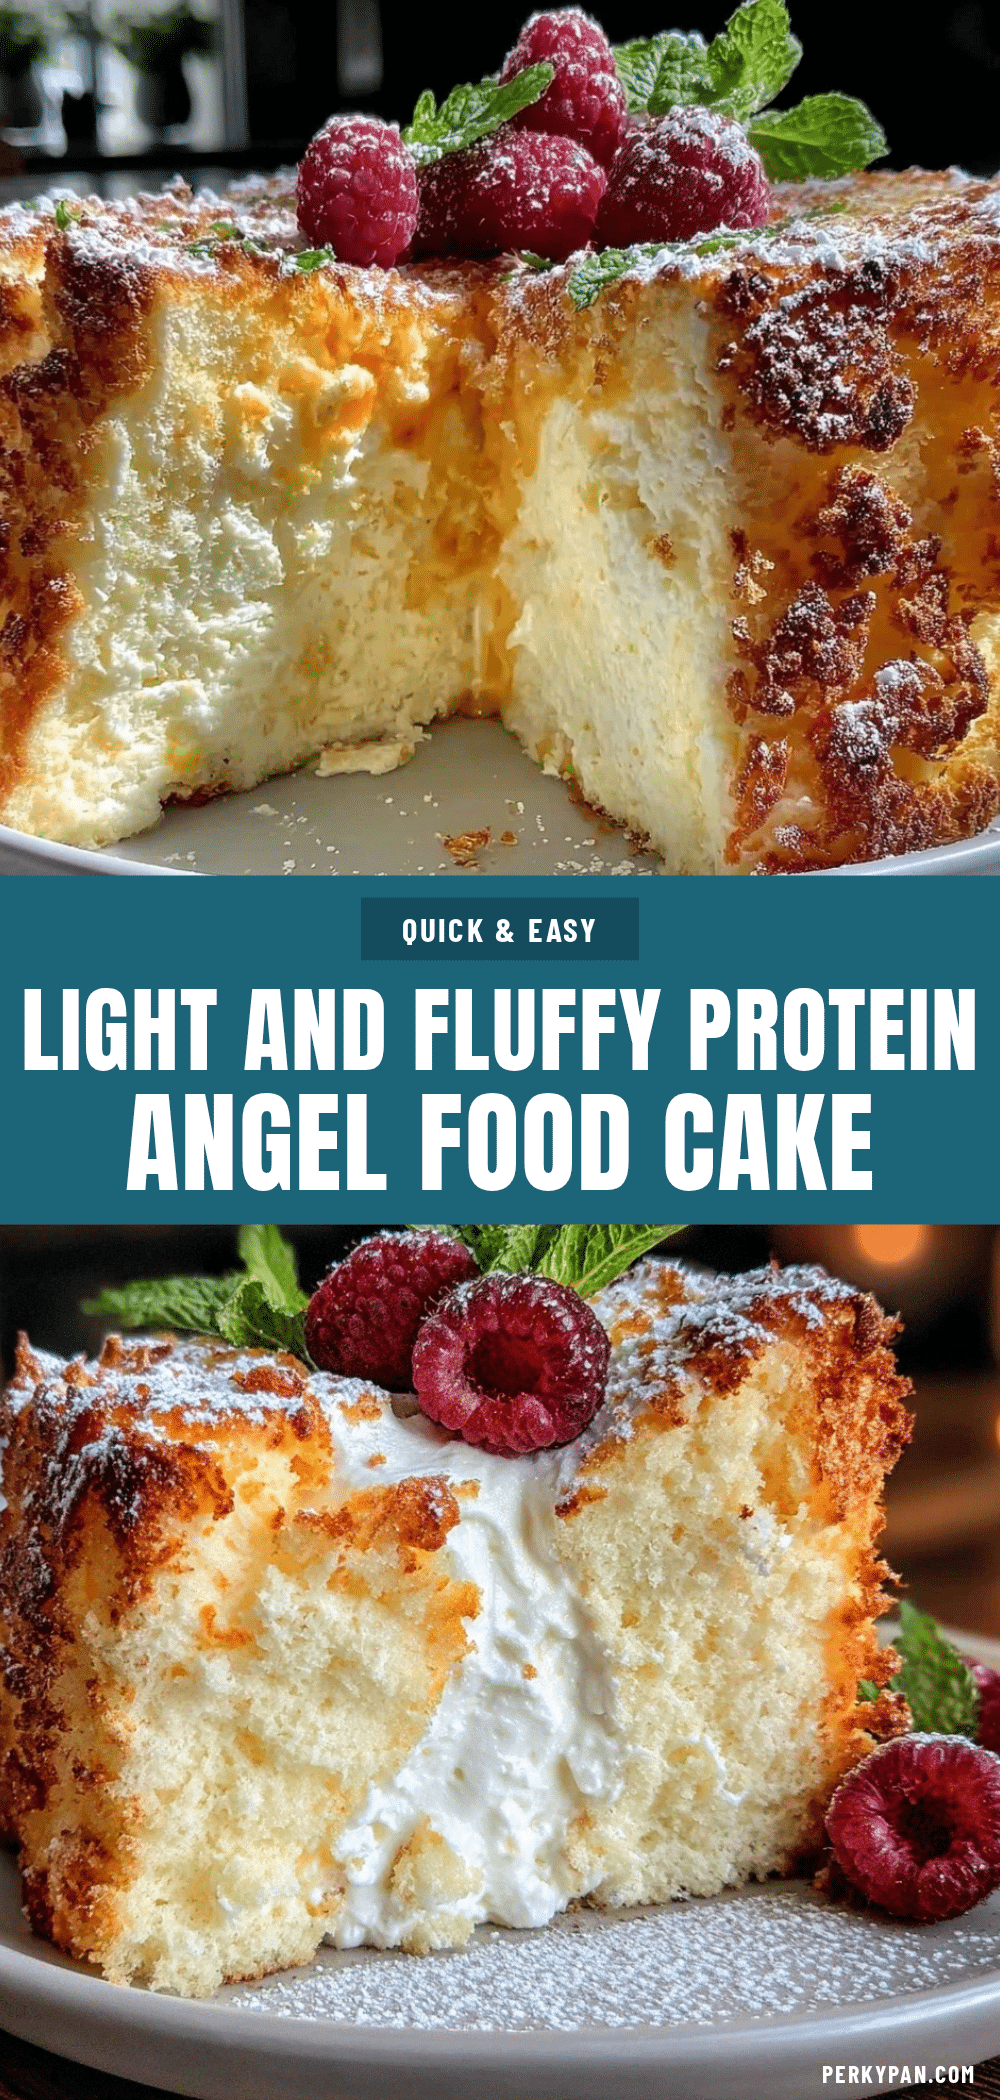
Light Protein-Powered Angel Food Cake

A light, fluffy angel food cake boosted with protein powder for a wholesome, guilt-free treat that’s quick and easy to make.
- Prep Time: 15 minutes
- Cook Time: 35 minutes
- Total Time: 50 minutes
- Yield: 12 servings 1x
- Category: Dessert
- Cuisine: American
Ingredients
- 10 large egg whites, room temperature
- 1/2 cup (50g) vanilla-flavored whey protein powder
- 3/4 cup (90g) cake flour, sifted
- 3/4 cup (150g) granulated sugar, divided
- 1/2 teaspoon cream of tartar
- 1 teaspoon vanilla extract
- Pinch of salt
Instructions
- Preheat your oven to 350°F (175°C). Position the rack in the center.
- Sift together the cake flour, protein powder, and 1/2 cup (100g) of the sugar twice. Set aside.
- In a large, clean bowl, whip the egg whites at medium speed until foamy. Add cream of tartar and salt. Increase speed to high and gradually add the remaining 1/4 cup (50g) sugar. Continue whipping until stiff, glossy peaks form.
- Gently fold the sifted dry ingredients into the egg whites in thirds using a rubber spatula, being careful not to deflate the batter.
- Pour the batter into an ungreased 10-inch angel food cake pan. Level the top gently with the spatula.
- Bake for 30-35 minutes or until the top is golden and springs back when lightly pressed.
- Invert the pan immediately onto a bottle or funnel to cool completely to prevent collapsing.
- Once cooled, loosen the edges with a thin knife and carefully remove the cake from the pan. Serve plain or with fresh fruit and a dollop of yogurt or whipped cream.
Notes
Use clean, grease-free bowls and room temperature egg whites for best volume. Fold dry ingredients gently to avoid deflating the batter. Cool cake upside down to maintain height and texture. For dairy-free, substitute whey protein with pea protein powder. For gluten-free, use gluten-free cake flour blend.
Nutrition
- Serving Size: 1 slice (1/12 of cak
- Calories: 120
- Sugar: 12
- Fat: 0.5
- Carbohydrates: 15
- Protein: 9
Keywords: angel food cake, protein cake, light dessert, healthy dessert, whey protein, low fat cake, fluffy cake, easy cake recipe