Love this? Save it for later!
Share the inspiration with your friends
Introduction
“You know that feeling when you’re craving a Blizzard but the nearest Dairy Queen is miles away?” Well, that was me last Saturday night. I had a sudden hankering for that thick, creamy swirl of vanilla ice cream mixed with chunks of my favorite candy bars, but I didn’t want to drive out in the cold or pay for fast food. So, I figured, why not try to make a creamy copycat Dairy Queen Blizzard recipe right in my own kitchen? The catch? I didn’t have an ice cream machine, and honestly, I wasn’t in the mood for complicated gadgets.
What started as a bit of a kitchen experiment (complete with a minor spill and a dropped spoon) ended up being this unbelievably smooth, rich treat that tasted just like the real deal. I had my doubts at first—can you really get that thick, creamy texture without a machine? But let me tell you, this recipe totally nails it. And the best part? You only need a handful of simple ingredients and a few minutes to whip it up.
Maybe you’ve been there too, staring longingly at the freezer section or reminiscing about summer days with a Blizzard in hand. This recipe stuck with me because it’s just that good and so easy to pull off on a whim. Let me share the secret to making this indulgent dessert without any fancy equipment, so you can enjoy a Dairy Queen experience anytime, anywhere.
Why You’ll Love This Recipe
After testing this creamy copycat Dairy Queen Blizzard recipe multiple times, I can say it’s become a go-to in my kitchen. Honestly, it’s like having a little slice of that fast-food magic at home—without the drive-thru wait or the extra calories from additives.
- Quick & Easy: You can have this Blizzard ready in under 15 minutes—perfect when a sweet craving hits unexpectedly.
- Simple Ingredients: No need for specialty items; most are staples you probably already have in your fridge or pantry.
- Perfect for Any Occasion: Whether it’s a cozy night in or a fun weekend treat, this recipe fits right in.
- Crowd-Pleaser: From kids to adults, everyone loves this creamy, mix-in treat. It’s always a hit at casual get-togethers.
- Unbelievably Delicious: The texture is silky smooth with just the right amount of chunkiness from your favorite candy or cookies.
What makes this recipe different from the rest? Well, it’s all about the technique—folding softened ice cream gently with a touch of heavy cream to recreate that creamy, thick Blizzard texture without melting or watering down the flavor. Plus, you can customize it endlessly, from Oreo chunks to peanut butter cups. I’ve even swapped in dairy-free options for friends who needed them, and it worked beautifully.
Honestly, this Blizzard recipe isn’t just a dessert; it’s a little joy in a bowl that makes you close your eyes and savor every spoonful. Let me tell you, it’s the kind of comfort food that makes you smile, and once you try it, you’ll find yourself making it again and again.
What Ingredients You Will Need
This recipe uses simple, wholesome ingredients to deliver that bold, creamy flavor and satisfying texture without the fuss or need for a machine. Most of these are pantry or freezer staples, and you can easily swap a few for dietary needs.
- Vanilla Ice Cream – about 2 cups (I recommend using a high-quality brand like Häagen-Dazs or Breyers for the best creaminess)
- Heavy Cream – ¼ cup (adds richness and helps soften the ice cream for easy mixing)
- Sweetened Condensed Milk – 2 tablespoons (this boosts sweetness and helps bind the mix-ins)
- Vanilla Extract – 1 teaspoon (for that extra depth of flavor)
- Mix-ins of Choice – ½ to 1 cup, chopped (popular options include crushed Oreos, chopped peanut butter cups, M&M’s, or brownie bits; pick your favorite!)
Optional:
- Use almond or coconut milk whipped cream instead of heavy cream for a dairy-free version.
- If you want a lower sugar option, choose no-sugar-added vanilla ice cream and reduce or omit the condensed milk.
- In summer months, fresh berries or chopped fruit can make refreshing mix-ins instead of candy.
Equipment Needed
Honestly, you won’t need much to make this creamy copycat Dairy Queen Blizzard recipe. Here’s what I usually pull out:
- Mixing Bowl: A large one to give yourself plenty of room for folding the ice cream and mix-ins without making a mess.
- Rubber Spatula or Wooden Spoon: Essential for folding gently and keeping that thick texture intact. I find a silicone spatula works best because it’s flexible.
- Measuring Cups and Spoons: For precise ingredient amounts (you don’t want to mess up the balance!).
- Chopping Board and Knife: To chop your mix-ins into the perfect size—neither too big nor too small.
- Freezer-Safe Container: For storing the Blizzard if you want to save some for later. I use a sturdy, airtight container to avoid ice crystals.
If you don’t have a heavy cream, you can whisk cold milk with a bit of melted butter as a budget-friendly substitute, but the texture won’t be quite the same. Also, I’ve tried using an electric mixer to whip the heavy cream separately—it makes the mix extra fluffy if that’s your vibe.
Preparation Method
- Soften the Ice Cream: Take about 2 cups (roughly 480 ml) of vanilla ice cream out of the freezer and let it sit at room temperature for 5 to 10 minutes. You want it soft enough to stir but not melted. It should feel scoopable but still hold shape.
- Prepare the Mix-ins: While waiting, chop your chosen mix-ins into small chunks (about ½ inch pieces). I usually go for crushed Oreos or peanut butter cups. This step takes about 5 minutes.
- Combine Cream and Condensed Milk: In a separate bowl, whisk together ¼ cup (60 ml) heavy cream, 2 tablespoons (30 ml) sweetened condensed milk, and 1 teaspoon (5 ml) vanilla extract until smooth. This mixture adds creaminess and sweetness to the ice cream base.
- Fold Cream Mixture into Ice Cream: Using a rubber spatula, gently fold the cream mixture into the softened ice cream. Do this slowly to keep the texture thick and creamy, not runny. This should take about 2 minutes.
- Add Mix-ins: Add your chopped mix-ins to the ice cream mixture. Fold them in carefully so they’re evenly distributed without breaking down too much. This is where the magic happens—those little chunks give the Blizzard its signature texture.
- Transfer and Freeze: Spoon the mixture into a freezer-safe container, pressing it down gently to remove air pockets. Cover tightly and freeze for at least 2 hours to firm up. This step is key for that Blizzard-like scoopability.
- Serve: When ready, scoop into bowls or cups. If it’s too hard, let it sit at room temperature for a few minutes to soften slightly. Enjoy immediately for the best creamy experience!
Pro Tip: Don’t rush the folding process. Overmixing can melt your ice cream and make it watery. Also, if your ice cream is too frozen and hard to fold, a quick 2-minute microwave zap at 10% power can help soften it without melting.
Cooking Tips & Techniques
Getting that perfect creamy texture without a machine might sound tricky, but these tips will help you nail it every time:
- Softening Ice Cream: Timing is everything. If it’s too hard, you’ll struggle to fold in ingredients; too soft, and it becomes soupy. Check it every few minutes during softening.
- Gentle Folding: Use a spatula to fold, not stir vigorously. Folding keeps air in and prevents the ice cream from melting.
- Mix-in Size: Keep mix-ins bite-sized but not powdery. Too small and they blend into the ice cream; too big and they’re hard to scoop.
- Freezing Time: Don’t skip the final freeze. It firms up the Blizzard so it holds shape and scoops like the original.
- Multitasking Tip: While the ice cream softens, prep your mix-ins and whip up the cream mixture to save time.
- Common Mistakes: Avoid adding mix-ins to fully frozen ice cream—it’s almost impossible to mix evenly. Also, resist the urge to blend with a mixer; it melts the ice cream too much.
From my own kitchen mishaps, I’ve learned that patience makes all the difference. Last time I tried rushing the softening step, the Blizzard turned into a milkshake—not what I wanted. Taking a little extra time pays off.
Variations & Adaptations
This creamy copycat Dairy Queen Blizzard recipe is super flexible! Here are some ways to tailor it to your taste or dietary needs:
- Dairy-Free Version: Use coconut milk ice cream and coconut cream instead of heavy cream. Sweetened condensed coconut milk works great here.
- Seasonal Twist: Swap candy mix-ins for fresh fruit like strawberries or peaches during summer for a refreshing change.
- Chocolate Lover’s Edition: Use chocolate ice cream as the base and add brownie chunks and chocolate chips for an ultra-rich treat.
- Lower Sugar Option: Choose sugar-free or light ice cream varieties and reduce the condensed milk to 1 tablespoon or omit it altogether.
- Personal Favorite: I once made a peanut butter and jelly Blizzard by mixing peanut butter cups and strawberry preserves into vanilla ice cream—it was a game changer!
Serving & Storage Suggestions
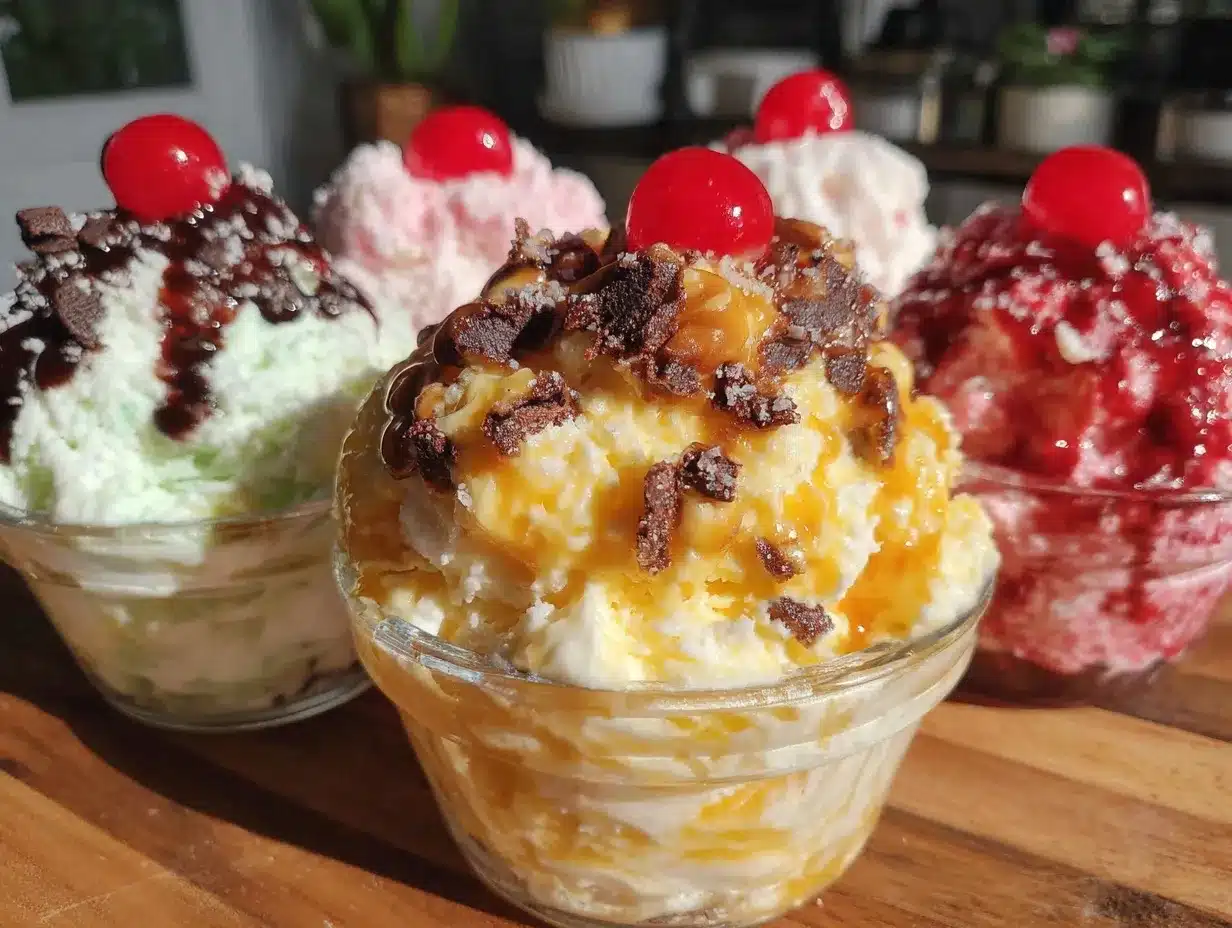
Serve your homemade Blizzard chilled but slightly softened for that perfect scoopable texture. Presentation-wise, a clear glass bowl or a classic sundae cup really shows off those colorful mix-ins.
This dessert pairs wonderfully with a cold glass of milk or a cup of coffee to balance the sweetness. For a fun twist, top it with whipped cream or a drizzle of chocolate syrup.
Store leftovers in an airtight container in the freezer for up to 3 days. When reheating, let it sit at room temperature for 5 to 10 minutes before scooping to regain that creamy consistency. Flavors tend to deepen after a day, so sometimes waiting a bit makes it even better.
Nutritional Information & Benefits
Each serving (about 1 cup or 240 ml) of this creamy copycat Dairy Queen Blizzard contains approximately:
- Calories: 350-450 (depending on mix-ins)
- Fat: 15-20 grams
- Carbohydrates: 40-50 grams
- Protein: 5-7 grams
While this is definitely a treat, using quality ingredients like real cream and whole milk ice cream means you’re enjoying a dessert with fewer artificial additives than many commercial fast-food versions. Plus, you can control the sugar and portion size.
For those watching their diet, swapping in dairy-free or reduced-sugar options still yields a tasty result. Just watch the mix-ins for hidden sugars or allergens like nuts if you have sensitivities.
Conclusion
If you love the creamy, chunky delight of a Dairy Queen Blizzard but don’t have a machine or want to skip the fast food trip, this recipe is your new best friend. It’s easy, quick, and customizable—plus it tastes so close to the original that even skeptics have been fooled.
Give it a try, and don’t be shy about making it your own with different mix-ins or tweaks. I love this recipe because it turns a simple craving into a homemade celebration—and honestly, it’s the little kitchen wins like this that keep me cooking.
Got your own favorite Blizzard twist? Share your thoughts or variations in the comments—I’m always excited to hear how you make it uniquely yours!
FAQs
Can I make this Blizzard recipe without heavy cream?
Yes! You can substitute heavy cream with full-fat coconut milk or a mixture of milk and melted butter. The texture will be slightly different but still delicious.
How long can I store the homemade Blizzard in the freezer?
Store it in an airtight container for up to 3 days. Beyond that, ice crystals may form and affect texture.
Can I use other ice cream flavors besides vanilla?
Absolutely. Chocolate, strawberry, or even coffee ice cream can be great bases depending on your mix-ins.
What’s the best way to chop mix-ins for the Blizzard?
Chop them into small, bite-sized pieces about ½ inch. This size blends well without overpowering the texture.
Is it possible to make this recipe vegan?
Yes! Use dairy-free ice cream, coconut cream, and vegan sweetened condensed milk or a homemade alternative. Choose vegan mix-ins to keep it plant-based.
Pin This Recipe!
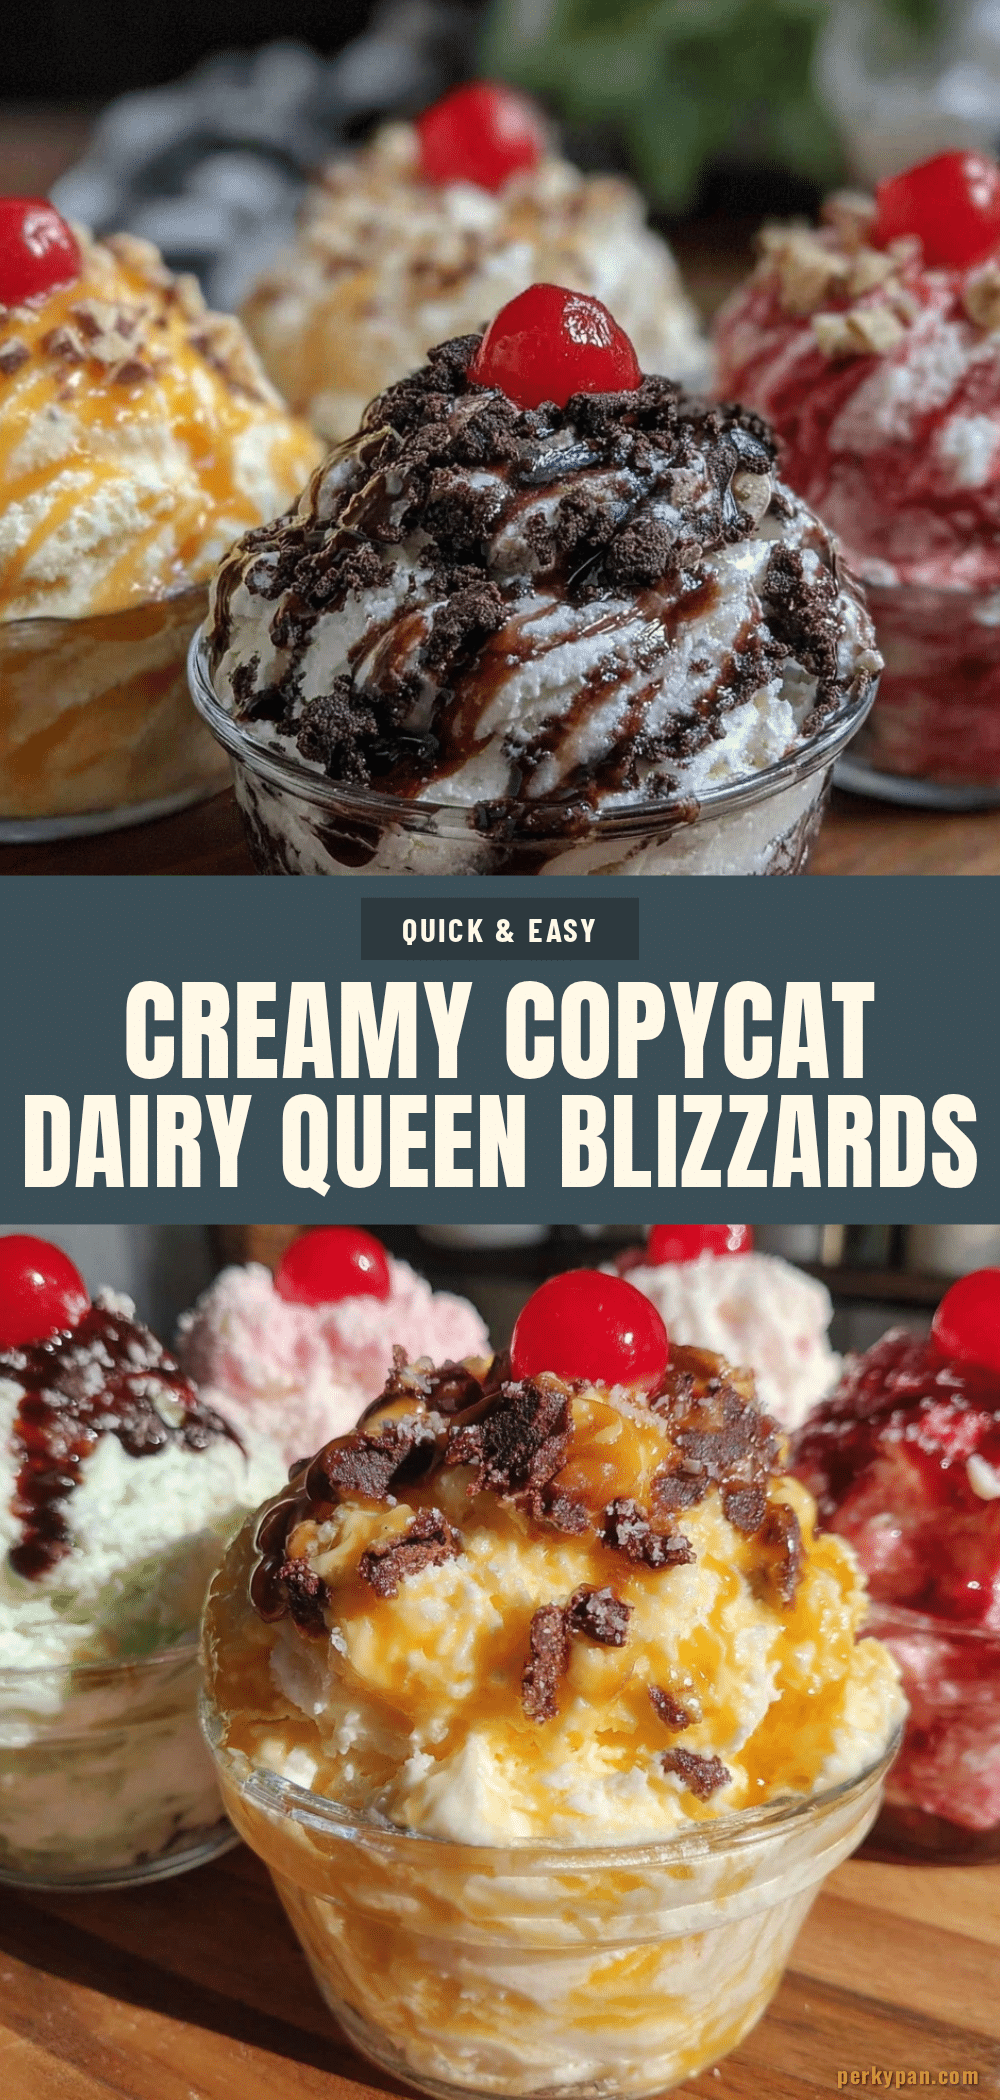
Creamy Copycat Dairy Queen Blizzard Recipe Easy No Machine Needed

A quick and easy homemade version of the classic Dairy Queen Blizzard that requires no ice cream machine, using simple ingredients to achieve a thick, creamy texture with customizable mix-ins.
- Prep Time: 10 minutes
- Cook Time: 2 hours (freezing time)
- Total Time: 2 hours 10 minutes
- Yield: 4 servings 1x
- Category: Dessert
- Cuisine: American
Ingredients
- 2 cups vanilla ice cream (high-quality brand like Häagen-Dazs or Breyers recommended)
- 1/4 cup heavy cream
- 2 tablespoons sweetened condensed milk
- 1 teaspoon vanilla extract
- 1/2 to 1 cup mix-ins of choice, chopped (e.g., crushed Oreos, peanut butter cups, M&M’s, brownie bits)
Instructions
- Soften the ice cream by letting 2 cups sit at room temperature for 5 to 10 minutes until scoopable but still holding shape.
- Chop chosen mix-ins into small chunks about 1/2 inch in size.
- In a separate bowl, whisk together 1/4 cup heavy cream, 2 tablespoons sweetened condensed milk, and 1 teaspoon vanilla extract until smooth.
- Gently fold the cream mixture into the softened ice cream using a rubber spatula, taking about 2 minutes to keep the texture thick and creamy.
- Fold in the chopped mix-ins carefully to distribute evenly without breaking them down too much.
- Transfer the mixture into a freezer-safe container, press down gently to remove air pockets, cover tightly, and freeze for at least 2 hours to firm up.
- Serve chilled but slightly softened for the best creamy experience.
Notes
Do not overmix to avoid melting the ice cream and making it watery. If ice cream is too hard to fold, soften with a 2-minute microwave zap at 10% power. Use bite-sized mix-ins about 1/2 inch for best texture. Store leftovers in an airtight container for up to 3 days. For dairy-free versions, substitute coconut milk ice cream and coconut cream.
Nutrition
- Serving Size: About 1 cup (240 ml)
- Calories: 350450
- Fat: 1520
- Carbohydrates: 4050
- Protein: 57
Keywords: Dairy Queen Blizzard, copycat recipe, no machine ice cream, homemade Blizzard, easy dessert, creamy ice cream, mix-ins, quick dessert