Love this? Save it for later!
Share the inspiration with your friends
This was supposed to be a layered banana pudding. The kind with the glass dish and the pretty rows of vanilla wafers peeking through the custard. I’d even bought the fancy organic bananas, the ones that were perfectly spotty and sweet. But somewhere between the third phone call from my daughter’s school and realizing I was out of cold milk for the pudding mix, the whole plan fell apart. I grabbed the cream cheese instead of the pudding powder, the springform pan instead of the trifle dish, and I was already ten minutes late for a work deadline. What came out of the oven was nothing like the plan — and honestly, so much better.
I remember staring at the pan, thinking, “Well, this is a mess.” The crust was too thick, the filling was lumpy because I hadn’t let the cream cheese soften properly, and I’d forgotten to crush the wafers evenly. But I slid it into the fridge anyway, mostly out of stubbornness. The next morning, bleary-eyed and reaching for coffee, I cut myself a sliver. That first bite was this unexpected moment of quiet. The tangy, light cheesecake, the soft banana, that little crunch of wafer — it all worked. It wasn’t the layered dessert I’d planned, but it was something I wanted to make again. Maybe you’ve been there, staring at a kitchen fail that turns into a win. These lighter banana pudding cheesecake bars are that win.
Why You’ll Love This Recipe
Let me tell you why this one is different. I’ve tested this recipe six times to get the balance right — creamy without being heavy, sweet without the sugar crash. It’s the kind of dessert that makes you feel like you’re cheating, but you’re really not.
- Quick & Easy: Comes together in under 30 minutes of active prep. The hardest part is waiting for it to chill.
- Simple Ingredients: No fancy grocery trips needed. You likely already have cream cheese, bananas, and vanilla wafers in your kitchen.
- Perfect for Potlucks: Great for summer barbecues, Easter brunch, or just a Tuesday night treat. It travels well and slices cleanly.
- Crowd-Pleaser: Always gets rave reviews from kids and adults alike. I’ve seen people go back for thirds.
- Unbelievably Delicious: The texture is next-level comfort food — creamy, crunchy, and soft all at once.
What makes this recipe different from the rest? It’s the trick of using reduced-fat cream cheese and a touch of Greek yogurt to keep things light without losing that rich, tangy cheesecake flavor. This isn’t just another version — it’s your best version. It’s comfort food reimagined, healthier, faster, but with the same soul-soothing satisfaction. Perfect for impressing guests without stress, or turning a simple meal into something memorable.
What Ingredients You Will Need
This lighter banana pudding cheesecake bars recipe uses simple, wholesome ingredients to deliver bold flavor and satisfying texture without the fuss. Most of these are pantry staples, so you’re probably already set.
For the Vanilla Wafer Crust
- 2 cups vanilla wafer crumbs (about 40 wafers, crushed finely)
- 3 tablespoons unsalted butter, melted (I use Kerrygold for the best flavor)
- 1 tablespoon granulated sugar (optional, for a sweeter crust)
- Pinch of salt
For the Cheesecake Filling
- 16 ounces reduced-fat cream cheese, softened (Neufchâtel works beautifully here)
- 1/2 cup granulated sugar
- 1/4 cup plain Greek yogurt (adds tang and lightness)
- 2 large eggs, room temperature
- 1 teaspoon vanilla extract
- 1/2 cup mashed ripe bananas (about 1 large banana)
- 1 tablespoon all-purpose flour (helps stabilize the filling)
For the Banana Topping
- 2 ripe bananas, sliced thinly (use firm bananas so they don’t turn to mush)
- 1 tablespoon lemon juice (prevents browning)
- 1 tablespoon honey or maple syrup
For the Whipped Topping (Optional)
- 1/2 cup heavy cream, cold
- 1 tablespoon powdered sugar
- 1/2 teaspoon vanilla extract
- Crushed vanilla wafers for garnish
Ingredient Tips: Look for cream cheese that is at room temperature — this is non-negotiable for a smooth filling. If you’re in a hurry, cut it into cubes and let it sit for 20 minutes. For the bananas, use ones that are ripe but still firm, not mushy. I’ve found that Chobani plain Greek yogurt gives the best texture without being too tart. If you need a dairy-free option, swap the cream cheese with a vegan alternative and use coconut cream instead of heavy cream.
Equipment Needed
You don’t need a fancy kitchen for these lighter banana pudding cheesecake bars. Here’s what you’ll need:
- 9×9-inch baking pan — An 8×8 works too, but the bars will be slightly thicker. Line it with parchment paper for easy removal.
- Food processor or ziplock bag — For crushing the vanilla wafers. I’ve used both, and the food processor is faster, but a rolling pin over a bag works just fine.
- Electric mixer — Handheld or stand mixer. You can mix by hand, but your arm will get tired, and the texture might not be as smooth.
- Mixing bowls — At least two medium bowls.
- Spatula — For scraping every last bit of filling.
- Sharp knife — For clean slices. Run it under hot water between cuts.
Budget-Friendly Tip: If you don’t have a food processor, place the wafers in a sturdy ziplock bag and crush them with a rolling pin or even a heavy can. It’s a little messy, but it gets the job done. For the mixer, a simple hand mixer from any grocery store will work perfectly.
Preparation Method
Let’s walk through this step by step. I’ve made this recipe enough times to know where things can go sideways, so I’ll warn you ahead of time.
- Preheat and Prep: Preheat your oven to 325°F (160°C). Line your 9×9-inch pan with parchment paper, leaving some overhang on two sides. This makes lifting the bars out so much easier later.
- Make the Crust: In a food processor, pulse the vanilla wafers until they become fine crumbs. You should have about 2 cups. Transfer to a bowl, add the melted butter, sugar, and salt, and stir until the crumbs are evenly moistened. Press the mixture firmly into the bottom of the prepared pan. Use the bottom of a glass to really pack it down. Bake for 8 minutes, then set aside to cool slightly.
- Soften the Cream Cheese: While the crust cools, let your cream cheese sit out if you haven’t already. I’ve made the mistake of using cold cream cheese before, and the filling turned out lumpy. Trust me on this — room temperature is key.
- Make the Filling: In a large bowl, beat the softened cream cheese and sugar together until smooth and creamy, about 2 minutes. Scrape down the sides. Add the Greek yogurt, vanilla extract, and eggs one at a time, mixing on low speed after each addition. Don’t overmix — you don’t want to incorporate too much air, which can cause cracks.
- Add the Banana: Gently fold in the mashed banana and flour until just combined. The flour helps the filling set without sinking. The mixture will be slightly thick but pourable.
- Assemble: Pour the cheesecake filling over the pre-baked crust. Spread it evenly with a spatula. Arrange the sliced bananas on top in a single layer, pressing them gently into the filling. Drizzle with the lemon juice and honey mixture to keep them from browning.
- Bake: Place the pan in the oven and bake for 35-40 minutes, or until the edges are set and the center is slightly jiggly — like a firm Jell-O. It will continue to set as it cools. If the top starts browning too quickly, tent it with foil halfway through.
- Cool Completely: Let the bars cool on a wire rack for 1 hour. Then transfer to the refrigerator and chill for at least 4 hours, preferably overnight. This is the hardest part, I know, but it’s essential for clean slices.
- Make the Whipped Topping: Just before serving, whip the cold heavy cream, powdered sugar, and vanilla extract together until stiff peaks form. Spread or pipe over the chilled bars.
- Slice and Serve: Use the parchment overhang to lift the bars out of the pan. Slice into 9 or 16 squares, depending on how generous you’re feeling. Garnish with crushed vanilla wafers.
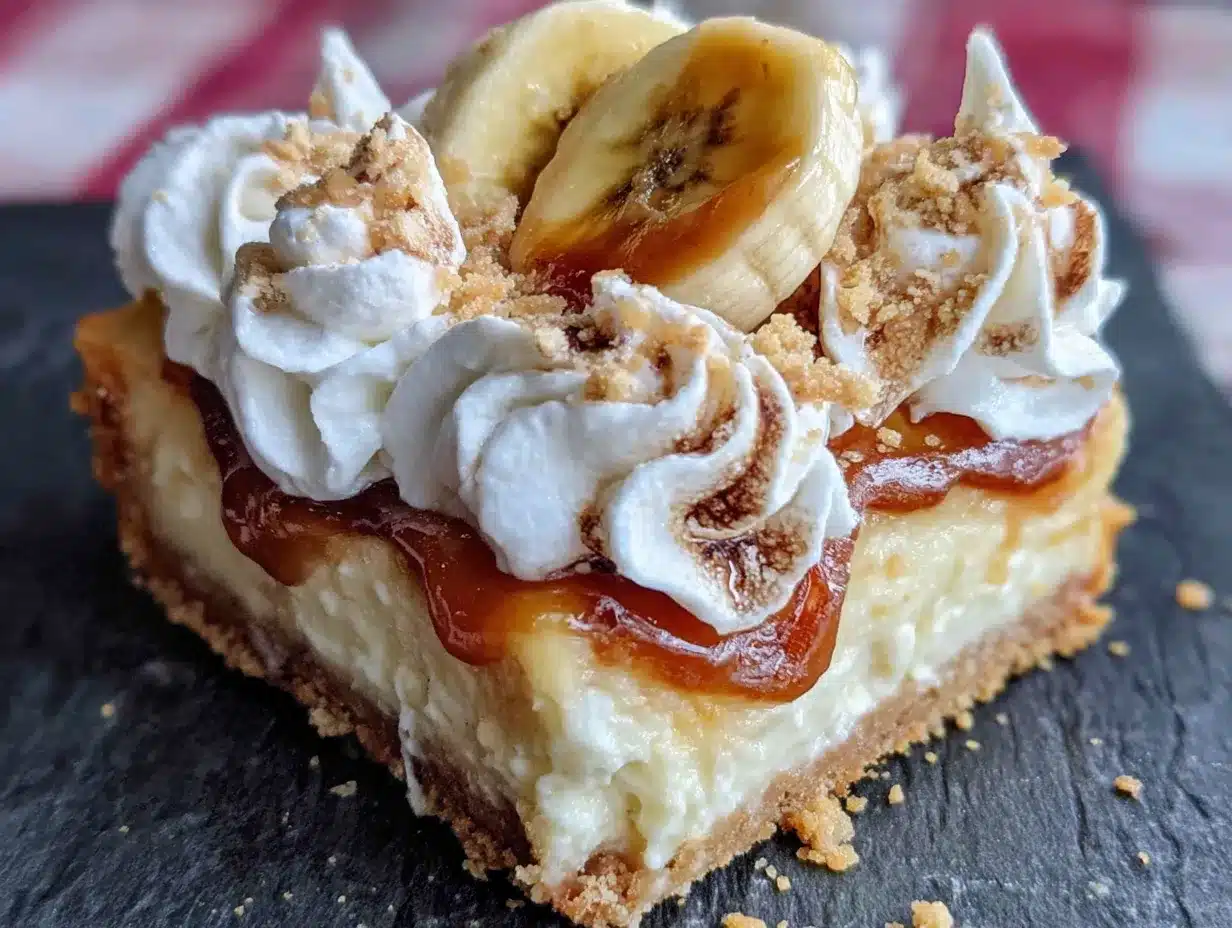
Sensory Cue: When the filling is ready, it should smell sweet and tangy, with a hint of banana. The crust should feel firm but not hard when you press it. The finished bars should look creamy and pale yellow, with darker banana slices peeking through.
Cooking Tips & Techniques
I’ve learned a few things the hard way so you don’t have to. Here are my best tips for perfect lighter banana pudding cheesecake bars every time.
- Don’t overmix the filling. I once beat the filling for too long, and the bars puffed up like a soufflé, then collapsed into a sad, cracked mess. Mix just until everything is combined.
- Use a water bath if you’re nervous. Place the baking pan inside a larger pan and pour hot water halfway up the sides. This gentle heat prevents cracks. I skip it most of the time, but it’s a foolproof trick for beginners.
- Chill overnight. The texture improves dramatically after 8 hours in the fridge. The flavors meld, the crust softens slightly, and the bars become incredibly creamy. I’ve tried cutting them after 2 hours, and it was a sticky disaster.
- Banana timing matters. Add the sliced bananas just before baking, not earlier, or they’ll oxidize and turn brown. The lemon juice helps, but it’s not a miracle worker.
- Room temperature ingredients. I cannot stress this enough. Cold eggs and cream cheese will give you a lumpy filling. Set everything out 30 minutes before you start.
Variations & Adaptations
This recipe is surprisingly flexible. Here are a few ways to change it up based on what you have on hand or who you’re feeding.
- Gluten-Free Version: Use gluten-free vanilla wafers or crushed gluten-free graham crackers for the crust. The filling is naturally gluten-free if you use a cornstarch substitute instead of flour.
- Vegan Option: Swap the cream cheese with a vegan cream cheese alternative (like Tofutti), use coconut cream instead of heavy cream, and replace eggs with a flax egg (1 tablespoon flaxseed meal + 3 tablespoons water per egg). The texture will be slightly softer but still delicious.
- Chocolate Twist: Add 1/4 cup cocoa powder to the crust mixture, or drizzle melted dark chocolate over the finished bars. I tried this once for a birthday party, and it was a hit.
- Berry Swirl: Swirl 1/4 cup strawberry or raspberry jam into the cheesecake filling before baking. It adds a lovely tartness that balances the banana.
- No-Bake Version: Skip the oven entirely. Use a no-bake cheesecake filling (cream cheese, sugar, and stabilized whipped cream) and press the crust into the pan without baking. Chill for 6 hours. The texture is lighter, more like a mousse.
Personal Variation: I once made these with crushed ginger snaps instead of vanilla wafers, and the spicy-sweet combination was incredible. It’s not for everyone, but if you like gingerbread, give it a try.
Serving & Storage Suggestions
These lighter banana pudding cheesecake bars are best served cold, straight from the fridge. The contrast between the creamy filling and the slightly crunchy crust is perfect. For a prettier presentation, let them sit at room temperature for 5 minutes before slicing — it makes the edges cleaner.
What to Serve With: A dollop of fresh whipped cream and a sprinkle of crushed wafers is all you need. For a drink, a cold glass of milk or a hot cup of coffee pairs beautifully. If you’re feeling fancy, drizzle with caramel sauce or serve with fresh berries on the side.
Storage: Store leftover bars in an airtight container in the refrigerator for up to 5 days. The crust will soften slightly over time, but the flavor gets even better. I’ve kept them for a week, and they were still good — though the bananas darkened a bit.
Freezing: These bars freeze beautifully. Wrap individual slices tightly in plastic wrap, then place them in a freezer-safe bag. They’ll keep for up to 3 months. Thaw in the refrigerator overnight before serving. Don’t add the whipped topping until after thawing.
Reheating: I don’t recommend reheating these bars. They’re meant to be eaten cold. If you want a warm dessert, try baking them for 10 minutes at 300°F, but the texture will be different.
Nutritional Information & Benefits
Here’s the breakdown per bar (based on 16 servings):
| Nutrient | Amount |
|---|---|
| Calories | 210 |
| Total Fat | 12g |
| Saturated Fat | 7g |
| Cholesterol | 55mg |
| Sodium | 180mg |
| Total Carbohydrates | 22g |
| Dietary Fiber | 1g |
| Sugars | 14g |
| Protein | 5g |
Health Benefits: Bananas are rich in potassium and vitamin B6, which support heart health and energy levels. Greek yogurt adds protein and probiotics for gut health. By using reduced-fat cream cheese and less sugar than traditional cheesecake, these bars are a lighter option that doesn’t sacrifice flavor. They’re also lower in calories than most banana pudding desserts, making them a smart choice for health-minded readers who still want something indulgent.
Dietary Considerations: This recipe is vegetarian. For a gluten-free version, use gluten-free wafers. For a lower-sugar option, reduce the sugar to 1/3 cup and use a sugar substitute like monk fruit. Always check labels for allergens if serving to others.
Personal Wellness Perspective: I love that I can serve these bars at a party without feeling guilty about eating two. They satisfy that sweet craving without the heavy, overly sugary feeling. It’s dessert you can feel good about.
Conclusion
These lighter banana pudding cheesecake bars are proof that kitchen accidents can lead to the best discoveries. What started as a failed layered dessert turned into a recipe I now make on repeat. The creamy, tangy filling, the sweet banana, and that crunchy vanilla wafer crust — it’s a combination that just works.
I hope you give them a try and make them your own. Maybe you’ll add a chocolate swirl, or swap in gluten-free wafers, or just enjoy them exactly as written. Whatever you do, let me know how it goes. Drop a comment below, share a photo, or tell me about your own kitchen happy accident. I’d love to hear from you.
Happy baking, friends. You’ve got this.
Frequently Asked Questions
Can I use low-fat cream cheese?
Yes, you can use low-fat cream cheese, but the filling will be slightly less rich. I recommend using Neufchâtel (reduced-fat) cream cheese for the best balance of flavor and texture. Avoid fat-free cream cheese, as it can make the filling grainy.
How do I prevent the bananas from browning?
Toss the sliced bananas in a mixture of lemon juice and honey (or maple syrup) before placing them on top of the filling. This acid helps slow down oxidation. Also, press the bananas gently into the filling so they’re mostly covered.
Can I make these bars ahead of time?
Absolutely! These bars actually taste better the next day. Prepare them up to 2 days in advance, keep them covered in the refrigerator, and add the whipped topping just before serving. They’re perfect for party prep.
Why did my cheesecake filling crack?
Cracks usually happen from overmixing the filling (too much air) or overbaking. Bake just until the edges are set and the center is still slightly jiggly. Let the bars cool slowly in the oven with the door cracked open for 30 minutes to prevent sudden temperature changes.
Can I use a different type of cookie for the crust?
Yes! Graham crackers, shortbread cookies, or even ginger snaps work well. If you use a sweeter cookie, you can reduce or omit the added sugar in the crust. For a gluten-free option, use gluten-free vanilla wafers or gluten-free graham crackers.
Pin This Recipe!
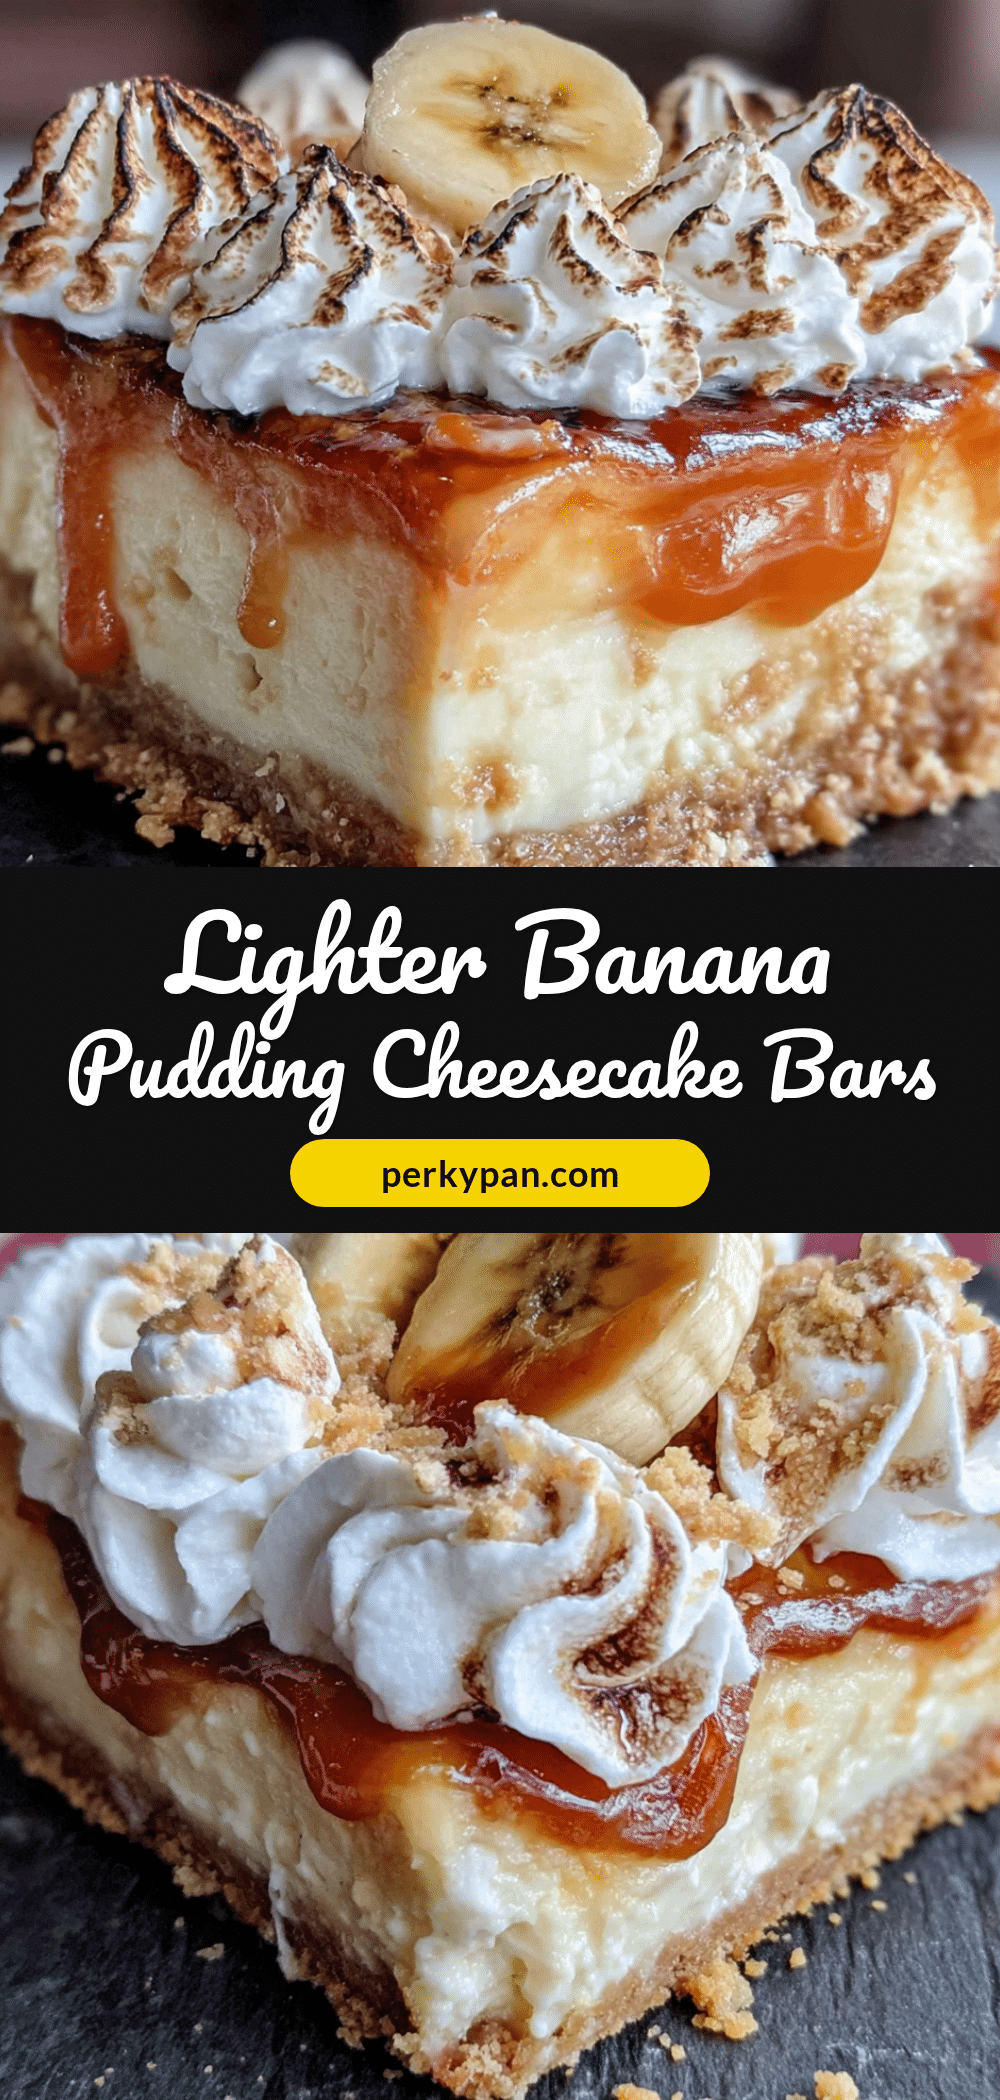
Lighter Banana Pudding Cheesecake Bars
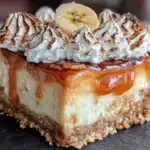
These lighter banana pudding cheesecake bars are a happy accident turned into a winning recipe. Creamy, tangy cheesecake filling with sweet banana and a crunchy vanilla wafer crust, all lightened up with reduced-fat cream cheese and Greek yogurt.
- Prep Time: 30 minutes
- Cook Time: 40 minutes
- Total Time: 5 hours 10 minutes (includes chilling time)
- Yield: 16 servings 1x
- Category: Dessert
- Cuisine: American
Ingredients
- 2 cups vanilla wafer crumbs (about 40 wafers, crushed finely)
- 3 tablespoons unsalted butter, melted
- 1 tablespoon granulated sugar (optional)
- Pinch of salt
- 16 ounces reduced-fat cream cheese, softened (Neufchâtel works beautifully)
- 1/2 cup granulated sugar
- 1/4 cup plain Greek yogurt
- 2 large eggs, room temperature
- 1 teaspoon vanilla extract
- 1/2 cup mashed ripe bananas (about 1 large banana)
- 1 tablespoon all-purpose flour
- 2 ripe bananas, sliced thinly
- 1 tablespoon lemon juice
- 1 tablespoon honey or maple syrup
- 1/2 cup heavy cream, cold
- 1 tablespoon powdered sugar
- 1/2 teaspoon vanilla extract
- Crushed vanilla wafers for garnish
Instructions
- Preheat your oven to 325°F (160°C). Line your 9×9-inch pan with parchment paper, leaving some overhang on two sides.
- In a food processor, pulse the vanilla wafers until they become fine crumbs. Transfer to a bowl, add the melted butter, sugar, and salt, and stir until the crumbs are evenly moistened. Press the mixture firmly into the bottom of the prepared pan. Bake for 8 minutes, then set aside to cool slightly.
- While the crust cools, let your cream cheese sit out to reach room temperature.
- In a large bowl, beat the softened cream cheese and sugar together until smooth and creamy, about 2 minutes. Scrape down the sides. Add the Greek yogurt, vanilla extract, and eggs one at a time, mixing on low speed after each addition. Do not overmix.
- Gently fold in the mashed banana and flour until just combined.
- Pour the cheesecake filling over the pre-baked crust. Spread it evenly with a spatula. Arrange the sliced bananas on top in a single layer, pressing them gently into the filling. Drizzle with the lemon juice and honey mixture.
- Bake for 35-40 minutes, or until the edges are set and the center is slightly jiggly. If the top starts browning too quickly, tent it with foil halfway through.
- Let the bars cool on a wire rack for 1 hour. Then transfer to the refrigerator and chill for at least 4 hours, preferably overnight.
- Just before serving, whip the cold heavy cream, powdered sugar, and vanilla extract together until stiff peaks form. Spread or pipe over the chilled bars.
- Use the parchment overhang to lift the bars out of the pan. Slice into 9 or 16 squares. Garnish with crushed vanilla wafers.
Notes
Use room temperature cream cheese for a smooth filling. Chill overnight for best texture. For a water bath, place the baking pan inside a larger pan and pour hot water halfway up the sides to prevent cracks. Add sliced bananas just before baking to prevent browning.
Nutrition
- Serving Size: 1 bar
- Calories: 210
- Sugar: 14
- Sodium: 180
- Fat: 12
- Saturated Fat: 7
- Carbohydrates: 22
- Fiber: 1
- Protein: 5
Keywords: banana pudding cheesecake bars, lighter cheesecake, banana dessert, vanilla wafer crust, reduced-fat cheesecake, easy dessert recipe