Love this? Save it for later!
Share the inspiration with your friends
My neighbor Lucia asked me why I couldn’t just use whole wheat flour in the Pan de Muerto. She was helping me shape the little bone-shaped pieces, her hands dusted with flour, and she looked at me like I was overcomplicating things. I started to explain why that wouldn’t work—the texture would be too dense, the crumb too heavy, the whole thing would lose its soul. Then I stopped. Honestly, I had no good reason other than “that’s how it’s always done.”
So I tried it. The next batch, I swapped half the all-purpose flour for white whole wheat and cut the sugar by a third. I braced myself for failure, maybe even a little disaster. But when those golden rounds came out of the oven, perfumed with orange and anise, they were somehow even better. The crumb was tender, the flavor had this nutty warmth that the traditional version never had, and Lucia just smiled like she knew all along. Which, let’s face it, she probably did.
That moment changed how I think about this bread. Pan de Muerto has always been about honoring those who’ve passed, about keeping traditions alive. But maybe traditions can breathe a little, too. Maybe they can welcome a swap that makes them feel more like something you’d actually want to eat on a regular Tuesday, not just on November 1st. This version—with its orange blossom glaze and its whole wheat backbone—has become my favorite. It’s the one I make when I want to feel connected to something bigger, but also when I just want a really good piece of bread with my morning coffee. Maybe you’ve been there, wanting to honor tradition without feeling like you’re eating a museum piece. This one’s for you.
Why You’ll Love This Recipe
This isn’t just another Pan de Muerto recipe. It’s the one I’ve tested six times to get the balance exactly right—tender enough to pull apart, sturdy enough to hold its shape, and just sweet enough to feel like a treat without tipping into sugar overload. Here’s why it works:
- Healthier Without Sacrifice: White whole wheat flour adds fiber and nutrients, but you’d never guess from the pillowy texture. The orange blossom glaze feels indulgent, but it uses less sugar than traditional versions.
- Simple Ingredients, Big Flavor: No weird additives or hard-to-find specialty flours. If you’ve got flour, butter, eggs, and an orange, you’re basically there. The orange blossom water is worth tracking down, but even that’s optional in a pinch.
- Perfect for Dia de los Muertos or Any Day: Obviously it’s the star of the ofrenda, but honestly? I make this for brunch, for afternoon tea, for when friends come over and I want the house to smell incredible.
- Crowd-Pleaser Across Generations: Kids love the glossy glaze and the soft crumb. Adults appreciate the nuanced floral notes. Even my tía, who’s been making Pan de Muerto for forty years, asked for this recipe.
- Unbelievably Satisfying: The first bite hits you with warm orange and a hint of anise. Then the glaze gives that little crackle. Then you realize you’re eating something that feels both sacred and totally approachable. It’s the kind of bread that makes you close your eyes after the first bite.
What makes this different from every other recipe out there is the technique. Instead of relying on heavy butter and sugar for flavor, we’re blooming the orange zest in warm milk and letting the whole wheat flour develop its nutty character overnight. It’s not just another version—it’s my best version, the one that finally made Lucia say “see, I told you.”
What Ingredients You Will Need
This recipe uses simple, wholesome ingredients that work together to create something truly special. Most of these are pantry staples, and the ones that aren’t are worth the small investment for the depth they add. Here’s what you’ll need:
For the Dough
- 3 ½ cups (440g) white whole wheat flour — I prefer King Arthur Flour for its consistent protein content. White whole wheat gives you the nutrition of whole wheat with a lighter texture than regular whole wheat.
- ½ cup (100g) granulated sugar — This is less than traditional recipes call for. The glaze adds sweetness, so the dough itself doesn’t need to be overly sweet.
- 1 packet (2 ¼ tsp) active dry yeast — SAF Instant Yeast is my go-to. If using active dry, proof it first in warm milk with a pinch of sugar.
- ½ cup (120ml) whole milk, warmed — Warm to about 110°F. Too hot kills the yeast; too cool and it won’t activate properly.
- 3 large eggs, room temperature — Room temperature eggs incorporate more evenly into the dough. If you forgot to pull them out, place them in warm water for 5 minutes.
- ¼ cup (60g) unsalted butter, softened — European-style butter like Plugrà has higher fat content, which makes for a richer crumb.
- Zest of 2 large oranges — Use a microplane for the finest zest. Avoid the white pith—it’s bitter.
- 1 tsp vanilla extract — Pure vanilla, not imitation. It makes a difference here since the flavor is so delicate.
- 1 tsp anise seed, lightly crushed — This is traditional and gives that distinctive Pan de Muerto aroma. Crush it gently with a mortar and pestle or the bottom of a skillet.
- ½ tsp salt — Fine sea salt dissolves more evenly than kosher salt in dough.
For the Orange Blossom Glaze
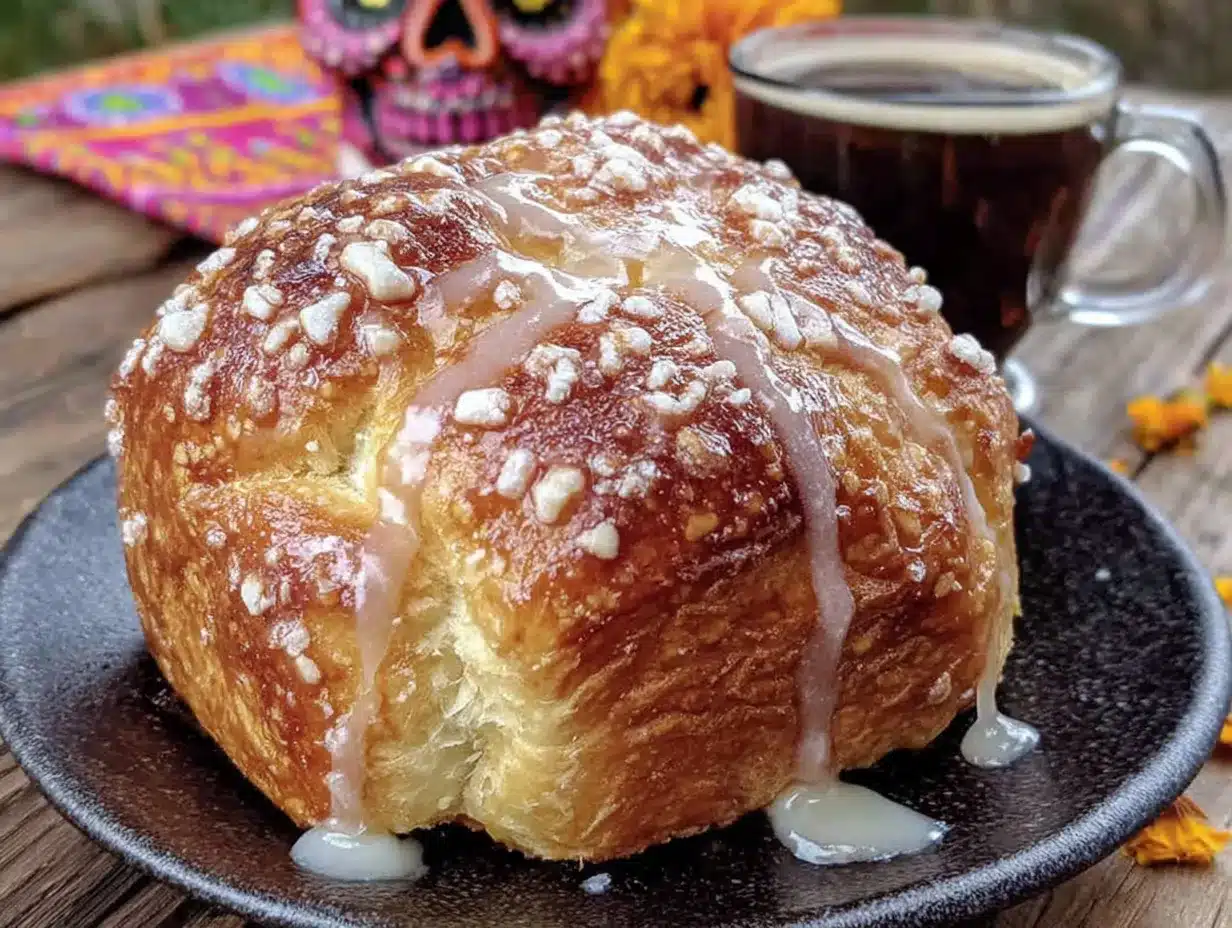
- 1 ½ cups (180g) powdered sugar — Sift it first to avoid lumps in your glaze.
- 2-3 tbsp orange blossom water — Look for this in Middle Eastern markets or the international aisle. Nielsen-Massey makes a good one. You can substitute fresh orange juice, but you’ll lose the floral notes.
- 1 tbsp fresh orange juice — Fresh-squeezed only. The bottled stuff has preservatives that affect the texture.
- Zest of 1 orange, for garnish
For the Topping
- 2 tbsp unsalted butter, melted — For brushing the baked bread before glazing.
- 2 tbsp granulated sugar mixed with 1 tsp orange zest — This creates a fragrant sugar topping that adds texture and flavor.
Equipment Needed
You don’t need a professional bakery setup for this, but a few specific tools make the process smoother:
- Stand mixer with dough hook — This dough is sticky and benefits from machine kneading. A KitchenAid Artisan works beautifully. If you’re kneading by hand, expect about 12-15 minutes of work.
- Large mixing bowl — Glass or ceramic works best. Avoid metal if you’re proofing in the same bowl—metal can react with the dough and affect flavor.
- Microplane or fine zester — Essential for getting that delicate orange zest without the bitter pith.
- Baking sheet — A half-sheet pan with a silicone baking mat or parchment paper. I’ve ruined a batch by using a dark pan that burned the bottom—stick with light-colored aluminum.
- Instant-read thermometer — Not strictly necessary, but it takes the guesswork out of proofing temperatures. The Thermapen is pricey but worth it if you bake often.
- Pastry brush — For applying the butter and glaze. A silicone brush is easier to clean than natural bristles.
- Cooling rack — Letting the bread cool completely before glazing prevents the glaze from melting into a sticky mess.
Budget-friendly tip: You can knead by hand and use a regular whisk instead of a stand mixer. The dough will still turn out beautifully—it just takes a little more elbow grease.
Preparation Method
This bread takes time, but most of it is hands-off. Plan for about 3 hours total, including rising and baking. The active work is maybe 30 minutes.
- Bloom the yeast (5 minutes): In the bowl of your stand mixer, combine the warm milk with 1 tablespoon of the sugar. Sprinkle the yeast over the top and let it sit for 5 minutes until foamy. If it doesn’t foam, your milk was too hot or your yeast is dead. Start over—trust me, it’s worth it.
- Build the dough (10 minutes): Add the remaining sugar, eggs, softened butter, orange zest, vanilla, crushed anise seed, and salt. Mix on low with the paddle attachment until combined. Switch to the dough hook and add the flour one cup at a time, mixing on low until a shaggy dough forms.
- Knead (8-10 minutes): Increase speed to medium-low and knead until the dough is smooth and elastic. It should pull away from the sides of the bowl but still feel slightly tacky. If it’s too sticky, add flour one tablespoon at a time. If it’s too dry, add milk one teaspoon at a time. The dough should pass the windowpane test—stretch a small piece thin enough to see light through without tearing.
- First rise (1-1.5 hours): Shape the dough into a ball and place it in a lightly oiled bowl, turning to coat. Cover with plastic wrap or a damp kitchen towel. Let it rise in a warm spot (75-80°F is ideal) until doubled in size. My trick: I turn my oven on to 170°F for exactly 2 minutes, then turn it off and place the bowl inside with the door slightly ajar. Perfect proofing environment.
- Shape the loaves (15 minutes): Punch down the dough and divide it into two equal pieces. Set one piece aside. Divide the other piece into three parts: one large piece (about 60% of the dough) for the base, and two smaller pieces for the bone decorations. Shape the large piece into a smooth round and place it on your prepared baking sheet. Roll the smaller pieces into ropes about 8 inches long, then cut each rope into 2-inch pieces. Roll each piece into a small ball, then shape into elongated “bones” by rolling the ends thinner than the middle. Arrange these on top of the round in a cross pattern. Repeat with the second piece of dough.
- Second rise (45 minutes): Cover the shaped loaves loosely with plastic wrap and let them rise until puffy and nearly doubled. They should feel light and airy when gently pressed.
- Bake (25-30 minutes): Preheat your oven to 350°F. Bake the loaves for 25-30 minutes, rotating the pan halfway through. The bread should be deep golden brown and sound hollow when tapped on the bottom. Internal temperature should reach 190°F if you’re using a thermometer.
- Glaze and finish (10 minutes): Let the loaves cool on the pan for 5 minutes, then transfer to a cooling rack. While still warm, brush the tops with melted butter. In a small bowl, whisk together the powdered sugar, orange blossom water, and fresh orange juice until smooth. The glaze should be thick but pourable—add more orange blossom water if needed. Drizzle the glaze over the warm loaves, letting it cascade down the sides. Sprinkle with the orange-scented sugar and extra zest.
Cooking Tips & Techniques
I’ve made this bread probably twenty times now, and I’ve learned some things the hard way. Let me save you from my mistakes:
Don’t skip the anise seed. I know it seems weird, and I tried making this without it once because I was out. The bread was fine, but it didn’t taste like Pan de Muerto. That subtle licorice note is what makes this bread distinct from any other sweet roll. Crush it gently—you want little flecks, not powder.
The glaze timing matters. If you glaze the bread when it’s too hot, the glaze melts into a puddle and you lose that beautiful white sheen. If you wait until it’s completely cool, the glaze sits on top like a shell and doesn’t absorb at all. The sweet spot is when the bread is warm to the touch but not hot—about 10 minutes after it comes out of the oven.
Overproofing is real. I once let my dough rise for an extra hour because I got distracted folding laundry. The bread came out flat and dense, with a yeasty flavor that overpowered everything else. Set a timer. Respect the timer. Your bread will thank you.
Multitask strategically. While the dough is doing its first rise, make the orange-scented sugar and zest your oranges. While the second rise happens, mix the glaze and set up your cooling rack. This bread rewards a little advance planning.
Temperature control is everything. If your kitchen is cold, your dough will take forever to rise. If it’s hot and humid, it might overproof quickly. Learn to read your dough, not just the clock. A properly proofed loaf should hold a fingerprint when gently poked and spring back slowly.
Variations & Adaptations
This recipe is flexible, and I’ve tried several variations that turned out surprisingly well:
- Gluten-Free Version: Substitute the white whole wheat flour with a 1:1 gluten-free baking flour blend that contains xanthan gum. Cup4Cup works well here. The texture will be slightly more cake-like, but the flavor is still lovely. Add an extra tablespoon of milk since gluten-free flours absorb more liquid.
- Vegan Adaptation: Use plant-based butter (Miyoko’s is my favorite) and substitute each egg with a flax egg (1 tablespoon ground flaxseed mixed with 3 tablespoons water, let sit for 5 minutes). The bread will be a bit denser, but the orange blossom glaze makes up for it.
- Seasonal Twist: In the fall, add ½ teaspoon of pumpkin pie spice to the dough along with the anise. In spring, swap the orange zest for lemon zest and use lemon juice in the glaze instead of orange. Both versions are lovely and feel right for the season.
- Lower Sugar Option: Reduce the sugar in the dough to ⅓ cup and skip the glaze entirely. Brush the baked loaves with melted butter and sprinkle with a mixture of cinnamon and a touch of sugar. It’s still sweet enough for breakfast but won’t spike your blood sugar.
- Chocolate Orange Version: Add ¼ cup of cocoa powder to the flour mixture and fold in ½ cup of dark chocolate chips after kneading. The orange blossom glaze pairs beautifully with chocolate. My niece requests this version for her birthday every year.
Serving & Storage Suggestions
This bread is best served the day it’s made, when the glaze is still glossy and the crumb is pillowy soft. That said, it keeps remarkably well if you store it properly.
Serving: Serve at room temperature or slightly warm. If you’re reheating, wrap individual slices in foil and warm in a 300°F oven for 5-7 minutes. The glaze will re-set as it cools. This bread is perfect with a cup of strong coffee or Mexican hot chocolate. For Dia de los Muertos, I arrange the loaves on a platter with marigolds and photos of loved ones. It’s a small gesture, but it makes the moment feel sacred.
Storage: Store the bread in an airtight container at room temperature for up to 3 days. Do not refrigerate—the cold air will dry it out and make the crumb stale. If you need to keep it longer, wrap it tightly in plastic wrap, then foil, and freeze for up to 2 months. Thaw at room temperature with the wrapping still on to prevent condensation from making the glaze sticky.
Reheating from frozen: Remove the wrapping and place the loaf on a baking sheet in a 300°F oven for 10-15 minutes. The glaze might lose some of its shine, but the bread will taste freshly baked. I’ve done this for unexpected guests and they never knew it wasn’t made that morning.
Flavor development: Interestingly, the anise and orange flavors deepen after a day. Some people prefer this bread on day two, when the flavors have had time to meld. If you’re making it for a special occasion, baking it a day ahead is actually a smart move.
Nutritional Information & Benefits
This version of Pan de Muerto is noticeably lighter than traditional recipes, thanks to the whole wheat flour and reduced sugar. Here’s the breakdown per serving (1/8 of a loaf):
- Calories: 285
- Total Fat: 9g
- Saturated Fat: 5g
- Carbohydrates: 45g
- Fiber: 4g
- Sugar: 18g
- Protein: 7g
The white whole wheat flour provides more fiber than all-purpose flour, which helps with digestion and keeps you feeling fuller longer. Oranges are packed with vitamin C and antioxidants, and the anise seed has been used traditionally to aid digestion. The orange blossom water is more about flavor than nutrition, but honestly, the joy it brings has its own benefits. This bread fits into a balanced diet—it’s a treat, but a treat made with intention and better ingredients.
Conclusion
This Wholesome Pan de Muerto with Orange Blossom Glaze has become more than just a recipe in my kitchen. It’s a reminder that tradition doesn’t have to be rigid, that sometimes the best version of something comes from listening to the person who questions why we do things a certain way. Lucia was right—whole wheat flour works beautifully here, and I’m grateful she pushed me to try it.
I hope you’ll make this bread for your own celebrations, whether that’s Dia de los Muertos or just a Tuesday that needs a little sweetness. Customize it however feels right to you—swap the citrus, adjust the spices, make it your own. That’s what tradition really is, anyway. It’s not about doing things exactly the same way forever. It’s about keeping the spirit alive while letting the details breathe.
If you make this, I’d love to hear about it. Leave a comment below and tell me how it turned out, or share a photo of your ofrenda with this bread on it. There’s something special about knowing this recipe is being shared around tables everywhere. Happy baking, and may your kitchen smell like oranges and flowers and love.
Frequently Asked Questions
Can I make this bread without a stand mixer?
Absolutely. You can knead this dough by hand on a lightly floured surface for about 12-15 minutes. It’s a bit of a workout, but the rhythm of kneading can be meditative. Just make sure you’re developing enough gluten—the dough should be smooth and elastic when you’re done.
Where can I find orange blossom water?
Most well-stocked grocery stores carry it in the international or baking aisle. Middle Eastern markets almost always have it, and you can also find it online. If you can’t find it, substitute with fresh orange juice mixed with a drop of orange extract for a similar effect.
Can I freeze the dough instead of the baked bread?
Yes! After the first rise, punch down the dough, shape it into a ball, wrap it tightly in plastic wrap, and freeze for up to 3 months. When you’re ready to bake, thaw it in the refrigerator overnight, then let it come to room temperature before shaping and doing the second rise.
Why did my bread turn out dense?
Several things could cause density: under-kneading (not enough gluten development), over-proofing (the yeast ran out of food and the structure collapsed), or using too much whole wheat flour without enough liquid. Next time, make sure your dough passes the windowpane test and don’t let it over-rise.
Can I use all-purpose flour instead of whole wheat?
You can, but you’ll lose the nutty flavor and nutritional benefits. If you want a middle ground, use half all-purpose and half white whole wheat. That combination still gives you a lighter texture while keeping some of the whole grain goodness.
Pin This Recipe!
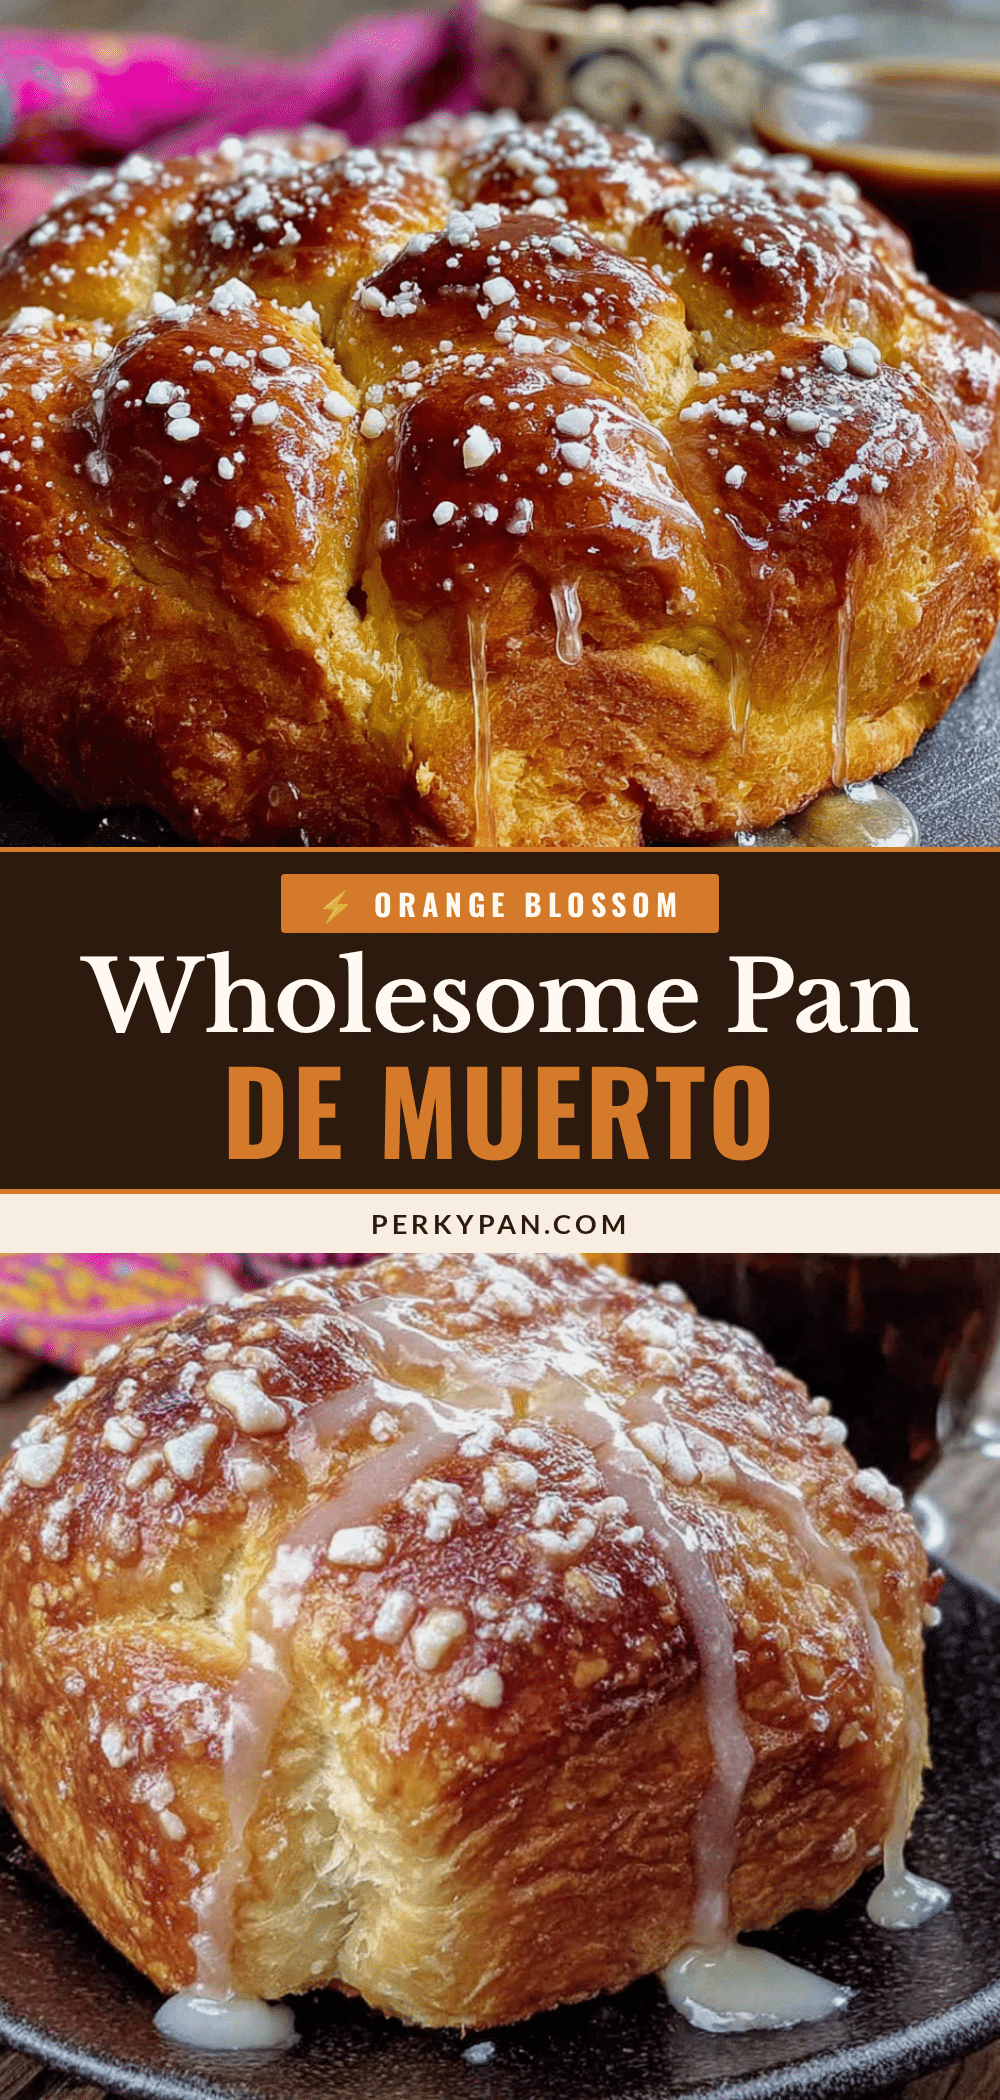
Wholesome Pan de Muerto with Orange Blossom Glaze
A healthier take on the traditional Mexican Day of the Dead bread, made with white whole wheat flour and a fragrant orange blossom glaze. This tender, aromatic loaf honors tradition while being approachable enough for any day.
- Prep Time: 30 minutes
- Cook Time: 25-30 minutes
- Total Time: 3 hours
- Yield: 8 servings 1x
- Category: Bread
- Cuisine: Mexican
Ingredients
- 3 ½ cups (440g) white whole wheat flour
- ½ cup (100g) granulated sugar
- 1 packet (2 ¼ tsp) active dry yeast
- ½ cup (120ml) whole milk, warmed
- 3 large eggs, room temperature
- ¼ cup (60g) unsalted butter, softened
- Zest of 2 large oranges
- 1 tsp vanilla extract
- 1 tsp anise seed, lightly crushed
- ½ tsp salt
- 1 ½ cups (180g) powdered sugar
- 2–3 tbsp orange blossom water
- 1 tbsp fresh orange juice
- Zest of 1 orange, for garnish
- 2 tbsp unsalted butter, melted
- 2 tbsp granulated sugar mixed with 1 tsp orange zest
Instructions
- Bloom the yeast: In the bowl of your stand mixer, combine the warm milk with 1 tablespoon of the sugar. Sprinkle the yeast over the top and let it sit for 5 minutes until foamy.
- Build the dough: Add the remaining sugar, eggs, softened butter, orange zest, vanilla, crushed anise seed, and salt. Mix on low with the paddle attachment until combined. Switch to the dough hook and add the flour one cup at a time, mixing on low until a shaggy dough forms.
- Knead: Increase speed to medium-low and knead until the dough is smooth and elastic, about 8-10 minutes. It should pull away from the sides of the bowl but still feel slightly tacky. The dough should pass the windowpane test.
- First rise: Shape the dough into a ball and place it in a lightly oiled bowl, turning to coat. Cover with plastic wrap or a damp kitchen towel. Let it rise in a warm spot (75-80°F) until doubled in size, about 1-1.5 hours.
- Shape the loaves: Punch down the dough and divide it into two equal pieces. Set one piece aside. Divide the other piece into three parts: one large piece (about 60% of the dough) for the base, and two smaller pieces for the bone decorations. Shape the large piece into a smooth round and place it on your prepared baking sheet. Roll the smaller pieces into ropes about 8 inches long, then cut each rope into 2-inch pieces. Roll each piece into a small ball, then shape into elongated ‘bones’ by rolli…
- Second rise: Cover the shaped loaves loosely with plastic wrap and let them rise until puffy and nearly doubled, about 45 minutes.
- Bake: Preheat your oven to 350°F. Bake the loaves for 25-30 minutes, rotating the pan halfway through. The bread should be deep golden brown and sound hollow when tapped on the bottom. Internal temperature should reach 190°F.
- Glaze and finish: Let the loaves cool on the pan for 5 minutes, then transfer to a cooling rack. While still warm, brush the tops with melted butter. In a small bowl, whisk together the powdered sugar, orange blossom water, and fresh orange juice until smooth. Drizzle the glaze over the warm loaves. Sprinkle with the orange-scented sugar and extra zest.
Notes
Don’t skip the anise seed—it gives the bread its distinctive flavor. Glaze when the bread is warm to the touch (about 10 minutes after baking) for best results. Overproofing can cause the bread to become flat and dense. The dough can be frozen after the first rise for up to 3 months.
Nutrition
- Serving Size: 1/8 of a loaf
- Calories: 285
- Sugar: 18
- Fat: 9
- Saturated Fat: 5
- Carbohydrates: 45
- Fiber: 4
- Protein: 7
Keywords: Pan de Muerto, Day of the Dead bread, orange blossom glaze, whole wheat bread, Mexican sweet bread, Dia de los Muertos recipe


