Love this? Save it for later!
Share the inspiration with your friends
My friend Jenna asked me why I couldn’t just use a whole can of pumpkin instead of measuring out a partial cup. I started to explain why that would ruin the cookies—then stopped. I honestly had no good reason. I’d just always followed the recipe as written, like a rule I’d never thought to question. So, with a shrug, I dumped the entire 15-ounce can into the mixer bowl. The batter looked worryingly loose, and I was already mentally composing an “I told you so” text. But I baked them anyway, figuring we’d have a good laugh over flat, gummy discs.
They came out of the oven perfectly puffed, with a faint crackle on top. The kitchen smelled like autumn in a bottle—cinnamon, nutmeg, and that earthy sweetness of pumpkin. I let one cool just long enough to not burn my tongue, and that first bite had this unexpected, pillowy softness that went on for days. They were the best version of these cookies I’d ever made. The texture was almost cloud-like, and the pumpkin flavor was more pronounced, cozy without being overwhelming. Jenna just raised an eyebrow and took another one. That’s the thing about learning to cook—sometimes the best lessons come from being wrong.
I’ve made these Soft Pumpkin Chocolate Chip Cookies dozens of times since then, and I always use the whole can now. Maybe you’ve been there too, following a recipe so closely you forget to ask if it actually makes sense. That’s the spirit behind this recipe—it’s forgiving, it’s flexible, and it’s built for real life. Let me show you how to make these perfectly chewy, soft-baked cookies that taste like a hug on a crisp fall day.
Why You’ll Love This Recipe
Let me be honest with you—I’ve tested more pumpkin cookie recipes than I can count, and most of them are a letdown. They’re either too cakey (like a sad muffin top) or they turn into soggy pucks overnight. This one is different. After about a dozen batches in my own kitchen, tweaking the flour ratio and the butter temperature, I landed on a version that actually stays soft and chewy for days. It’s not just another pumpkin cookie—it’s the one I keep coming back to.
- Quick & Easy: From start to finish, you’re looking at about 25 minutes. No chilling required, which means you can have warm cookies in under half an hour.
- Simple Ingredients: You probably have everything in your pantry right now. Butter, sugar, flour, eggs, pumpkin puree, chocolate chips—nothing fancy.
- Perfect for Fall Baking: Great for Halloween parties, Thanksgiving dessert tables, or just a cozy Sunday afternoon with a cup of coffee.
- Crowd-Pleaser: Kids love the chocolate chips, adults love the warm spice flavor, and everyone loves how soft they are. I’ve brought these to four different gatherings and never brought a single one home.
- Unbelievably Delicious: The texture is the real star here—soft in the middle, slightly chewy at the edges, with melty pockets of chocolate in every bite. It’s the kind of cookie that makes you close your eyes after the first bite.
What makes this recipe different from the rest? It’s the technique. I use melted butter instead of creaming it with sugar, which keeps the cookies tender instead of fluffy. And that whole-can trick I mentioned? It adds just enough moisture to create that soft, almost fudgy interior without making the cookies spread into a mess. This isn’t just another version of pumpkin chocolate chip cookies—it’s my best version, tested and approved by a very critical taste-testing panel (my family).
What Ingredients You Will Need
This recipe uses simple, wholesome ingredients to create cookies with a soft, chewy texture and warm fall flavor. Most of these are pantry staples, which makes this an easy last-minute baking project when the craving hits.
For the Cookies
- All-purpose flour – 2 cups (240g). Spoon and level it into your measuring cup for accuracy. Too much flour makes dry cookies.
- Baking soda – 1 teaspoon. This helps the cookies spread just enough and gives them a soft center.
- Baking powder – 1/2 teaspoon. Adds a little lift so they’re not dense.
- Salt – 1/2 teaspoon. Balances the sweetness and enhances the pumpkin flavor.
- Ground cinnamon – 1 1/2 teaspoons. The backbone of the spice blend.
- Ground nutmeg – 1/2 teaspoon. Freshly grated if you have it—it makes a difference.
- Ground ginger – 1/4 teaspoon. Adds a subtle warmth that plays well with pumpkin.
- Ground cloves – 1/8 teaspoon. Just a pinch for depth.
- Unsalted butter – 1/2 cup (113g), melted and slightly cooled. I use Kerrygold for its rich flavor, but any good unsalted butter works.
- Light brown sugar – 1 cup (200g), packed. This is key for moisture and that chewy texture. Dark brown sugar works too but makes a deeper, more molasses-forward cookie.
- Granulated sugar – 1/4 cup (50g). Adds a little structure and helps with browning.
- Large egg – 1, at room temperature. If you forgot to take it out of the fridge, place it in a bowl of warm water for 5 minutes.
- Vanilla extract – 1 teaspoon. Pure vanilla, not imitation, for the best flavor.
- Pumpkin puree – 1 (15-ounce) can. Not pumpkin pie filling—make sure you grab the 100% pure pumpkin. I recommend Libby’s for consistent texture and flavor.
- Semi-sweet chocolate chips – 1 1/2 cups (270g). I prefer Guittard or Ghirardelli for their smooth melt and balanced sweetness. Dark chocolate chips work beautifully too.
Ingredient Selection Tips
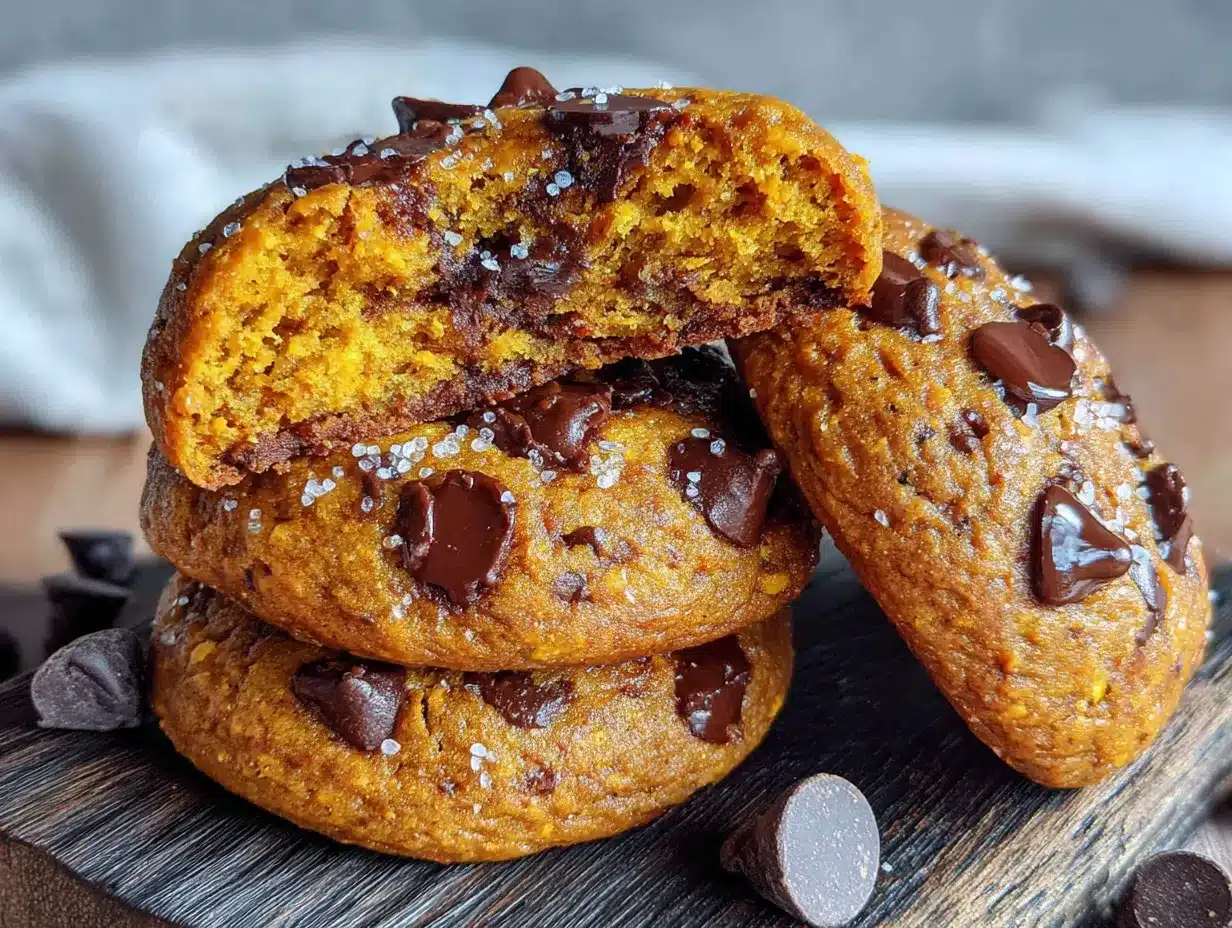
Look for pumpkin puree that’s thick and not watery. If your pumpkin puree looks a little loose, blot it with a paper towel before adding it to the batter. For the chocolate chips, I like to use a mix of regular-sized and mini chips—the minis distribute more evenly, while the big ones give you those glorious melty pockets. And please, don’t skip the salt. It’s not just for flavor—it actually helps balance the moisture in the pumpkin so the cookies hold their shape.
Equipment Needed
- Large mixing bowl – For combining dry ingredients.
- Medium mixing bowl – For the wet ingredients.
- Whisk – For blending the dry ingredients together.
- Rubber spatula or wooden spoon – For folding the chocolate chips into the batter.
- Hand mixer or stand mixer – Optional, but helpful for creaming the butter and sugars. I typically just use a whisk and a strong arm.
- Baking sheets – Two standard half-sheet pans. I use Nordic Ware aluminum sheets—they heat evenly and don’t warp.
- Parchment paper or silicone baking mats – Lining the sheets prevents sticking and helps with even browning. Silpat mats are great, but parchment is cheaper and works just as well.
- Cookie scoop – A 1.5-tablespoon scoop makes uniform cookies. If you don’t have one, use two spoons to drop rounded mounds.
- Cooling rack – Lets air circulate so the bottoms don’t get soggy.
If you don’t have a cookie scoop, don’t worry. I’ve used a soup spoon in a pinch, and the cookies still turned out great. Just try to make them roughly the same size so they bake evenly. And if you’re using dark-colored baking sheets, reduce the oven temperature by 25°F—they absorb more heat and can brown the bottoms too quickly.
Preparation Method
- Preheat your oven to 350°F (175°C). Line two baking sheets with parchment paper or silicone baking mats. This is non-negotiable—the cookies will stick to an unlined pan.
- Whisk the dry ingredients together. In a large bowl, combine the flour, baking soda, baking powder, salt, cinnamon, nutmeg, ginger, and cloves. Whisk until evenly blended. This takes about 30 seconds. Set aside.
- Mix the wet ingredients. In a medium bowl, whisk together the melted butter (make sure it’s not hot—just warm to the touch), brown sugar, and granulated sugar until smooth. The mixture should look like wet sand. Add the egg and vanilla extract, and whisk vigorously for about 1 minute until the mixture lightens slightly and becomes glossy.
- Add the pumpkin puree. Pour the entire can of pumpkin puree into the wet mixture. Whisk until fully combined. The batter will look very wet and almost like a thick cake batter at this point. Don’t panic—this is exactly what you want.
- Combine wet and dry ingredients. Pour the wet mixture into the bowl with the dry ingredients. Use a rubber spatula to fold everything together gently. Stir just until no streaks of flour remain. Overmixing will make the cookies tough. The batter will be soft and sticky—that’s the secret to the chewy texture.
- Fold in the chocolate chips. Add the chocolate chips and fold them in with a few gentle strokes. Reserve a handful to press onto the tops of the cookies after scooping—it makes them look bakery-worthy.
- Scoop the cookies. Using a 1.5-tablespoon cookie scoop, drop rounded mounds of dough onto the prepared baking sheets, spacing them about 2 inches apart. The dough will be soft, so don’t try to roll it into balls—just scoop and drop. Press a few extra chocolate chips onto the tops of each mound.
- Bake for 10-12 minutes. Bake one sheet at a time on the center rack. The cookies are done when the edges are set and lightly golden, but the centers still look soft and slightly underdone. They will continue to set as they cool. If you overbake them, they’ll lose that soft, chewy texture.
- Cool on the baking sheet. Let the cookies rest on the hot baking sheet for 5 minutes. This allows them to finish setting up without drying out. After 5 minutes, transfer them to a wire rack to cool completely. If you try to move them too soon, they’ll fall apart.
- Repeat with remaining dough. If you’re reusing the same baking sheet, let it cool completely before scooping the next batch. A hot pan will cause the dough to spread too much.
Pro tip: The dough is sticky, so lightly wet your hands or the cookie scoop between scoops to prevent sticking. And if you’re in a hurry, you can bake both sheets at once by rotating them halfway through—just know the cookies might spread a little more.
Cooking Tips & Techniques
I learned the hard way that pumpkin cookies are finicky. My first batch ever spread into one giant cookie pancake. Here’s what I’ve figured out since then.
Don’t skip blotting if your pumpkin looks watery. Some brands of pumpkin puree are thinner than others. If you see liquid pooling on top of the puree after opening the can, spoon it off or blot it with a paper towel. Too much moisture makes the cookies spread flat and turn gummy.
Use melted butter, not softened. This is the biggest game-changer for soft cookies. Melted butter coats the flour proteins differently than creamed butter, which results in a more tender, chewy texture. Just make sure it’s cooled slightly—hot butter will cook the egg.
Measure your flour correctly. I can’t stress this enough. Scooping flour directly with the measuring cup packs it down and adds extra flour, which makes dry, dense cookies. Instead, fluff the flour with a spoon, then spoon it into the measuring cup and level it off with a knife. Or better yet, use a kitchen scale.
Let the dough rest if you have time. While this recipe doesn’t require chilling, letting the dough sit in the fridge for 30 minutes deepens the flavors and makes the cookies slightly chewier. I’ve done both ways, and both are delicious—chilling just adds a little extra oomph.
Watch the bake time closely. The difference between a perfectly soft cookie and a dry one is about 90 seconds. Start checking at 10 minutes. The edges should be set, but the center should still look slightly underbaked and puffy. They’ll deflate a little as they cool, creating that soft, dense center.
I once forgot to add the baking powder and ended up with flat, dense cookies that tasted okay but looked sad. Now I always double-check my leavening agents before starting. It’s a small step that saves a whole batch.
Variations & Adaptations
One of the best things about this recipe is how adaptable it is. I’ve played around with it more times than I can count, and here are my favorite variations.
Gluten-Free Version
Swap the all-purpose flour with a 1:1 gluten-free baking flour blend that contains xanthan gum. I’ve tested this with King Arthur Measure for Measure and Bob’s Red Mill 1-to-1, and both worked perfectly. The cookies are slightly more delicate, so let them cool on the baking sheet for a full 7 minutes before moving them.
Dairy-Free Adaptation
Use vegan butter sticks (like Miyoko’s or Earth Balance) in place of regular butter. Make sure your chocolate chips are dairy-free—Enjoy Life and Pascha make excellent options. The texture is nearly identical, though the cookies might spread a tiny bit more.
Spice It Up
If you love a bolder spice profile, add 1/2 teaspoon of cardamom and a pinch of black pepper to the dry ingredients. The pepper sounds weird, I know, but it adds a subtle warmth that makes the pumpkin flavor pop. I tried this on a whim last Thanksgiving and it was a hit.
White Chocolate & Cranberry
Swap the semi-sweet chocolate chips for 1 cup of white chocolate chips and 1/2 cup of dried cranberries. The tartness of the cranberries cuts through the sweetness beautifully. This version tastes like a pumpkin scone in cookie form.
Nutty Twist
Fold in 1/2 cup of toasted pecans or walnuts along with the chocolate chips. Toast them in a dry pan over medium heat for 3-4 minutes until fragrant, then chop them roughly. The crunch adds a lovely contrast to the soft cookie.
Serving & Storage Suggestions
These cookies are best served slightly warm, when the chocolate chips are still melty and the texture is at its softest. I like to pop one in the microwave for about 10 seconds if it’s been sitting out for a while. They’re perfect with a cold glass of milk, a hot cup of chai, or a cozy pumpkin spice latte.
For a pretty presentation, arrange them on a wooden board or a white platter and dust them with a little powdered sugar or flaky sea salt. The salt sounds unusual, but it balances the sweetness and makes the pumpkin flavor sing. I serve them at fall gatherings alongside a bowl of cinnamon-spiced nuts and some apple cider.
Storage: Keep the cookies in an airtight container at room temperature for up to 4 days. Place a slice of bread in the container—it absorbs excess moisture and keeps the cookies soft. Replace the bread slice every other day. I learned this trick from my grandmother, and it works like magic.
Freezing: These cookies freeze beautifully. Place them in a single layer on a baking sheet and freeze until solid, then transfer to a freezer-safe bag or container. They’ll keep for up to 3 months. To thaw, let them sit at room temperature for about 30 minutes, or microwave for 15 seconds.
Make-Ahead Dough: You can scoop the dough into balls and freeze them on a baking sheet. Once frozen, transfer the dough balls to a freezer bag. Bake directly from frozen, adding 2-3 minutes to the bake time. This is my go-to for unexpected guests or late-night cookie cravings.
The flavor actually improves after a day or two. The spices meld together, and the pumpkin flavor becomes more rounded. I often make a double batch on purpose just so I can enjoy them on day three, when they’re at their peak.
Nutritional Information & Benefits
Here’s the approximate nutritional breakdown for one cookie (based on 24 cookies per batch):
| Nutrient | Amount |
|---|---|
| Calories | 175 |
| Total Fat | 8g |
| Saturated Fat | 5g |
| Cholesterol | 20mg |
| Sodium | 115mg |
| Total Carbohydrates | 25g |
| Dietary Fiber | 1g |
| Sugars | 16g |
| Protein | 2g |
Pumpkin is packed with vitamin A in the form of beta-carotene, which supports eye health and immune function. It’s also a good source of fiber, which helps with digestion and keeps you feeling full. The cinnamon in this recipe has anti-inflammatory properties, and dark chocolate is rich in antioxidants. So while these are definitely a treat, they have a few redeeming qualities too.
If you’re watching your sugar intake, you can reduce the brown sugar to 3/4 cup and use dark chocolate chips (which have less sugar than milk chocolate). The cookies will be slightly less sweet but still deliciously soft and flavorful.
Conclusion
These Soft Pumpkin Chocolate Chip Cookies are everything I want in a fall dessert—warm, spiced, perfectly chewy, and loaded with melty chocolate. They come together in under 30 minutes with simple ingredients you probably already have, and they never fail to get compliments. Whether you’re baking for a holiday party, a cozy night in, or just because the weather turned crisp, these cookies deliver every time.
I hope you give them a try and make them your own. Maybe you’ll add extra cinnamon, swap in dark chocolate, or throw in some toasted pecans. That’s the beauty of a good recipe—it’s a starting point, not a rulebook. Let me know in the comments how yours turned out, or tag me in your photos if you share them online. I love seeing your creations almost as much as I love eating these cookies.
Happy baking, friend. You’ve got this.
Frequently Asked Questions
Why are my pumpkin cookies so flat?
Flat cookies usually mean too much moisture or not enough flour. Make sure you’re using pure pumpkin puree (not pumpkin pie filling) and blot it if it looks watery. Also, double-check your flour measurement—spoon and level it for accuracy.
Can I use pumpkin pie spice instead of individual spices?
Absolutely. Substitute 2 teaspoons of pumpkin pie spice for the cinnamon, nutmeg, ginger, and cloves. The flavor will be slightly different (pumpkin pie spice often includes allspice), but it’s a convenient swap that works well.
Do I have to use the whole can of pumpkin?
You don’t have to, but I strongly recommend it. Using the whole can gives the cookies a softer, more tender texture and a richer pumpkin flavor. If you only use part of the can, the cookies will be more cake-like and less chewy.
Can I make these cookies ahead of time?
Yes! You can bake them up to 3 days in advance and store them in an airtight container with a slice of bread. Or freeze the baked cookies for up to 3 months. You can also freeze the dough balls and bake them fresh whenever you want.
Why did my cookies turn out cakey instead of chewy?
Cakey cookies usually result from too much flour or overmixing the batter. Mix the wet and dry ingredients just until combined—no more. Also, make sure you’re using melted butter, not softened butter. Melted butter creates a denser, chewier texture.
Pin This Recipe!
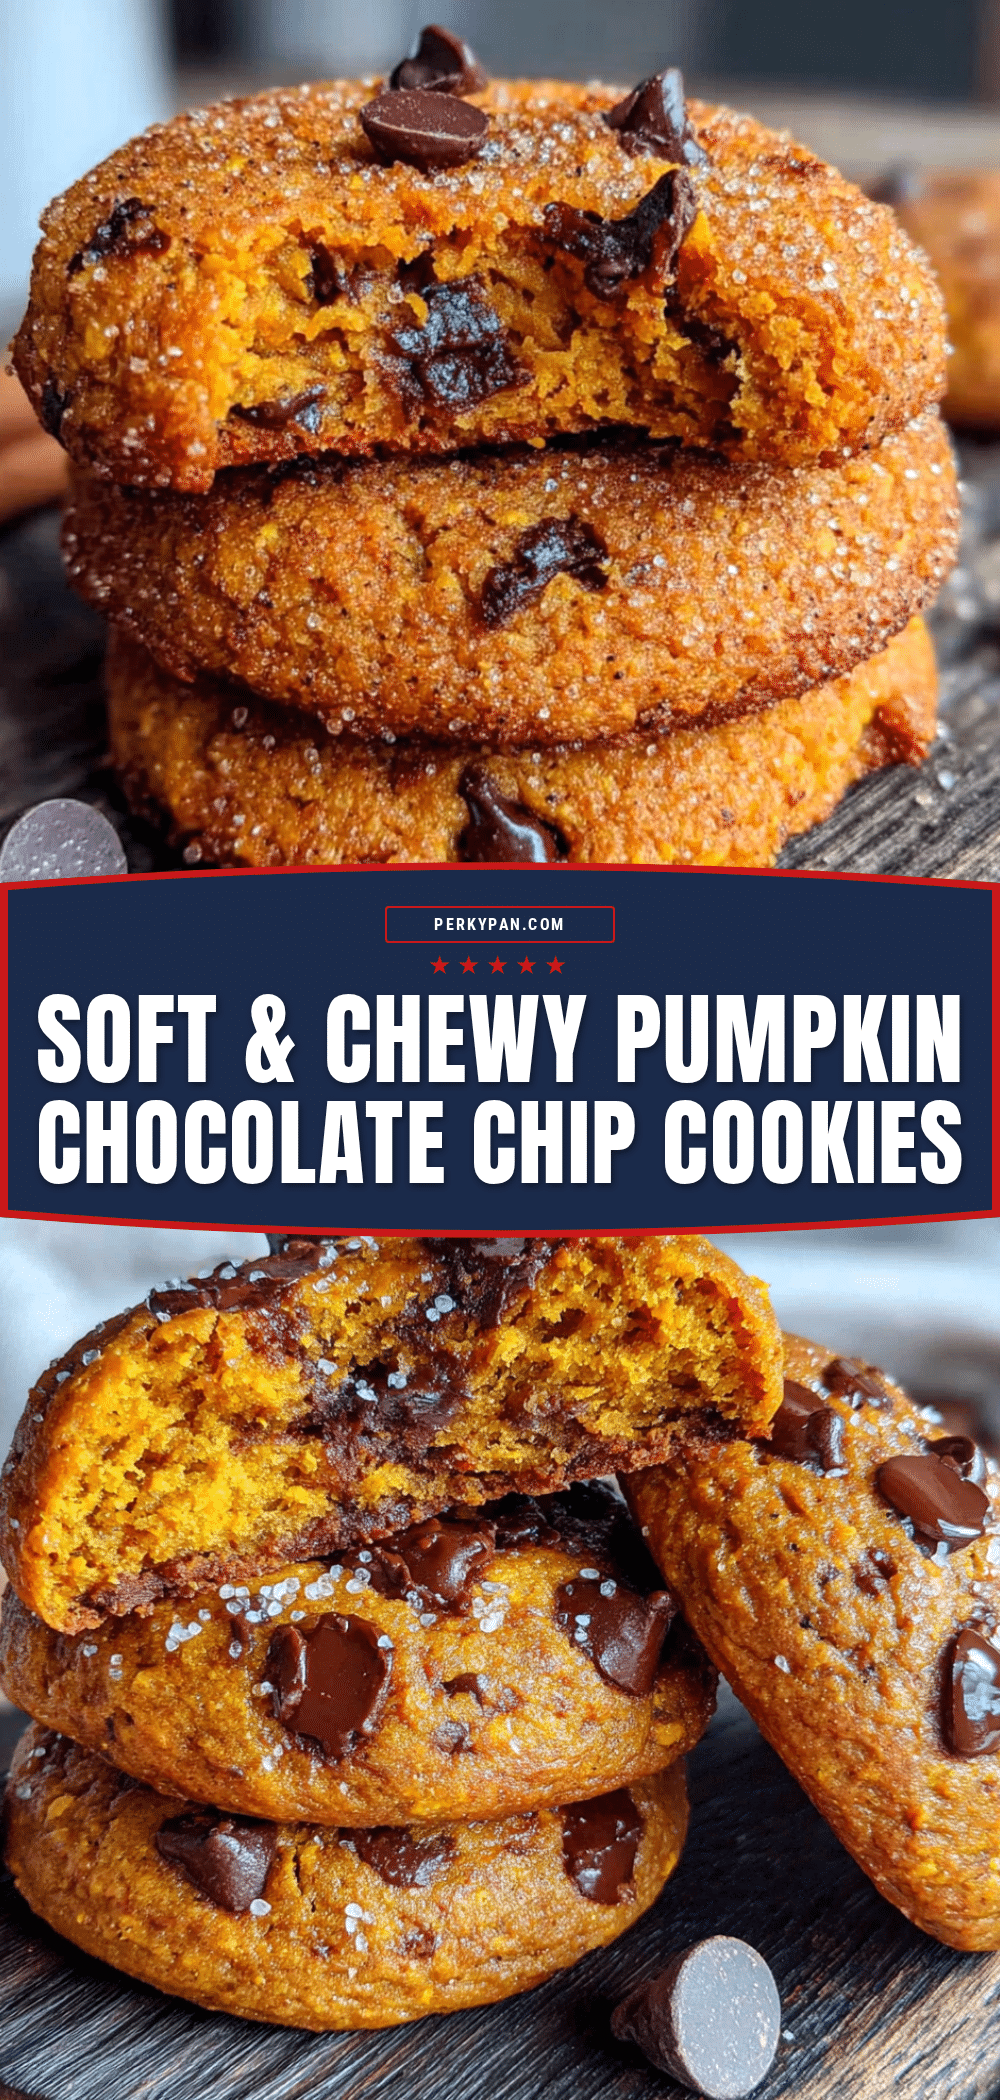
Soft Pumpkin Chocolate Chip Cookies – Easy Chewy Recipe
These soft and chewy pumpkin chocolate chip cookies are made with a whole can of pumpkin for extra moisture and flavor. They come together in under 30 minutes with simple ingredients and no chilling required.
- Prep Time: 15 minutes
- Cook Time: 12 minutes
- Total Time: 27 minutes
- Yield: 24 servings 1x
- Category: Dessert
- Cuisine: American
Ingredients
- 2 cups (240g) all-purpose flour
- 1 teaspoon baking soda
- 1/2 teaspoon baking powder
- 1/2 teaspoon salt
- 1 1/2 teaspoons ground cinnamon
- 1/2 teaspoon ground nutmeg
- 1/4 teaspoon ground ginger
- 1/8 teaspoon ground cloves
- 1/2 cup (113g) unsalted butter, melted and slightly cooled
- 1 cup (200g) packed light brown sugar
- 1/4 cup (50g) granulated sugar
- 1 large egg, at room temperature
- 1 teaspoon vanilla extract
- 1 (15-ounce) can pumpkin puree (not pumpkin pie filling)
- 1 1/2 cups (270g) semi-sweet chocolate chips
Instructions
- Preheat your oven to 350°F (175°C). Line two baking sheets with parchment paper or silicone baking mats.
- In a large bowl, whisk together the flour, baking soda, baking powder, salt, cinnamon, nutmeg, ginger, and cloves until evenly blended. Set aside.
- In a medium bowl, whisk together the melted butter (warm to the touch), brown sugar, and granulated sugar until smooth. Add the egg and vanilla extract, and whisk vigorously for about 1 minute until the mixture lightens and becomes glossy.
- Pour the entire can of pumpkin puree into the wet mixture and whisk until fully combined.
- Pour the wet mixture into the dry ingredients. Use a rubber spatula to fold together gently until no streaks of flour remain. The batter will be soft and sticky.
- Fold in the chocolate chips with a few gentle strokes. Reserve a handful to press onto the tops of the cookies after scooping.
- Using a 1.5-tablespoon cookie scoop, drop rounded mounds of dough onto the prepared baking sheets, spacing them about 2 inches apart. Press a few extra chocolate chips onto the tops of each mound.
- Bake for 10-12 minutes, one sheet at a time on the center rack. The cookies are done when the edges are set and lightly golden, but the centers still look soft and slightly underdone.
- Let the cookies rest on the hot baking sheet for 5 minutes, then transfer to a wire rack to cool completely.
- Repeat with remaining dough, letting the baking sheet cool completely before scooping the next batch.
Notes
For best results, use melted butter (not softened) and measure flour by spooning and leveling. If pumpkin puree looks watery, blot with a paper towel. Let dough rest in fridge for 30 minutes for deeper flavor. Store in an airtight container at room temperature for up to 4 days with a slice of bread to keep soft. Freeze baked cookies for up to 3 months.
Nutrition
- Serving Size: 1 cookie
- Calories: 175
- Sugar: 16
- Sodium: 115
- Fat: 8
- Saturated Fat: 5
- Carbohydrates: 25
- Fiber: 1
- Protein: 2
Keywords: pumpkin cookies, chocolate chip cookies, soft cookies, chewy cookies, fall baking, pumpkin dessert


