Love this? Save it for later!
Share the inspiration with your friends
I was standing in the baking aisle at my local grocery store last Tuesday, staring at a jar of gold star sprinkles, when a specific smell hit me—warm vanilla and almond extract, the kind that lingers in a kitchen for hours. And suddenly I was twenty-three, in my first tiny apartment, trying to bake a birthday cake for my best friend Mara, who is the most Virgo Virgo I have ever met. She had just gotten promoted, and I wanted to make something that felt as precise and beautiful as she is. Let me tell you, that first attempt was a disaster. I forgot the baking powder, the cake sank in the middle, and the frosting looked like a toddler had gotten creative with a butter knife. But Mara ate it with a straight face and said, “It’s the thought that counts, honey.”
That moment stuck with me. I mean, honestly, it took me years to figure out what makes a cake feel truly Virgo-worthy. It is not just about being perfect—it is about being thoughtfully constructed, with every layer intentional and every detail considered. Virgos are earth signs, grounded and meticulous, but they also have that quiet sparkle you only notice when you pay close attention. Gold stars just make sense for them. Maybe you have a Virgo in your life who deserves something more than a store-bought sheet cake with a generic “Happy Birthday” piped on top. Or maybe you are the Virgo, and you are tired of people assuming you want something plain and boring just because you have high standards.
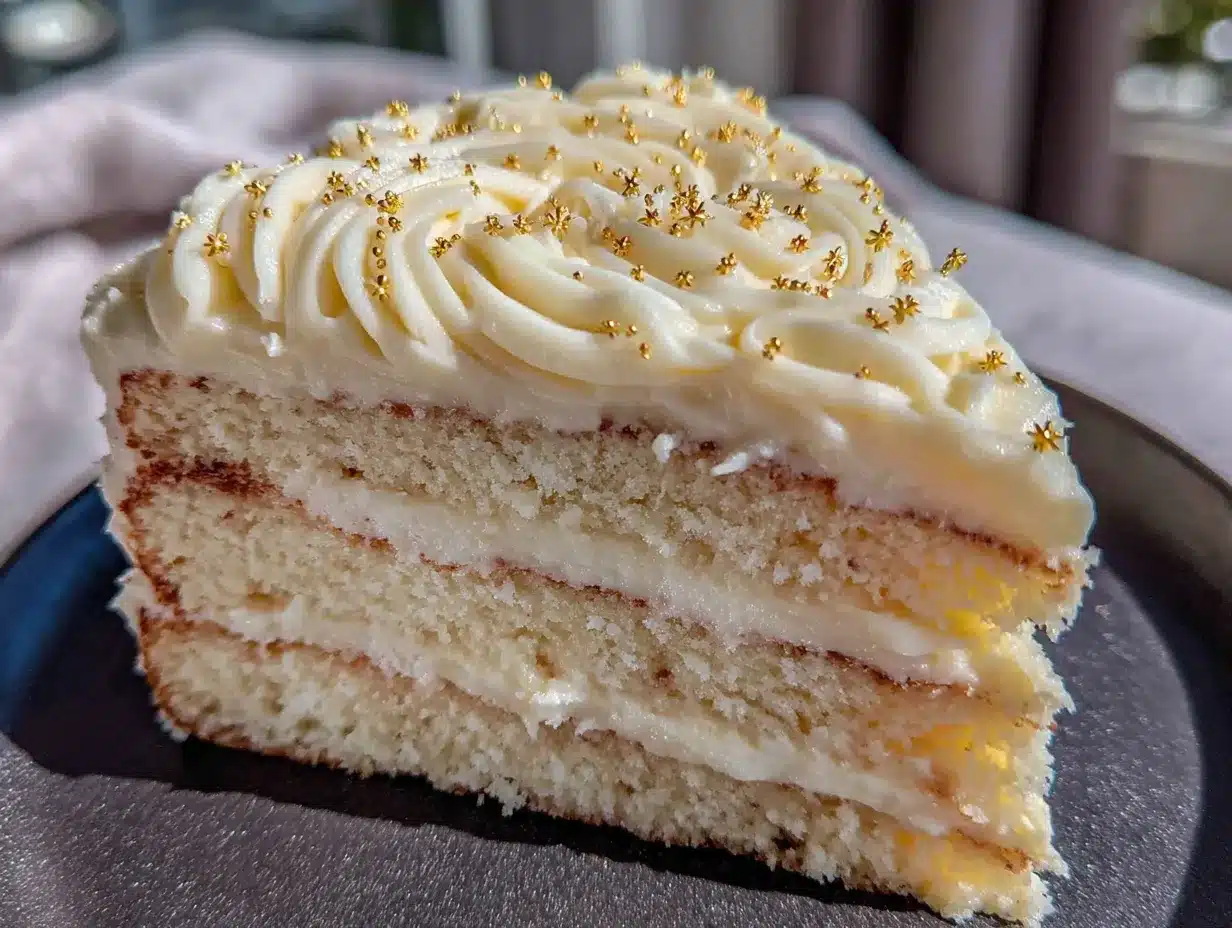
This Perfect Virgo Birthday Cake with Gold Star Sprinkles is my love letter to every detail-oriented, hardworking, secretly whimsical Virgo out there. It is a classic vanilla cake with a tender crumb and a silky buttercream frosting, finished with edible gold stars that catch the light just right. The first time I made this version—after many, many trials—I brought it to Mara’s birthday dinner, and she actually stopped mid-conversation to stare at it. “This is exactly what I wanted,” she said, “and I didn’t even know how to ask for it.” That is the thing about this cake. It feels like it was made specifically for the person you are celebrating. And honestly, that is the whole point.
Why You Will Love This Recipe
Let me be real with you. I have tested this cake recipe at least a dozen times, tweaking the ratios, adjusting the baking time, and even swapping flours to see what happens. I am not a professionally trained pastry chef, but I have spent enough weekends covered in flour to know what works. This version is the one I keep coming back to, and here is why it stands out from every other vanilla birthday cake out there.
- Foolproof Texture : The crumb is tender but sturdy enough to hold up to stacking and decorating. No sinking centers, no dry edges—just consistent, moist cake every time.
- Simple Pantry Ingredients : You probably already have butter, sugar, eggs, flour, and vanilla in your kitchen right now. No specialty flours or obscure extracts required.
- Perfect for Virgo Energy : This cake is all about precision and payoff. Every step matters, but none of them are complicated. It is the kind of baking project that feels satisfying, not stressful.
- Customizable Without Losing Its Soul : You can change the frosting flavor, add a filling, or adjust the sprinkle situation—but the base cake stays reliably delicious.
- Gold Stars Make Everything Better : There is something about those little edible stars that makes people light up. It is whimsical without being childish, elegant without being fussy.
I have brought this cake to office parties, family gatherings, and quiet dinner celebrations, and it never fails to get that “wait, you made this?” reaction. The kind where people take a bite, close their eyes for a second, and then ask for the recipe before they have even finished their slice. That is the kind of cake this is. It is not trying to be trendy or complicated. It is just really, really good at being a birthday cake.
What Ingredients You Will Need
This recipe uses straightforward ingredients, but the way they come together makes all the difference. I have tested a few variations, so I will share what I have learned about each component along the way.
For the Cake
- 2 ½ cups (312g) all-purpose flour – I prefer Gold Medal or King Arthur for consistent results. Spoon and level your flour—do not scoop directly from the bag or you will end up with a dense cake.
- 2 ½ teaspoons baking powder – Make sure it is fresh. If your baking powder is older than six months, it might not give you the rise you want.
- ½ teaspoon salt – Fine sea salt works best. It balances the sweetness without making the cake taste salty.
- 1 cup (226g) unsalted butter, softened – Room temperature is crucial here. If your butter is too cold, it will not cream properly with the sugar. Leave it out for about an hour before you start.
- 2 cups (400g) granulated sugar – Regular white sugar is perfect. I have tried this with organic cane sugar, and it works, but the texture is slightly grainier.
- 4 large eggs, room temperature – Cold eggs can cause your batter to curdle. If you forgot to take them out of the fridge, place them in a bowl of warm water for five minutes.
- 1 cup (240ml) whole milk, room temperature – Whole milk gives the richest crumb. You can use 2% in a pinch, but avoid skim milk—the cake will be less tender.
- 2 teaspoons vanilla extract – Pure vanilla extract is worth the splurge here. Imitation vanilla has a sharper, artificial flavor that stands out in a simple cake like this.
- ½ teaspoon almond extract – This is my secret ingredient. It adds a subtle, almost floral note that makes people say, “What is that flavor? It is so good!” without being able to name it.
For the Buttercream Frosting
- 1 ½ cups (339g) unsalted butter, softened – Again, room temperature is key. Cold butter will give you lumpy frosting.
- 5 cups (600g) powdered sugar – Sift it if you want an ultra-smooth frosting. I am usually too impatient to sift, and it still turns out fine, but sifting does make a difference.
- 3 tablespoons heavy cream – Heavy cream adds richness and helps the frosting come together smoothly. You can use milk, but the texture will be slightly less luxurious.
- 2 teaspoons vanilla extract – Same rule applies—use the good stuff.
- Pinch of salt – This cuts the sweetness and brings out the vanilla flavor.
For Decoration
- Edible gold star sprinkles – I get mine from a local baking supply shop, but you can find them online or at craft stores. They come in different sizes—I like using a mix of small and medium stars for variety.
- Optional: Gold luster dust – If you want an extra-shiny finish, brush a tiny bit of gold luster dust mixed with vodka or vanilla extract over the stars after placing them.
Equipment Needed
You do not need a professional bakery setup to make this cake, but having the right tools makes the process smoother. Here is what I use:
- Two 9-inch round cake pans – I have had my set of Fat Daddio anodized aluminum pans for years, and they distribute heat evenly. Dark nonstick pans can cause the edges to brown too quickly, so keep an eye on your bake time if you use those.
- Stand mixer or hand mixer – A stand mixer makes creaming butter and sugar effortless, but a hand mixer works just fine. I actually used a hand mixer for years before upgrading.
- Parchment paper – Cut circles to line the bottom of your pans. This guarantees your cakes will release cleanly every time.
- Cooling rack – Letting cakes cool completely before frosting is non-negotiable. A wire rack allows air to circulate so the bottoms do not get soggy.
- Offset spatula – This makes frosting so much easier. A straight spatula works, but the angled blade of an offset spatula gives you better control.
- Cake turntable (optional but helpful) – If you frost cakes regularly, a turntable is a game-changer. I got a basic plastic one for under twenty dollars, and it has saved me so much frustration.
- Piping bag and star tip – For the decorative border around the top and bottom edges. A zip-top bag with the corner snipped off works in a pinch.
Preparation Method
This looks like a lot of steps, but I promise it flows naturally once you get started. Take your time, read through everything first, and you will be fine.
- Preheat your oven to 350°F (175°C). Position the rack in the center of the oven. Grease two 9-inch round cake pans with butter or nonstick spray, then line the bottoms with parchment paper circles. Grease the parchment too, just to be safe.
- Whisk the dry ingredients together. In a medium bowl, combine the flour, baking powder, and salt. Whisk for about 20 seconds to aerate and distribute the leavening evenly. Set this aside.
- Cream the butter and sugar. In the bowl of your stand mixer fitted with the paddle attachment, beat the softened butter and granulated sugar on medium speed until light and fluffy. This takes about 3 to 4 minutes. You want the mixture to look pale and increased in volume. Scrape down the sides and bottom of the bowl halfway through.
- Add the eggs one at a time. Crack each egg into a small bowl first (to avoid shell pieces), then add it to the butter mixture. Beat on medium speed until fully incorporated before adding the next egg. After all four eggs are in, add the vanilla and almond extracts and beat for another 30 seconds.
- Alternate adding dry ingredients and milk. With the mixer on low speed, add about one-third of the flour mixture, then half of the milk, then another third of flour, the remaining milk, and finally the last third of flour. Mix just until combined after each addition. Overmixing at this stage will develop too much gluten and make your cake tough.
- Divide the batter evenly. Pour the batter into the prepared pans, using a kitchen scale if you want to be precise (about 600 grams per pan). Smooth the tops with a spatula. Tap each pan gently on the counter a few times to release any air bubbles.
- Bake for 28 to 32 minutes. The cakes are done when a toothpick inserted into the center comes out clean or with a few moist crumbs. The tops should be golden and spring back lightly when touched. Rotate the pans halfway through baking if your oven has hot spots.
- Cool in the pans for 10 minutes. Run a thin knife around the edges to loosen the cakes, then turn them out onto a wire rack. Peel off the parchment paper and let the cakes cool completely. This usually takes about an hour. Do not even think about frosting them while they are still warm—the frosting will melt into a sad, greasy mess.
- Make the buttercream. While the cakes cool, beat the softened butter in your mixer on medium speed until smooth and creamy, about 2 minutes. Gradually add the powdered sugar, one cup at a time, beating on low speed to avoid a sugar cloud. Add the heavy cream, vanilla, and salt, then increase the speed to medium-high and beat for 3 to 4 minutes until the frosting is light, fluffy, and spreadable. If it seems too thick, add another tablespoon of cream. If it seems too thin, add a little more powdered sugar.
- Level the cake layers. Once the cakes are completely cool, use a serrated knife to trim off the domed tops so they are flat and even. Save the scraps for snacking—or crumble them over ice cream later.
- Assemble and frost. Place one cake layer on your serving plate or cake board. Spread about ¾ cup of buttercream evenly over the top. Place the second layer on top, cut-side down. Apply a thin layer of frosting all over the cake (this is the crumb coat) and refrigerate for 15 to 20 minutes to set. Then apply the final, thicker layer of frosting, smoothing it with your offset spatula.
- Decorate with gold stars. While the final layer of frosting is still soft, gently press the gold star sprinkles onto the sides and top of the cake. I like to do a cluster of stars near the top edge and then scatter a few loosely across the top. If you are using a piping bag with a star tip, pipe a decorative border around the top and bottom edges to finish it off.
Cooking Tips & Techniques
I have made my fair share of baking mistakes, and I want you to avoid the ones that cost me time and ingredients. Here is what I have learned the hard way:
Room temperature ingredients are not optional. I know it is tempting to use cold eggs and cold milk straight from the fridge, but they will not emulsify properly with the butter and sugar. Your batter might look curdled or separated, and the cake will not rise as evenly. Set everything out on the counter at least an hour before you start baking.
Do not overmix the batter. Once you add the flour mixture, mix only until you cannot see any more dry streaks. Overmixing develops gluten, which gives you a dense, tough cake instead of a tender one. I have ruined more than a few cakes by getting distracted and letting the mixer run too long.
Check your oven temperature. Ovens run hot or cold more often than you would think. I keep an inexpensive oven thermometer inside my oven at all times. If your oven runs hot, your cake edges will brown before the center is done. If it runs cold, the cake might sink in the middle.
Crumb coat is your friend. That thin layer of frosting you apply before the final coat traps all the loose crumbs so they do not end up visible in your finished cake. I used to skip this step because I was impatient, and I always regretted it. Fifteen minutes in the fridge is worth the wait.
Use a bench scraper for smooth sides. If you want perfectly smooth frosting on the sides of your cake, hold a bench scraper against the cake while spinning the turntable. It takes a little practice, but the results look professional.
Variations & Adaptations
This cake is flexible, and I have tried several variations over the years. Here are some of my favorites:
Lemon Virgo Cake : Add the zest of two lemons to the sugar and rub it in with your fingers before creaming with the butter. Replace ¼ cup of the milk with fresh lemon juice. The lemon flavor pairs beautifully with the vanilla and almond, and it gives the cake a bright, fresh twist that Virgos tend to appreciate.
Gluten-Free Version : Substitute the all-purpose flour with a high-quality gluten-free flour blend that contains xanthan gum. I have had good results with King Arthur Measure for Measure. The texture will be slightly more delicate, so handle the layers gently. Bake time may vary by a few minutes.
Dairy-Free Adaptation : Use plant-based butter sticks (not the spreadable kind in a tub) and unsweetened oat milk or almond milk. The frosting will be slightly softer, so refrigerate the finished cake for 30 minutes before serving to help it set.
Strawberry Filling : Between the cake layers, spread a thin layer of strawberry jam or fresh strawberry compote before adding the buttercream. The tartness of the berries cuts through the sweetness of the frosting beautifully.
Mini Cupcakes Version : This batter makes about 36 mini cupcakes. Bake them for 10 to 12 minutes at 350°F. Top each with a swirl of buttercream and a single gold star. Perfect for party platters or gift boxes.
Serving & Storage Suggestions
This cake is best served at room temperature, so take it out of the refrigerator about 30 to 45 minutes before you plan to cut it. The buttercream softens slightly, and the cake crumb becomes more tender. Slice with a sharp, thin-bladed knife, wiping it clean between cuts for neat slices.
For a Virgo birthday celebration, I love serving this cake with a side of fresh berries—raspberries and blackberries look stunning next to the gold stars—and a cup of strong coffee or Earl Grey tea. The slight bitterness of the tea balances the sweetness of the cake.
Storage: Leftover cake keeps well in an airtight container in the refrigerator for up to 5 days. Let slices come to room temperature before eating for the best texture. You can also freeze unfrosted cake layers tightly wrapped in plastic wrap and then foil for up to 3 months. Thaw overnight in the refrigerator before frosting.
Flavor development note: This cake actually tastes even better the day after it is made. The flavors meld together, and the texture becomes more moist. If you are making it for a party, bake it a day ahead, wrap the cooled layers in plastic wrap, and assemble and frost the next day. Your future self will thank you.
Nutritional Information & Benefits
Let us be honest—this is a celebration cake, not a health food. But here is the estimated nutritional breakdown per slice (assuming 12 slices):
| Nutrient | Amount per Slice |
|---|---|
| Calories | 485 |
| Total Fat | 26g |
| Saturated Fat | 16g |
| Cholesterol | 115mg |
| Sodium | 210mg |
| Total Carbohydrates | 61g |
| Sugars | 46g |
| Protein | 5g |
On the bright side, this cake does contain real butter and eggs, which provide some vitamin A, vitamin D, and choline. The vanilla and almond extracts are naturally derived. If you are watching your sugar intake, you can reduce the sugar in the frosting by about ½ cup, but the texture will be slightly less stable. This recipe contains gluten, dairy, and eggs, so it is not suitable for those with allergies to those ingredients unless you use the substitutions I mentioned earlier.
Frequently Asked Questions
Can I make this cake in advance?
Absolutely. Bake the cake layers up to two days ahead, wrap them tightly in plastic wrap once they are completely cool, and store them at room temperature. You can also freeze them for up to three months. Just thaw overnight in the fridge before frosting.
Why did my cake sink in the middle?
This usually happens for one of three reasons: your oven was not hot enough, your baking powder is expired, or you opened the oven door too often during baking. Check your oven temperature with a thermometer and make sure your baking powder is fresh.
Can I use salted butter instead of unsalted?
You can, but you will want to reduce or omit the added salt in the recipe. Salted butter has varying amounts of salt depending on the brand, so the result might be slightly inconsistent. Unsalted butter gives you more control over the final flavor.
How do I get the gold stars to stick without falling off?
Press them gently into the frosting while it is still soft. If your frosting has crusted over, dab a tiny bit of water or corn syrup on the back of each star before placing it. For a more secure hold, you can also use a small paintbrush to apply a thin layer of edible glue.
Can I turn this into a layer cake with more than two layers?
Yes. This recipe makes enough batter for two 9-inch layers. If you want a taller three-layer cake, multiply the recipe by 1.5 and bake the batter in three 8-inch pans for about 25 to 28 minutes. Adjust your frosting quantity accordingly.
Conclusion
This Perfect Virgo Birthday Cake with Gold Star Sprinkles is more than just a recipe—it is a way to show someone you see them. You see their attention to detail, their quiet strength, and the way they light up when something is exactly right. The gold stars are not just decoration. They are a reminder that even the most grounded, practical people deserve a little sparkle now and then.
I hope you make this cake for the Virgo in your life—or for yourself if you are the one celebrating. Customize it however you like, add your own touches, and do not stress about making it look perfect. The fact that you are making it from scratch already says everything. If you try this recipe, I would love to hear how it turned out. Leave a comment below, share a photo, or tell me what variations you came up with. And if you are looking for another celebration-worthy dessert, you might enjoy my classic vanilla birthday cake or these gold star sugar cookies for a simpler option.
Happy baking, and happy birthday to all the wonderful Virgos out there. You deserve a cake as thoughtful as you are.
Pin This Recipe!
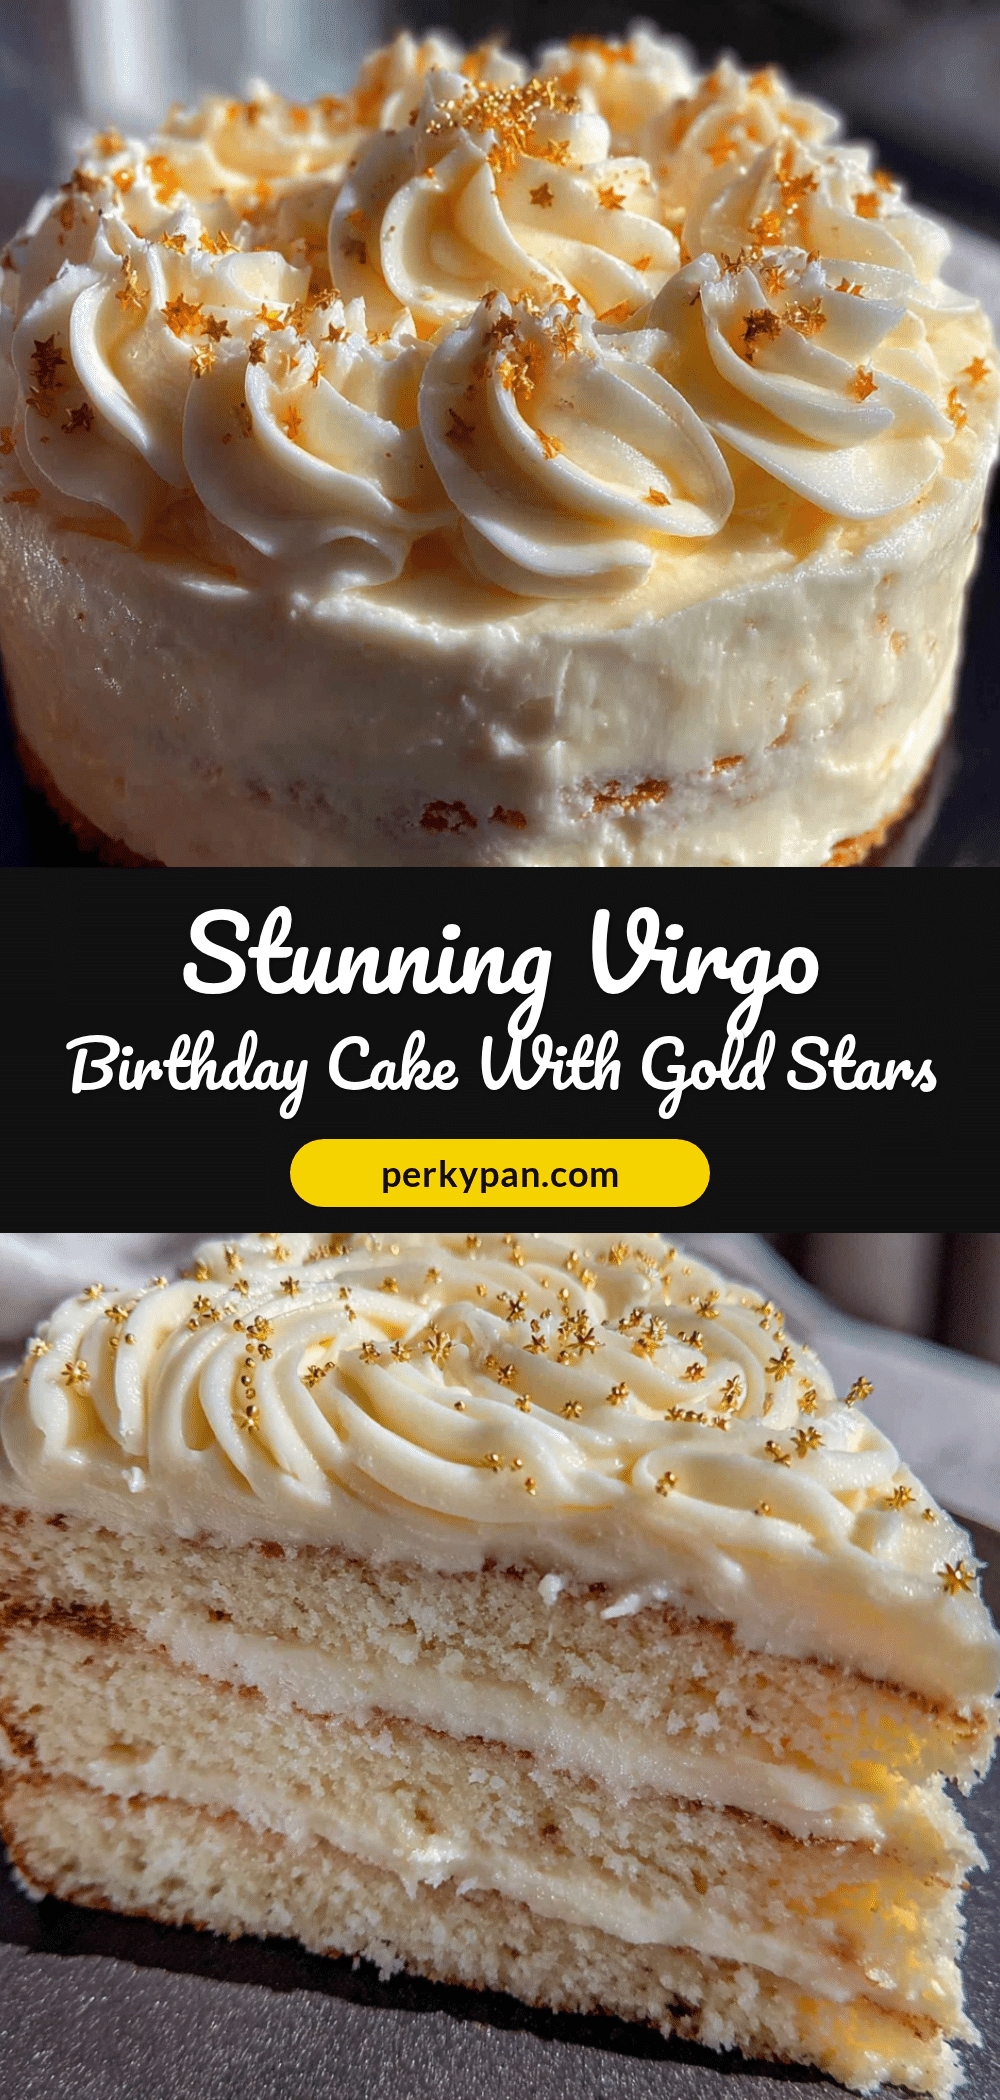
Perfect Virgo Birthday Cake with Gold Stars Recipe
A classic vanilla cake with a tender crumb and silky buttercream frosting, finished with edible gold stars. This thoughtful, precisely constructed cake is a love letter to every detail-oriented Virgo.
- Prep Time: 30 minutes
- Cook Time: 30 minutes
- Total Time: 1 hour 30 minutes
- Yield: 12 servings 1x
- Category: Dessert
- Cuisine: American
Ingredients
- 2 ½ cups (312g) all-purpose flour
- 2 ½ teaspoons baking powder
- ½ teaspoon salt
- 1 cup (226g) unsalted butter, softened
- 2 cups (400g) granulated sugar
- 4 large eggs, room temperature
- 1 cup (240ml) whole milk, room temperature
- 2 teaspoons vanilla extract
- ½ teaspoon almond extract
- 1 ½ cups (339g) unsalted butter, softened (for frosting)
- 5 cups (600g) powdered sugar
- 3 tablespoons heavy cream
- 2 teaspoons vanilla extract (for frosting)
- Pinch of salt (for frosting)
- Edible gold star sprinkles
- Optional: Gold luster dust
Instructions
- Preheat your oven to 350°F (175°C). Grease two 9-inch round cake pans and line the bottoms with parchment paper circles.
- In a medium bowl, whisk together flour, baking powder, and salt for about 20 seconds. Set aside.
- In the bowl of a stand mixer fitted with the paddle attachment, beat the softened butter and granulated sugar on medium speed until light and fluffy, about 3 to 4 minutes. Scrape down the sides halfway through.
- Add the eggs one at a time, beating well after each addition. Add the vanilla and almond extracts and beat for another 30 seconds.
- With the mixer on low speed, add about one-third of the flour mixture, then half of the milk, then another third of flour, the remaining milk, and finally the last third of flour. Mix just until combined after each addition.
- Divide the batter evenly between the prepared pans (about 600g per pan). Smooth the tops and tap the pans gently on the counter to release air bubbles.
- Bake for 28 to 32 minutes, until a toothpick inserted into the center comes out clean or with a few moist crumbs. Rotate the pans halfway through if needed.
- Cool the cakes in the pans for 10 minutes, then turn them out onto a wire rack. Peel off the parchment and let cool completely (about 1 hour).
- While the cakes cool, make the buttercream: Beat the softened butter on medium speed until smooth and creamy, about 2 minutes. Gradually add the powdered sugar, one cup at a time, beating on low speed. Add the heavy cream, vanilla, and salt, then increase speed to medium-high and beat for 3 to 4 minutes until light and fluffy.
- Once the cakes are completely cool, use a serrated knife to level the domed tops.
- Place one cake layer on a serving plate. Spread about ¾ cup of buttercream evenly over the top. Place the second layer on top, cut-side down. Apply a thin crumb coat of frosting all over the cake and refrigerate for 15 to 20 minutes.
- Apply the final, thicker layer of frosting, smoothing with an offset spatula. While the frosting is still soft, press the gold star sprinkles onto the sides and top. Optionally, pipe a decorative border around the edges.
Notes
Room temperature ingredients are crucial for proper emulsification. Do not overmix the batter once flour is added. A crumb coat prevents crumbs in the final frosting. The cake tastes even better the day after it is made.
Nutrition
- Serving Size: 1 slice
- Calories: 485
- Sugar: 46
- Sodium: 210
- Fat: 26
- Saturated Fat: 16
- Carbohydrates: 61
- Protein: 5
Keywords: birthday cake, vanilla cake, buttercream, gold stars, Virgo cake, celebration cake


