Love this? Save it for later!
Share the inspiration with your friends
Last Fourth of July, I found myself in a bit of a baking scramble. The neighborhood block party was just hours away, and the plan was to bring “something red, white, and blue.” I’m not much for last-minute kitchen chaos, but there I was, staring at my cupboard wondering how to pull this off without a trip to the store. Then I remembered a quirky little recipe I picked up from a local baker at a summer fair — a red velvet flag cake with cream cheese frosting. Honestly, I wasn’t expecting much at first; I mean, how different could it be from any other red velvet cake?
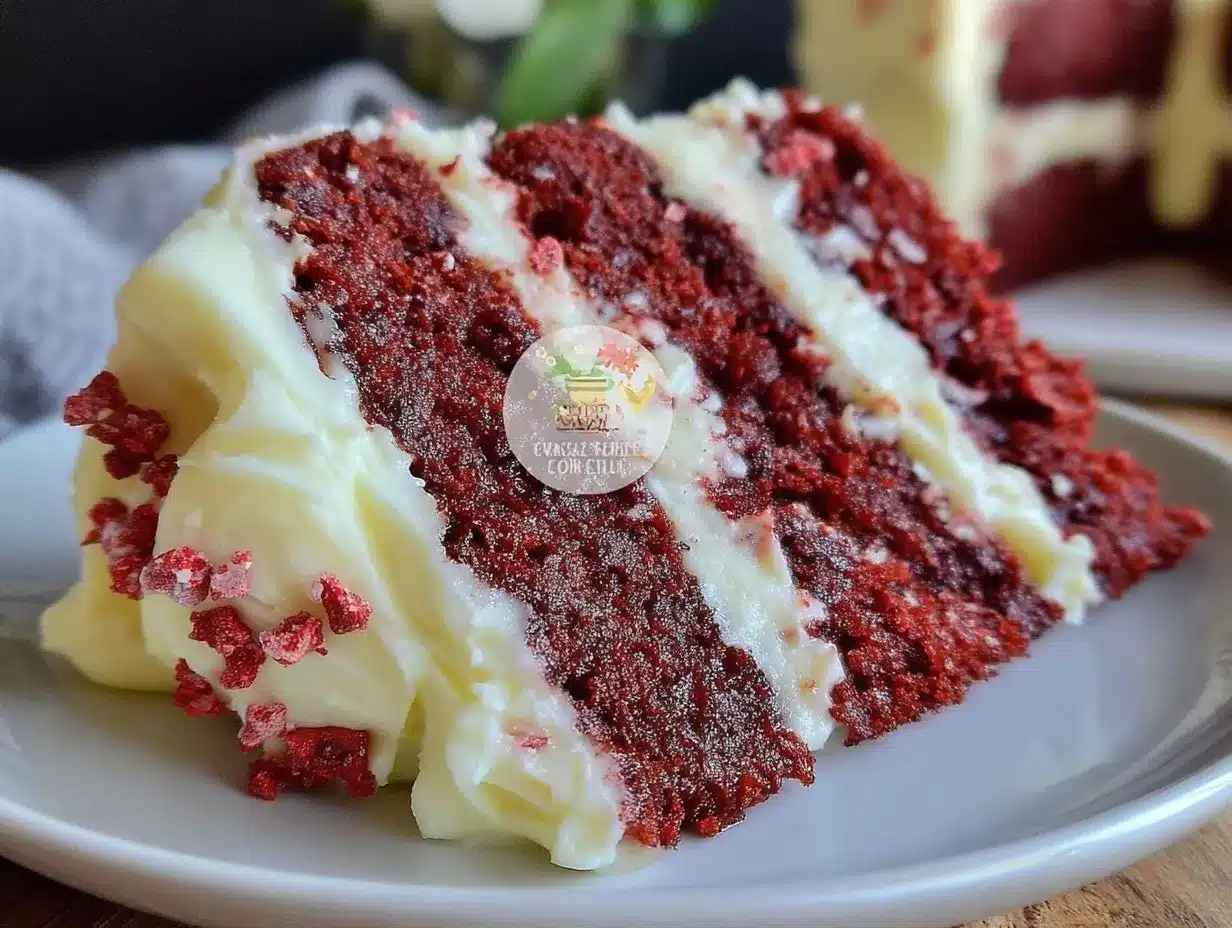
But as I started mixing the batter, the rich red hue and the hint of cocoa filled the air, and that’s when I knew this wasn’t your average cake. I forgot to set a timer (classic me!), and the cake came out with this perfectly moist, tender crumb that just begged to be sliced. The cream cheese frosting? Smooth, tangy, and just sweet enough to balance the cake’s subtle chocolate notes. What made it even more special was the layered flag design — a simple trick that turned the dessert into an instant party centerpiece.
Maybe you’ve been there, scrambling to make something festive but easy. This Perfect Red Velvet Flag Cake with Cream Cheese Frosting became my go-to recipe not just for celebrations but whenever I want a slice of something that feels special without the fuss. Let me tell you, this cake has stuck with me ever since — it’s that rare treat that’s as fun to make as it is to eat.
Why You’ll Love This Recipe
When I say this is the perfect red velvet flag cake, I’m not just tossing words around. After plenty of test runs and tweaks, this recipe hits all the right notes.
- Quick & Easy: Comes together in under 45 minutes, perfect for last-minute celebrations or spontaneous baking cravings.
- Simple Ingredients: No need for fancy or hard-to-find items — most are pantry staples you likely have on hand.
- Perfect for Patriotic Occasions: Whether it’s Independence Day, Memorial Day, or just a fun summer cookout, this cake brings the festive vibes.
- Crowd-Pleaser: Kids and adults alike rave about the moist texture and luscious cream cheese frosting combo.
- Unbelievably Delicious: The subtle cocoa flavor in the red velvet, paired with tangy frosting, creates a flavor balance that’s just right — not too sweet, not too rich.
What sets this cake apart is the flag design technique. It’s surprisingly straightforward but looks impressively intricate, making it a real conversation starter. Plus, the cream cheese frosting is whipped to a silky smooth perfection, thanks to a little trick I picked up along the way (whisking the cream cheese separately before folding it in). This isn’t just another red velvet cake — it’s the one you’ll want to make again and again for every festive occasion.
What Ingredients You Will Need
This recipe relies on straightforward, wholesome ingredients that combine to give you that classic red velvet flavor and stunning flag presentation. Most of these are kitchen staples, so you won’t be running around hunting for anything exotic.
- For the Cake Batter:
- All-purpose flour – 2 ½ cups (300 g)
- Cocoa powder, unsweetened – 2 tablespoons (15 g) (I prefer Hershey’s for consistent flavor)
- Baking soda – 1 ½ teaspoons
- Salt – 1 teaspoon
- Granulated sugar – 1 ½ cups (300 g)
- Vegetable oil – 1 cup (240 ml)
- Buttermilk – 1 cup (240 ml) (If you don’t have buttermilk, use 1 cup milk plus 1 tablespoon lemon juice, let sit for 5 minutes)
- Large eggs – 2, room temperature
- Vanilla extract – 2 teaspoons
- Red food coloring – 2 tablespoons (gel or liquid, choose your preference; gel gives more vibrant color)
- White distilled vinegar – 1 teaspoon
- For the Cream Cheese Frosting:
- Cream cheese – 16 ounces (450 g), softened (Philadelphia brand works great for creaminess)
- Unsalted butter – ½ cup (115 g), softened (adds richness)
- Powdered sugar – 4 cups (480 g), sifted (to avoid lumps)
- Vanilla extract – 1 teaspoon
- Pinch of salt
If you want to swap out any dairy, coconut yogurt or nut-based milk can work as buttermilk substitutes, but the texture and tang won’t be quite the same. For a gluten-free version, almond or oat flour can replace all-purpose flour, though expect a slightly denser crumb. Seasonal tip: If you’re making this cake in summer, add fresh strawberries or blueberries between layers to amp up the patriotic feel.
Equipment Needed
- Two 9-inch (23 cm) round cake pans – I use non-stick pans, but greasing and lining with parchment paper is key to easy release.
- Mixing bowls – one large for dry ingredients, one for wet; glass or stainless steel works best.
- Electric mixer or stand mixer – makes cream cheese frosting effortless and fluffy.
- Measuring cups and spoons – precise measurements matter for cake success.
- Rubber spatula – for folding batter without deflating it.
- Offset spatula or butter knife – for spreading frosting smoothly.
- Cooling racks – essential for letting the cakes cool evenly before frosting to avoid melty mishaps.
Don’t have two cake pans? No worries. You can bake the layers one at a time, just remember to adjust baking time slightly. If you’re on a budget, silicone spatulas and pans are affordable and easy to clean. Pro tip: keep your cream cheese and butter at room temp for at least an hour before frosting — it makes the whole process way easier and the texture creamier.
Preparation Method
- Preheat your oven to 350°F (175°C). Grease and line two 9-inch round cake pans with parchment paper. I usually forget this step and end up with a cake stuck to the pan, so don’t skip it!
- Mix dry ingredients: In a large bowl, sift together the all-purpose flour, cocoa powder, baking soda, and salt. Set aside.
- Combine wet ingredients: In another bowl, whisk together the sugar, vegetable oil, buttermilk, eggs, vanilla extract, red food coloring, and vinegar until smooth and well combined.
- Incorporate dry into wet: Slowly add the dry ingredients to the wet mixture, folding gently with a rubber spatula until just combined. Be careful not to overmix; the batter should be smooth but still light.
- Divide batter: Evenly pour the batter into the two prepared pans, smoothing the surface with the spatula. Tap the pans lightly on the counter to release any air bubbles.
- Bake: Place pans in the oven and bake for 25-30 minutes, or until a toothpick inserted in the center comes out clean. Oven temperatures vary, so start checking at 25 minutes.
- Cool: Let cakes cool in the pans for 10 minutes, then transfer to cooling racks to cool completely before frosting. Resist the urge to frost warm cake — it will melt the frosting!
- Prepare frosting: Using an electric mixer, beat the softened cream cheese and butter together until smooth and creamy, about 2-3 minutes. Gradually add powdered sugar, beating on low speed to avoid a sugar cloud, then increase to high until fluffy. Mix in vanilla extract and a pinch of salt.
- Assemble the flag design: Once the cakes are cooled, trim the tops to level them if needed. Cut one cake into three equal strips horizontally — these will be the red stripes. Use the other cake to cut a square corner for the blue field. You can tint a portion of the frosting blue with gel food coloring for the star field or pipe white stars with frosting — I usually go for the simpler frosting stars, but both look great.
- Frost and decorate: Spread a thin crumb coat on all layers to lock in crumbs. Chill for 15 minutes, then add a final thick layer of frosting. Arrange the red strips and blue square on top to create the flag pattern. Pipe stars or use a star-shaped stencil for decoration.
Tip: If your cream cheese frosting feels too soft, pop it in the fridge for 10 minutes before frosting the cake for better control. Oh, and don’t forget to save a little frosting for those inevitable extra tastes — it’s the best part!
Cooking Tips & Techniques
Making a red velvet cake with a flag design might sound fancy, but with a couple of tricks up your sleeve, it’s totally manageable.
- Red food coloring: Gel colors give the richest hue without thinning the batter. Liquid dyes can make the batter too runny, so go gel if you can.
- Buttermilk substitute: If you forget to buy buttermilk, the milk and lemon juice trick works wonders and keeps the tang that’s signature to red velvet.
- Mixing the frosting: Beat cream cheese and butter separately first to avoid lumps. Use softened ingredients and don’t rush this step.
- Layering: Use a serrated knife to level your cakes — uneven layers can mess with the flag design and make the cake look sloppy.
- Chilling the cake: After crumb coating, chilling tightens the surface, making it easier to apply that smooth, final frosting layer without crumbs mixing in.
- Timing: Plan your frosting prep while the cakes cool. Multitasking here saves time and keeps you from rushing and making a mess.
I remember the first time I tried piping stars on this cake — my hand shook so much I nearly gave up! Practice on parchment paper before committing to the cake surface. Also, don’t be afraid to embrace imperfections; a little rustic charm goes a long way in homemade cakes.
Variations & Adaptations
Want to switch things up? Here are a few ways to make this red velvet flag cake your own:
- Gluten-Free: Swap all-purpose flour for a gluten-free blend. Add a teaspoon of xanthan gum if your blend doesn’t include it, to maintain structure.
- Vegan Version: Use flax eggs (1 tbsp ground flax + 3 tbsp water per egg), dairy-free cream cheese, and plant-based milk with vinegar as buttermilk. The texture will be a bit different but still tasty.
- Berry Twist: Add fresh blueberries or raspberries between layers or dot the frosting with them for a fresh, fruity accent that complements the rich cake.
- Chocolate Overload: Mix mini chocolate chips into the batter for extra chocolate bursts. Just fold gently to avoid sinking.
- Mini Flag Cupcakes: Make this as cupcakes with mini flag decorations on top using frosting and edible stars for a fun, portion-controlled option.
Personally, I once made a batch swapping out the cream cheese frosting for a mascarpone whipped cream version — it was lighter and perfect for a summer picnic. Just keep an eye on the temperature, as whipped cream needs to stay chilled.
Serving & Storage Suggestions
This red velvet flag cake is best served at room temperature. Take it out of the fridge about 30 minutes before slicing for the frosting to soften just enough. Presentation-wise, it’s a showstopper — slice carefully to reveal the flag stripes inside and serve on a simple white platter to let the colors pop.
Pair it with a cup of coffee or a cold glass of milk to balance the sweetness. For a festive touch, add fresh berries on the side or a dollop of whipped cream.
Store leftover cake in an airtight container in the refrigerator for up to 4 days. It freezes well too — wrap slices tightly in plastic wrap and foil, then freeze for up to 3 months. To reheat, thaw in the fridge overnight, then bring to room temperature before serving. The flavors actually deepen after a day or two, so don’t hesitate to make it ahead of time.
Nutritional Information & Benefits
Each slice of this Perfect Red Velvet Flag Cake with Cream Cheese Frosting delivers about 400 calories, depending on slice size. It is moderate in fat and sugar, thanks to the vegetable oil and cream cheese balance. The buttermilk adds a slight tang and richness without extra fat.
Key ingredients like cocoa powder provide antioxidants, and the cream cheese contributes calcium and protein. For those watching gluten or dairy intake, the recipe adaptations can help keep this festive treat friendly for many diets.
From a wellness perspective, it’s a dessert to enjoy in moderation — a treat that celebrates special moments and brings people together, which is, after all, part of good nourishment.
Conclusion
This Perfect Red Velvet Flag Cake with Cream Cheese Frosting isn’t just a dessert; it’s a little slice of celebration you can make anytime you want to impress without stress. Whether you’re baking for a holiday, a family gathering, or just because, this recipe adapts beautifully to your needs and tastes.
I love how it brings everyone around the table, sharing smiles and stories with every colorful slice. Honestly, it’s one of those recipes that reminds me why baking is such a joy — simple ingredients, a bit of patience, and a dash of creativity.
Give it a try, tweak it your way, and I’d love to hear how it turns out in your kitchen. Share your thoughts, photos, or any fun twists you add — let’s keep this festive baking spirit alive!
Frequently Asked Questions
Can I make this cake ahead of time?
Absolutely! You can bake the cake layers a day in advance and keep them wrapped tightly in plastic wrap. Frost and assemble the cake the next day for the freshest presentation.
What if I don’t have cream cheese for the frosting?
You can substitute with mascarpone cheese or a dairy-free cream cheese alternative. Just make sure it’s softened for easy mixing.
How do I prevent the red velvet cake from being dry?
Using oil instead of butter keeps the cake moist, and don’t overbake — start checking a few minutes before the timer. Also, buttermilk adds tenderness.
Can I make this cake gluten-free?
Yes, swap the all-purpose flour for a gluten-free baking blend. Adding xanthan gum helps maintain the cake’s structure.
How do I get the best red color without a weird taste?
Use gel food coloring rather than liquid for vibrant color without thinning the batter. Also, avoid artificial dyes if you prefer natural options like beet powder, though the color might be less intense.
For those who enjoy layering flavors, this cake pairs beautifully with a cup of rich, dark coffee or a scoop of vanilla ice cream for an extra special treat. If you want to try other festive desserts, the crispy garlic chicken recipe from my kitchen is a savory hit that balances well with something sweet like this red velvet delight.
Pin This Recipe!
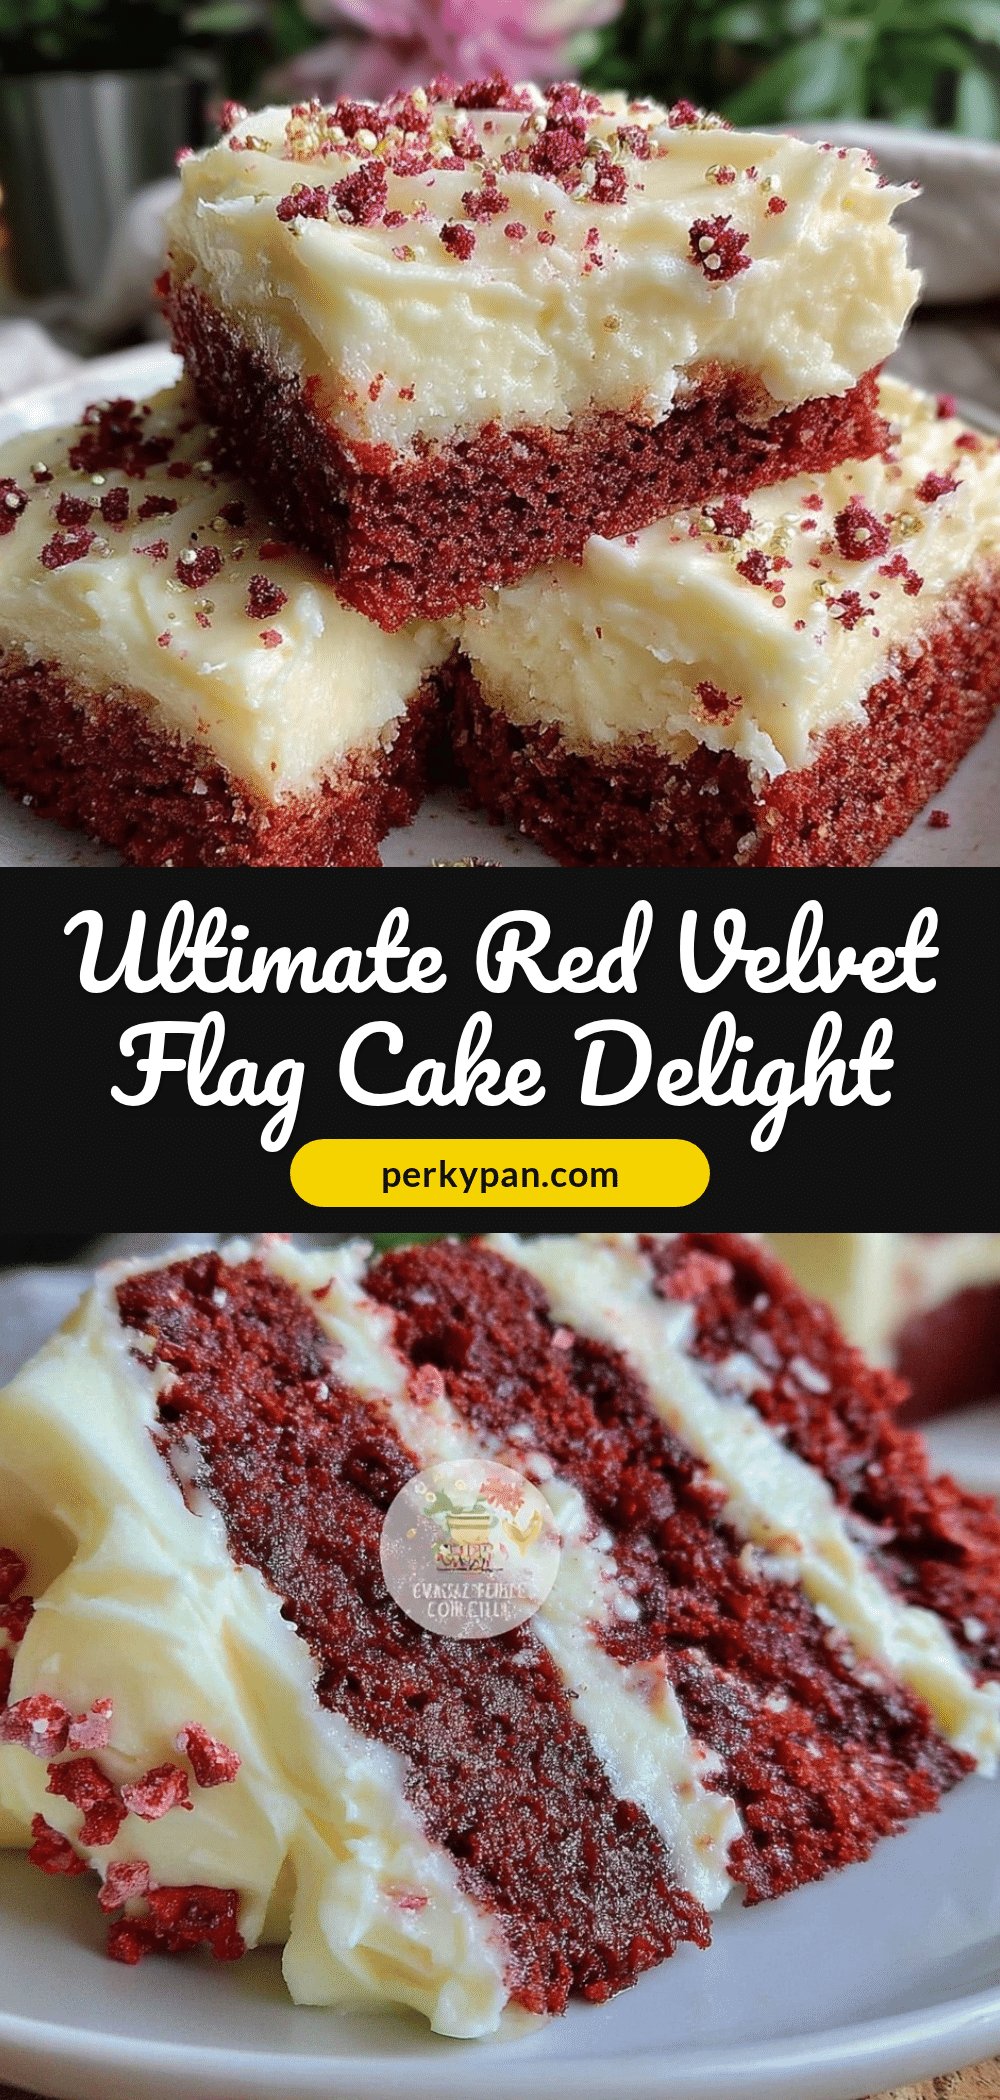
Perfect Red Velvet Flag Cake Recipe with Easy Cream Cheese Frosting
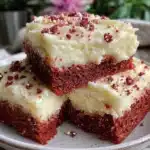
A moist and tender red velvet cake with a subtle cocoa flavor, topped with smooth and tangy cream cheese frosting, designed with a festive flag pattern perfect for patriotic occasions.
- Prep Time: 15 minutes
- Cook Time: 30 minutes
- Total Time: 45 minutes
- Yield: 12 servings
- Category: Dessert
- Cuisine: American
Ingredients
- All-purpose flour – 2 ½ cups (300 g)
- Cocoa powder, unsweetened – 2 tablespoons (15 g)
- Baking soda – 1 ½ teaspoons
- Salt – 1 teaspoon
- Granulated sugar – 1 ½ cups (300 g)
- Vegetable oil – 1 cup (240 ml)
- Buttermilk – 1 cup (240 ml) (or 1 cup milk + 1 tablespoon lemon juice, let sit for 5 minutes)
- Large eggs – 2, room temperature
- Vanilla extract – 2 teaspoons
- Red food coloring – 2 tablespoons (gel or liquid)
- White distilled vinegar – 1 teaspoon
- Cream cheese – 16 ounces (450 g), softened
- Unsalted butter – ½ cup (115 g), softened
- Powdered sugar – 4 cups (480 g), sifted
- Vanilla extract – 1 teaspoon
- Pinch of salt
Instructions
- Preheat your oven to 350°F (175°C). Grease and line two 9-inch round cake pans with parchment paper.
- In a large bowl, sift together the all-purpose flour, cocoa powder, baking soda, and salt. Set aside.
- In another bowl, whisk together the sugar, vegetable oil, buttermilk, eggs, vanilla extract, red food coloring, and vinegar until smooth and well combined.
- Slowly add the dry ingredients to the wet mixture, folding gently with a rubber spatula until just combined. Be careful not to overmix.
- Evenly pour the batter into the two prepared pans, smoothing the surface with the spatula. Tap the pans lightly on the counter to release any air bubbles.
- Bake for 25-30 minutes, or until a toothpick inserted in the center comes out clean. Start checking at 25 minutes.
- Let cakes cool in the pans for 10 minutes, then transfer to cooling racks to cool completely before frosting.
- Using an electric mixer, beat the softened cream cheese and butter together until smooth and creamy, about 2-3 minutes.
- Gradually add powdered sugar, beating on low speed to avoid a sugar cloud, then increase to high until fluffy.
- Mix in vanilla extract and a pinch of salt.
- Once the cakes are cooled, trim the tops to level them if needed.
- Cut one cake into three equal horizontal strips for the red stripes.
- Cut a square corner from the other cake for the blue field.
- Optionally tint a portion of the frosting blue with gel food coloring for the star field or pipe white stars with frosting.
- Spread a thin crumb coat on all layers to lock in crumbs and chill for 15 minutes.
- Add a final thick layer of frosting and arrange the red strips and blue square on top to create the flag pattern.
- Pipe stars or use a star-shaped stencil for decoration.
- If frosting feels too soft, chill it in the fridge for 10 minutes before frosting the cake.
Notes
[‘Use gel food coloring for a richer red hue without thinning the batter.’, “If you don’t have buttermilk, use 1 cup milk plus 1 tablespoon lemon juice and let sit for 5 minutes.”, ‘Beat cream cheese and butter separately first to avoid lumps.’, ‘Chill the cake after crumb coating to make final frosting easier.’, ‘Practice piping stars on parchment paper before decorating the cake.’, ‘Keep cream cheese and butter at room temperature for at least an hour before frosting.’, “You can bake layers one at a time if you don’t have two pans, adjusting baking time slightly.”, ‘Store leftover cake in an airtight container in the refrigerator for up to 4 days or freeze for up to 3 months.’]
Nutrition
- Serving Size: 1 slice (approximate
- Calories: 400
- Sugar: 35
- Sodium: 350
- Fat: 22
- Saturated Fat: 9
- Carbohydrates: 50
- Fiber: 2
- Protein: 5
Keywords: red velvet cake, cream cheese frosting, flag cake, patriotic dessert, easy cake recipe, Fourth of July cake, layered cake, festive cake