Love this? Save it for later!
Share the inspiration with your friends
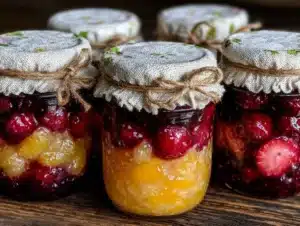
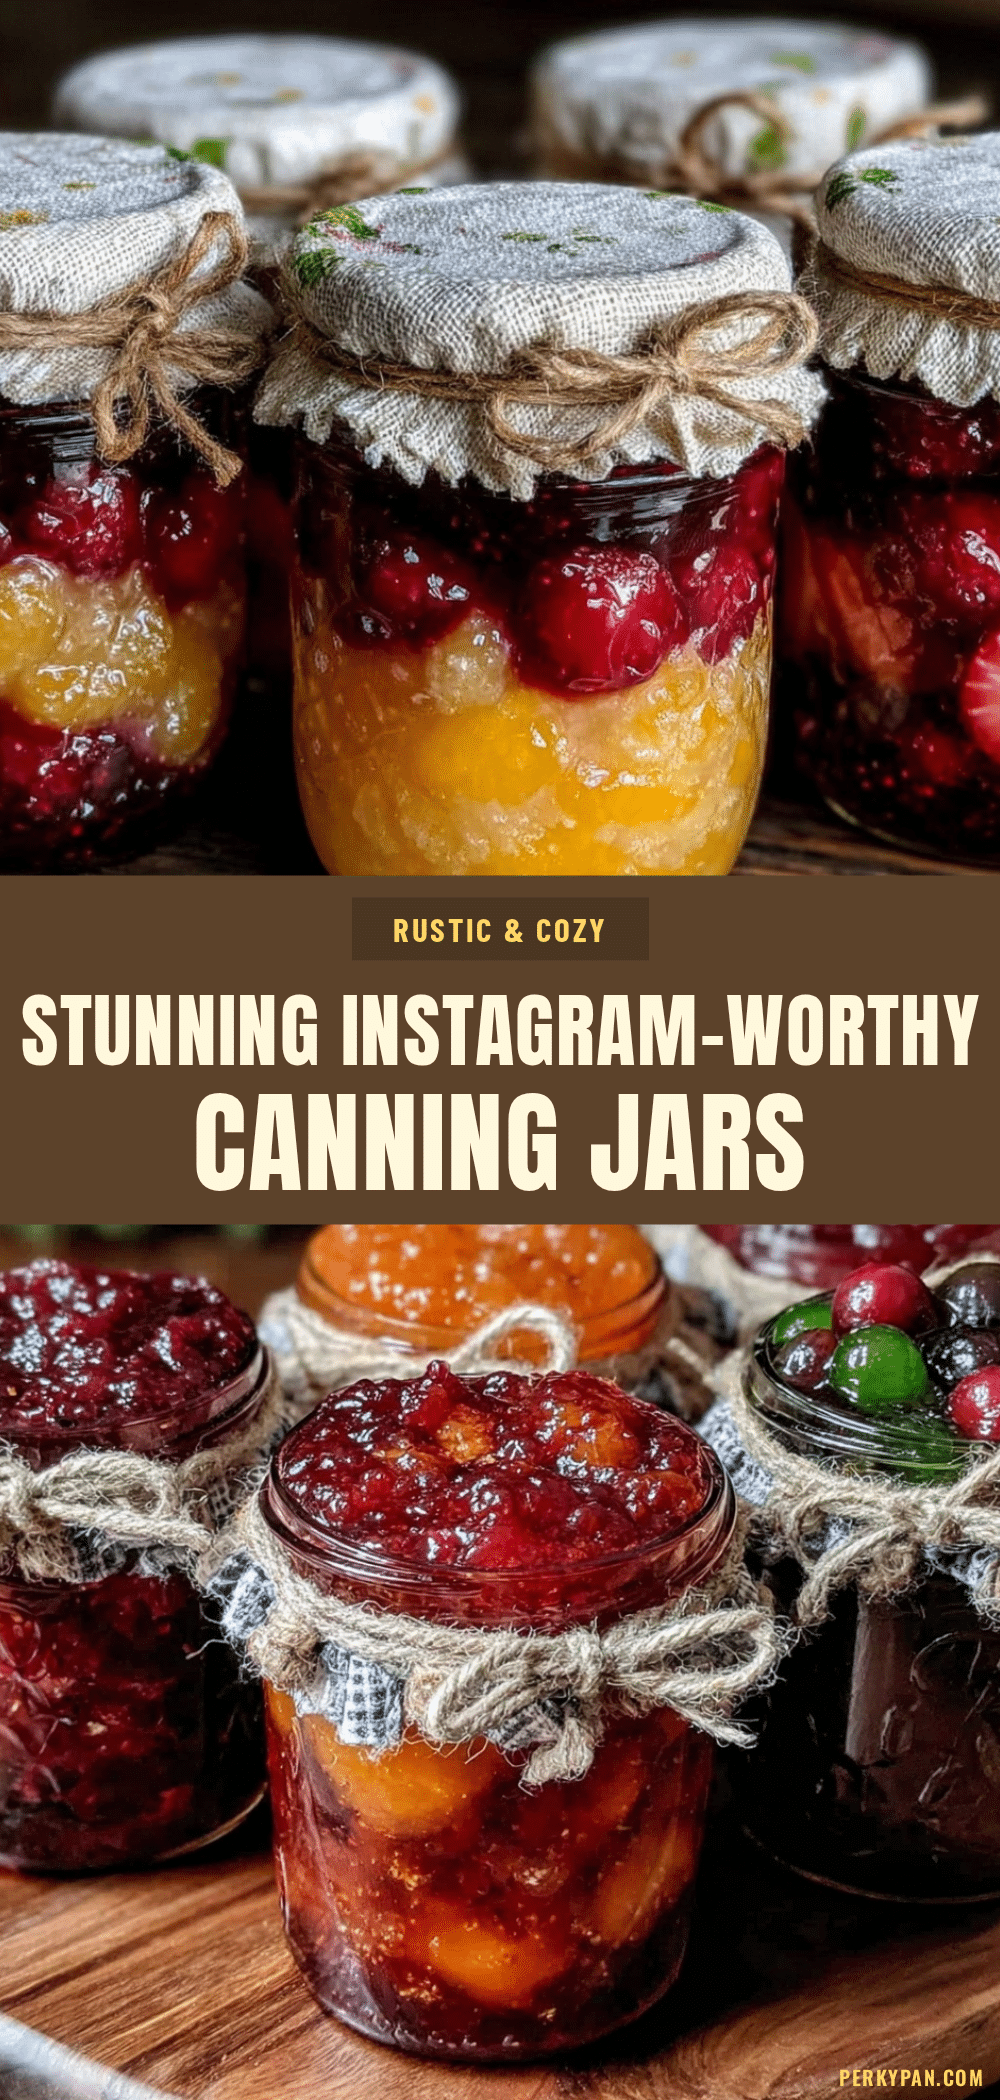
“You know that feeling when you stumble into a tiny farmer’s market stall, and everything looks so perfect you almost don’t want to touch it?” That’s exactly how I felt last summer when I spotted rows of those perfectly packed canning jars filled with homemade preserves. The colors were so vivid, the labels so charming, it looked like a dream for anyone who loves both food and photography. Honestly, I wasn’t planning to get into canning that day—I just wanted some fresh berries. But there I was, chatting with a local artisan who swore by her method for creating the most Instagram-worthy canning jars that made her preserves fly off the shelves.
At first, I thought it was all about fancy labels or expensive jars. Nope. It turned out to be about simple, thoughtful touches that anyone could do at home. I made a mess trying my first batch—forgot to sterilize a jar, spilled some sticky jam on the counter—but that’s part of the charm, right? Since then, I’ve tweaked my approach, learned some neat tricks, and I’m here to share what really makes canning jars look irresistible and keeps homemade preserves tasting fresh and delicious.
Maybe you’ve been there, too—wanting to capture that perfect shot of your preserves for your feed or just to impress friends at your next brunch. Let me tell you, it’s easier than you think to create those picture-perfect canning jars that look like they belong in a cozy kitchen magazine. Stick around, and I’ll show you the simple secrets behind making your homemade preserves not only taste amazing but also look like art.
Why You’ll Love This Recipe
- Quick & Easy: You can prep your canning jars and preserves in under two hours, perfect for weekend projects or busy evenings.
- Simple Ingredients: No need for fancy or hard-to-find items; most supplies are pantry staples or easily sourced.
- Perfect for Gifting: These beautiful jars make heartfelt presents for holidays, birthdays, or just because.
- Crowd-Pleaser: Friends and family always ask for seconds when served with these visually stunning preserves.
- Unbelievably Delicious: The combination of fresh fruit, balanced sweetness, and that homemade touch takes your palate on a nostalgic ride.
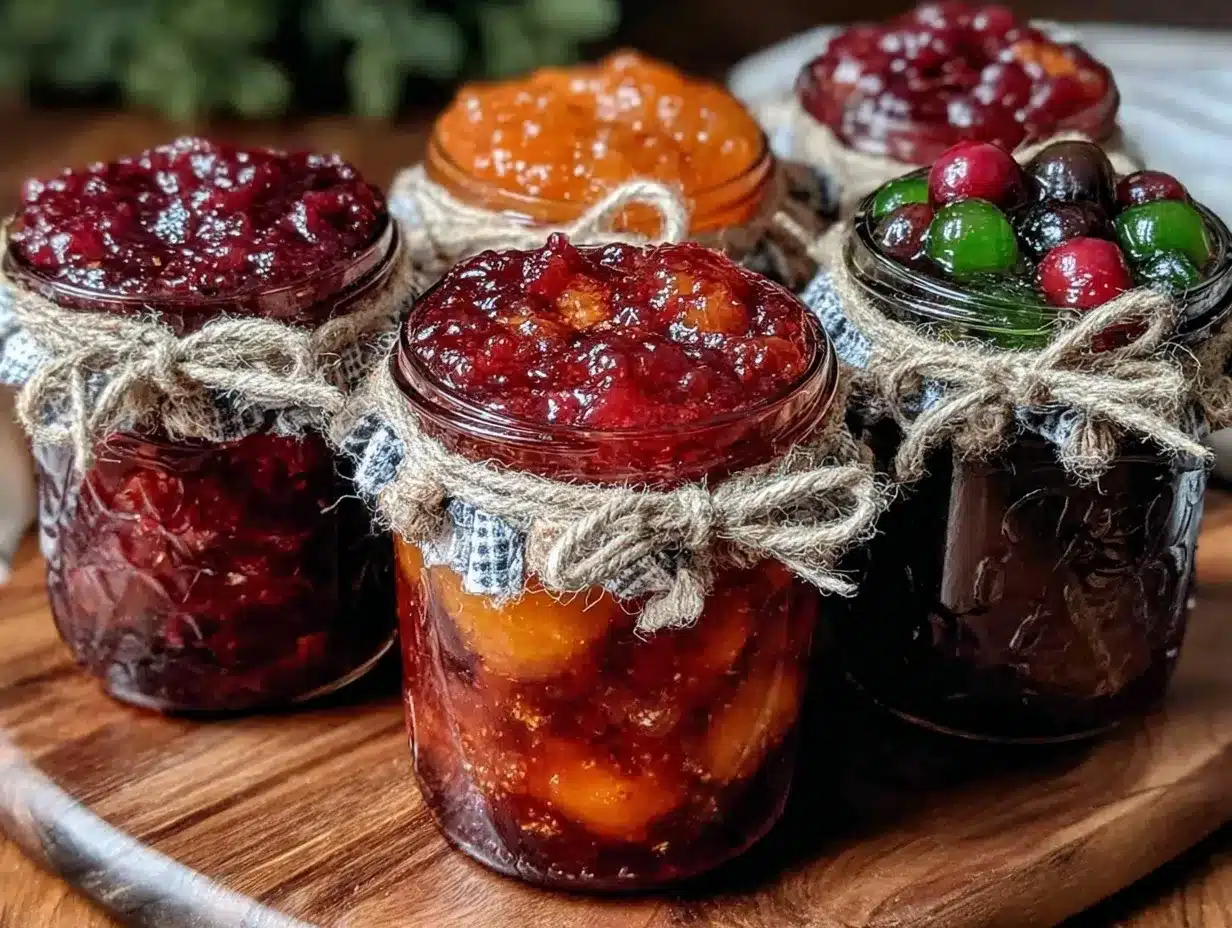
This isn’t just any canning jar setup. What sets this approach apart is the balance between aesthetics and functionality. I’ve tested different jar sizes and seals to find ones that not only look charming but also keep your preserves fresh for months. The labels? Handwritten in my slightly messy cursive but sealed with a bit of twine, giving it that “just pulled from grandma’s pantry” vibe. Plus, the way the preserves set—thanks to a secret ratio of pectin and sugar—gives you that perfect glossy finish that catches the light beautifully.
Whether you’re aiming for a cozy kitchen vibe or a sleek modern look, these tips help you craft canning jars that’ll make you want to snap a pic—and then dig in. I keep coming back to this method because it’s comforting, satisfying, and honestly, a little bit addictive. It’s the kind of project that turns your kitchen into a small art studio, and the results? Always worth sharing.
What Ingredients You Will Need
This recipe uses simple, wholesome ingredients to deliver bold flavor and satisfying texture without the fuss. Most are pantry staples, and you can swap a few out depending on your fruit or dietary needs.
- Fresh Fruit: Choose ripe, seasonal fruit such as strawberries, peaches, or blueberries (about 4 cups / 600g). Freshness is key for vibrant color and flavor.
- Granulated Sugar: 2 to 3 cups (400-600g), depending on your fruit’s natural sweetness. I prefer organic cane sugar for a cleaner taste.
- Lemon Juice: 2 tablespoons (30ml), freshly squeezed for brightness and to help preserve the fruit’s color.
- Fruit Pectin: 1 packet (around 1.75 oz / 50g) to help achieve that perfect gel consistency. I recommend Sure-Jell for reliable results.
- Water: 1/2 cup (120ml) to help dissolve pectin evenly.
- Canning Jars: Standard mason jars in 8 oz (250ml) or 16 oz (500ml) sizes with new lids and bands. Ball jars are a trusted brand I always keep on hand.
- Labels & Twine: For styling—use craft paper tags and natural twine for that rustic look.
For a dairy-free or vegan version, this recipe is naturally suitable since it’s fruit-based with no animal products. If you want to reduce sugar, try using a natural sweetener like honey or agave but adjust pectin and cooking times accordingly. In summer, swapping in fresh berries instead of stone fruits gives a fresh twist, and frozen fruit works in a pinch, just expect a slightly softer texture.
Equipment Needed
- Large Pot or Canning Kettle: For boiling jars and processing preserves. A 12-quart pot works well for most batches.
- Canning Rack: Helps keep jars off the bottom of the pot and prevents cracking. If you don’t have one, a folded kitchen towel works in a pinch.
- Jar Lifter: Essential for safely removing hot jars. I once tried tongs—let’s just say the jam nearly ended up all over my floor.
- Funnel: A wide-mouth funnel speeds up filling jars and keeps rims clean.
- Wooden Spoon or Silicone Spatula: For stirring preserves while cooking without scratching your pot.
- Clean Towels: To wipe rims and catch drips. Keep a couple handy—you’ll thank me.
If you’re on a budget, mason jars are widely available online or at local hardware stores, and secondhand shops often have vintage jars with unique charm. Just double-check lids for rust or damage before use. Keeping your jar lifter and funnel clean and dry after use will extend their life and keep your canning safe and pleasant.
Preparation Method
- Sterilize Your Jars: Place jars and lids in boiling water for 10 minutes. This step is crucial to avoid spoilage. Use tongs or a jar lifter to remove and place them on a clean towel.
- Prepare the Fruit: Wash and chop your fruit into uniform pieces (about 1/2 inch / 1.3 cm). This helps them cook evenly and look pretty in the jar.
- Mix Pectin and Water: In a small bowl, stir the fruit pectin into 1/2 cup (120ml) of water until fully dissolved. This prevents clumps and helps set the preserves.
- Cook the Fruit: In a large pot, combine chopped fruit, sugar, and lemon juice. Bring to a boil over medium heat, stirring frequently to avoid sticking. This can take 10-15 minutes. You want the sugar fully dissolved and the fruit soft but not mushy.
- Add the Pectin Mixture: Stir in dissolved pectin and return to a full rolling boil. Boil hard for 1 minute while stirring constantly — this activates the pectin for perfect gel.
- Check Consistency: To test, place a small spoonful on a chilled plate. If it wrinkles when pushed with your finger after a minute, it’s ready. If not, boil for another minute and test again.
- Fill Your Jars: Using a funnel, ladle hot preserves into sterilized jars, leaving about 1/4 inch (6mm) headspace. Wipe rims clean with a damp cloth to ensure a good seal.
- Seal Jars: Place lids on jars and screw bands on finger-tight. Avoid over-tightening, which can cause air pockets.
- Process Jars: Submerge jars in boiling water with a rack for 10 minutes to seal and preserve. Remove with jar lifter and place upright on a towel. You’ll hear the satisfying “pop” of lids sealing as they cool.
- Cool and Label: Let jars cool completely (4-6 hours). Add labels and twine for that perfect finishing touch.
Pro tip: Keep a bowl of cool water handy to wipe sticky drips from your jars quickly before they dry. Trust me, it saves you from a sticky mess later on! Also, don’t rush the cooling process—handling hot jars too soon can cause cracks or broken seals.
Cooking Tips & Techniques
One trick I learned the hard way is to avoid stirring preserves too vigorously once pectin is added; it can cause bubbles that affect the set and appearance. Instead, gentle but steady stirring works best. Also, timing is everything. If you boil too long after adding pectin, your preserves can become rubbery; too short, and they’ll be runny.
When sterilizing jars, never skip this step—even if your jars look clean. It’s the difference between preserves that last months and batches you’ll have to toss after a week. And honestly, I’ve had more than a few “oops” moments where I realized I forgot lids or set them on a dirty towel. Keeping everything organized before you start makes a world of difference.
Multitasking helps—while your fruit cooks, prep labels or clean up your workspace so you’re ready for filling. When sealing, make sure your rims are spotless; even a tiny bit of sugar or fruit can prevent a proper seal. If you’re unsure if a jar sealed correctly, press the center of the lid once cooled—it should be firm and not pop.
Variations & Adaptations
- Low-Sugar Version: Use a low-sugar pectin and reduce sugar by half. Keep in mind this will affect shelf life, so refrigerate after opening.
- Herb-Infused Preserves: Add fresh herbs like lavender, rosemary, or basil during cooking for a sophisticated twist.
- Spiced Preserves: Toss in cinnamon sticks or a pinch of ground ginger for warm, cozy flavors perfect for fall gifts.
For those with gluten sensitivities, this recipe is naturally gluten-free, so no worries there. If you prefer a smoother texture, try blending half the fruit before cooking. Personally, I like to experiment with adding a splash of balsamic vinegar for a tangy edge—it’s surprisingly good!
For a quicker method, you can use a pressure canner instead of the water bath, but be sure to follow manufacturer guidelines carefully. I’ve found that stovetop methods give me more control and better results for these preserves.
Serving & Storage Suggestions
Serve these homemade preserves slightly chilled or at room temperature. They’re fantastic when spread on fresh bread, dolloped atop yogurt, or paired with a sharp cheese platter. For a cozy breakfast, try spooning them over pancakes or waffles—guaranteed to impress your guests.
Store unopened jars in a cool, dark place like a pantry for up to a year. Once opened, keep refrigerated and consume within 3 to 4 weeks for best flavor. When reheating (say, for a warm topping), gently warm in a saucepan over low heat—avoid boiling to preserve texture.
Flavors actually deepen over time. I’ve noticed my preserves taste even better after a week or two in the fridge, so patience definitely pays off. Just make sure lids remain tightly sealed to avoid spoilage.
Nutritional Information & Benefits
Each 2-tablespoon (30g) serving of these preserves contains approximately 60 calories, mostly from natural fruit sugars and added cane sugar. They provide small amounts of vitamins C and A, antioxidants, and dietary fiber from the fruit.
Using fresh, seasonal fruit means you’re getting the best nutrients available, and the homemade aspect lets you control sugar levels and avoid preservatives. This recipe is naturally gluten-free and vegan, suitable for a variety of dietary needs.
From a wellness perspective, making your own preserves connects you to the seasons and ingredients, which I find grounding. It’s also a wonderful way to reduce food waste by preserving excess fruit rather than letting it spoil.
Conclusion
If you’re looking for a way to make your homemade preserves truly stand out, these tips for creating perfect Instagram-worthy canning jars are a game-changer. Not only will your jars look charming and inviting, but the preserves inside will taste just as incredible as they look. I love this recipe because it’s approachable, satisfying, and gives me a creative outlet that doubles as delicious treats for family and friends.
Feel free to tweak the flavors and presentation to suit your style—this method is all about making it yours. I’d love to hear how your preserves turn out or if you’ve come up with your own twists, so drop a comment below and share your experience. Now, go make some magic in your kitchen—your perfect batch of homemade preserves is waiting!
FAQs
What size jars are best for homemade preserves?
Standard 8 oz (250ml) or 16 oz (500ml) mason jars are ideal. They’re easy to handle, store well, and look great for gifting.
Can I reuse old canning jars and lids?
You can safely reuse jars if they’re in good condition, but always use new lids to ensure a proper seal and food safety.
How long do homemade preserves last?
Unopened, they can last up to a year stored in a cool, dark place. Once opened, refrigerate and consume within 3 to 4 weeks.
Is it necessary to use pectin?
Pectin helps preserves set to the right consistency. You can make low-pectin preserves, but they’ll be more like fruit syrup or jam.
How do I know if my jars sealed correctly?
After cooling, press the center of the lid. It should be firm and not pop. If it pops back, the jar didn’t seal and should be refrigerated and used quickly.
Pin This Recipe!
Perfect Instagram-Worthy Canning Jars for Easy Homemade Preserves

Create visually stunning and delicious homemade preserves with simple ingredients and thoughtful canning techniques. Perfect for gifting and enjoying fresh seasonal fruit.
- Prep Time: 20 minutes
- Cook Time: 30 minutes
- Total Time: 50 minutes
- Yield: About 6 to 8 jars (8 oz each) 1x
- Category: Preserves
- Cuisine: American
Ingredients
- 4 cups (600g) fresh fruit (strawberries, peaches, or blueberries)
- 2 to 3 cups (400-600g) granulated sugar (organic cane sugar preferred)
- 2 tablespoons (30ml) freshly squeezed lemon juice
- 1 packet (1.75 oz / 50g) fruit pectin (Sure-Jell recommended)
- 1/2 cup (120ml) water
- Standard mason jars (8 oz / 250ml or 16 oz / 500ml) with new lids and bands
- Labels and natural twine for styling
Instructions
- Sterilize your jars and lids by placing them in boiling water for 10 minutes. Use tongs or a jar lifter to remove and place on a clean towel.
- Wash and chop fruit into uniform 1/2 inch (1.3 cm) pieces for even cooking and attractive presentation.
- In a small bowl, dissolve fruit pectin in 1/2 cup (120ml) water to prevent clumps.
- In a large pot, combine chopped fruit, sugar, and lemon juice. Bring to a boil over medium heat, stirring frequently until sugar dissolves and fruit softens (10-15 minutes).
- Stir in the dissolved pectin mixture and return to a full rolling boil. Boil hard for 1 minute while stirring constantly to activate pectin.
- Test consistency by placing a spoonful on a chilled plate; if it wrinkles when pushed after a minute, it is ready. If not, boil another minute and test again.
- Using a funnel, ladle hot preserves into sterilized jars, leaving 1/4 inch (6mm) headspace. Wipe rims clean with a damp cloth.
- Place lids on jars and screw bands on finger-tight, avoiding over-tightening.
- Process jars in boiling water with a rack for 10 minutes to seal. Remove with jar lifter and place upright on a towel. Listen for the ‘pop’ of sealing lids.
- Let jars cool completely for 4-6 hours. Add labels and twine for a rustic finishing touch.
Notes
Keep a bowl of cool water handy to wipe sticky drips quickly. Avoid stirring vigorously after adding pectin to prevent bubbles. Ensure rims are spotless before sealing jars. Press the lid center after cooling to check seal; it should be firm and not pop. Use new lids for safety. Refrigerate opened jars and consume within 3-4 weeks.
Nutrition
- Serving Size: 2 tablespoons (30g)
- Calories: 60
- Sugar: 14
- Carbohydrates: 15
- Fiber: 1
Keywords: canning jars, homemade preserves, fruit preserves, jam recipe, easy canning, gift ideas, seasonal fruit, pectin, mason jars