Love this? Save it for later!
Share the inspiration with your friends
I was halfway through a Tuesday—not a game day, not a party day, just a regular, slightly boring Tuesday—when my accountant, Mr. Henderson, called. Now, Mr. Henderson is a man of few words. He talks about deductions, amortization, and the proper way to sharpen a pencil. He is the last person on earth you’d expect to discuss bean dip with. But there he was, on the other end of the line, having just finished my quarterly taxes, and he says, “You know, my wife makes this dip for the Super Bowl. It’s got seven layers. But she lightens it up so I don’t feel like a balloon afterward.”
I almost dropped the phone. My accountant was giving me a recipe tip. Honestly, I was so surprised I forgot to ask for the actual recipe. I just sat there, picturing Mr. Henderson in his perfectly pressed cardigan, munching on a “lighter” chip. The image was so odd, so wonderfully unexpected, that I couldn’t get it out of my head. So, I did what any curious cook would do: I spent the next week trying to reverse-engineer the perfect lighter seven-layer dip. This is what I came up with. And let me tell you, it’s the kind of thing that makes you forget you were ever trying to eat a little better. Maybe you’ve been there—wanting a big, indulgent snack but not wanting the food coma that follows. This dip is the answer.
Why You’ll Love This Recipe
This isn’t just another dip. This is the dip that lets you have your party food and feel good about it too. After testing this recipe about six times (and, ahem, eating the evidence), I can tell you with absolute certainty that it delivers on flavor without the post-game slump.
- Quick & Easy: This comes together in about 30 minutes. Seriously. While your chips are baking, you can layer everything else. It’s perfect for last-minute cravings or when you realize the game starts in an hour.
- Simple Ingredients: No weird health-food-store ingredients here. Everything is either in your pantry or easy to find at the regular grocery store. I use plain Greek yogurt instead of sour cream, and it works like a charm.
- Perfect for Game Day: This is the star of any party spread. It’s the first thing to disappear, and people always ask for the recipe. It’s also great for potlucks or a fun weekend snack.
- Crowd-Pleaser: I’ve served this to my family, who are notoriously picky, and to my friends who are health nuts. Everyone loves it. The secret is that it tastes just as rich and creamy as the full-fat version.
- Unbelievably Delicious: The combination of cool, creamy layers with the warm, slightly spicy beans and the crunchy, salty chips is pure magic. It’s comfort food that doesn’t weigh you down.
What makes this recipe different is the attention to detail. It’s not just about swapping out sour cream for yogurt. It’s about seasoning that yogurt so it tastes tangy and rich. It’s about making a homemade chip that’s sturdy enough to scoop up all that goodness. This is my best version, tested and tweaked until it was perfect.
What Ingredients You Will Need
This recipe uses simple, wholesome ingredients that come together to create something truly satisfying. You’ll find that most of these are pantry staples, making this a go-to recipe whenever the craving hits.
For the Homemade Chips:
- Corn tortillas (6-inch, about 12-15 tortillas) – Look for sturdy corn tortillas; the thinner ones can get too crispy. I like the ones from the refrigerated section of the grocery store.
- Olive oil spray (or avocado oil spray) – A light spray is all you need to get them golden and crispy.
- Kosher salt – For seasoning right out of the oven.
- Lime zest (optional, from 1 lime) – This adds a bright, fresh flavor that’s incredible with the dip.
For the Lighter Seven-Layer Dip:
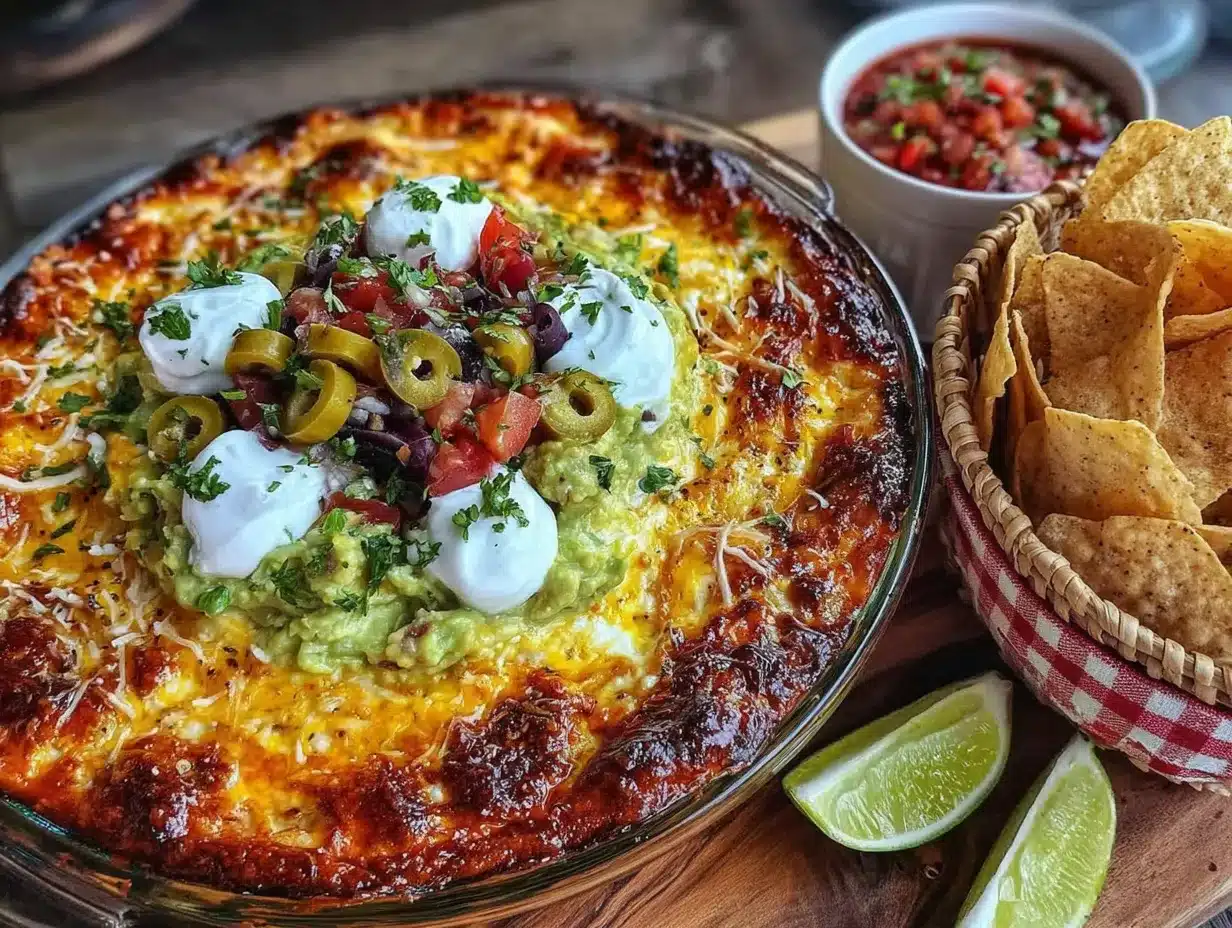
- Refried beans (1 can, 15 oz) – I prefer low-sodium refried beans. You can use traditional or black bean refried beans. (Adds a creamy, savory base).
- Greek yogurt (1 cup, plain, full-fat or 2%) – This replaces the sour cream. Full-fat gives the creamiest texture, but 2% works great too. (I recommend Fage for its thickness).
- Guacamole (1 cup, store-bought or homemade) – Look for a guacamole that’s mostly avocado, with minimal fillers. Or, mash 2 ripe avocados with a squeeze of lime and salt.
- Salsa (1 cup, your favorite brand) – I use a medium-heat restaurant-style salsa. A chunky salsa works well here. (Use a fire-roasted salsa for a smoky flavor).
- Shredded Mexican blend cheese (1 cup) – A mix of Monterey Jack, cheddar, and queso quesadilla is perfect. You can also use a sharp cheddar for more flavor.
- Black olives (1 can, 2.25 oz, sliced) – These add a briny, salty pop.
- Green onions (4-5, sliced) – For a fresh, mild oniony finish.
- Jalapeño (1, sliced, optional) – For those who like extra heat.
Equipment Needed
You don’t need a ton of fancy equipment for this recipe, which is part of its charm. Here’s what you’ll need:
- Baking sheets (2 large) – For baking the chips. If you only have one, you can bake them in batches.
- Parchment paper – This makes cleanup a breeze and prevents the chips from sticking.
- Pizza cutter or sharp knife – For cutting the tortillas into chip shapes. A pizza cutter makes this job super fast.
- Small bowl – For mixing the lime zest and salt.
- 9-inch pie plate, shallow baking dish, or a large, wide serving platter – For assembling the dip. I love using a glass pie plate so you can see all the layers.
- Spatula or spoon – For spreading the layers evenly.
- Measuring cups and spoons – For accuracy.
If you don’t have a pizza cutter, a chef’s knife works just fine. I’ve used both, and honestly, the knife gives you more control over the size of the chips. Just make sure it’s sharp!
Preparation Method
Let’s get to the fun part. This recipe is broken down into two parts: the chips and the dip. I like to start the chips first so they can cool while I assemble everything else.
Step 1: Make the Homemade Chips
- Preheat your oven to 375°F (190°C). Line two baking sheets with parchment paper.
- Stack your corn tortillas in a pile of about 4-5. Using a pizza cutter or a sharp knife, cut the stack into 6 wedges (like you’re cutting a pizza). You should get about 72-90 chips from 12-15 tortillas.
- Spread the tortilla wedges out on the prepared baking sheets in a single layer. Don’t overcrowd them, or they’ll steam instead of getting crispy. It’s okay if they touch a little, but they shouldn’t overlap.
- Lightly spray the chips with olive oil spray. You want a fine, even mist—not a soaking. Flip the chips and spray the other side.
- Sprinkle with kosher salt. If you’re using the lime zest, mix it with the salt in a small bowl first, then sprinkle over the chips.
- Bake for 8-10 minutes, then flip the chips with a spatula and bake for another 4-6 minutes. Watch them carefully! They can go from golden to burnt in a flash. They should be lightly browned and feel firm to the touch. They will continue to crisp up as they cool.
- Let the chips cool on the baking sheet for at least 5 minutes. They’ll become perfectly crunchy.
Step 2: Assemble the Lighter Seven-Layer Dip
- Prepare your beans. In a small bowl, stir the refried beans with 2 tablespoons of water to loosen them up a bit. This makes them easier to spread. Microwave for 30 seconds to warm them slightly.
- Spread the warm beans in an even layer on the bottom of your serving dish. Use a spatula to get it nice and smooth.
- Add the Greek yogurt layer. Spoon the Greek yogurt over the beans and gently spread it into an even layer. Don’t mix it in—you want distinct layers!
- Spread the guacamole over the yogurt. If your guacamole is a little thick, you can drop spoonfuls and then carefully spread them.
- Pour the salsa over the guacamole. If your salsa is watery, you can drain it slightly first, but I usually don’t bother.
- Sprinkle the shredded cheese evenly over the salsa.
- Top with the sliced black olives and sliced green onions. If you’re using jalapeño, add that now too.
- Serve immediately with the homemade chips, or cover and refrigerate for up to 2 hours before serving. The flavors meld together beautifully if it sits for a bit.
Cooking Tips & Techniques
After making this dip about a dozen times, I’ve learned a few things the hard way. Here are my best tips to make sure yours is perfect every time.
- Don’t skip toasting the spices. If you’re using a store-bought salsa, you’re good. But if you’re making your own, a quick toast of cumin and chili powder in a dry pan brings out a depth of flavor you can’t get any other way. I learned this after making a flat-tasting salsa once. Never again.
- The yogurt trick. To make the Greek yogurt taste more like sour cream, stir in a pinch of salt and a squeeze of lime juice. It cuts the tanginess and makes it taste rich and cultured. This is the single most important tip for making this dip taste “real.”
- Warm the beans. This is a game-changer. Spreading warm beans creates a cozy, comforting base that contrasts beautifully with the cool, creamy layers on top. It also makes the dip easier to scoop.
- Layer with a light hand. You want to see each layer. Don’t press down hard when spreading the guacamole or yogurt. Gently coax them into place. It looks much prettier, and the texture is better.
- Watch those chips like a hawk. Oven temperatures vary wildly. The first time I made these, I walked away for two minutes and came back to a batch of charcoal. Set a timer and check them at the 8-minute mark. Your nose will also tell you when they’re done—that toasty corn smell is unmistakable.
Variations & Adaptations
This recipe is a fantastic canvas for your own creativity. Here are a few ways I’ve played with it.
Vegetarian & Vegan Version
This recipe is already vegetarian! To make it vegan, use a plant-based refried bean (most are vegan), a dairy-free yogurt or sour cream, a vegan cheese shred, and a vegan guacamole. I’ve tried it with a cashew-based yogurt, and it was surprisingly creamy and delicious.
Spicy Southwest Kick
If you like heat, add a layer of pickled jalapeños or a drizzle of chipotle hot sauce between the salsa and the cheese. You can also mix a teaspoon of chili powder into the refried beans. I did this once for a party with my spice-loving friends, and it was gone in ten minutes.
Breakfast Dip
Okay, this one is a little out there, but hear me out. Use the leftover dip (if you have any) and top it with a fried egg and some crumbled bacon. The runny yolk mixing with the cool dip is absolutely incredible. It’s my favorite post-game Sunday breakfast.
Serving & Storage Suggestions
This dip is best served at room temperature or slightly chilled. I like to let it sit out for about 15 minutes after assembling it so the flavors can get to know each other.
For presentation, a clear glass dish is ideal so you can show off all those beautiful layers. I serve it with a pile of the homemade chips right on the side, and maybe some extra veggie sticks like bell pepper strips or cucumber rounds for scooping.
Storage: This dip will keep in the refrigerator, covered tightly, for up to 3 days. The homemade chips are best eaten the day they’re made, but you can store them in an airtight container at room temperature for a day or two. They might lose a little crunch, but they’re still good.
Reheating: I don’t recommend reheating the whole dip because the yogurt and guacamole can get watery. If you have leftovers, just enjoy them cold. The flavors actually get better overnight!
Nutritional Information & Benefits
This lighter version of the classic dip is packed with good-for-you ingredients without sacrificing an ounce of flavor. Here’s a rough estimate per serving (about 1/8 of the dip with chips):
- Calories: ~280
- Fat: ~14g
- Protein: ~12g
- Carbohydrates: ~30g
- Fiber: ~6g
The Greek yogurt is a fantastic source of protein and probiotics, which are great for gut health. The avocados in the guacamole provide healthy monounsaturated fats that are good for your heart. The beans are packed with fiber and plant-based protein, keeping you full and satisfied. And the homemade chips are free from the preservatives and excess oil you find in store-bought versions.
This dip is naturally gluten-free and can easily be made vegetarian or vegan. It’s a crowd-pleaser that fits into a balanced, wholesome lifestyle. You can feel good about serving this to your family.
Conclusion
This Lighter Seven-Layer Game Day Dip with Homemade Chips is more than just a snack—it’s a testament to the fact that you can have your party food and feel great about it too. It started with a surprising phone call from my accountant, and it’s become a staple in my kitchen. It’s the kind of recipe that makes you look forward to game day, or any day, really.
I encourage you to make this your own. Swap out the salsa for a mango version, add some corn, or double the guacamole (I won’t judge). The beauty of a layered dip is that it’s infinitely adaptable. So go ahead, make a mess, and enjoy every single bite.
I’d love to hear how it turns out for you! Drop a comment below and let me know what variations you tried. Did you add bacon? Did you make it extra spicy? Share your stories—I read every single one. Happy dipping!
Frequently Asked Questions
Can I make this dip ahead of time?
Absolutely! You can assemble the entire dip (minus the chips) up to 24 hours in advance. Just cover it tightly with plastic wrap and store it in the refrigerator. The flavors will meld together beautifully. Add the chips right before serving so they stay crunchy.
Can I use store-bought chips instead of making my own?
Of course! While the homemade chips are a fun and healthier touch, you can absolutely use your favorite store-bought tortilla chips. Look for a sturdy chip that can handle the weight of the dip. I recommend a restaurant-style chip for the best scooping experience.
My dip turned out watery. What did I do wrong?
This usually happens if the salsa is too watery or if the guacamole has been sitting out too long. To prevent this, you can drain the salsa slightly before adding it. Also, make sure your Greek yogurt is thick (not the drinkable kind). If your guacamole is homemade, make sure your avocados are ripe but not mushy.
Can I freeze this dip?
I don’t recommend freezing this dip. The texture of the yogurt, guacamole, and fresh vegetables will become watery and grainy when thawed. It’s best enjoyed fresh or within a few days of making it. The good news is, it’s so delicious it rarely lasts that long!
How can I make this dip spicier?
There are several ways to kick up the heat! You can add a layer of sliced pickled jalapeños, mix a teaspoon of cayenne pepper or chili powder into the refried beans, use a spicy salsa, or drizzle some hot sauce over the top before serving. I personally love using a chipotle salsa for a smoky heat.
Pin This Recipe!
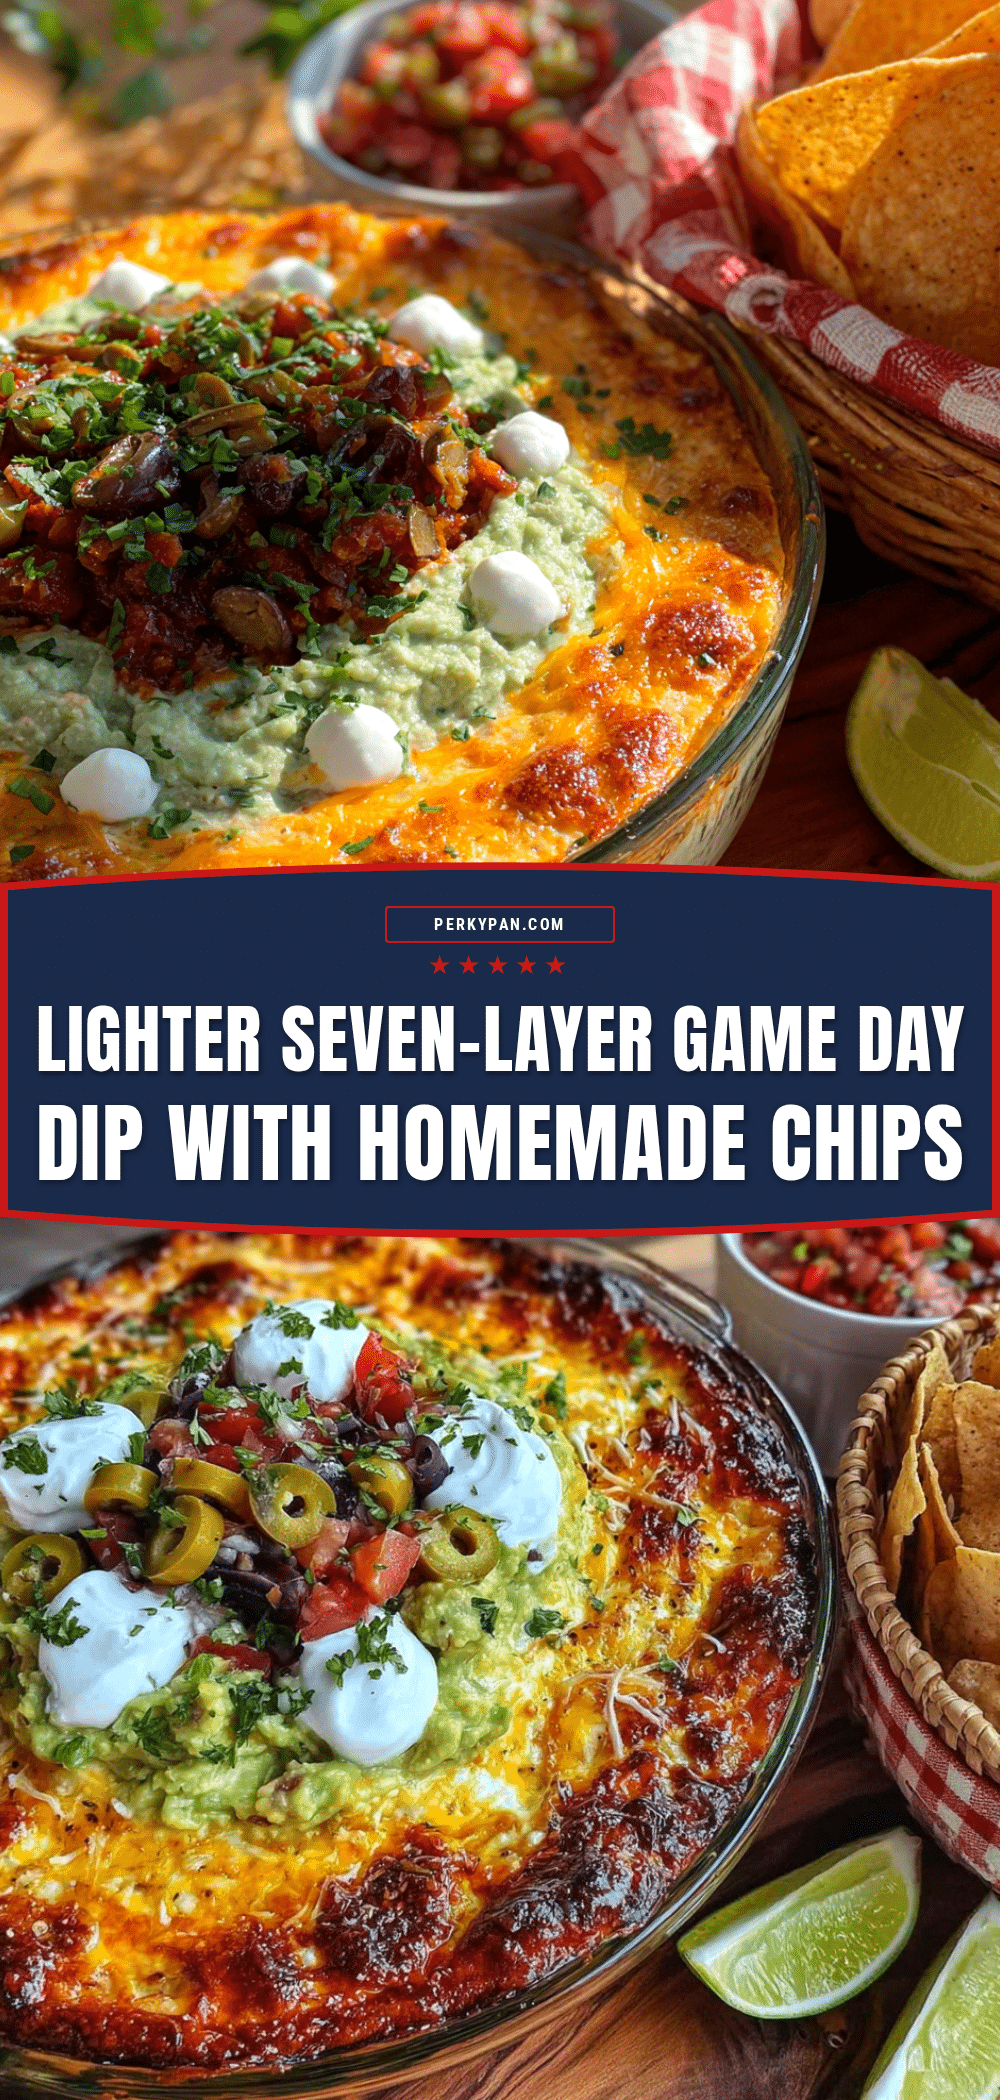
Lighter Seven-Layer Game Day Dip with Homemade Chips
A lighter version of the classic seven-layer dip, made with Greek yogurt instead of sour cream and served with homemade tortilla chips. It’s perfect for game day or any gathering, delivering all the flavor without the guilt.
- Prep Time: 15 minutes
- Cook Time: 15 minutes
- Total Time: 30 minutes
- Yield: 8 servings 1x
- Category: Appetizer
- Cuisine: Mexican-American
Ingredients
- 12–15 corn tortillas (6-inch)
- Olive oil spray (or avocado oil spray)
- Kosher salt, to taste
- Lime zest (optional, from 1 lime)
- 1 can (15 oz) low-sodium refried beans
- 1 cup plain Greek yogurt (full-fat or 2%)
- 1 cup guacamole (store-bought or homemade)
- 1 cup salsa (medium-heat, restaurant-style)
- 1 cup shredded Mexican blend cheese
- 1 can (2.25 oz) sliced black olives
- 4–5 green onions, sliced
- 1 jalapeño, sliced (optional)
Instructions
- Preheat oven to 375°F (190°C). Line two baking sheets with parchment paper.
- Stack corn tortillas in piles of 4-5. Cut each stack into 6 wedges using a pizza cutter or sharp knife.
- Spread tortilla wedges in a single layer on prepared baking sheets. Lightly spray with olive oil spray, flip, and spray the other side.
- Sprinkle with kosher salt. If using lime zest, mix with salt first, then sprinkle over chips.
- Bake for 8-10 minutes, then flip chips and bake for another 4-6 minutes until lightly browned and firm. Let cool on baking sheet for at least 5 minutes.
- In a small bowl, stir refried beans with 2 tablespoons water to loosen. Microwave for 30 seconds to warm.
- Spread warm beans in an even layer on the bottom of a 9-inch pie plate or serving dish.
- Spoon Greek yogurt over beans and gently spread into an even layer.
- Spread guacamole over the yogurt layer.
- Pour salsa over guacamole. If salsa is watery, drain slightly first.
- Sprinkle shredded cheese evenly over salsa.
- Top with sliced black olives, green onions, and optional jalapeño slices.
- Serve immediately with homemade chips, or cover and refrigerate for up to 2 hours before serving.
Notes
To make Greek yogurt taste more like sour cream, stir in a pinch of salt and a squeeze of lime juice. Warm the beans before spreading for a cozy base. Watch chips closely as they can burn quickly. Dip can be assembled up to 24 hours in advance (without chips).
Nutrition
- Serving Size: 1/8 of dip with chip
- Calories: 280
- Sugar: 3
- Sodium: 450
- Fat: 14
- Saturated Fat: 4
- Carbohydrates: 30
- Fiber: 6
- Protein: 12
Keywords: seven-layer dip, game day dip, lighter dip, homemade chips, healthy appetizer, party dip, Mexican dip


