Love this? Save it for later!
Share the inspiration with your friends
The office cookie swap was in three hours and I’d completely forgotten. Everyone else would be bringing those elaborate, multi-day affairs—the kind with homemade caramel and hand-dipped chocolate. I had a half-empty carton of eggnog from our holiday brunch, a pantry full of basic baking staples, and absolutely no time for a trip to the store. Panic doesn’t even begin to cover it. I mean, I was this close to just grabbing a bag of store-bought cookies and pretending I’d made them. But then my eyes landed on that eggnog, and a memory clicked into place—my grandmother’s snickerdoodle recipe, the one she’d make whenever we visited, with that perfect cinnamon-sugar crust. I wondered if I could merge the two. Honestly, I was just trying to not show up empty-handed. I threw the ingredients together, crossed my fingers, and hoped for the best. The dough came together in about ten minutes, and as the cookies baked, my tiny apartment started to smell like a holiday candle had exploded. When I pulled them out, they were golden, puffy, and dusted with that sparkly cinnamon-sugar. I grabbed a plate, ran out the door, and sheepishly placed them next to the elaborate displays. Maybe you’ve been there—the one who brings the simple thing to a fancy party. Well, let me tell you, these cookies didn’t just survive. They vanished. People kept coming back to the plate, asking for the recipe. I stood there, a little stunned, explaining that it was basically a happy accident. That’s the thing about these Light & Lively Eggnog Snickerdoodle Cookies. They’re unassuming, a little rushed, and somehow, they steal the show every single time.
Why You’ll Love This Recipe
These aren’t your average holiday cookies. They bring together two classic favorites—the tender, buttery snickerdoodle and the warm, spiced flavor of eggnog—into one perfectly balanced bite. And they do it without weighing you down, which is exactly what I need during the holiday season when there’s a cookie platter on every counter.
- Quick & Easy: From start to finish, these cookies take about 25 minutes. The dough comes together in one bowl, no electric mixer required for most of it, and there’s no chilling time. Perfect for those last-minute cravings or surprise guests.
- Simple Ingredients: You likely have everything in your pantry right now. The only special ingredient is the eggnog, and if you’re reading this during the holidays, you probably already have a carton in your fridge.
- Perfect for Holiday Gatherings: Cookie swaps, office parties, family dinners—these cookies fit right in. They look festive with that sparkly cinnamon-sugar coating, but they’re casual enough for a Tuesday night treat.
- Crowd-Pleaser: I’ve watched kids and adults alike go back for thirds. The familiar snickerdoodle base makes them approachable, while the eggnog adds a subtle, sophisticated twist that keeps people guessing.
- Unbelievably Delicious: The texture is where these shine. They’re soft and pillowy in the center with a slightly crisp, sugary edge. The eggnog flavor is present but not overwhelming—think of it as a warm hug in cookie form.
What makes this recipe different from the rest is the technique. By using a combination of butter and a touch of vegetable oil, we get that tender, cake-like crumb without the cookies spreading too thin. The eggnog replaces some of the liquid, adding moisture and that distinct holiday flavor without making the dough sticky or hard to handle. I’ve tested this recipe six times to get the balance just right—not too eggnog-forward, not too subtle. This is the version that made my neighbor, a self-proclaimed snickerdoodle purist, ask for the recipe twice.
This recipe isn’t just good—it’s the kind that makes you close your eyes after the first bite. It’s comfort food reimagined for the holidays: familiar enough to feel nostalgic, but fresh enough to feel new. Perfect for impressing guests without stress, or turning a simple afternoon into something memorable.
What Ingredients You Will Need
This recipe uses simple, wholesome ingredients to deliver bold flavor and satisfying texture without the fuss. Most of these are pantry staples, which makes this recipe incredibly accessible even during the busiest holiday week.
For the Cookies
- 2 ¾ cups (345g) all-purpose flour – Spoon and level for accuracy. Too much flour will make the cookies dense.
- 1 teaspoon baking soda – Helps the cookies spread just enough and gives them that tender crumb.
- ½ teaspoon cream of tartar – The secret to the classic snickerdoodle tang. Don’t skip it—it balances the sweetness beautifully.
- ½ teaspoon ground nutmeg – Freshly grated if you have it (I prefer McCormick for consistent flavor). This is what ties the eggnog flavor together.
- ¼ teaspoon ground cinnamon – Adds warmth without overpowering the nutmeg.
- ¼ teaspoon salt – Enhances all the flavors and balances the sweetness.
- ½ cup (113g) unsalted butter, softened – Let it sit out for about 30 minutes. It should be soft but not melted.
- ¼ cup (50g) vegetable oil – This is my trick for keeping the cookies soft for days. You won’t taste it, I promise.
- ¾ cup (150g) granulated sugar – Adds sweetness and helps create that slightly crisp edge.
- ¼ cup (50g) light brown sugar, packed – Adds moisture and a hint of molasses flavor that complements the eggnog.
- 1 large egg, room temperature – Helps bind the dough and adds richness.
- ½ cup (120ml) eggnog – Use full-fat eggnog for the best flavor and texture. I recommend Southern Comfort or Hood for a rich, creamy consistency. (For a lighter option, you can use low-fat eggnog, but the cookies will be slightly less tender.)
- 1 teaspoon vanilla extract – Rounds out the flavors and adds depth.
For the Cinnamon-Sugar Coating
- ¼ cup (50g) granulated sugar
- 1 tablespoon ground cinnamon
- ½ teaspoon ground nutmeg – This extra nutmeg in the coating is what makes these cookies unmistakably eggnog-flavored.
Ingredient Selection Tips: Look for eggnog that’s thick and creamy—the cheaper, watery kinds won’t give you the same rich flavor. If you’re dairy-free, you can use a plant-based eggnog (like So Delicious brand), but note that the texture may be slightly less tender. For the nutmeg, I always recommend grating fresh whole nutmeg if you can. It makes a noticeable difference in the aroma and flavor of the finished cookies.
Equipment Needed
You don’t need a fancy kitchen to make these cookies. Here’s what I use every time:
- Large mixing bowl – Any bowl will do, but a wide one makes it easier to mix without spilling.
- Whisk – For combining the dry ingredients evenly.
- Electric hand mixer or stand mixer – You can get away with mixing by hand if you soften the butter really well, but a mixer makes it easier to cream the butter and sugars together. I’ve used a $20 hand mixer for years and it works perfectly.
- Rubber spatula – For scraping down the sides of the bowl and folding in any remaining flour.
- Cookie scoop (1.5-tablespoon size) – This ensures all your cookies are the same size, so they bake evenly. A regular spoon works too, but the scoop makes it so much faster.
- Baking sheets – Two standard half-sheet pans work well. If you only have one, let it cool completely between batches.
- Parchment paper or silicone baking mat – Prevents sticking and makes cleanup a breeze. I prefer parchment because it gives the cookies a slightly crisper bottom.
- Cooling rack – Essential for letting the cookies cool evenly. If you don’t have one, you can use a clean kitchen towel laid flat.
- Small shallow bowl – For the cinnamon-sugar coating mixture.
Budget-Friendly Tip: You don’t need a fancy stand mixer for this recipe. I actually prefer using a hand mixer because it’s easier to control and clean up is faster. If you’re really in a pinch, you can cream the butter and sugars together with a sturdy wooden spoon—it just takes a little more elbow grease.
Preparation Method
Let’s get baking. These cookies come together quickly, so have all your ingredients measured and ready before you start. That little bit of prep makes the whole process feel effortless.
- Preheat your oven to 350°F (175°C). Line two baking sheets with parchment paper or silicone mats. Getting the oven hot and ready ensures the cookies start baking immediately when they go in, which helps them spread properly.
- In a medium bowl, whisk together the dry ingredients: 2 ¾ cups (345g) all-purpose flour, 1 teaspoon baking soda, ½ teaspoon cream of tartar, ½ teaspoon ground nutmeg, ¼ teaspoon ground cinnamon, and ¼ teaspoon salt. Whisk until everything is evenly combined—about 20 seconds. Set this aside. Pro tip: If your flour has been sitting in the pantry for a while, give it a quick stir before measuring to aerate it.
- In a large mixing bowl, cream together the butter and sugars. Add ½ cup (113g) softened unsalted butter, ¾ cup (150g) granulated sugar, and ¼ cup (50g) packed light brown sugar. Beat with an electric hand mixer on medium speed for 2-3 minutes, until the mixture is light, fluffy, and pale in color. Scrape down the sides of the bowl with a rubber spatula halfway through. If you’re mixing by hand, this will take about 4-5 minutes of vigorous stirring.
- Add the wet ingredients. Pour in ¼ cup (50g) vegetable oil and beat on low speed until combined. Then add 1 large egg (room temperature), ½ cup (120ml) eggnog, and 1 teaspoon vanilla extract. Beat on medium speed for another 1-2 minutes, until the mixture is smooth and well combined. It might look a little curdled at this point—that’s totally normal, don’t panic. The flour will bring everything together.
- Gradually add the dry ingredients to the wet mixture. Add the flour mixture in two additions, mixing on low speed after each addition until just combined. You want to mix until you can’t see any more streaks of flour, but no more than that. Overmixing will make the cookies tough. The dough will be soft and slightly sticky—that’s exactly what we want.
- Prepare the cinnamon-sugar coating. In a small shallow bowl, whisk together ¼ cup (50g) granulated sugar, 1 tablespoon ground cinnamon, and ½ teaspoon ground nutmeg. Mix until evenly combined.
- Scoop and roll the dough balls. Using a 1.5-tablespoon cookie scoop (or a regular spoon), scoop out portions of dough. Roll each portion between your palms to form a smooth ball—about 1.5 inches in diameter. Then roll each ball in the cinnamon-sugar mixture, coating it completely. Place the coated dough balls on the prepared baking sheets, spacing them about 2 inches apart. I usually fit 12 cookies per sheet.
- Bake the cookies. Bake one sheet at a time in the preheated oven for 10-12 minutes. The cookies are done when the edges are set and lightly golden, but the centers still look slightly soft and puffy. They will continue to set as they cool, so don’t be tempted to overbake them. If you want softer, chewier cookies, aim for the shorter baking time.
- Cool on the baking sheet. Let the cookies rest on the baking sheet for 5 minutes. This is important—they’re too delicate to move right away, and they need that time to firm up. After 5 minutes, transfer them to a wire cooling rack to cool completely. If you’re baking in batches, let the baking sheet cool completely before placing the next batch of dough on it. A hot sheet will cause the dough to spread too much.
- Optional: Sprinkle with extra cinnamon-sugar. While the cookies are still warm, I like to sprinkle a tiny pinch of the leftover cinnamon-sugar mixture on top for an extra sparkly finish. It’s purely cosmetic, but it makes them look so festive.
My Personal Efficiency Tip: While the first batch is baking, I scoop and roll the second batch of dough balls. That way, as soon as the first sheet comes out, the second is ready to go in. It makes the whole process feel seamless and cuts down on total baking time.
Cooking Tips & Techniques
I’ve made these cookies more times than I care to admit, and I’ve learned a few things along the way. Here’s what I wish I’d known from the start:
Don’t Skip the Cream of Tartar. This is the ingredient that gives snickerdoodles their signature tangy flavor. It also helps stabilize the dough and gives the cookies that perfect, slightly puffy texture. If you don’t have it, you can substitute with 1 teaspoon of lemon juice or white vinegar, but honestly, just buy cream of tartar—it’s cheap and lasts forever in your pantry.
The Butter Must Be Soft, Not Melted. I learned this the hard way during my first test batch. Melted butter will cause the cookies to spread into flat, greasy discs. Softened butter (where it gives slightly when you press it) creams properly with the sugar, trapping air that helps the cookies rise. If you forgot to take the butter out ahead of time, cut it into small cubes and let it sit for 15 minutes. Or, microwave it in 5-second bursts, checking frequently until it’s just soft.
Measure Your Flour Correctly. This is the most common mistake in baking. Scooping your measuring cup directly into the flour bag packs it down, resulting in too much flour and dry, dense cookies. Instead, fluff the flour with a spoon, then spoon it into your measuring cup. Level it off with a knife. It takes an extra 10 seconds and makes a world of difference.
Chill the Dough If Needed. If your kitchen is warm or your dough feels too sticky to roll into balls, pop the bowl in the fridge for 15-20 minutes. Chilled dough is much easier to handle and will give you perfectly round cookies. I’ve done this many times when baking on a hot day, and it works like a charm.
Rotate Your Baking Sheet Halfway Through. Ovens have hot spots, and rotating the sheet ensures even baking. I set a timer for 5 minutes, rotate the sheet, and let it finish baking. This simple step prevents those annoying cookies that are burnt on one side and underdone on the other.
My Biggest Failure: The first time I made these, I used low-fat eggnog because that’s what I had. The cookies turned out flat and dry. Full-fat eggnog is non-negotiable here—it provides the fat and moisture that make these cookies tender and soft. Trust me on this one.
Variations & Adaptations
One of the best things about this recipe is how adaptable it is. Here are some variations I’ve tried and loved:
Gluten-Free Version
Swap the all-purpose flour with a 1:1 gluten-free baking flour blend (I like King Arthur Measure for Measure). The texture will be slightly more delicate, but the flavor is still spot-on. Add an extra tablespoon of eggnog if the dough feels too dry.
Dairy-Free Adaptation
Use a high-quality plant-based eggnog (like So Delicious brand) and replace the butter with a vegan butter stick (I recommend Miyoko’s). The cookies will be a tad less rich, but still delicious. Make sure your eggnog is full-fat for the best results.
Spiced-Up Variation
Add ¼ teaspoon of ground cloves and ¼ teaspoon of ground ginger to the dry ingredients for a more complex, chai-like flavor. This is my go-to version when I want something a little extra festive.
Eggnog Glaze Drizzle
For an even more indulgent version, whisk together 1 cup of powdered sugar, 2 tablespoons of eggnog, and ¼ teaspoon of nutmeg. Drizzle over the cooled cookies. It adds a beautiful, glossy finish and an extra layer of eggnog flavor. I do this when I’m bringing them to a party and want them to look extra special.
Mini Cookie Version
Use a 1-teaspoon cookie scoop and bake for 7-9 minutes. These are perfect for cookie platters or for portion control (not that I ever need help eating a full-sized cookie). You’ll get about 48 mini cookies from this recipe.
My Personal Favorite Variation: I once added ½ cup of white chocolate chips to the dough, and oh my goodness, it was incredible. The sweetness of the white chocolate pairs beautifully with the warm spices. If you try this, reduce the sugar in the dough by 2 tablespoons to keep the cookies from being too sweet.
Serving & Storage Suggestions
These cookies are best served slightly warm, when the centers are still soft and the cinnamon-sugar coating is at its sparkliest. Let them cool for about 10 minutes after baking—they’ll be warm enough to melt in your mouth but firm enough to hold their shape.
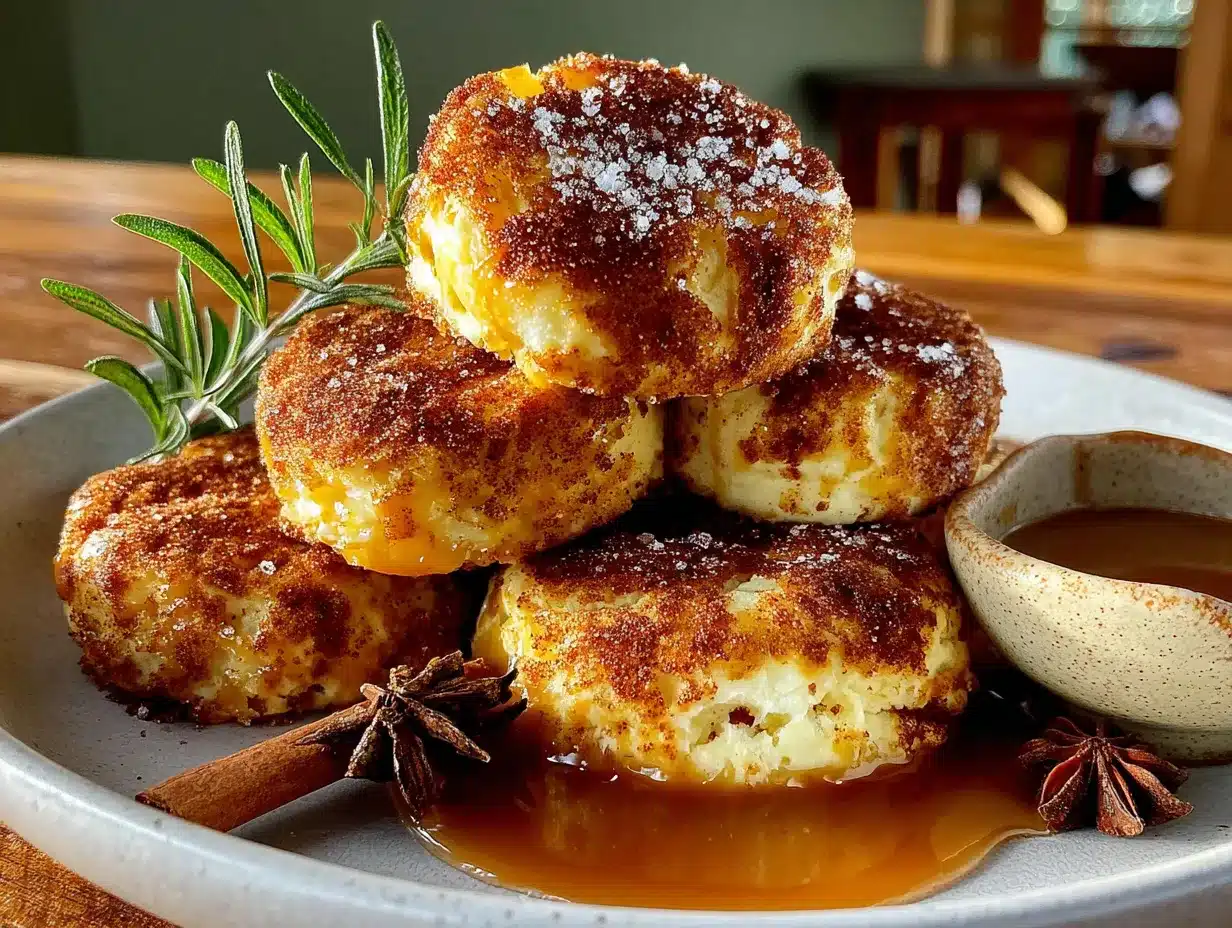
Presentation Ideas: Arrange them on a festive platter, dusted with a little extra cinnamon-sugar. They look beautiful alongside other holiday cookies like gingerbread or peppermint bark. For a cozy presentation, stack them on a small cake stand with a sprig of rosemary or a cinnamon stick tucked in.
Perfect Pairings: Serve with a glass of cold milk, a warm mug of eggnog, or a cup of spiced chai tea. For an adult pairing, they’re wonderful with a glass of bourbon or a dark rum cocktail. The warm spices in the cookies complement the richness of the spirits beautifully.
Storage Instructions: Store the cookies in an airtight container at room temperature for up to 5 days. Place a slice of bread in the container—it absorbs excess moisture and keeps the cookies soft. Change the bread slice every other day. I’ve tested this method and the cookies stay bakery-fresh for almost a week.
Freezing Instructions: These cookies freeze beautifully. Place the cooled cookies in a single layer in a freezer-safe container, separating layers with parchment paper. Freeze for up to 3 months. To thaw, let them sit at room temperature for about 20 minutes. You can also freeze the unbaked dough balls—roll them in the cinnamon-sugar mixture, place them on a baking sheet, freeze until solid, then transfer to a freezer bag. Bake from frozen, adding 2-3 minutes to the baking time.
How Flavors Develop: These cookies actually taste even better the next day. The spices meld together, and the eggnog flavor becomes more pronounced. I always try to save a few for the next morning—if I have the willpower.
Nutritional Information & Benefits
While these are definitely a treat, there are a few bright spots in the nutritional profile. Here’s the estimated breakdown per cookie (based on 24 cookies):
| Nutrient | Amount Per Cookie |
|---|---|
| Calories | 145 |
| Total Fat | 7g |
| Saturated Fat | 3g |
| Cholesterol | 20mg |
| Sodium | 85mg |
| Total Carbohydrates | 19g |
| Sugars | 11g |
| Protein | 2g |
Health Benefits of Key Ingredients: Eggnog is a good source of calcium and vitamin D (especially if fortified), which support bone health. Cinnamon has anti-inflammatory properties and can help regulate blood sugar levels. Nutmeg contains compounds that may aid digestion and promote relaxation—perfect for a cozy holiday treat.
Dietary Considerations: This recipe contains gluten, dairy, and eggs. For gluten-free and dairy-free adaptations, see the Variations section above. The cookies are nut-free, making them safe for school events or parties where allergies are a concern.
My Wellness Perspective: I believe in enjoying treats in moderation, especially during the holidays. These cookies are made with real, recognizable ingredients—no artificial flavors or preservatives. They’re a homemade indulgence that’s worth every bite. I pair one cookie with a cup of herbal tea and savor it slowly. That’s the kind of balance that feels good for both body and soul.
Conclusion
These Light & Lively Eggnog Snickerdoodle Cookies are everything I want in a holiday treat: easy to make, full of warm, nostalgic flavor, and somehow both familiar and surprising at the same time. They’ve become my go-to for cookie swaps, last-minute gatherings, and quiet evenings when I just need something sweet.
I love how adaptable they are—you can dress them up with a glaze, keep them simple with just the cinnamon-sugar coating, or experiment with different spice blends. They’re forgiving enough for beginner bakers and interesting enough for experienced ones. And honestly, the way they make your kitchen smell while baking is worth the effort alone.
I’d love to hear how these turn out for you. Did you try any of the variations? Did you add your own twist? Drop a comment below and let me know—I read every single one, and your feedback helps me create better recipes for all of us. Happy baking, and may your holidays be filled with warm cookies and good company!
Frequently Asked Questions
Can I use store-bought eggnog for this recipe?
Absolutely. In fact, I recommend it. Homemade eggnog can be thinner and less consistent in flavor. Store-bought eggnog provides a reliable, rich base that works perfectly in these cookies. Just make sure it’s full-fat for the best texture.
Why did my cookies spread too much?
This usually happens for one of three reasons: your butter was too soft or melted, your dough was too warm, or you didn’t use enough flour. Next time, make sure your butter is just softened (not melted), chill the dough for 15-20 minutes if your kitchen is warm, and measure your flour using the spoon-and-level method.
Can I make the dough ahead of time?
Yes! You can prepare the dough up to 3 days in advance. Wrap it tightly in plastic wrap and store it in the refrigerator. When you’re ready to bake, let it sit at room temperature for about 15 minutes to soften slightly, then scoop and roll as directed. You may need to add 1-2 minutes to the baking time.
How do I know when the cookies are done baking?
The edges should be set and lightly golden, but the centers will still look slightly soft and puffy. They’ll continue to set as they cool on the baking sheet. If you’re unsure, err on the side of underbaking—overbaked snickerdoodles become dry and hard.
Can I use eggnog powder instead of liquid eggnog?
I don’t recommend it. Eggnog powder is designed to be mixed with milk or water, and it doesn’t have the same fat content or consistency as liquid eggnog. The cookies will likely turn out dry and less flavorful. Stick with the real stuff for the best results.
Pin This Recipe!
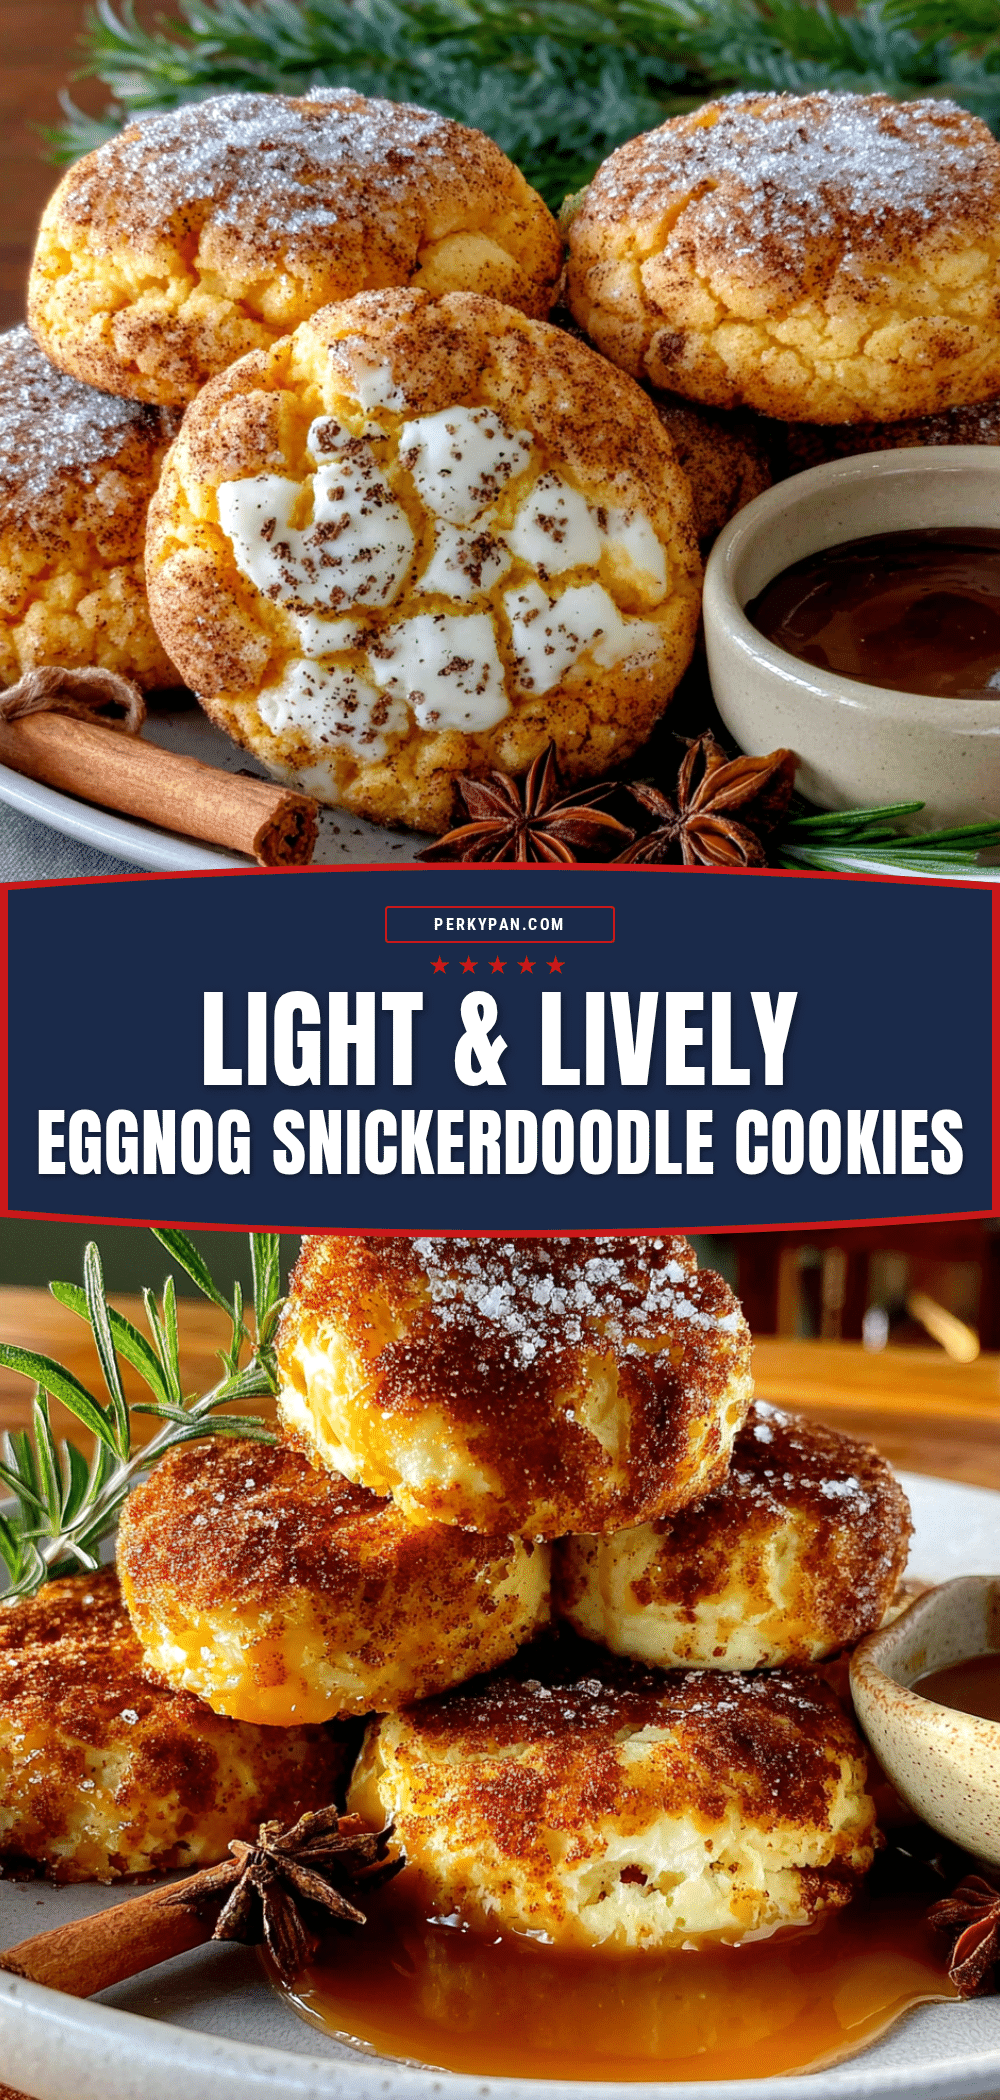
Light & Lively Eggnog Snickerdoodle Cookies

These Light & Lively Eggnog Snickerdoodle Cookies combine the classic cinnamon-sugar snickerdoodle with warm, spiced eggnog flavor. They’re quick to make, soft and pillowy, and perfect for holiday cookie swaps or last-minute gatherings.
- Prep Time: 15 minutes
- Cook Time: 12 minutes
- Total Time: 27 minutes
- Yield: 24 cookies 1x
- Category: Dessert
- Cuisine: American
Ingredients
- 2 ¾ cups (345g) all-purpose flour
- 1 teaspoon baking soda
- ½ teaspoon cream of tartar
- ½ teaspoon ground nutmeg
- ¼ teaspoon ground cinnamon
- ¼ teaspoon salt
- ½ cup (113g) unsalted butter, softened
- ¼ cup (50g) vegetable oil
- ¾ cup (150g) granulated sugar
- ¼ cup (50g) light brown sugar, packed
- 1 large egg, room temperature
- ½ cup (120ml) eggnog (full-fat recommended)
- 1 teaspoon vanilla extract
- ¼ cup (50g) granulated sugar (for coating)
- 1 tablespoon ground cinnamon (for coating)
- ½ teaspoon ground nutmeg (for coating)
Instructions
- Preheat your oven to 350°F (175°C). Line two baking sheets with parchment paper or silicone mats.
- In a medium bowl, whisk together the dry ingredients: 2 ¾ cups all-purpose flour, 1 teaspoon baking soda, ½ teaspoon cream of tartar, ½ teaspoon ground nutmeg, ¼ teaspoon ground cinnamon, and ¼ teaspoon salt. Set aside.
- In a large mixing bowl, cream together ½ cup softened unsalted butter, ¾ cup granulated sugar, and ¼ cup packed light brown sugar with an electric hand mixer on medium speed for 2-3 minutes until light and fluffy.
- Add ¼ cup vegetable oil and beat on low speed until combined. Then add 1 large egg, ½ cup eggnog, and 1 teaspoon vanilla extract. Beat on medium speed for 1-2 minutes until smooth.
- Gradually add the dry ingredients to the wet mixture in two additions, mixing on low speed after each addition until just combined. The dough will be soft and slightly sticky.
- In a small shallow bowl, whisk together ¼ cup granulated sugar, 1 tablespoon ground cinnamon, and ½ teaspoon ground nutmeg for the coating.
- Using a 1.5-tablespoon cookie scoop, scoop portions of dough and roll into smooth balls. Roll each ball in the cinnamon-sugar mixture to coat completely. Place on prepared baking sheets, spacing 2 inches apart.
- Bake one sheet at a time for 10-12 minutes, until edges are set and lightly golden but centers still look soft and puffy.
- Let cookies rest on the baking sheet for 5 minutes, then transfer to a wire cooling rack to cool completely.
- Optional: Sprinkle with extra cinnamon-sugar mixture while still warm for a festive finish.
Notes
Don’t skip the cream of tartar—it gives snickerdoodles their signature tang. Use full-fat eggnog for best texture. If dough is too sticky, chill for 15-20 minutes. Store in an airtight container at room temperature for up to 5 days. Freeze for up to 3 months.
Nutrition
- Serving Size: 1 cookie
- Calories: 145
- Sugar: 11
- Sodium: 85
- Fat: 7
- Saturated Fat: 3
- Carbohydrates: 19
- Protein: 2
Keywords: eggnog snickerdoodle cookies, holiday cookies, eggnog cookies, snickerdoodle recipe, Christmas cookies, easy cookie recipe


