Love this? Save it for later!
Share the inspiration with your friends
The neighborhood pie contest was in three hours and I’d completely forgotten. Everyone else would be bringing their grandmother’s legendary lattice-topped apple masterpiece or that triple-chocolate thing they’d been perfecting for weeks. I had a can of pumpkin puree, a stick of butter that had been sitting on the counter too long, and a vague memory of my mother’s pie crust technique that I’d never actually tried myself. Honestly, I almost just grabbed a store-bought pie and claimed a stomach bug.
But something about the challenge—or maybe just stubbornness—kicked in. I pulled out the flour, cubed that overly soft butter, and started working it into the flour with my fingertips like I’d watched my mom do a hundred times. The dough came together in a shaggy, messy pile that I was sure was a disaster. I pressed it into the pan with way more hope than skill, poured in the spiced pumpkin filling, and slid it into the oven with a prayer.
Let me tell you, when that pie came out of the oven, the whole kitchen smelled like Thanksgiving had exploded in the best way. The crust had puffed up all golden and flaky, and the filling was set with just the tiniest jiggle in the center. I brought it to the contest feeling like a fraud—but somehow, against all odds, that lopsided, imperfect pie took home the blue ribbon. I mean, I was as shocked as anyone.
That’s the thing about this homemade pumpkin pie with flaky butter crust. It doesn’t need fancy techniques or hours of your time. It just needs a little trust in the process and maybe a bit of last-minute panic. It’s become my go-to for every cozy fall gathering since, and honestly, it’s the pie that made me believe I could actually bake. Maybe you’ve been there—standing in your kitchen with a ticking clock and a wild idea that somehow works out. This is that recipe.
Why You’ll Love This Recipe
This isn’t just another pumpkin pie recipe. After years of testing (and plenty of soggy-bottom disasters), I’ve landed on a version that delivers every single time. Here’s why this one stands out:
- Flaky, All-Butter Crust: No shortening, no crisco—just real butter that creates those beautiful, tender layers you dream about.
- Perfectly Spiced Filling: The blend of cinnamon, ginger, nutmeg, and cloves is balanced to let the pumpkin shine without being overpowering. I’ve tweaked this ratio over countless Thanksgivings.
- Make-Ahead Friendly: You can prep the dough and filling a day ahead. This pie actually tastes better after sitting overnight—the flavors meld together beautifully.
- No Blind Baking Required: I know, this sounds impossible. But with a few simple tricks, you get a fully baked bottom crust without the extra step. Trust me on this one.
- Crowd-Pleasing Classic: Whether it’s a holiday dinner or a random Tuesday in October, this pie gets devoured. Kids, adults, even the picky eaters go back for seconds.
What makes this recipe different from all the others? It’s the technique of rubbing cold butter into the flour until it looks like coarse meal, then adding just enough ice water to bring it together. That’s what gives you a crust that shatters when you bite into it, not one that bends like cardboard. And the filling? It’s silky, not grainy, because we whisk the eggs and sugar first before adding the pumpkin. Small steps, huge difference.
This is the kind of pie that makes you close your eyes after the first bite. It’s comfort food at its finest—warm, spiced, and wrapped in a buttery hug. Perfect for impressing guests without stress, or turning a simple fall evening into something memorable.
What Ingredients You Will Need
This recipe uses simple, wholesome ingredients that come together to create something truly special. Most of these are pantry staples, which makes this pie incredibly accessible even on short notice.
For the All-Butter Crust
- 1 ¼ cups all-purpose flour (I prefer King Arthur for consistent results)
- ½ teaspoon salt (fine sea salt works best)
- 1 tablespoon granulated sugar (just a touch of sweetness)
- ½ cup cold unsalted butter, cut into small cubes (European-style butter like Kerrygold adds extra richness)
- 3-4 tablespoons ice water (you might need a bit more or less depending on humidity)
For the Pumpkin Filling
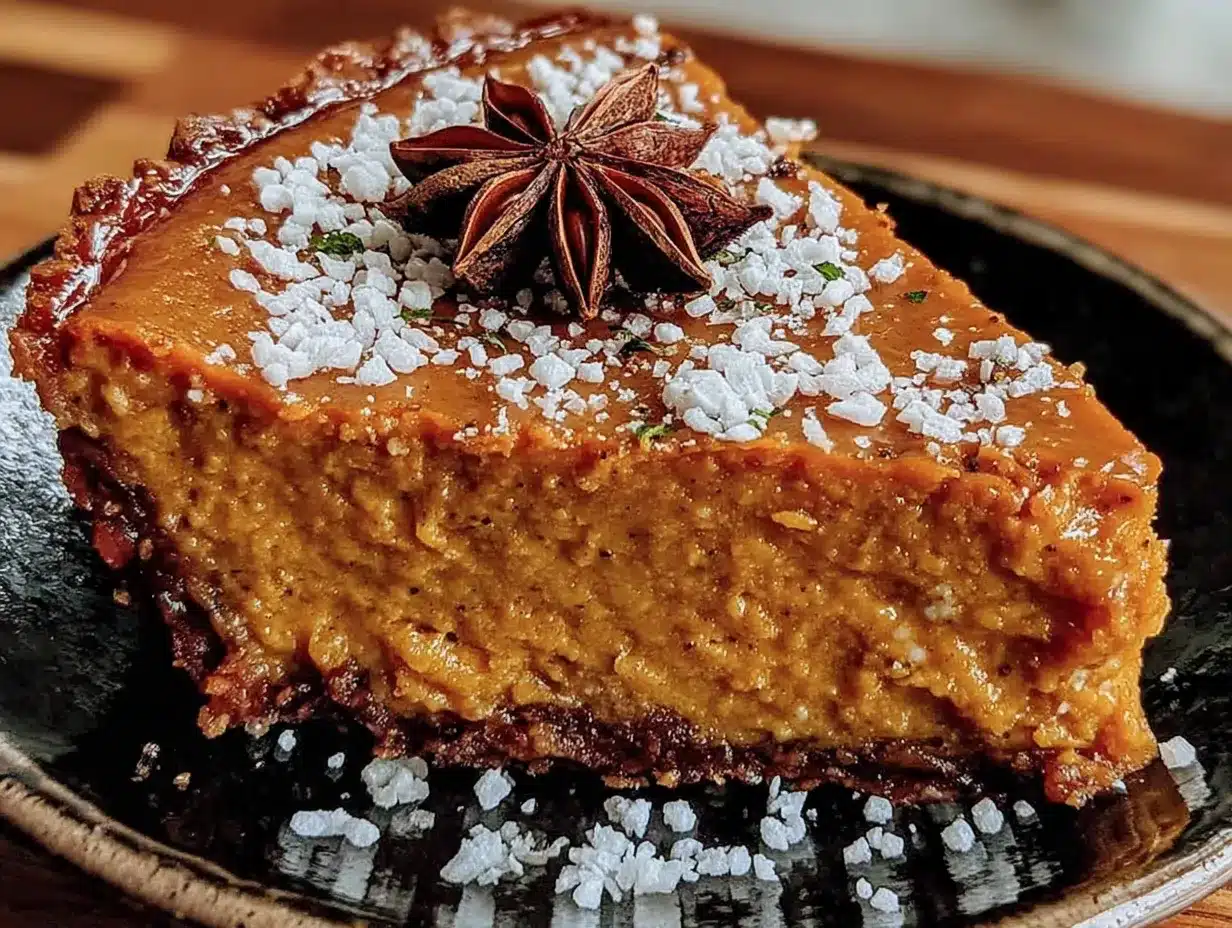
- 1 can (15 oz) pumpkin puree (not pumpkin pie filling—look for 100% pure pumpkin. Libby’s is my go-to)
- ¾ cup granulated sugar
- 1 teaspoon ground cinnamon
- ½ teaspoon ground ginger
- ¼ teaspoon ground nutmeg (freshly grated if you have it—it makes a difference)
- ¼ teaspoon ground cloves
- ½ teaspoon salt
- 2 large eggs, room temperature
- 1 cup heavy cream (you can substitute half-and-half for a lighter version, but the texture won’t be as luxurious)
- 1 teaspoon vanilla extract
That’s it. No weird ingredients, no hunting down specialty stores. The beauty of this homemade pumpkin pie is its simplicity. The butter is really the star here—using a high-quality brand gives you a flakier, more flavorful crust. If you’re dairy-free, you can try a plant-based butter like Miyoko’s, but I’ll be honest, the texture won’t be quite the same. For the filling, make sure your pumpkin puree isn’t watery. If it looks loose, blot it with a paper towel before mixing.
Equipment Needed
You don’t need a fancy kitchen to pull this off. Here’s what you’ll actually use:
- 9-inch pie dish (glass or ceramic works best—metal can lead to uneven browning)
- Rolling pin (a wine bottle works in a pinch—I’ve been there)
- Large mixing bowls (one for the crust, one for the filling)
- Pastry cutter or two forks (for cutting butter into flour)
- Measuring cups and spoons
- Whisk
- Plastic wrap
- Baking sheet (to catch any drips and help the bottom crust cook)
- Cooling rack
If you have a food processor, you can use it for the crust—just pulse the butter into the flour until it looks like coarse sand, then add the water. But honestly, doing it by hand gives you more control and helps you feel when the dough is ready. My first few pies were made with a pastry cutter my grandmother gave me, and I still prefer it. It’s also a great arm workout!
Preparation Method
Let’s walk through this step by step. Take your time, and don’t rush—the crust needs a little patience.
Make the Crust
- In a large bowl, whisk together the flour, salt, and sugar. This ensures everything is evenly distributed.
- Add the cold butter cubes to the flour mixture. Using a pastry cutter or two forks, cut the butter into the flour until the mixture resembles coarse meal with some pea-sized butter pieces remaining. You want to see those little flecks of butter—they create steam pockets that make the crust flaky.
- Sprinkle 3 tablespoons of ice water over the mixture. Toss gently with a fork until the dough starts to come together. If it seems dry, add the remaining water one teaspoon at a time. The dough should hold together when squeezed but not be sticky.
- Turn the dough out onto a lightly floured surface. Gently shape it into a disk about 1 inch thick. Wrap tightly in plastic wrap and refrigerate for at least 1 hour (or up to 2 days). This resting time is crucial—it relaxes the gluten and keeps the crust tender.
Roll Out the Crust
- On a lightly floured surface, roll the chilled dough into a 12-inch circle, about ⅛-inch thick. Rotate the dough occasionally and add more flour to prevent sticking.
- Carefully transfer the dough to your 9-inch pie dish. Gently press it into the bottom and up the sides. Trim the overhang to about ½ inch, then fold it under and crimp the edges however you like. I do a simple pinch with my thumb and forefinger—rustic is fine!
- Place the crust in the freezer for 15 minutes while you preheat the oven to 425°F (220°C). This step is non-negotiable—it prevents shrinkage and helps the crust hold its shape.
Make the Filling
- In a large bowl, whisk together the sugar, cinnamon, ginger, nutmeg, cloves, and salt. This blends the spices evenly so you don’t get a clump of cinnamon in one bite.
- In a separate small bowl, whisk the eggs until they’re light and frothy, about 30 seconds. This incorporates air and gives the filling a lighter texture.
- Add the whisked eggs to the sugar mixture and stir until combined. Then add the pumpkin puree and vanilla, and whisk until smooth.
- Slowly pour in the heavy cream while whisking constantly. This gradual addition prevents lumps and ensures a silky filling.
- Give the filling one final whisk to make sure everything is incorporated. It should be smooth, glossy, and beautifully spiced.
Assemble and Bake
- Place the chilled pie crust on a baking sheet (this catches spills and helps the bottom cook evenly).
- Pour the filling into the crust. It should come almost to the top—don’t worry if it looks full, it won’t overflow if you’re careful.
- Carefully transfer the baking sheet to the preheated oven. Bake at 425°F (220°C) for 15 minutes.
- Without opening the oven, reduce the temperature to 350°F (175°C). Bake for another 40-50 minutes, or until the filling is set around the edges but still slightly jiggly in the center. The crust should be golden brown.
- Remove from the oven and let cool completely on a wire rack, at least 2 hours. The filling will continue to set as it cools. Do not cut into it while it’s warm—you’ll end up with a soupy mess. I learned this the hard way.
Cooking Tips & Techniques
After making this pie more times than I can count, I’ve picked up a few tricks that make a real difference. Here are the ones I swear by:
- Keep everything cold: For the flakiest crust, your butter, water, and even your flour should be cold. If your kitchen is warm, pop the flour in the fridge for 10 minutes before starting. Warm ingredients = tough crust.
- Don’t overwork the dough: When you’re cutting in the butter, stop as soon as the mixture looks like coarse meal with visible butter pieces. Overmixing develops gluten and makes the crust tough. It should look shaggy, not smooth.
- Chill the crust twice: Once after shaping the disk, and once after placing it in the pie dish. This double chill ensures the butter is solid when it hits the oven, which creates those beautiful steam pockets.
- Watch for the jiggle: The biggest mistake people make is overbaking the filling. It should still have a slight wobble in the center when you take it out—like Jell-O, not like a brick. It will set completely as it cools.
- Use a pie shield: If the crust edges start browning too quickly, cover them with foil or a silicone pie shield. I usually check after 25 minutes at 350°F and add a shield if needed.
- Let it rest overnight: This pie is actually better the next day. The flavors meld, the texture firms up perfectly, and it slices like a dream. If you can, make it a day ahead.
One mistake I made early on was skipping the freezer step for the crust. The first time I tried, the crust shrunk down to nothing and the filling spilled all over the oven. It was a disaster. Now I’m religious about that 15-minute freeze, and I’ve never had a problem since.
Variations & Adaptations
This recipe is wonderful as-is, but it’s also incredibly adaptable. Here are some variations I’ve tried and loved:
Spiced Maple Pumpkin Pie
Replace ¼ cup of the granulated sugar with pure maple syrup. Reduce the heavy cream to ¾ cup to compensate for the extra liquid. The maple adds a deep, woodsy sweetness that pairs beautifully with the warm spices. I made this for a Friendsgiving and it was gone in ten minutes.
Gingerbread Crust
Add 1 teaspoon of molasses and ½ teaspoon of ground ginger to the crust dough. The molasses gives the crust a darker color and a subtle gingerbread flavor that complements the pumpkin filling perfectly. Roll it out slightly thicker to handle the extra moisture.
Dairy-Free Version
Use a high-quality vegan butter (I like Miyoko’s) for the crust, and substitute full-fat coconut cream for the heavy cream. The coconut flavor is very mild and actually enhances the pumpkin. Just make sure your coconut cream is well-chilled before whipping it into the filling.
Pumpkin Pie Bars
Press the crust dough into a 9×13 baking dish instead of a pie plate. Bake the crust for 10 minutes at 350°F, then pour in the filling and bake for another 25-30 minutes. These are perfect for feeding a crowd and travel well for potlucks.
Serving & Storage Suggestions
This pie is best served at room temperature or slightly warm. If you want to get fancy, top each slice with a dollop of lightly sweetened whipped cream and a sprinkle of cinnamon. For an extra indulgent touch, drizzle with caramel sauce or add a scoop of vanilla ice cream.
For storage, cover the pie loosely with foil or plastic wrap and keep it in the refrigerator for up to 4 days. The crust will soften slightly over time, but the flavor actually improves. To reheat individual slices, pop them in a 300°F oven for 5-7 minutes—this crisps up the crust again.
You can also freeze this pie for up to 3 months. Wrap it tightly in plastic wrap, then a layer of foil. Thaw overnight in the refrigerator before serving. Do not freeze the pie with whipped cream on top—add that fresh when you’re ready to serve.
One thing I love about this pie is that the flavors deepen overnight. The spices meld with the pumpkin, and the crust absorbs just a hint of the filling. If you can, make it a day ahead—it’s truly at its best the next day.
Nutritional Information & Benefits
Here’s the approximate nutritional breakdown per slice (based on 8 servings):
| Nutrient | Amount per Slice |
|---|---|
| Calories | 380 |
| Total Fat | 24g |
| Saturated Fat | 15g |
| Cholesterol | 120mg |
| Sodium | 320mg |
| Total Carbohydrates | 38g |
| Dietary Fiber | 3g |
| Sugars | 22g |
| Protein | 5g |
Pumpkin is packed with vitamin A (over 200% of your daily needs per serving), which supports eye health and immune function. The spices—cinnamon, ginger, nutmeg, and cloves—are anti-inflammatory and add antioxidants. While this is definitely a treat, it’s one that offers some nutritional benefits compared to many other desserts. The butter provides healthy fats, and the eggs add protein. It’s comfort food that also nourishes.
Conclusion
This homemade pumpkin pie with flaky butter crust is more than just a dessert—it’s a slice of fall tradition that brings warmth to any table. Whether you’re making it for Thanksgiving, a cozy dinner party, or just because you’re craving something comforting, this recipe delivers every single time.
What I love most about it is how forgiving it is. That first pie I made in a panic turned out beautifully, and every one since has been just as good. It’s the kind of recipe that builds confidence in the kitchen, even if you’re a beginner. So go ahead—give it a try. Don’t stress about the crimping, don’t worry if the edges aren’t perfect. Just focus on keeping that butter cold and trusting the process.
I’d love to hear how yours turns out! Leave a comment below and let me know if you tried any variations. And if you share it on social media, tag me—I want to see your beautiful pies. Happy baking, friend!
Frequently Asked Questions
Can I use store-bought pie crust instead of making my own?
Absolutely! While the all-butter crust is what makes this recipe special, a good quality store-bought crust will still give you a delicious pie. Just look for one made with butter for the best flavor. You’ll skip steps 1-4 of the preparation method and start with the filling.
Why is my pumpkin pie filling watery?
This usually happens for two reasons: either the pumpkin puree was too watery (some brands are thinner than others) or the pie was underbaked. To fix the first issue, blot the puree with a paper towel before mixing. For the second, make sure the filling is set around the edges but still slightly jiggly in the center when you take it out. It will firm up as it cools.
Can I make this pie gluten-free?
Yes! Use a 1:1 gluten-free all-purpose flour blend (like Bob’s Red Mill) for the crust. The texture will be slightly more crumbly, but the flavor is still wonderful. Just handle the dough gently and chill it well before rolling. The filling is naturally gluten-free.
How do I prevent the crust from burning?
If the edges start browning too quickly, cover them with a pie shield or strips of foil. I usually check the pie after 25 minutes at 350°F and add protection if needed. Placing the pie on the lower oven rack also helps the bottom crust cook more evenly.
Can I use fresh pumpkin instead of canned?
You can, but it requires some extra work. Roast a small sugar pumpkin (not a carving pumpkin) at 400°F until tender, then puree the flesh and strain it through a cheesecloth to remove excess moisture. Fresh pumpkin has a more delicate flavor, so you might want to increase the spices slightly. Canned pumpkin is actually more consistent and reliable for baking.
Pin This Recipe!
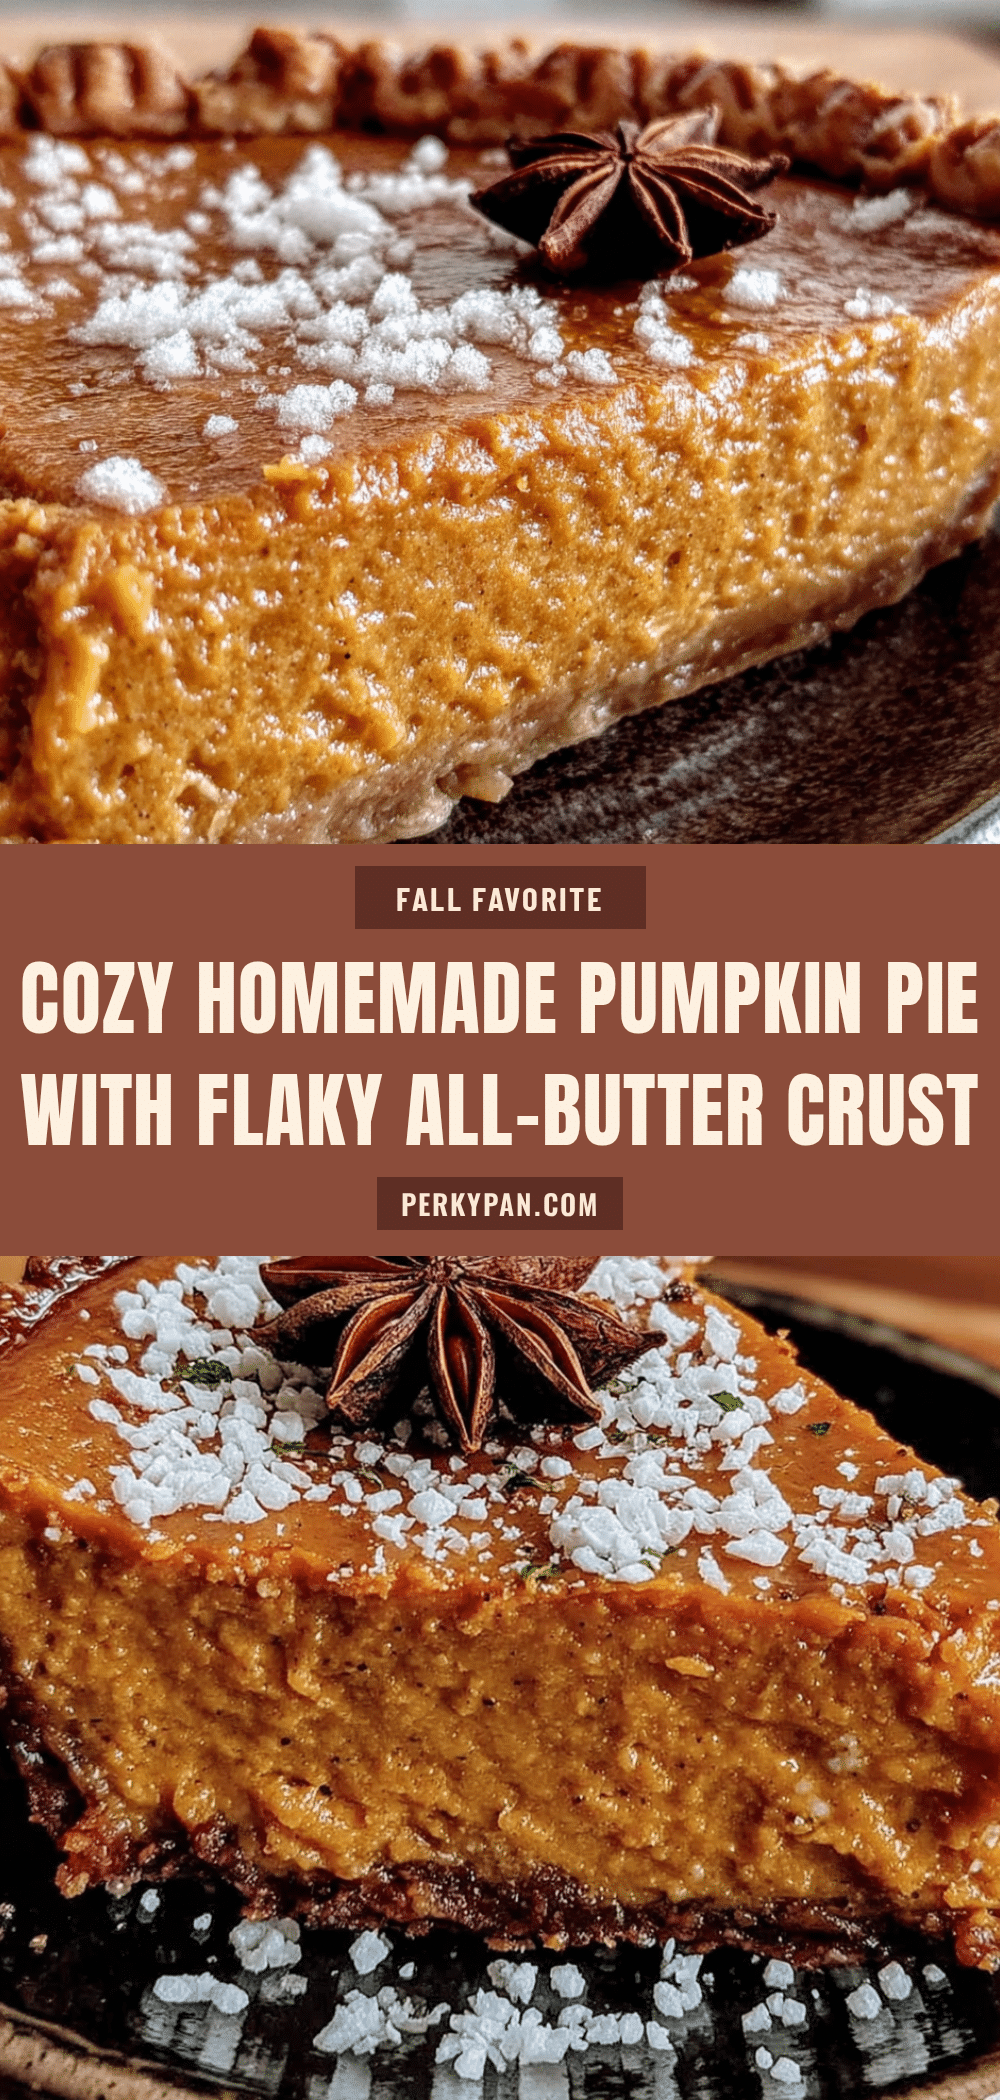
Homemade Pumpkin Pie with Flaky Butter Crust
A flaky, all-butter crust filled with perfectly spiced pumpkin filling that’s silky and not grainy. This forgiving recipe delivers a beautiful pie every time, even for beginners, and tastes even better the next day.
- Prep Time: 20 minutes
- Cook Time: 55-65 minutes
- Total Time: 3 hours 15 minutes (including chilling and cooling)
- Yield: 8 servings 1x
- Category: Dessert
- Cuisine: American
Ingredients
- 1 ¼ cups all-purpose flour
- ½ teaspoon salt
- 1 tablespoon granulated sugar
- ½ cup cold unsalted butter, cut into small cubes
- 3–4 tablespoons ice water
- 1 can (15 oz) pumpkin puree (100% pure pumpkin)
- ¾ cup granulated sugar
- 1 teaspoon ground cinnamon
- ½ teaspoon ground ginger
- ¼ teaspoon ground nutmeg
- ¼ teaspoon ground cloves
- ½ teaspoon salt
- 2 large eggs, room temperature
- 1 cup heavy cream
- 1 teaspoon vanilla extract
Instructions
- Make the crust: In a large bowl, whisk together flour, salt, and sugar. Add cold butter cubes and cut into flour using a pastry cutter or two forks until mixture resembles coarse meal with some pea-sized butter pieces.
- Sprinkle 3 tablespoons of ice water over the mixture. Toss gently with a fork until dough starts to come together. Add more water if needed, one teaspoon at a time. Dough should hold together when squeezed but not be sticky.
- Turn dough out onto a lightly floured surface. Shape into a 1-inch thick disk. Wrap tightly in plastic wrap and refrigerate for at least 1 hour (or up to 2 days).
- Roll out the crust: On a lightly floured surface, roll chilled dough into a 12-inch circle, about ⅛-inch thick. Transfer to a 9-inch pie dish. Press into bottom and up sides. Trim overhang to ½ inch, fold under, and crimp edges.
- Place crust in freezer for 15 minutes while preheating oven to 425°F (220°C).
- Make the filling: In a large bowl, whisk together sugar, cinnamon, ginger, nutmeg, cloves, and salt.
- In a separate small bowl, whisk eggs until light and frothy, about 30 seconds. Add whisked eggs to sugar mixture and stir until combined. Add pumpkin puree and vanilla, whisk until smooth.
- Slowly pour in heavy cream while whisking constantly. Whisk until smooth and glossy.
- Assemble and bake: Place chilled pie crust on a baking sheet. Pour filling into crust.
- Bake at 425°F (220°C) for 15 minutes. Without opening oven, reduce temperature to 350°F (175°C) and bake for another 40-50 minutes, until filling is set around edges but still slightly jiggly in center. Crust should be golden brown.
- Remove from oven and let cool completely on a wire rack, at least 2 hours. Do not cut while warm.
Notes
Keep all ingredients cold for flakiest crust. Don’t overwork the dough. Chill crust twice (once as disk, once in pie dish). Watch for the jiggle in center—don’t overbake. Pie is better the next day; flavors meld overnight. For dairy-free, use vegan butter and full-fat coconut cream. Can be frozen for up to 3 months.
Nutrition
- Serving Size: 1 slice
- Calories: 380
- Sugar: 22
- Sodium: 320
- Fat: 24
- Saturated Fat: 15
- Carbohydrates: 38
- Fiber: 3
- Protein: 5
Keywords: pumpkin pie, homemade pumpkin pie, flaky butter crust, Thanksgiving dessert, fall dessert, pumpkin dessert, easy pumpkin pie


