Love this? Save it for later!
Share the inspiration with your friends
The church bazaar was in 48 hours and I had completely forgotten I signed up for the preserve table. Everyone else would be bringing their grandmother’s secret recipe jams and perfectly gelled marmalades. I had a bushel of pears sitting on my counter that were about two days past their prime — you know that panicked feeling when you realize you’ve committed to something and have absolutely nothing to show for it?
Honestly, I almost backed out. I mean, who shows up to a bazaar with something they threw together in a panic? But my neighbor Martha had already told everyone I was “the one with the amazing canned goods,” so backing out wasn’t really an option. I stared at those pears like they owed me money, wondering how I was going to turn this into something people would actually want to take home.
Here’s the thing about pears — they’re delicate little things. One day they’re rock hard, the next they’re bruising if you look at them wrong. I had maybe a dozen that were perfect for canning: firm but giving slightly at the neck. The rest were destined for smoothies or the compost bin. I grabbed my biggest pot, raided my spice cabinet, and figured I’d just wing it with cinnamon sticks and vanilla beans I’d been hoarding from a trip to Mexico.
The result? I sold out in forty-five minutes. People were coming back asking if I had more hidden under the table. Martha’s husband bought three jars and I saw him sneaking spoonfuls straight from the jar when he thought no one was watching. That’s when I knew this recipe wasn’t just good — it was the kind of thing you keep making year after year, hoping you remember exactly what you did that first time.
Maybe you’ve been there — staring at a pile of fruit that’s about to go bad, wondering what magical thing you could possibly do with it. Let me tell you, these Homemade Cinnamon Vanilla Canned Pear Halves are the answer you didn’t know you needed. They’re simple enough for a beginner canner but impressive enough to gift to people you actually want to impress.
Why You’ll Love This Recipe
After testing this recipe about seven times (my neighbors were very patient with me), I can confidently say this is the version you want in your pantry. Here’s why these Homemade Cinnamon Vanilla Canned Pear Halves deserve a spot on your shelf:
- Simple Ingredients: You need pears, sugar, cinnamon sticks, and vanilla beans. That’s it. No pectin, no artificial preservatives, no weird additives.
- Beginner-Friendly: If you’ve never canned anything before, this is the recipe to start with. Pears hold their shape well and the syrup forgiving if you’re not precise.
- Incredibly Versatile: Eat them straight from the jar, serve over ice cream, fold into yogurt, or use as a topping for pancakes and waffles.
- Perfect for Gifting: A jar of these with a ribbon tied around it says “I put real effort into this” without taking up your whole weekend.
- Year-Round Summer: Opening a jar of these in January tastes like you smuggled sunshine into your kitchen.
What makes this recipe different from the other canned pears you’ve tried? It’s the combination of warm cinnamon and real vanilla that creates this almost caramel-like depth. Most recipes just use cinnamon, which is fine, but the vanilla rounds everything out and makes the pears taste more like themselves. It’s not just another canning recipe — it’s the one you’ll text your friends about.
I’ve been canning for about eight years now, and I’ve made every mistake you can imagine. Overcooked pears that turned to mush. Syrup that crystallized into a sugary mess. Jars that didn’t seal because I got distracted by a phone call. But this recipe? It’s been tested by fire — and by my picky sister-in-law who “doesn’t like canned fruit.” She asked for the recipe, which is basically the highest compliment you can get.
What Ingredients You Will Need
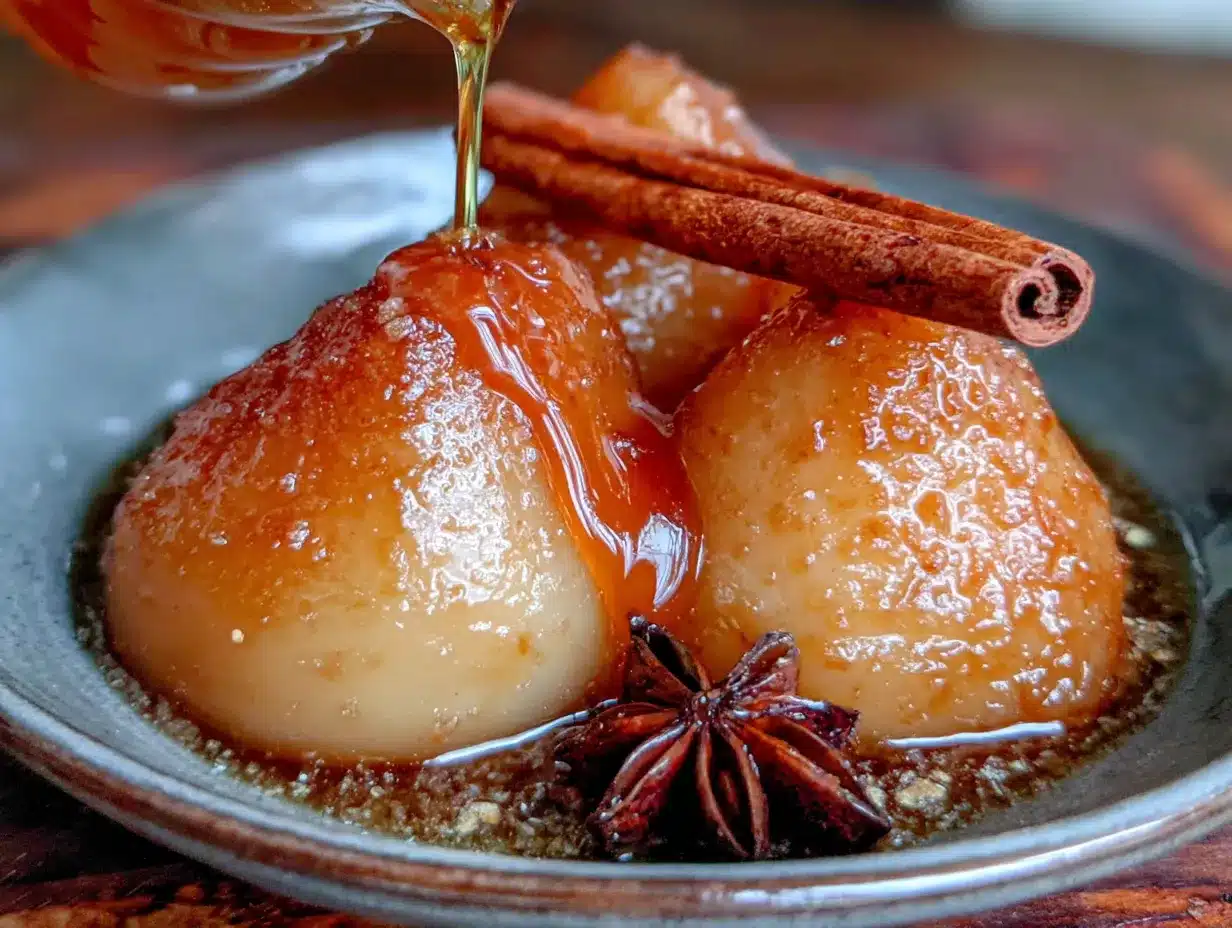
This recipe uses simple, wholesome ingredients to create something that tastes far more complex than it actually is. The magic happens when the pears soak up that spiced syrup and transform into little golden jewels of sweetness.
For the Pears
- 5-6 pounds firm but ripe pears (Bartlett or Bosc work best — about 8-10 medium pears)
- 1 tablespoon lemon juice (fresh squeezed, please — the bottled stuff leaves a weird aftertaste)
- Cold water (for the acidulated bath to prevent browning)
For the Cinnamon Vanilla Syrup
- 4 cups granulated sugar (I prefer C&H or Domino for consistent results)
- 6 cups water (filtered if your tap water has a strong taste)
- 4-5 cinnamon sticks (Ceylon cinnamon is milder and more floral; Cassia is stronger and spicier — both work great)
- 2 whole vanilla beans (split lengthwise to expose the seeds — yes, they’re pricey, but worth it)
- 1 teaspoon vanilla extract (optional, for extra vanilla punch — I use Nielsen-Massey)
Ingredient Selection Tips: Look for pears that are firm with just a tiny bit of give at the stem end. If they’re rock hard, they won’t have enough flavor. If they’re too soft, they’ll fall apart during processing. I’ve had the best luck with Bartlett pears — they hold their shape beautifully and have that classic pear sweetness. Bosc pears are a close second, with a slightly more honeyed flavor that pairs beautifully with the cinnamon.
Substitution Notes: If you can’t find vanilla beans, use 2 tablespoons of good vanilla extract instead. The flavor won’t be quite as deep, but it’ll still be delicious. For a lower-sugar version, you can reduce the sugar to 2 cups, but keep in mind that the syrup consistency will be thinner and the pears won’t be quite as shelf-stable. I’ve also tried this with honey instead of sugar — use 3 cups honey and reduce the water to 5 cups, and add an extra tablespoon of lemon juice to balance the sweetness.
Where to Find Ingredients: I get my vanilla beans from Costco or online from Beanilla — they’re way cheaper than the grocery store. Cinnamon sticks I buy in bulk from the Indian grocery store near my house; they’re fresher and about half the price. For the pears, farmers markets in late summer and early fall are your best bet, but grocery store pears work fine if you let them ripen on the counter for a day or two.
Equipment Needed
You don’t need a fancy setup for this recipe, but having the right tools makes the process smoother. Here’s what you’ll need:
- Water bath canner or large stockpot (needs to be deep enough to cover jars by at least 1 inch of water)
- 6-8 pint-sized canning jars (wide mouth is easier for packing pear halves)
- New lids and screw bands (never reuse lids — they won’t seal properly)
- Jar lifter (trust me, trying to grab hot jars with tongs is a disaster waiting to happen)
- Canning funnel (wide mouth preferred for packing fruit)
- Large pot for syrup (non-reactive like stainless steel or enameled)
- Sharp paring knife and vegetable peeler
- Melon baller or small spoon (for coring the pears neatly)
- Clean kitchen towels (for wiping jar rims — paper towels leave lint)
- Magnetic lid wand (optional but super handy for fishing lids out of hot water)
Budget-Friendly Alternatives: If you don’t have a water bath canner, any deep pot with a lid will work. Just put a folded kitchen towel in the bottom to keep the jars from rattling against the metal. I used a spaghetti pot for my first two years of canning and it worked perfectly fine. And if you don’t have a jar lifter, you can use sturdy tongs — just be careful and go slow.
Personal Equipment Tip: I bought a cheap jar lifter from Walmart that bent after three uses. Spend the extra five bucks on a solid one from Ball or a kitchen supply store. That’s a lesson I learned the hard way when I dropped a jar of hot pears all over my kitchen floor. The mess was epic, and I’m still finding sticky spots in places I didn’t know existed.
Preparation Method
Alright, let’s get to the good part. I’ve broken this down into clear steps so you don’t miss anything. Take your time — canning is one of those things where patience really pays off.
Step 1: Prepare Your Workstation
Wash your jars, lids, and screw bands in hot soapy water. Rinse thoroughly. Place the jars in your canner or stockpot, cover with water, and bring to a simmer (180°F). Keep them hot until you’re ready to fill them. Put the lids in a small saucepan of hot water (not boiling) and let them soften for about 10 minutes. This helps them seal better.
Step 2: Make the Acidulated Water Bath
Fill a large bowl with cold water and add 1 tablespoon of lemon juice. This is your secret weapon against brown pears. As you peel and cut each pear, drop the halves into this water. They can sit here for up to 30 minutes without turning that unappealing brown color.
Step 3: Prepare the Pears
Peel each pear with a vegetable peeler. Cut in half lengthwise. Use a melon baller or small spoon to scoop out the core and seeds. If there’s a little stem left on one half, that’s fine — it looks pretty in the jar. Drop each half into the acidulated water as you go. Don’t rush this part; taking your time means prettier jars and better texture.
Step 4: Make the Cinnamon Vanilla Syrup
In your large pot, combine 6 cups water and 4 cups sugar. Stir over medium heat until the sugar dissolves completely. Add the cinnamon sticks. Split the vanilla beans lengthwise with a sharp knife and scrape the seeds into the syrup — drop the pods in too, because they still have plenty of flavor. Bring to a gentle boil, then reduce heat to low and let it simmer for 10 minutes. Your kitchen will smell absolutely incredible at this point.
Step 5: Pack the Jars
Remove a hot jar from the canner using your jar lifter. Place it on a clean towel. Using your canning funnel, pack pear halves into the jar cut side down, overlapping slightly if needed. Leave about 1/2 inch of headspace at the top. Don’t cram them in — they need room for the syrup to circulate.
Step 6: Add the Syrup
Ladle the hot syrup over the pears, leaving that 1/2 inch headspace. Use a chopstick or bubble remover tool to gently run around the inside of the jar to release any trapped air bubbles. Add more syrup if needed to maintain the headspace. Wipe the jar rim with a clean, damp towel — any sugar residue here will prevent a good seal.
Step 7: Apply the Lids
Center a lid on the jar and screw the band on until it’s fingertip tight — that means tight enough that it won’t move, but not cranked down with all your strength. Air needs to escape during processing.
Step 8: Process in Water Bath
Place the filled jars back in the canner using your jar lifter. Make sure they’re covered by at least 1 inch of water. Bring to a full rolling boil, then start your timer. Process pint jars for 20 minutes (adjust for altitude if you’re above 1,000 feet).
Step 9: Cool and Check Seals
After 20 minutes, turn off the heat and let the jars sit in the water for 5 minutes. Remove them with your jar lifter and place them on a towel-lined counter. Don’t tighten the bands — let them cool naturally. You’ll hear the satisfying “ping” sound as each jar seals. Let them cool completely for 12-24 hours, then check that the lids are concave and don’t pop up when pressed.
Cooking Tips & Techniques
I’ve made every mistake in the book with this recipe, so let me save you some trouble. Here are the things I wish someone had told me before I started canning pears:
Don’t Overcook the Syrup: I once let my syrup boil for 25 minutes because I got distracted by a phone call. It reduced too much and turned into something closer to caramel syrup. The pears were still edible, but they were swimming in what felt like liquid candy. Keep your syrup at a gentle simmer, not a rolling boil, after the sugar dissolves.
Texture Is Everything: The biggest mistake people make is using pears that are too ripe. If your pears feel soft when you gently squeeze them, they’re not for canning. Save those for eating fresh or making pear butter. You want pears that are firm enough that you have to apply a little pressure to get that slight give at the neck.
Hot Pack vs. Raw Pack: I’ve tested both methods extensively. Hot packing — where you simmer the pears in the syrup for 5 minutes before packing — gives you better syrup absorption and fewer floating pears. Raw packing is faster but you’ll end up with some floaters. I prefer hot packing for the texture and flavor, even though it takes a few extra minutes.
The Vanilla Bean Trick: After you split your vanilla beans and scrape the seeds into the syrup, drop the empty pods into one of your jars. That jar becomes the “fancy” jar — the one you save for gifts or special occasions. The pod continues to infuse the pears with vanilla flavor for months.
Altitude Adjustments: If you live above 1,000 feet, you need to increase your processing time. At 1,001-3,000 feet, add 5 minutes. At 3,001-6,000 feet, add 10 minutes. Above 6,000 feet, add 15 minutes. I learned this the hard way when I moved from sea level to 4,500 feet and my first batch didn’t seal properly.
My Biggest Failure: The time I forgot to wipe the jar rims. I was in a hurry, thought “eh, it’ll be fine,” and ended up with six jars that looked sealed but weren’t. I found them three weeks later with fuzzy mold on top. Trust me, take the extra 10 seconds to wipe those rims. It’s not worth the heartbreak of throwing out all that work.
Variations & Adaptations
One of the best things about this recipe is how easily it adapts to different tastes and dietary needs. Here are some variations I’ve tried and loved:
Spiced Chai Pear Halves
Add 4 whole cardamom pods, 2 star anise, and a 2-inch piece of ginger (sliced) to the syrup along with the cinnamon. The chai spices create this warm, complex flavor that’s incredible over vanilla ice cream. I made this version for a holiday gift exchange and people lost their minds over it.
Honey Vanilla Pear Halves (Lower Sugar)
Replace the granulated sugar with 2 cups of mild honey (clover or orange blossom work well). Reduce the water to 5 cups and add 2 tablespoons of lemon juice to help with preservation. The flavor is more floral and delicate, and the syrup has a lovely golden color. This version is my go-to for people who complain that canned fruit is “too sweet.”
Bourbon Cinnamon Pears
Add 1/4 cup of good bourbon to the syrup after it comes off the heat. The alcohol mostly cooks off during processing, leaving behind this incredible warm, oaky flavor that pairs beautifully with the cinnamon. These are amazing spooned over pound cake or served alongside a cheese board. I use Maker’s Mark or Bulleit — nothing too fancy, but nothing bottom-shelf either.
Dietary Adaptations
- Vegan: This recipe is already vegan as written — no animal products anywhere.
- Gluten-Free: Naturally gluten-free, so celiac friends can enjoy without worry.
- Low-FODMAP: Pears are high in sorbitol, so this might not work for sensitive stomachs. Try the same recipe with firm peaches or nectarines instead.
Serving & Storage Suggestions
These pears are incredibly versatile, and I love finding new ways to use them throughout the year. Here are my favorite ways to serve and store them:
Serving Ideas
- Straight from the Jar: Sometimes the simplest way is the best. Cold pears straight from the fridge on a hot summer day — absolute perfection.
- Over Ice Cream: Warm a few pear halves in their syrup and spoon over vanilla bean ice cream. Add a sprinkle of cinnamon on top and you’ve got dessert that tastes way more complicated than it is.
- With Yogurt and Granola: Chop a pear half and swirl it into Greek yogurt with a drizzle of the syrup. Top with granola for a breakfast that feels fancy but takes two minutes.
- On a Cheese Board: These pears are incredible alongside sharp cheddar, aged gouda, or blue cheese. The sweetness of the syrup balances the saltiness of the cheese perfectly.
- In Baked Goods: Drain and chop the pears, then fold them into muffin batter or pancake mix. You can also use them as a filling for thumbprint cookies or hand pies.
Storage Instructions
Store your sealed jars in a cool, dark place like a pantry or basement. They’ll keep for 12-18 months at their best quality, though they’re perfectly safe to eat for years if the seals hold. Once opened, refrigerate and use within 2-3 weeks. The flavor actually improves after about a month — the pears absorb more of the cinnamon and vanilla over time.
Reheating Tip: If you want to serve them warm, just heat the pears and syrup in a small saucepan over low heat for 3-4 minutes. Don’t boil them, or the pears might break apart. You can also microwave them in a bowl for 30-45 seconds.
Nutritional Information & Benefits
While these pears are definitely a treat, they’re not without their redeeming qualities. Here’s the nutritional breakdown per serving (about 2 pear halves with 2 tablespoons syrup):
| Nutrient | Amount |
|---|---|
| Calories | 180 |
| Total Fat | 0g |
| Sodium | 5mg |
| Total Carbohydrates | 46g |
| Dietary Fiber | 4g |
| Sugars | 38g |
| Vitamin C | 8% DV |
| Copper | 6% DV |
Health Benefits: Pears are actually pretty good for you — they’re packed with fiber, which helps with digestion and keeps you feeling full. They also contain copper and vitamin K, which support bone health and blood clotting. The cinnamon in this recipe has anti-inflammatory properties and can help regulate blood sugar. And vanilla? Well, it makes everything taste better, which counts for something in my book.
Dietary Considerations: This recipe is naturally vegan, gluten-free, dairy-free, and nut-free. It does contain sugar, so it’s not suitable for low-carb or keto diets. If you’re watching your sugar intake, try the honey variation for a more natural sweetener option.
Conclusion
These Homemade Cinnamon Vanilla Canned Pear Halves have become my signature gift, my emergency dessert, and my favorite way to preserve the taste of late summer all year long. There’s something deeply satisfying about opening a jar in the middle of winter and being transported back to warm afternoons in the kitchen, with cinnamon and vanilla perfuming the air.
I hope you give this recipe a try, even if you’ve never canned anything before. Start with a small batch — maybe just two or three jars — so you can get the hang of it without feeling overwhelmed. And don’t stress about perfection. My first batch had unevenly cut pears, a few floating halves, and one jar that didn’t seal. But you know what? They still tasted amazing, and I was still proud of what I’d made.
If you make these pears, I’d love to hear about it. Drop a comment below and tell me how they turned out, or share a photo of your jars on Pinterest with the tag #cinnamonvanillapears. And if you come up with a variation I haven’t tried, please share it — I’m always looking for new ideas to test in my kitchen.
Happy canning, friends. Your future self — the one opening a jar of sunshine in February — will thank you.
Frequently Asked Questions
Can I use vanilla extract instead of vanilla beans?
Absolutely! Use 2 tablespoons of good-quality vanilla extract added to the syrup after it comes off the heat. The flavor won’t be quite as deep or complex as with real vanilla beans, but it’s still delicious. I’ve done it plenty of times when I’ve run out of beans.
How do I know if my jars are properly sealed?
After the jars cool completely (12-24 hours), press down on the center of each lid. If it doesn’t pop up and down, it’s sealed. You can also remove the screw band and try to lift the jar by the lid — if the lid holds, you’re good. If any jars didn’t seal, just refrigerate them and use within 3 weeks.
Can I use other types of pears?
Bartlett and Bosc are my top recommendations, but Anjou pears work well too. Avoid Asian pears (they’re too crunchy) and Comice pears (they’re too soft). The key is using pears that are firm enough to hold their shape during processing.
How long do these canned pears last?
Properly sealed and stored in a cool, dark place, they’ll maintain their best quality for 12-18 months. They’re safe to eat for much longer as long as the seals hold, but the texture and flavor will gradually decline after the first year.
Do I have to peel the pears?
Yes, for this recipe you should peel them. The skins can become tough and chewy during processing, and they’ll also affect the color of your syrup. Save the peels for making pear-infused vinegar or compost them — they’re great for the garden.
Pin This Recipe!
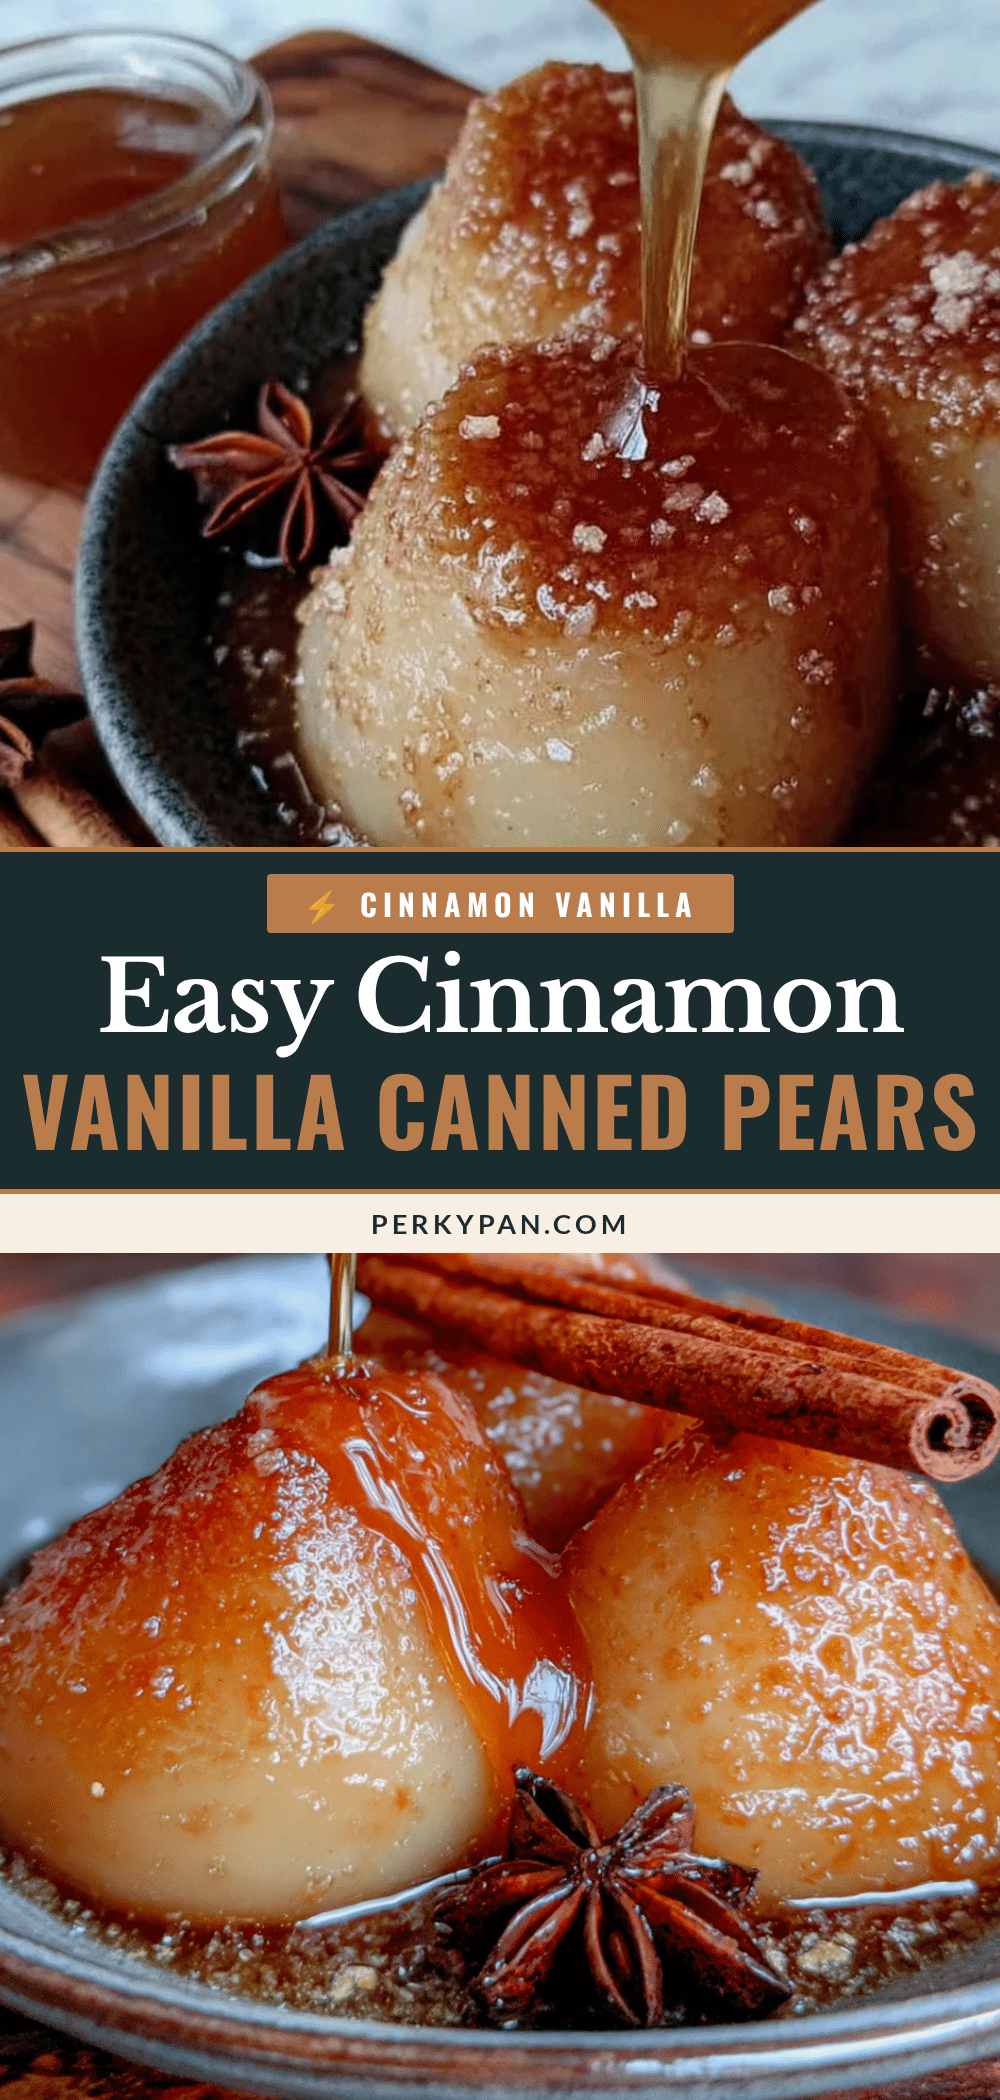
Homemade Canned Pear Halves with Cinnamon Vanilla
These Homemade Cinnamon Vanilla Canned Pear Halves are simple enough for a beginner canner but impressive enough to gift. The combination of warm cinnamon and real vanilla creates an almost caramel-like depth, making them perfect for eating straight from the jar, over ice cream, or on a cheese board.
- Prep Time: 30 minutes
- Cook Time: 20 minutes
- Total Time: 50 minutes (plus 12-24 hours cooling)
- Yield: 6-8 pint jars 1x
- Category: Preserves
- Cuisine: American
Ingredients
- 5–6 pounds firm but ripe pears (Bartlett or Bosc work best, about 8–10 medium pears)
- 1 tablespoon lemon juice (fresh squeezed)
- Cold water (for acidulated bath)
- 4 cups granulated sugar
- 6 cups water (filtered if tap water has strong taste)
- 4–5 cinnamon sticks (Ceylon or Cassia)
- 2 whole vanilla beans (split lengthwise)
- 1 teaspoon vanilla extract (optional)
Instructions
- Wash jars, lids, and screw bands in hot soapy water. Rinse thoroughly. Place jars in canner or stockpot, cover with water, and bring to a simmer (180°F). Keep hot until filling. Put lids in a small saucepan of hot water (not boiling) and let soften for 10 minutes.
- Fill a large bowl with cold water and add 1 tablespoon lemon juice. As you peel and cut each pear, drop halves into this water to prevent browning.
- Peel each pear with a vegetable peeler. Cut in half lengthwise. Use a melon baller or small spoon to scoop out core and seeds. Drop each half into acidulated water.
- In a large pot, combine 6 cups water and 4 cups sugar. Stir over medium heat until sugar dissolves completely. Add cinnamon sticks. Split vanilla beans lengthwise, scrape seeds into syrup, and drop pods in. Bring to a gentle boil, then reduce heat to low and simmer for 10 minutes.
- Remove a hot jar from canner using jar lifter. Place on clean towel. Using canning funnel, pack pear halves into jar cut side down, overlapping slightly if needed. Leave 1/2 inch headspace.
- Ladle hot syrup over pears, leaving 1/2 inch headspace. Use a chopstick or bubble remover to release air bubbles. Add more syrup if needed. Wipe jar rim with clean, damp towel.
- Center a lid on jar and screw band on until fingertip tight.
- Place filled jars back in canner using jar lifter. Ensure they are covered by at least 1 inch of water. Bring to a full rolling boil, then process pint jars for 20 minutes (adjust for altitude if above 1,000 feet).
- After 20 minutes, turn off heat and let jars sit in water for 5 minutes. Remove with jar lifter and place on towel-lined counter. Do not tighten bands. Let cool completely for 12-24 hours. Check that lids are concave and do not pop up when pressed.
Notes
Use firm but ripe pears; avoid overripe ones. For altitude adjustments: at 1,001-3,000 feet add 5 minutes processing time, at 3,001-6,000 feet add 10 minutes, above 6,000 feet add 15 minutes. Hot packing (simmering pears in syrup for 5 minutes before packing) gives better syrup absorption and fewer floaters. Drop empty vanilla bean pods into one jar for extra flavor. Always wipe jar rims to ensure proper seals.
Nutrition
- Serving Size: 2 pear halves with 2
- Calories: 180
- Sugar: 38
- Sodium: 5
- Carbohydrates: 46
- Fiber: 4
Keywords: canned pears, cinnamon vanilla pears, homemade canned fruit, water bath canning, pear halves, preserving pears, vanilla bean pears


