Love this? Save it for later!
Share the inspiration with your friends
I was sitting on a slightly wobbly stool at a garage sale last fall, sorting through a box of mismatched measuring cups, when the woman running the sale—a retired schoolteacher named June with a no-nonsense bob and hands that moved like she meant business—started talking about dessert. I hadn’t asked. I was just holding a dented pie plate, trying to decide if it was worth a dollar, and she said, “You know, the best apple crisp doesn’t need a whole pan. It’s for two people. That way you don’t have to share.” And then she just… told me the whole thing. Standing there, surrounded by old lamps and someone’s collection of salt shakers, I got a recipe I’ve now made more times than I can count.
Honestly, I almost forgot it. I didn’t write it down until I got home, and by then I was second-guessing the oat-to-brown-sugar ratio. But I tried it that same night, and let me tell you—it was perfect. Not too sweet, not too tart, with a topping that gets those little crispy clusters you fight over. And it fits in a small baking dish, which means no leftovers staring at you from the fridge for three days. Maybe you’ve been there—standing over a full-sized crisp, wondering why you thought you could eat an entire 9×13 pan by yourself. This recipe fixes that.
I keep coming back to it because it feels like a secret. It’s quick, it uses things you probably already have in your pantry, and it makes exactly enough for two people who want something warm and comforting without the commitment of a whole pie. June didn’t know she was handing me a weeknight staple. She was just talking about her late husband’s favorite dessert. But I’m glad she did.
Why You’ll Love This Recipe
This small-batch apple crisp isn’t just another dessert recipe—it’s the one you’ll turn to again and again. I’ve tested it a dozen times, tweaking the topping ratio and the baking time until it was just right. Here’s why it works so well for busy weeknights:
- Quick & Easy: It comes together in about 10 minutes of active prep and bakes in 30. You can have dessert on the table in under 45 minutes, start to finish.
- Simple Ingredients: No fancy grocery trips needed. You likely have apples, oats, flour, butter, and brown sugar in your kitchen right now. If you don’t, you’re one quick stop away.
- Perfect for Two: This is the ideal portion for a couple, a small family, or just you and a spoon. No waste, no pressure to finish a giant pan.
- Crowd-Pleaser: It gets rave reviews from everyone who tries it. The topping is buttery and crisp, the apples are tender and spiced—it’s comfort food at its finest.
- Unbelievably Delicious: The texture is what sets this apart. The topping gets those golden, crunchy clusters that contrast beautifully with the soft, cinnamon-scented apples. It’s next-level comfort food.
What makes this recipe different from the rest? It’s the balance. I use a mix of tart and sweet apples, so you get complexity without extra sugar. The topping has just enough butter to bind it without making it greasy. And the baking time is dialed in so the apples are tender but never mushy. This isn’t just another version—it’s the best version. It’s the kind of dessert that makes you close your eyes after the first bite, even on a random Tuesday night.
What Ingredients You Will Need
This recipe uses simple, everyday ingredients to deliver bold flavor and satisfying texture without any fuss. Most of these are pantry staples, which makes this the perfect last-minute dessert.
- Apples (2 medium, about 300g total): I recommend a mix of tart and sweet varieties. Granny Smith and Honeycrisp is my favorite combo. The tart apples hold their shape during baking, while the sweet ones break down slightly, creating a natural sauce. Peel, core, and slice them into ¼-inch thick pieces.
- Granulated Sugar (2 tablespoons / 25g): Just enough to coax out the apples’ natural sweetness. You can reduce this by half if your apples are very sweet.
- Lemon Juice (1 tablespoon / 15ml): Fresh is best here. It prevents the apples from browning and brightens the overall flavor. Bottled works in a pinch.
- All-Purpose Flour (3 tablespoons / 24g): This thickens the apple juices as they bake, creating a light syrup. I’ve tested this with gluten-free 1:1 flour, and it works well.
- Ground Cinnamon (1 teaspoon): The backbone of any good apple crisp. Use a fresh jar for the most aromatic result.
- Ground Nutmeg (¼ teaspoon): Optional but highly recommended. It adds warmth and depth. Freshly grated is amazing if you have it.
- Old-Fashioned Rolled Oats (½ cup / 45g): These give the topping its signature texture. Do not use quick oats—they get mushy. I prefer Bob’s Red Mill for consistent quality.
- Brown Sugar (⅓ cup / 70g, packed): Light or dark works. Dark brown sugar adds more molasses flavor, which I love. Pack it firmly into the measuring cup.
- All-Purpose Flour (¼ cup / 30g) for topping: This combines with the oats and sugar to create the crumbly, crispy topping.
- Unsalted Butter (4 tablespoons / 57g, cold): Cut into small cubes. Cold butter is key—it creates steam pockets as it melts, giving you those coveted crispy clusters. I use Kerrygold for its rich flavor.
- Salt (¼ teaspoon): A small amount in the topping balances the sweetness and enhances all the flavors. Don’t skip it.
- Vanilla Extract (½ teaspoon): Added to the apple mixture for a subtle, warm undertone. Pure vanilla is best, but imitation works fine.
Substitution Notes: For a dairy-free version, use cold coconut oil or a plant-based butter stick. For a gluten-free option, use certified gluten-free oats and a 1:1 gluten-free flour blend. If you don’t have nutmeg, try allspice or a pinch of cloves.
Equipment Needed
You don’t need a fully stocked kitchen to make this small-batch apple crisp. Here’s what you’ll need:
- Small Baking Dish (about 3-cup capacity, or 6×6 inches): A 5×5-inch dish works too. I use a small ceramic dish I found at a thrift store for two dollars. If you don’t have one, two individual ramekins (8-ounce each) work beautifully.
- Mixing Bowls (2 small): One for the apple mixture, one for the topping. Any bowl will do.
- Sharp Knife and Cutting Board: For peeling and slicing the apples. A vegetable peeler helps speed things up.
- Measuring Cups and Spoons: For accurate ingredient portions. I’m usually a “by eye” cook, but for baking, precision matters.
- Pastry Cutter or Fork: To cut the cold butter into the dry ingredients. A pastry cutter is faster, but two forks work great. You can even use your fingertips—just work quickly so the butter doesn’t warm up.
- Spatula or Wooden Spoon: For mixing the apple filling and stirring the topping.
- Sheet Pan (optional): Place the baking dish on a sheet pan to catch any bubbly overflow. It saves you from scrubbing the bottom of your oven.
That’s it. No stand mixer, no food processor—just basic tools you probably already own.
Preparation Method
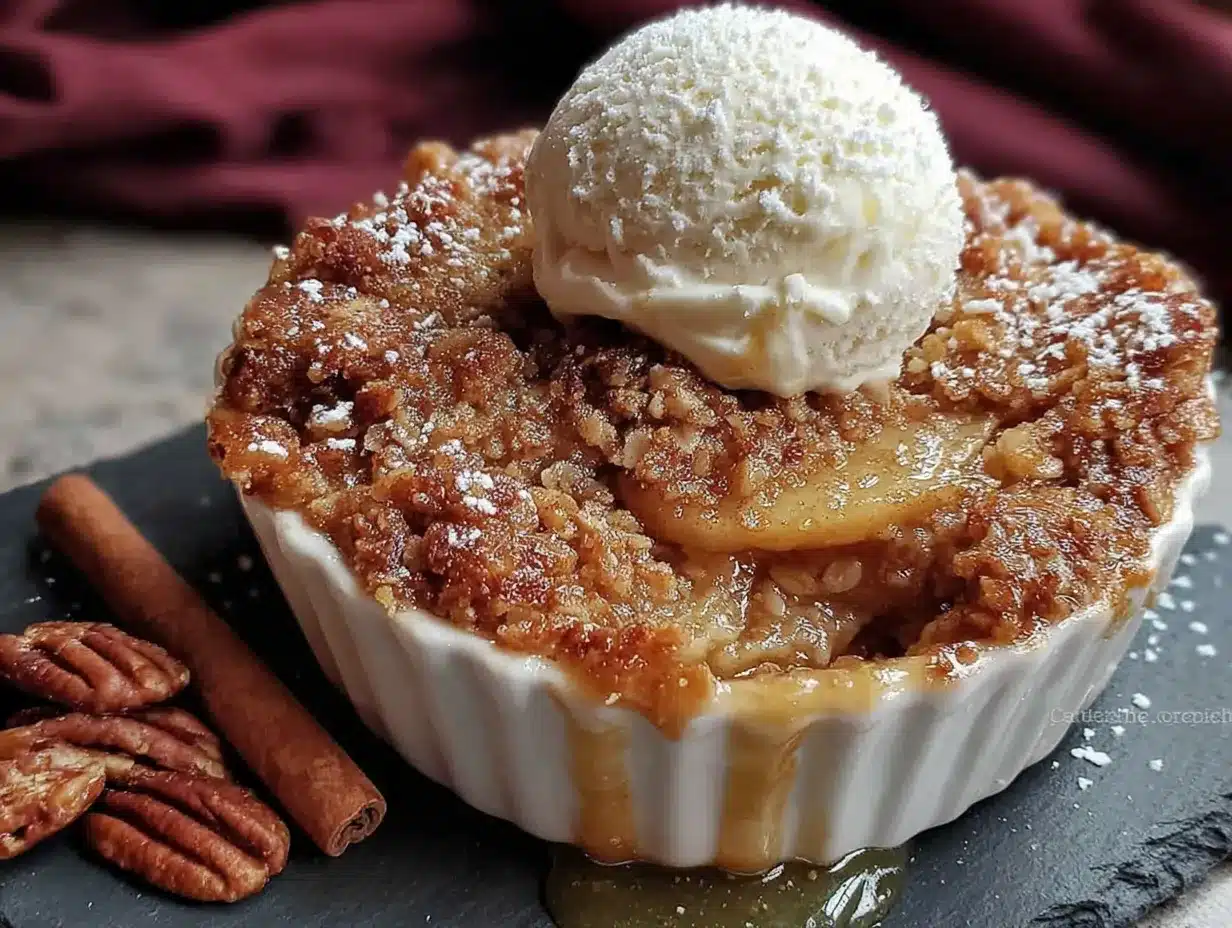
Let’s make this small-batch apple crisp. The whole process takes about 10 minutes of active prep, then 30 minutes of baking. I’ll walk you through every step so you get perfect results on your first try.
- Preheat your oven to 375°F (190°C). Position the rack in the center of the oven. While it heats, start prepping the apples.
- Prepare the apples: Peel, core, and slice 2 medium apples into ¼-inch thick pieces. I like to cut them into wedges, then slice each wedge crosswise into 3-4 pieces. You should have about 2 cups of sliced apples. Don’t stress about uniformity, but try to keep the slices similar in thickness so they cook evenly.
- Make the apple filling: In a small mixing bowl, combine the sliced apples with 2 tablespoons granulated sugar, 1 tablespoon lemon juice, 1 teaspoon cinnamon, ¼ teaspoon nutmeg, 3 tablespoons flour, and ½ teaspoon vanilla. Stir gently with a spatula until every apple slice is coated. The mixture will look a little dry at first—that’s fine. The apples will release their juices as they bake. Let it sit while you make the topping.
- Make the crisp topping: In a separate bowl, combine ½ cup rolled oats, ⅓ cup packed brown sugar, ¼ cup flour, and ¼ teaspoon salt. Stir with a fork to break up any lumps. Add 4 tablespoons cold, cubed butter. Use a pastry cutter or two forks to cut the butter into the dry mixture. You’re looking for a crumbly texture with pea-sized butter pieces throughout. Some larger chunks are okay—they’ll create those crispy clusters. If you’re using your fingers, work quickly so the butter stays cold.
- Assemble the crisp: Transfer the apple mixture to your small baking dish. Spread it into an even layer. Sprinkle the topping evenly over the apples. Don’t press it down—you want it loose so it bakes up crispy. Some apples should peek through the topping.
- Bake: Place the dish on a sheet pan (optional, but recommended) and bake for 30-35 minutes. At 30 minutes, check it. The topping should be golden brown and the filling should be bubbling around the edges. If the topping isn’t brown enough, give it 5 more minutes. If it’s browning too quickly, tent loosely with foil.
- Cool slightly: Let the crisp rest on a wire rack for at least 10 minutes before serving. This allows the filling to set up—it will be runny if you dig in immediately. I know it’s hard to wait, but trust me.
- Serve: Scoop into bowls while still warm. Add a scoop of vanilla ice cream or a drizzle of heavy cream if you’re feeling fancy. The contrast of hot crisp and cold ice cream is pure magic.
Pro tip from my kitchen: If your apples seem dry or mealy, add an extra tablespoon of butter to the filling. It compensates for the lack of natural moisture and keeps the texture luscious.
Cooking Tips & Techniques
After making this small-batch apple crisp more times than I can count, I’ve learned a few things the hard way. Let me save you some trouble.
Don’t overmix the topping. I know it’s tempting to keep working the butter into the flour until it’s perfectly uniform, but stop while you still see some pea-sized butter pieces. Those bits melt during baking, creating steam pockets that make the topping light and crispy. Overmixing gives you a dense, pasty crust. I learned this after making a batch that looked more like a hockey puck than a crisp.
Use cold butter. This is non-negotiable. Cold butter creates steam as it bakes, which gives you that irresistible crunchy texture. If the butter softens while you’re cutting it in, pop the bowl in the fridge for 5 minutes. I keep my butter in the freezer for 10 minutes before I start—it makes a noticeable difference.
Watch your apple variety. Not all apples are created equal for baking. Red Delicious and Gala break down into mush. Granny Smith, Honeycrisp, Fuji, and Braeburn hold their shape. If you’re using only soft apples, reduce the baking time by 5 minutes. If you’re using only tart apples, add an extra tablespoon of sugar.
Let it rest. The hardest part is waiting those 10 minutes after it comes out of the oven. But here’s what happens: as the crisp cools, the juices thicken into a syrupy sauce. If you serve it immediately, you’ll have a soupy mess. I speak from experience—I once served it straight from the oven to impress a guest, and it ran all over the plate like a sad puddle.
Multitasking tip: While the crisp bakes, make your coffee or tea. Set out the ice cream to soften slightly. Clean up your prep bowls. By the time the timer goes off, everything else is ready, and you can focus on enjoying the moment.
Variations & Adaptations
This small-batch apple crisp is endlessly adaptable. Here are some variations I’ve tried and loved:
- Gluten-Free Version: Use certified gluten-free rolled oats and a 1:1 gluten-free flour blend. I’ve tested this with Bob’s Red Mill 1:1 Baking Flour, and the texture is nearly identical. Just make sure your oats are certified gluten-free if you’re sensitive.
- Dairy-Free Version: Substitute the butter with cold coconut oil or a plant-based butter stick. I prefer coconut oil for its neutral flavor. Cut it into the dry ingredients the same way. The topping won’t be quite as crispy, but it’s still delicious.
- Spiced Variation: Add ¼ teaspoon ground ginger and ⅛ teaspoon cardamom to the apple mixture. This gives it a chai-inspired warmth that’s perfect for fall. I tried this after a trip to a local spice shop, and it’s now my go-to for cooler evenings.
- Nutty Topping: Swap 2 tablespoons of the oats for finely chopped pecans or walnuts. Toast them lightly before adding to the topping for extra flavor. The crunch is incredible.
- Single Serving: Divide the recipe between two 8-ounce ramekins. Reduce baking time to 22-25 minutes. Perfect for when you want individual portions or if you’re cooking for one and want to save the second for later.
- Seasonal Fruit Swap: In summer, try peaches or nectarines. In winter, use pears. Adjust the sugar based on the fruit’s sweetness—peaches need less, pears might need a touch more. I made a pear version last December with a pinch of cardamom, and it was a hit at a small dinner party.
Serving & Storage Suggestions
This small-batch apple crisp is best served warm, but it’s pretty incredible at room temperature too. Here’s how to make the most of it:
Serving: Scoop the crisp into bowls while it’s still warm but has rested for at least 10 minutes. Top with a generous scoop of vanilla ice cream—the contrast of hot and cold is unbeatable. A drizzle of heavy cream or a dollop of whipped cream works beautifully too. For a special touch, sprinkle a little flaky sea salt over the top just before serving. It sounds odd, but it really brings out the caramel notes.
Pairings: This crisp pairs wonderfully with a cup of hot coffee, spiced chai, or a glass of cold milk. For a more indulgent evening, serve it alongside a small glass of bourbon or a tawny port. The warmth of the alcohol complements the cinnamon and nutmeg perfectly.
Storage: If you have leftovers (unlikely, but possible), cover the baking dish tightly with foil or plastic wrap and store in the refrigerator for up to 3 days. The topping will soften over time, but the flavor remains delicious.
Reheating: The best way to reheat is in the oven at 350°F (175°C) for 10-15 minutes. This helps re-crisp the topping. In a pinch, the microwave works—just heat in 30-second bursts until warm. The topping won’t be as crispy, but it’s still tasty. If reheating in the microwave, I like to add a fresh sprinkle of oats on top for texture.
Make-Ahead Note: You can assemble the crisp (without baking) up to 24 hours in advance. Cover and refrigerate. When ready to bake, add 5-10 minutes to the baking time since you’re starting from cold. This is a lifesaver for busy weeknights or when you’re hosting.
Nutritional Information & Benefits
Here’s the approximate nutritional breakdown for one serving (half the recipe, without ice cream):
- Calories: 385
- Total Fat: 18g
- Saturated Fat: 11g
- Carbohydrates: 55g
- Fiber: 5g
- Sugar: 32g
- Protein: 4g
This dessert offers some surprising benefits. Apples are rich in fiber and vitamin C, and eating them with the skin (if you choose not to peel) boosts the antioxidant content. Oats provide soluble fiber, which supports heart health. The cinnamon in this recipe has anti-inflammatory properties and may help regulate blood sugar. While this is definitely a treat, it’s a more wholesome one than most store-bought desserts—you control the sugar and the quality of every ingredient.
Dietary Considerations: This recipe can be made gluten-free and dairy-free with simple substitutions (see Variations section). It contains wheat (flour) and dairy (butter) in its standard form. It is nut-free unless you add nuts to the topping. If you’re watching your sugar intake, you can reduce the sugar in the apple filling by half, especially if you’re using sweet apple varieties.
Conclusion
This small-batch apple crisp has become a staple in my kitchen for a reason. It’s quick, it’s forgiving, and it delivers that warm, comforting feeling we all crave on a busy weeknight. The topping gets perfectly crispy, the apples are tender and spiced, and the whole thing comes together with ingredients you probably already have in your pantry.
I love that this recipe doesn’t demand a lot from you. It doesn’t require a trip to a specialty store or an hour of active prep. It just asks for a few minutes of your time and gives you something genuinely delicious in return. That’s the kind of recipe I keep coming back to.
Now it’s your turn. Try it tonight, and don’t be afraid to make it your own—swap in different fruits, adjust the spices, or add a handful of nuts. I’d love to hear how it turns out. Leave a comment below and let me know what variations you tried, or tag me in your photos on social media. Happy baking!
Frequently Asked Questions
Can I use quick oats instead of rolled oats?
I don’t recommend it. Quick oats are cut finer and absorb moisture differently, which makes the topping dense and mushy rather than crispy. Rolled oats give you that classic, crunchy texture. If you only have quick oats on hand, try toasting them lightly in a dry pan first to improve their texture.
Can I make this apple crisp ahead of time?
Absolutely. You can assemble the entire crisp (without baking) up to 24 hours in advance. Cover it tightly and refrigerate. When you’re ready to bake, add about 5-10 minutes to the baking time since you’re starting from a cold dish. The topping might not get quite as crispy, but the flavor will be just as good.
What’s the best apple for apple crisp?
A mix of tart and sweet is ideal. Granny Smith provides structure and tang, while Honeycrisp or Fuji add sweetness and juiciness. If you only have one type, go with a firm, tart apple like Granny Smith or Braeburn. Avoid Red Delicious or Gala—they turn into mush during baking.
Can I double this recipe?
Yes, but you’ll need a larger baking dish. An 8×8-inch square pan works well for a double batch. Increase the baking time by 10-15 minutes, and check for doneness by looking for bubbly filling and a golden topping. The center should be tender when pierced with a fork.
Why is my topping not crispy?
This usually happens for one of three reasons: the butter was too warm when you mixed it in, the topping was pressed down too firmly onto the apples, or the crisp was covered during baking. Make sure your butter is cold, sprinkle the topping loosely, and leave it uncovered in the oven. If it’s still not crispy, try broiling it for 1-2 minutes at the end—watch it carefully so it doesn’t burn.
Pin This Recipe!
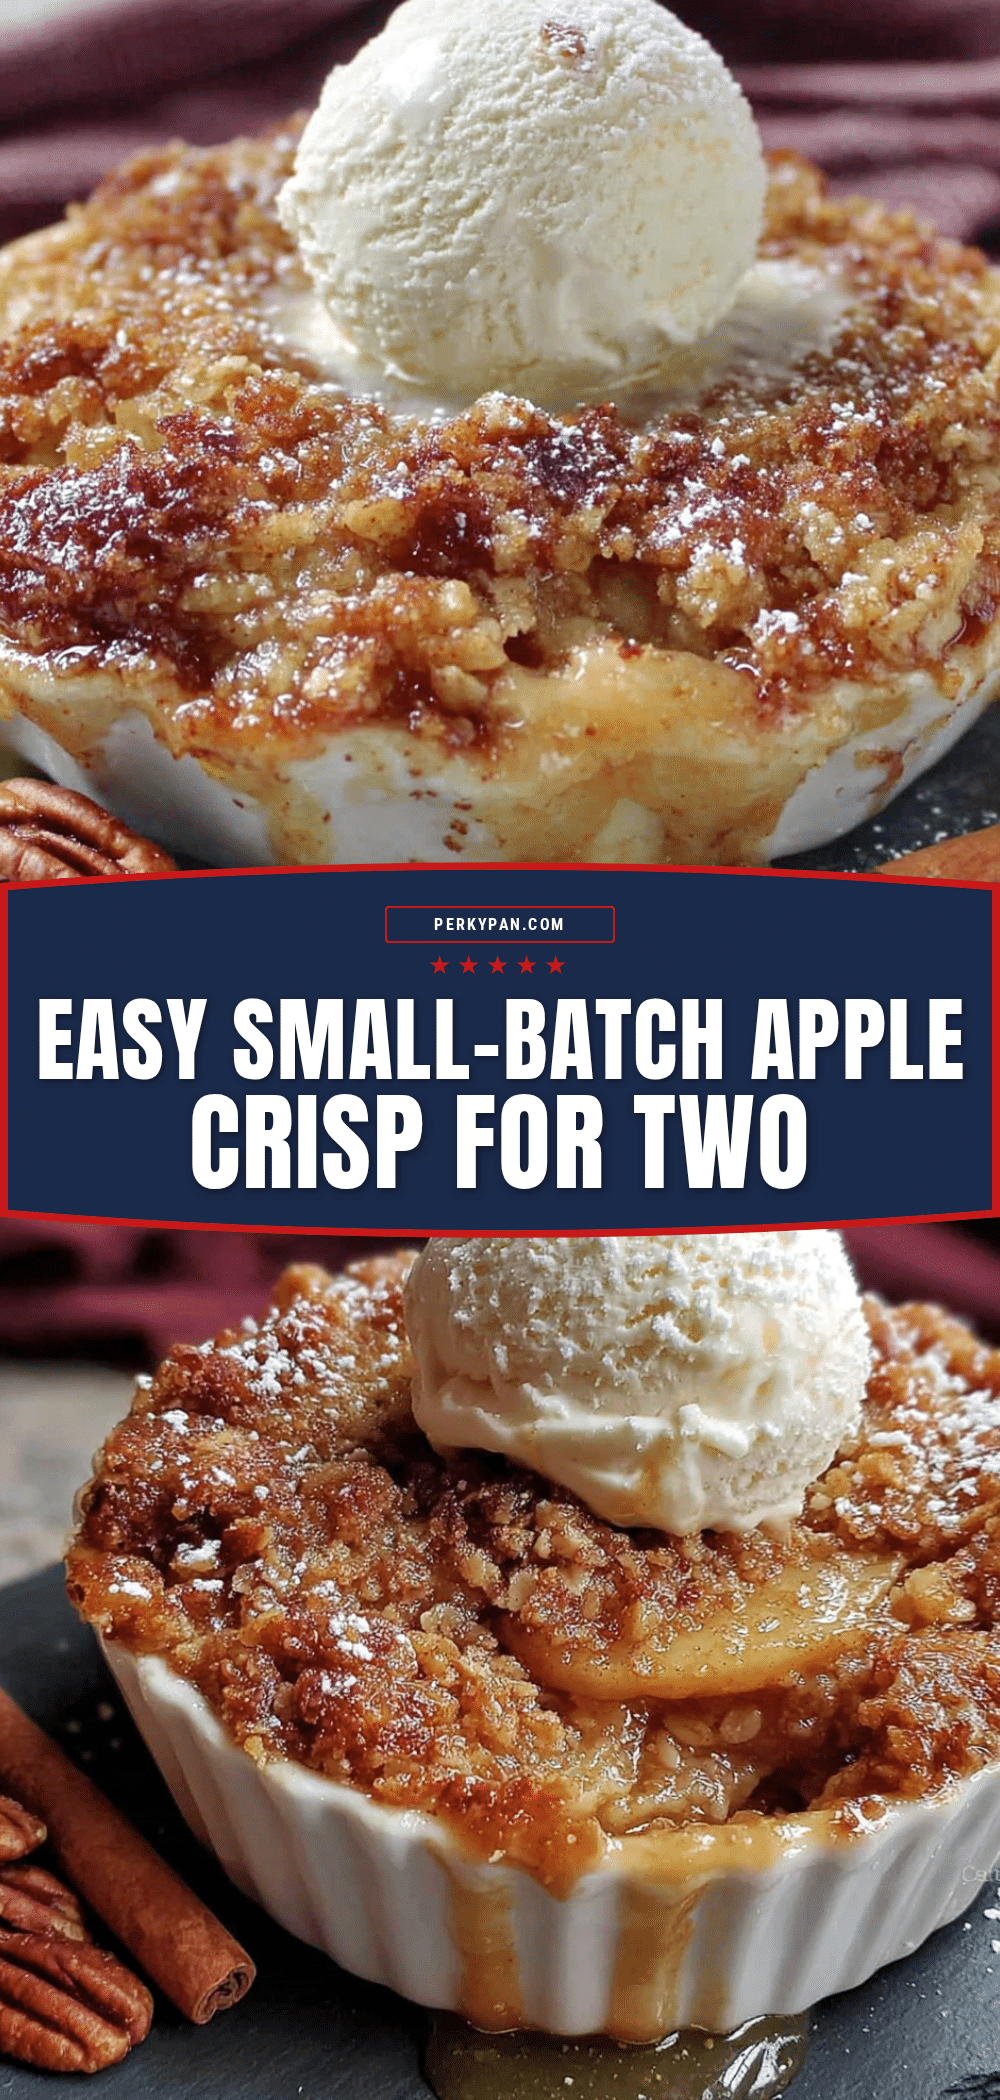
Easy Small-Batch Apple Crisp for Two – Best Homemade Dessert

This small-batch apple crisp is the perfect dessert for two, featuring a buttery, crispy oat topping and tender, spiced apples. It comes together in under 45 minutes with simple pantry ingredients, making it an ideal weeknight treat.
- Prep Time: 10 minutes
- Cook Time: 30 minutes
- Total Time: 40 minutes
- Yield: 2 servings 1x
- Category: Dessert
- Cuisine: American
Ingredients
- 2 medium apples (about 300g total), peeled, cored, and sliced into ¼-inch pieces
- 2 tablespoons granulated sugar (25g)
- 1 tablespoon lemon juice (15ml)
- 3 tablespoons all-purpose flour (24g)
- 1 teaspoon ground cinnamon
- ¼ teaspoon ground nutmeg
- ½ teaspoon vanilla extract
- ½ cup old-fashioned rolled oats (45g)
- ⅓ cup packed brown sugar (70g)
- ¼ cup all-purpose flour (30g) for topping
- 4 tablespoons unsalted butter, cold and cubed (57g)
- ¼ teaspoon salt
Instructions
- Preheat your oven to 375°F (190°C). Position the rack in the center of the oven.
- Prepare the apples: Peel, core, and slice 2 medium apples into ¼-inch thick pieces. You should have about 2 cups of sliced apples.
- Make the apple filling: In a small mixing bowl, combine the sliced apples with 2 tablespoons granulated sugar, 1 tablespoon lemon juice, 1 teaspoon cinnamon, ¼ teaspoon nutmeg, 3 tablespoons flour, and ½ teaspoon vanilla. Stir gently until every apple slice is coated. Let it sit while you make the topping.
- Make the crisp topping: In a separate bowl, combine ½ cup rolled oats, ⅓ cup packed brown sugar, ¼ cup flour, and ¼ teaspoon salt. Stir with a fork to break up lumps. Add 4 tablespoons cold, cubed butter. Use a pastry cutter or two forks to cut the butter into the dry mixture until crumbly with pea-sized butter pieces.
- Assemble the crisp: Transfer the apple mixture to a small baking dish (about 3-cup capacity). Spread into an even layer. Sprinkle the topping evenly over the apples. Do not press it down.
- Bake: Place the dish on a sheet pan (optional) and bake for 30-35 minutes, until the topping is golden brown and the filling is bubbling around the edges. If browning too quickly, tent loosely with foil.
- Cool slightly: Let the crisp rest on a wire rack for at least 10 minutes before serving to allow the filling to set.
- Serve: Scoop into bowls while still warm. Top with vanilla ice cream or a drizzle of heavy cream if desired.
Notes
For a dairy-free version, use cold coconut oil or plant-based butter. For gluten-free, use certified gluten-free oats and a 1:1 gluten-free flour blend. If apples seem dry, add an extra tablespoon of butter to the filling. Let the crisp rest for at least 10 minutes after baking to allow the filling to set.
Nutrition
- Serving Size: 1 serving (half the
- Calories: 385
- Sugar: 32
- Sodium: 150
- Fat: 18
- Saturated Fat: 11
- Carbohydrates: 55
- Fiber: 5
- Protein: 4
Keywords: apple crisp, small batch, dessert for two, easy apple crisp, homemade apple crisp, fall dessert, quick dessert


