Love this? Save it for later!
Share the inspiration with your friends
My daughter asked why I couldn’t just freeze the peanut butter and jelly together before putting it on the bread. I started to explain why that wouldn’t work — then stopped. The logic was undeniable, and honestly, it felt slightly embarrassing that I hadn’t considered it myself. I had been struggling with the classic morning rush, trying to assemble sandwiches that would stay together in a backpack, only to watch them unravel by third period.
She was right. The idea of pre-assembling and freezing them seemed like a cheat code for busy mornings. I rolled my eyes a little, grabbed two slices of whole wheat bread, and decided to give her method a try. I expected a soggy mess. Instead, I got a perfect, sealable pocket of lunchbox joy. It was a small moment, but it completely changed our weekday routine.
Let’s face it, we have all been there. You are running late, the lunchbox is open, and you are praying the sandwich doesn’t leak. With these easy homemade uncrustables for kids, that anxiety disappears. You make a batch on Sunday, and suddenly, weekday mornings feel peaceful. It is not just about saving time; it is about giving your kids something they genuinely look forward to eating.
I mean, watching my daughter proudly open her lunchbox to reveal a perfectly sealed sandwich made by her own hands? That is worth more than any store-bought box. Honestly, it was a humble pie for me, admitting that the kid knew better. But now, we make them weekly, and the freezer is always stocked with these little pockets of happiness.
Why You’ll Love This Recipe
There is a specific kind of magic in making your own version of these beloved lunchbox staples. After testing dozens of combinations and failing a few times (yes, I learned the hard way that too much jelly makes a mess), I have perfected this method. It is not just a copycat; it is an upgrade. You get to control exactly what goes into the bread, ensuring there are no weird preservatives or high-fructose corn syrups that sometimes sneak into commercial brands.
- Quick & Easy: Once you master the assembly line, you can make twenty sandwiches in under fifteen minutes. This is perfect for busy weeknights or last-minute cravings when you need to prep for the week ahead.
- Simple Ingredients: No fancy grocery trips needed. You likely already have everything in your kitchen right now. Bread, your favorite spread, and a little butter are all you need to start this process.
- Perfect for School: Great for school lunches, soccer practice snacks, or cozy dinners when kids want something familiar and comforting.
- Crowd-Pleaser: Always gets rave reviews from kids and adults alike. Even picky eaters who refuse to try new foods will happily devour these because they taste like their favorite childhood treat.
- Unbelievably Delicious: The texture and flavor combo is next-level comfort food. The edges get slightly toasted and crisp from the freezer, adding a nice contrast to the soft interior.
What makes this recipe different from the rest is the seal. By using a little butter on the edges and a proper crimping technique, you create a genuine barrier against leaks. Whether it is a special technique like freezing the bread first to prevent sogginess, or a creative twist like using almond butter for a nut-free school environment, this isn’t just another version. It is your best version, tailored to your family’s needs.
This recipe isn’t just good—it is the kind that makes you close your eyes after the first bite and remember being a kid. It’s comfort food reimagined—healthier, faster, but with the same soul-soothing satisfaction. It is perfect for impressing guests without stress, or turning a simple meal into something memorable.
What Ingredients You Will Need
This recipe uses simple, wholesome ingredients to deliver bold flavor and satisfying texture without the fuss. The beauty of homemade uncrustables lies in the flexibility. You can swap out ingredients based on dietary needs, seasonal availability, or just what is on sale. I like to keep my pantry stocked with these basics so I can throw a batch together in minutes.
For the Sandwich Base
- Soft Sandwich Bread: I recommend Dave’s Killer Bread or a simple white bread like Sara Lee for its pliability. The bread needs to be soft enough to seal without cracking but sturdy enough to hold the filling. Whole wheat or honey wheat works well for added fiber.
- Unsalted Butter: You will need this for the edges. It acts as the glue that helps the bread seal together during the crimping process. Softened butter works best here.
For the Filling
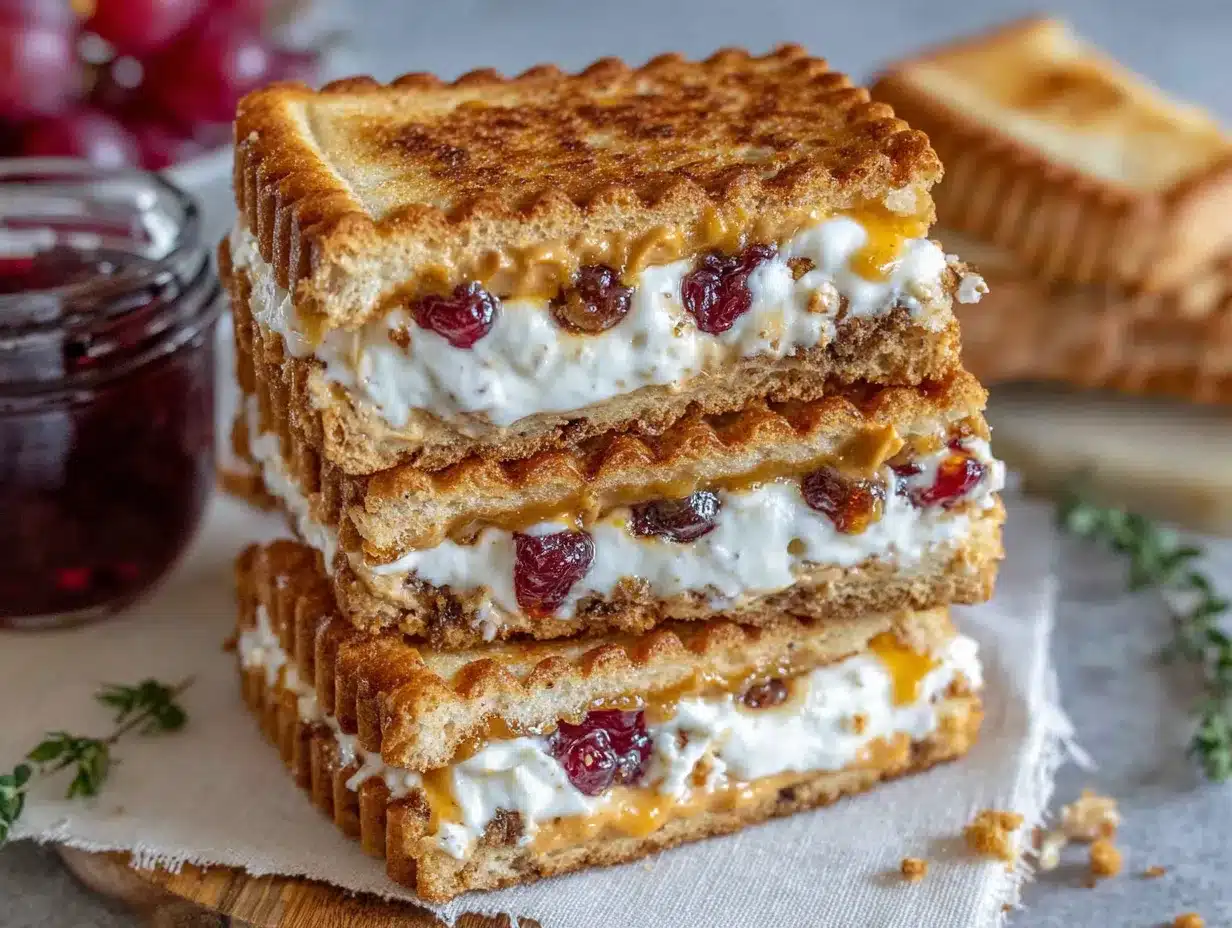
- Peanut Butter or Almond Butter: Creamy varieties are essential here. Chunky peanut butter will poke through the bread and ruin the seal. If you are in a nut-free zone, sunflower seed butter is a fantastic substitute that tastes nearly identical.
- Grape Jelly or Strawberry Jam: I prefer grape jelly because it is thicker and less runny than strawberry jam, which reduces the risk of leakage. Look for a brand with less added sugar if that is a priority for your family.
Optional Add-Ins
- Banana Slices: Add thin slices of banana for a tropical twist. Note that bananas can brown slightly, so eat these within a day of thawing.
- Chocolate Hazelnut Spread: For a treat-like option, use a thin layer of chocolate spread instead of jelly. This is great for birthday parties or special occasions.
When selecting your ingredients, look for firm, small-curd cottage cheese if you decide to try the savory version, though for sweet uncrustables, stick to thick spreads. For seasonal ingredients, in summer, you might swap the jelly for fresh strawberry puree that has been reduced down to a thick consistency. If you need a gluten-free option, use gluten-free bread, but be aware that these varieties can be more fragile and may require a gentler crimping hand.
Equipment Needed
You do not need any fancy gadgets to make these. The only essential tool is a cookie cutter or a round biscuit cutter. I use a 3-inch round cutter because it provides the perfect size for most lunchboxes. If you don’t have one, a simple drinking glass works just fine, though the edges won’t be as pretty.
A butter knife or offset spatula is helpful for spreading the peanut butter evenly. I personally prefer a silicone spatula because it scrapes the bowl clean, which is never a bad thing when dealing with sticky ingredients. For sealing the edges, you can use the tines of a fork if you don’t have a crimping tool. It is a budget-friendly option that gets the job done, even if it doesn’t look as professional.
I also recommend having a baking sheet lined with parchment paper ready. This is where you place the cut sandwiches before freezing. It prevents sticking and makes transferring them to freezer bags much easier. A sharp knife is also useful if you need to trim the bread slices to ensure they are perfectly square before assembly.
Preparation Method
Getting started with these homemade sandwiches is straightforward, but precision matters if you want them to stay sealed. Follow these steps carefully to avoid any messy surprises in your child’s lunchbox.
- Prepare Your Workspace: Lay out your bread slices on a clean cutting board. Ensure they are flat and not curled. This step takes about 2 minutes. If the bread is too cold or stiff, let it sit at room temperature for a few minutes to soften.
- Butter the Edges: Take your softened butter and use a knife to apply a thin, even layer along the perimeter of one slice of bread. Be careful not to get butter on the center area where the filling will go. This creates the sealant. This step takes about 1 minute.
- Add the Filling: Spread your peanut butter evenly over the entire surface of the buttered bread, leaving a tiny border if you want extra security. Then, add a generous layer of jelly on top. Do not overfill! Too much filling will push out the sides when you seal it. This step takes about 2 minutes.
- Top and Press: Place the second slice of bread on top, buttered side down. Gently press down on the sandwich with your palm to distribute the filling and remove air pockets. This step takes about 1 minute.
- Cut the Shape: Using your cookie cutter or glass, press down firmly into the center of the sandwich. Twist slightly to ensure a clean cut. Remove the excess bread around the edges. You can save these scraps for breadcrumbs or toast later. This step takes about 2 minutes.
- Seal the Edges: This is the most critical step. Use the tines of a fork to press down firmly along the entire edge of the cut circle. Go around twice to ensure a tight seal. If you are using a crimping tool, follow the manufacturer’s instructions. This step takes about 2 minutes.
- Freeze: Place the sealed sandwiches on a parchment-lined baking sheet and put them in the freezer for at least 30 minutes. This helps them firm up so they don’t stick together in the storage bag. This step takes 30 minutes.
If you notice the edges are not sealing properly, it is usually because the butter layer was too thin or the fork tines were not pressed hard enough. Take your time with the crimping. It is better to spend an extra minute sealing than to deal with a leaked lunch later.
Cooking Tips & Techniques
Having made hundreds of these over the years, I have learned a few tricks that make the process smoother and the results better. One common mistake is using jelly that is too runny. Always opt for a thicker jelly or reduce your jam on the stove for a few minutes to evaporate excess liquid. This simple adjustment prevents soggy bread and leaks.
Another tip is to freeze the bread slices for 10 minutes before assembling if you live in a humid climate. Cold bread is less sticky and easier to handle. I also recommend using a light hand with the peanut butter. A thin, even layer is better than a thick glob. It allows the bread to seal more easily and ensures you get a good ratio of bread to filling.
Multitasking is key when making a batch. While one sandwich is being assembled, you can be spreading the next. Create an assembly line on your counter: bread, butter, peanut butter, jelly, top bread, cut, seal. This workflow cuts the prep time in half. Also, make sure your fork tines are clean and dry. Any moisture can interfere with the seal.
I once tried to use a sandwich press to seal these, but it crushed the bread and forced the filling out. Stick to the fork method or a dedicated crimping tool. Consistency is key. If you press too lightly, the sandwich will open. If you press too hard, you might break the seal. Find that sweet spot where the fork tines indent the bread without tearing it.
Variations & Adaptations
One of the best things about homemade uncrustables is the ability to customize them. You are not limited to peanut butter and jelly. Here are a few variations that my family loves.
- Nut-Free Option: Use sunflower seed butter or soy nut butter instead of peanut butter. This is perfect for schools with nut-free policies. The texture is nearly identical, and the taste is mild and creamy.
- Apple Butter and Cinnamon: Swap the jelly for apple butter and add a sprinkle of cinnamon to the peanut butter. This tastes like a warm apple pie in a sandwich. It is a great fall variation.
- Chocolate and Banana: Use chocolate hazelnut spread and add thin banana slices. This is a hit with kids who love dessert for lunch. Note that bananas should be eaten within 24 hours of thawing to prevent browning.
- Ham and Cheese: For a savory option, use turkey ham and American cheese. This is a great way to get kids to eat more protein. Seal it tightly and ensure the cheese is a slice that melts well.
I also like to experiment with different types of bread. Gluten-free bread works, but it is more fragile. I recommend using a smaller cookie cutter for gluten-free versions to ensure the edges have enough structural integrity to seal. You can also use whole grain bread for a heartier texture, though it may not seal as easily due to the denser crumb.
Serving & Storage Suggestions
These sandwiches are best served directly from the freezer. They are firm, cold, and satisfying. If you prefer them thawed, let them sit on the counter for 15-20 minutes. Do not microwave them, as this will make the bread tough and the filling hot and runny.
For storage, once the sandwiches are frozen solid on the baking sheet, transfer them to airtight freezer bags or containers. They will keep in the freezer for up to 3 months. Label the bags with the date and flavor so you know which is which. I like to keep a separate bag for each flavor variation.
When it comes to presentation, these sandwiches look cute in lunchboxes, especially if you use a cookie cutter with a fun shape like a star or a heart. They pair well with a piece of fruit and a drink. The flavors develop over time in the freezer, becoming more cohesive. The bread absorbs some of the moisture from the filling, creating a unique texture that many people prefer over fresh sandwiches.
Nutritional Information & Benefits
While these are a treat, they can be part of a balanced lunch. A typical peanut butter and jelly uncrustable contains approximately 250-300 calories, depending on the size of the bread and the amount of filling. The peanut butter provides healthy fats and protein, which help keep kids full throughout the morning. The jelly provides carbohydrates for energy.
By making these at home, you can control the sugar content. Using natural peanut butter with no added sugar and low-sugar jelly can significantly reduce the calorie count and improve the nutritional profile. They are naturally dairy-free if you use butter and jelly, making them suitable for many dietary restrictions. However, always check labels for potential allergens like nuts or gluten.
I view these as a practical tool for nutrition. If your child is more likely to eat a homemade version than a store-bought one, the nutritional difference is negligible. The key is balance. Pairing the sandwich with an apple or carrots ensures they get fiber and vitamins alongside their lunch.
Conclusion
Making easy homemade uncrustables for kids is a game-changer for any busy parent. It saves time, reduces waste, and gives your children a lunch they love. I encourage you to try this recipe and customize it to fit your family’s tastes. Experiment with different fillings and breads until you find the perfect combination.
I still remember the look on my daughter’s face when she realized she could make her own lunchbox treasures. It was a moment of pride for both of us. I hope you find that same joy in your kitchen. Please share your variations and tips in the comments below. I love hearing how other families adapt this recipe. Happy cooking!
FAQs
Can I freeze these without sealing them?
No, it is essential to seal the edges properly. If you do not seal them, the filling will leak out during freezing and thawing, making a mess in your freezer and lunchbox.
How long do these last in the freezer?
They can last up to 3 months in the freezer. After that, they may develop freezer burn or lose their optimal texture.
Can I use gluten-free bread?
Yes, but gluten-free bread is more fragile. Use a smaller cookie cutter and press the edges gently but firmly to ensure a good seal.
What is the best jelly to use?
Thick grape jelly or reduced strawberry jam works best. Runny jellies can make the bread soggy and cause leaks.
Can I make savory uncrustables?
Absolutely. Try ham and cheese, or turkey and cream cheese. Just ensure the filling is not too wet to maintain the seal.
Pin This Recipe!
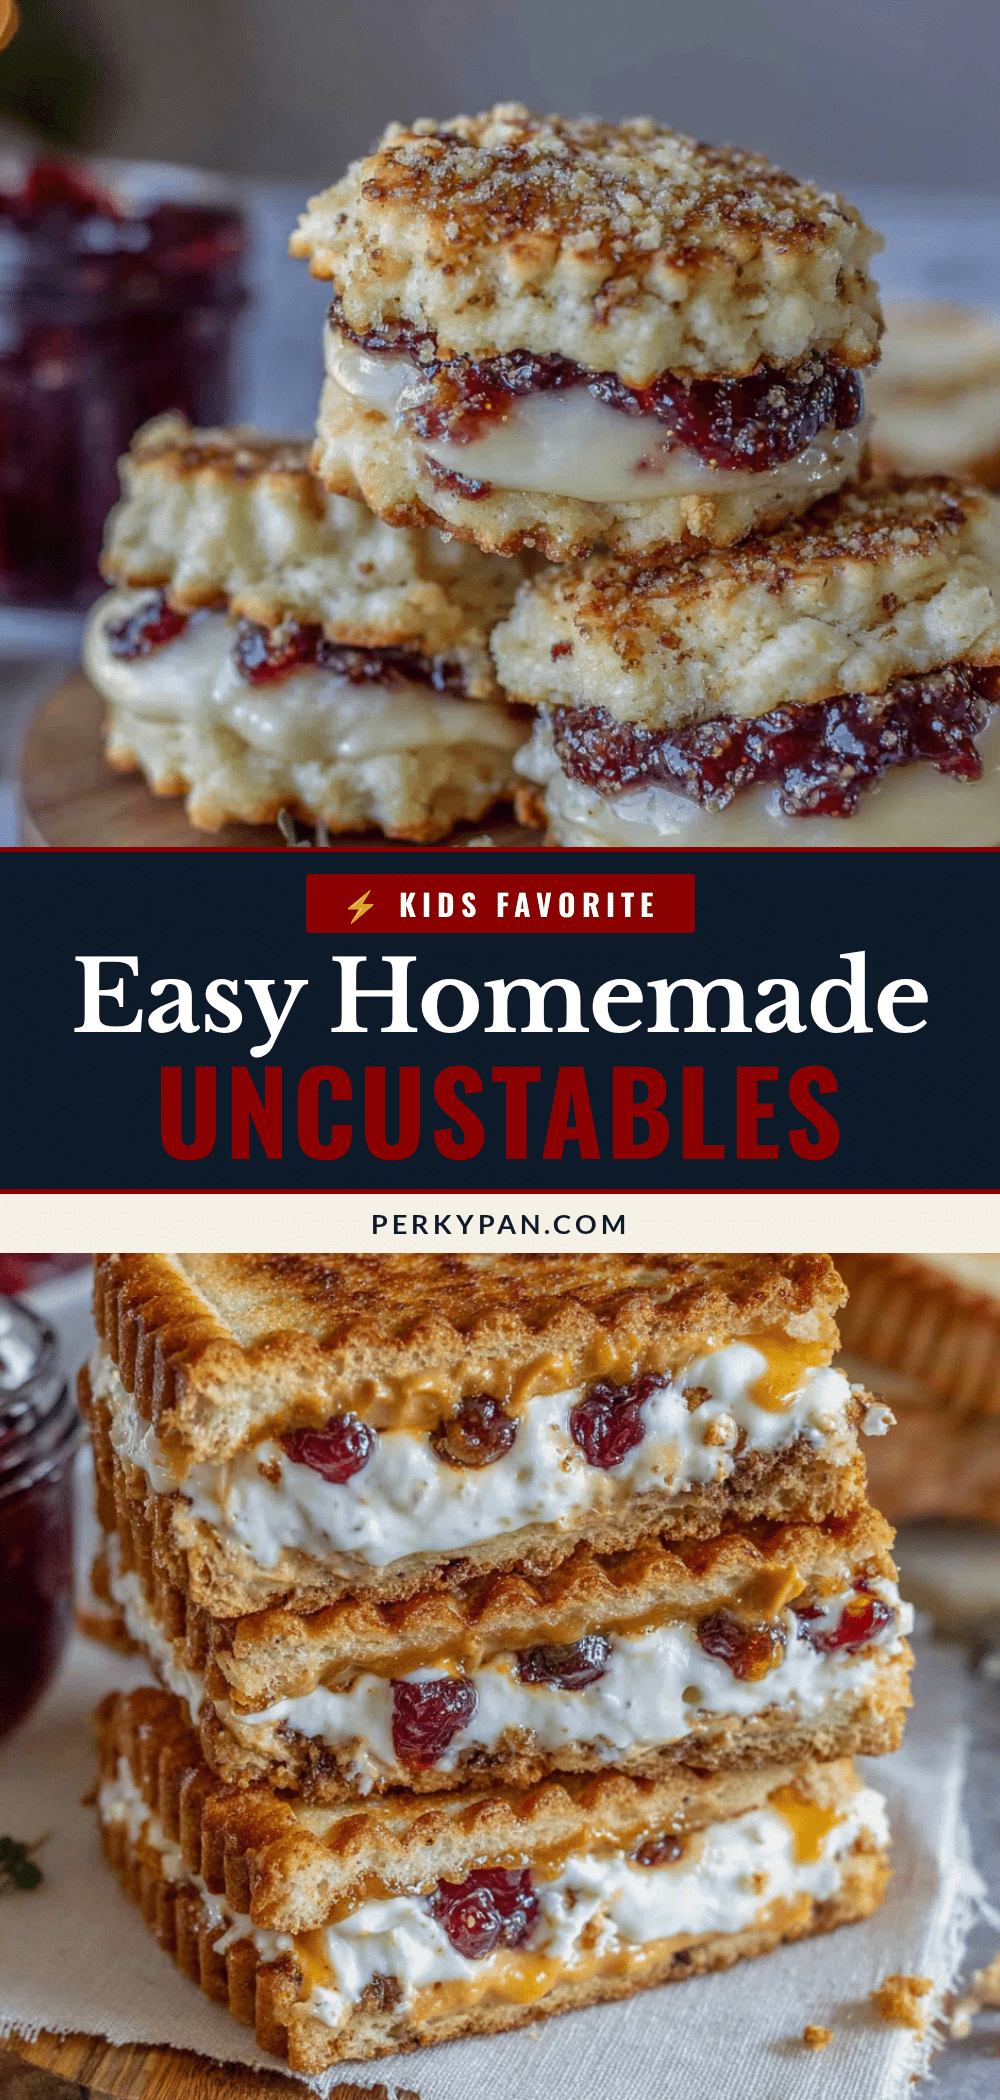
Easy Homemade Uncrustables: Perfect 15-Min Lunch

A simple, leak-proof recipe for homemade sealed sandwiches using bread, peanut butter, and jelly. Perfect for busy mornings and school lunches, these can be prepped in under 15 minutes and frozen for up to 3 months.
- Prep Time: 15 minutes
- Cook Time: 0 minutes
- Total Time: 45 minutes
- Yield: 20 servings
- Category: Lunch
- Cuisine: American
Ingredients
- Soft sandwich bread (white, whole wheat, or honey wheat)
- Unsalted butter, softened
- Creamy peanut butter or almond butter
- Grape jelly or strawberry jam (thick consistency)
- Optional: Banana slices, chocolate hazelnut spread, sunflower seed butter, ham, cheese
Instructions
- Lay out bread slices on a clean cutting board, ensuring they are flat.
- Apply a thin, even layer of softened butter along the perimeter of one slice of bread, avoiding the center.
- Spread peanut butter evenly over the entire surface of the buttered bread.
- Add a generous layer of jelly on top of the peanut butter, being careful not to overfill.
- Place the second slice of bread on top, buttered side down, and gently press to distribute filling.
- Use a 3-inch round cookie cutter or glass to cut the sandwich into a circle, removing excess bread.
- Press the tines of a fork firmly along the entire edge of the cut circle twice to seal the edges.
- Place sealed sandwiches on a parchment-lined baking sheet and freeze for at least 30 minutes.
- Transfer frozen sandwiches to airtight freezer bags for storage.
Notes
Use thick jelly to prevent leaks and soggy bread. If using gluten-free bread, press edges gently as it is more fragile. Bananas added as filling should be eaten within 24 hours of thawing to prevent browning. Do not microwave; serve from freezer or thaw on counter for 15-20 minutes.
Nutrition
- Serving Size: 1 sealed sandwich
- Calories: 275
- Sugar: 18
- Sodium: 180
- Fat: 12
- Saturated Fat: 2.5
- Carbohydrates: 35
- Fiber: 2
- Protein: 7
Keywords: homemade uncrustables, kid-friendly lunch, meal prep, peanut butter and jelly, school lunch ideas, freezer meals, easy lunchbox recipes


