Love this? Save it for later!
Share the inspiration with your friends
Three days before our neighborhood’s first-ever “Holiday Craft & Sip” party—which I’d somehow agreed to host—I found myself staring at a sad, half-deflated bag of oranges in my fruit bowl. The invitation I’d sent out promised “handmade garlands for everyone” and “signature winter cocktails.” Let me tell you, at 10 PM on a Tuesday, with glitter glue drying on my fingers and a sink full of dishes, I was starting to regret that whole ambitious hostess persona I’d crafted.
Everyone else was bringing elaborate store-bought decorations and fancy infused spirits. My neighbor Sarah had spent a week on her cranberry-orange wreath. I had oranges. A lot of oranges. Honestly, I almost called the whole thing off. But then I remembered a trick my old roommate used to do—slicing citrus thin and letting the oven do the hard work. It was a desperate move, I’m not gonna lie. I sliced those oranges at midnight, popped them in the oven on the lowest setting, and prayed.
The next morning, my kitchen smelled like a Christmas candle had exploded—in the best way possible. Those slices had turned into these gorgeous, translucent jewels, all shrunken and sweet and perfectly dried. I threaded them onto twine while my coffee brewed, and by the time the party started, I had three garlands draped over the mantel and a jar of dried slices ready to drop into mulled wine. And you know what? People went absolutely nuts for them. They asked for the recipe. They asked for the slices themselves. My simple, panicked project ended up being the star of the night. Maybe you’ve been there—the thing you throw together under pressure turns out to be the thing everyone remembers. That’s how this recipe became my go-to. It’s less about perfection and more about making something beautiful when you think you’ve got nothing.
Why You’ll Love This Recipe
These Homemade Oven-Dried Orange Slices for Garland & Cocktails are the kind of project that feels like cheating because it’s so simple, but the results look like you spent hours. I’ve tested this method at least a dozen times now—through different oven temperatures, slice thicknesses, and even orange varieties—so you don’t have to. Here’s why this version is the one you’ll come back to:
- Incredibly Easy : You only need one ingredient and a little patience. The oven does all the work while you binge your favorite show.
- Budget-Friendly Decor : Store-bought dried citrus garlands can cost a small fortune. A bag of oranges makes several garlands for pennies each.
- Dual Purpose : Use them for beautiful holiday garlands, then repurpose extras for cocktails, teas, or even potpourri. Nothing goes to waste.
- Long-Lasting : Properly dried slices last for months—even years—if stored correctly. You can make them way ahead of the holidays.
- Customizable : Swap oranges for lemons, limes, or grapefruits. Add cinnamon sticks or star anise to the garland for extra flair.
What makes this recipe different from the rest? It’s the low-and-slow technique that prevents burning while preserving that vibrant orange color. I’ve seen too many recipes that rush the process and end up with bitter, brown discs. This method ensures every slice comes out perfectly translucent and sweet. It’s comfort food for the eyes and the soul—a cozy, satisfying project that fills your home with that warm citrusy scent and gives you something beautiful to show for it. Perfect for impressing guests without the stress, or turning a quiet afternoon into something memorable.
What Ingredients You Will Need
This recipe uses the simplest ingredient list imaginable. Honestly, if you have oranges, you’re already halfway there. The key is choosing the right fruit and treating it well.
- Fresh Oranges (3-4 large) : Navel oranges are my go-to because they’re widely available, seedless, and hold their shape well. Look for firm, heavy oranges with bright, unblemished skin. Organic is ideal if you can find it, since you’ll be using the peel. (I’ve found that thicker-skinned oranges like Valencia also work, but they take a bit longer to dry.)
- Optional: Other Citrus : Lemons, limes, or blood oranges make stunning variations. Blood oranges give a deep ruby color that’s gorgeous in garlands. (Just note that thinner-skinned citrus like limes may dry faster.)
- Optional: Simple Syrup or Sugar : If you want sweeter slices for cocktails, you can brush them with a light simple syrup before drying. I don’t usually bother for garlands, but for cocktail garnishes, it’s a nice touch. (Use 1 part sugar to 1 part water, boiled and cooled.)
- Optional: Spices : A light dusting of cinnamon or cloves can add a festive scent. I’ve done this for garlands and it smells incredible, but skip it if you plan to use the slices in drinks.
Ingredient Selection Tips: Avoid oranges that feel lightweight or have soft spots—they won’t slice evenly and may rot before they dry. I personally prefer organic oranges from brands like Cuties or Halos when they’re in season, but any fresh orange works. If you’re making these for garlands, slightly underripe oranges actually hold their color better during drying. For cocktails, go with the ripest, juiciest oranges you can find—they’ll have more natural sweetness.
Substitution Guidance: No oranges? Use grapefruits for larger, dramatic slices. Meyer lemons add a lovely floral note. You can even mix different citrus on the same garland for a colorful, varied look. The drying time will vary slightly based on thickness and water content, but the method stays the same.
Equipment Needed
You don’t need fancy gadgets for this recipe, which is part of its charm. Here’s what you’ll need:
- Sharp Knife or Mandoline Slicer : A sharp chef’s knife works perfectly, but a mandoline ensures even, thin slices every time. I use a simple Benriner mandoline—it’s under $30 and makes quick work of slicing. (Just watch your fingers! I’ve nicked myself more times than I’d like to admit.)
- Baking Sheets (2-3) : Rimmed baking sheets are best to catch any juice drips. I prefer light-colored metal sheets—dark ones can cause the slices to brown too quickly.
- Parchment Paper or Silicone Baking Mats : Line your sheets to prevent sticking. Parchment paper is cheap and easy to dispose of. Silicone mats are reusable and work beautifully.
- Paper Towels or Clean Kitchen Towels : For patting the slices dry before baking. This step is crucial for even drying.
- Wire Cooling Racks : Optional, but placing slices on racks on top of the baking sheets allows air to circulate underneath, speeding up the drying process significantly.
- Twine or String : For threading your garland. Natural jute twine gives a rustic look. Baker’s twine in festive colors is also lovely.
- Large Needle or Skewer : To poke holes in the slices for threading. A darning needle works great. A bamboo skewer also does the job.
Budget-Friendly Options: If you don’t have a mandoline, just sharpen your best knife and take your time. Even slices are important, but don’t stress over perfection. A cooling rack isn’t essential—you can flip the slices halfway through drying to compensate. I’ve made these with just a knife and a baking sheet plenty of times.
Preparation Method
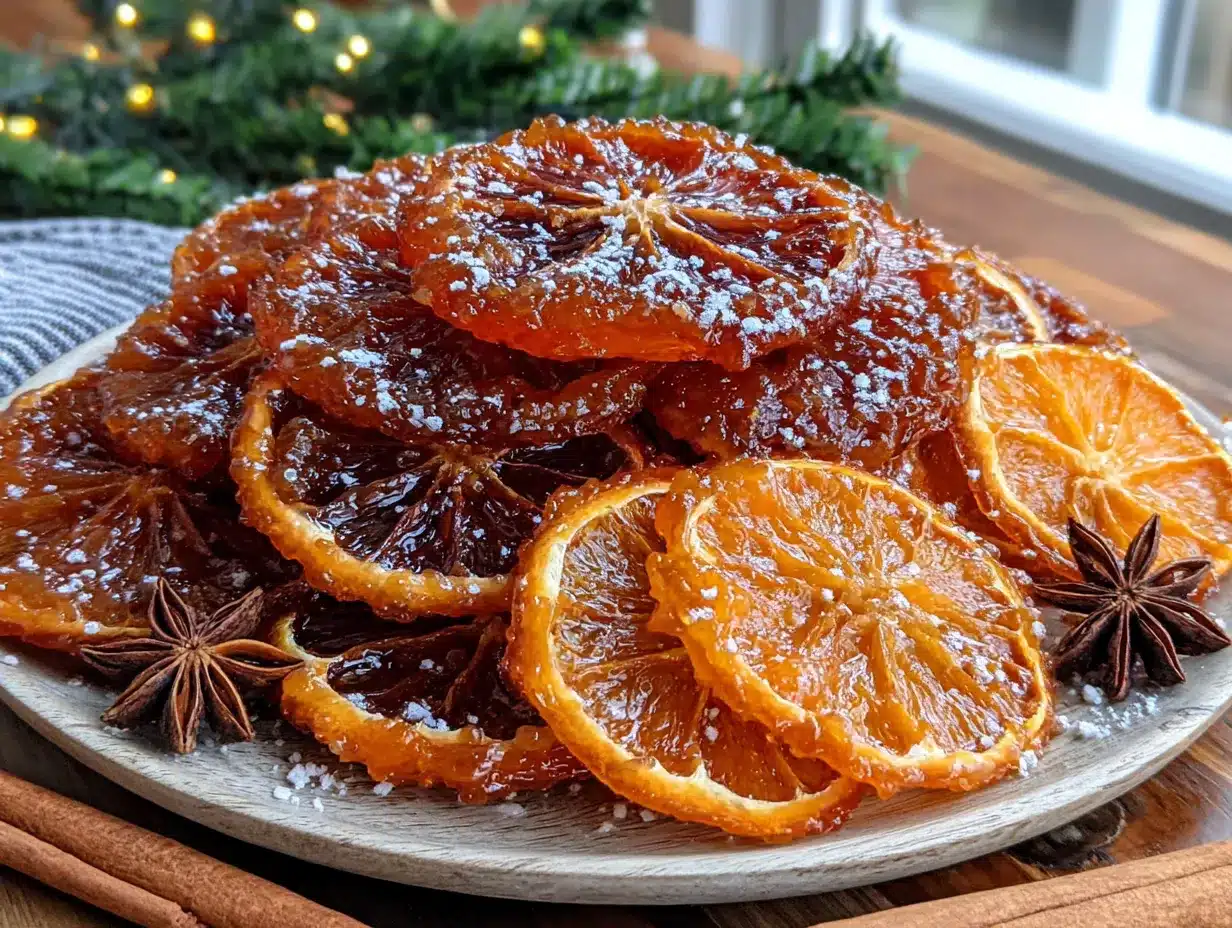
Follow these steps carefully, and you’ll have gorgeous dried orange slices every time. Trust me on the low temperature—rushing this is the number one mistake people make.
- Preheat your oven to 200°F (93°C). This is crucial. Any higher and you risk browning the slices instead of drying them. I learned this the hard way when my first batch came out looking like burnt potato chips. Set a timer to remind yourself the oven is on—it’s easy to forget at such a low temperature.
- Wash and dry your oranges thoroughly. Scrub the skins gently to remove any wax or residue. Pat them completely dry with a clean towel. Any moisture on the surface will steam the slices instead of drying them evenly.
- Slice the oranges into even rounds, about ¼-inch (6mm) thick. This is the sweet spot—thin enough to dry quickly, thick enough to hold their shape. If using a knife, use a gentle sawing motion. If using a mandoline, set it to ¼-inch and work carefully. Discard the ends (they’re mostly pith and won’t dry nicely).
- Blot the slices with paper towels. Lay the slices in a single layer on paper towels and press another towel gently on top. You want to remove as much surface juice as possible. This step makes a huge difference in drying time. (Don’t skip it—I’ve tried, and it adds at least an hour to the process.)
- Arrange the slices on your prepared baking sheets. Place them in a single layer, not touching each other. If using cooling racks, place the slices on the racks and set the racks on the baking sheets. This allows air to circulate underneath and speeds up drying by about 30%.
- Bake for 3-4 hours, flipping halfway through. After about 1.5 hours, carefully flip each slice with a spatula. Check them at the 3-hour mark. They’re done when they feel dry to the touch, slightly leathery, and no longer sticky. The edges should be slightly curled but not brown. If they still feel moist, continue checking every 30 minutes.
- Let them cool completely on the baking sheets. They’ll continue to firm up as they cool. Don’t skip this step—moving them while warm can cause them to bend or stick together. After about 30 minutes, they should be perfectly dry.
- Check for any remaining moisture. If any slices still feel soft in the center, return them to the oven for another 20-30 minutes. It’s better to over-dry slightly than to under-dry, as moisture can lead to mold later.
Sensory Cues: Your kitchen will smell like a citrus orchard within the first hour—that warm, sweet, slightly toasty scent is a good sign. The slices will shrink noticeably as they dry, and the flesh will become translucent, almost like stained glass. When you pick one up, it should feel dry and flexible, not brittle or sticky. If it cracks when bent, it’s slightly over-dried but still usable for garlands.
Cooking Tips & Techniques
After making these orange slices more times than I can count, I’ve collected a few hard-won lessons. Here are the tips that’ll save you from my mistakes:
Slice Thickness Matters. Too thick (over ½-inch) and they’ll take forever to dry and may rot before they finish. Too thin (under ⅛-inch) and they’ll become brittle and break easily. The ¼-inch sweet spot gives you slices that are sturdy enough for garlands but dry within a reasonable time. I’ve measured with a ruler until I got the hang of it by eye.
Don’t Overcrowd the Pan. Slices need space for air to circulate. If they’re touching, they’ll steam each other and take longer to dry. I use two baking sheets for a batch of 3-4 oranges. It’s worth the extra pans.
Rotate Your Pans. Ovens have hot spots. Halfway through drying, swap the top and bottom racks and rotate the pans front to back. This ensures even drying across all slices. I’ve had batches where the front row was perfect and the back row was still wet—lesson learned.
Check for Doneness by Feel, Not Looks. The slices should feel dry and leathery, like thin fruit leather. They’ll still have some flexibility but shouldn’t be sticky. If they feel tacky, they need more time. Don’t rely solely on color—some oranges naturally dry lighter or darker.
Use the Oven Light. At 200°F, you can safely leave the oven light on and peek through the window without opening the door. Every time you open the oven, heat escapes and extends drying time. I’ve become a pro at squinting through that little window.
Cool Completely Before Storing. Any residual warmth can create condensation in your storage container, leading to mold. I let mine sit on the baking sheets for at least an hour before moving them. Patience here pays off.
Variations & Adaptations
Once you’ve mastered the basic method, the possibilities are endless. Here are some of my favorite ways to switch things up:
Spiced Orange Slices: Before baking, mix a teaspoon of cinnamon with a tablespoon of sugar and sprinkle lightly over the slices. The warmth of the spice pairs beautifully with the citrus. I made these for a Christmas garland last year and the scent lingered for weeks. (Just skip this if you plan to use them in cocktails—the sugar can make drinks too sweet.)
Citrus Medley Garland: Use a mix of oranges, lemons, limes, and grapefruits. The different colors and sizes create a gorgeous, varied garland. I once made a rainbow citrus garland for a friend’s wedding and it was stunning. Just note that thinner-skinned citrus like limes may dry faster, so check them earlier.
Herb-Infused Cocktail Garnishes: Before drying, press a small rosemary or thyme sprig onto each slice. The herb will dry along with the orange, infusing it with subtle flavor. Drop one into a gin and tonic or a glass of champagne—it’s elegant and unexpected. I’ve also used dried lavender for a floral twist.
Dairy-Free and Gluten-Free: This recipe is naturally free of both, so no adaptations needed. Just be careful about cross-contamination if using shared baking sheets.
Low-Sugar Option: For a sugar-free version, skip any sweeteners entirely. The natural sugars in the oranges concentrate during drying, so they’re still plenty sweet for most uses. I prefer them unsweetened for garlands and savory cocktails.
Serving & Storage Suggestions
These dried orange slices are incredibly versatile. Here’s how to use and store them:
For Garlands: Once completely dry, use a large needle to thread twine through each slice near the edge. Space them about 2 inches apart. You can add cinnamon sticks, star anise, or dried cranberries between the slices for extra visual interest. Hang the garland away from direct sunlight to prevent fading. They’ll last for months—I’ve had some on my mantel since November and they still look beautiful in February.
For Cocktails: Drop a dried slice into hot mulled wine, cider, or tea—it will rehydrate slightly and release its concentrated flavor. For cold cocktails, use the slice as a garnish on the rim of the glass. They also make beautiful additions to sangria or infused water. I keep a jar on my bar cart and guests always ask about them.
Storage: Store unused dried slices in an airtight container at room temperature. A glass jar with a tight lid works perfectly. Keep them in a cool, dark place—a pantry or cupboard is ideal. They’ll last for up to a year if stored properly. If you notice any softness or mold, discard immediately. (I’ve only had this happen once when I stored them while they were still slightly warm.)
Reheating: If your slices lose their crispness over time, you can re-crisp them in a 200°F oven for 10-15 minutes. Let them cool completely before storing again. This works like a charm for slices that have been sitting in a humid environment.
Gift Idea: These make wonderful homemade gifts. Fill a mason jar with dried slices, tie with a ribbon, and attach a tag with cocktail suggestions. I’ve given these as hostess gifts and teacher appreciation presents—they’re always a hit.
Nutritional Information & Benefits
While these dried orange slices are more about decoration and flavor than nutrition, they do offer some benefits worth noting:
- Estimated per slice (based on ¼ of an orange per slice): Approximately 15-20 calories, 0g fat, 4g carbohydrates, 3g sugar, 0g protein. These values are approximate and vary based on orange size and sweetness.
- Vitamin C: Oranges are famously rich in vitamin C, and while some is lost during the drying process, a good amount remains. A few slices in your tea can give you a small immune boost during cold season.
- Dietary Fiber: The pith and peel contain fiber, which is retained during drying. Eating the whole slice (including the peel) provides more fiber than just the flesh.
- Natural Antioxidants: Citrus fruits contain flavonoids and other antioxidants that support overall health. Drying concentrates these compounds.
- Dietary Considerations: This recipe is naturally vegan, gluten-free, dairy-free, and nut-free. No added sugars or preservatives. Always check for individual allergies to citrus.
Personal Wellness Perspective: I love that this recipe lets me enjoy the benefits of citrus in a form that lasts beyond the fresh season. It’s a small, simple way to add a touch of natural goodness to my home and my drinks without any artificial ingredients or complicated processes.
Conclusion
These Homemade Oven-Dried Orange Slices for Garland & Cocktails are proof that the simplest things often bring the most joy. What started as a panicked, last-minute project turned into one of my favorite holiday traditions—and now it’s a year-round staple. They’re easy enough for a beginner, beautiful enough for gifts, and versatile enough to use in so many ways.
I encourage you to make these your own. Experiment with different citrus, add spices, or try them in your favorite cocktail. The beauty of this recipe is that there’s no wrong way to do it—just oranges, time, and a little love. And if you end up with a few broken slices or a slightly uneven garland? Honestly, that’s part of the charm. Perfection is overrated. Handmade is where the heart is.
I’d love to hear how yours turn out! Drop a comment below with your favorite way to use dried orange slices, or share a photo of your garland. Don’t forget to tag me on social media—I’m always inspired by your creativity. Happy drying, friends!
Frequently Asked Questions
How long do oven-dried orange slices last?
When stored properly in an airtight container in a cool, dark place, they can last up to a year. I’ve had garlands on display for months that still look beautiful. Just keep them away from direct sunlight and humidity.
Can I use a dehydrator instead of an oven?
Absolutely! A food dehydrator works wonderfully for this recipe. Set it to 135°F (57°C) and dry for 6-8 hours, or until the slices feel dry and leathery. The lower temperature can actually preserve the color better than an oven.
Why did my orange slices turn brown?
Browning usually happens when the oven temperature is too high or the slices are too thick. Stick to 200°F (93°C) and flip them halfway through. Dark baking sheets can also cause browning—use light-colored ones if possible. A little browning is normal, but they should be more golden than brown.
Can I use these in cocktails after they’ve been on a garland?
Yes, as long as the garland hasn’t been exposed to dust or chemicals. I usually keep a separate batch for cocktails and another for decorations. If you’re unsure, give them a quick rinse and pat dry before using. The flavor will still be there.
Do I need to peel the oranges before slicing?
No, leave the peel on! The peel adds structure and color, and it’s edible when dried. The pith (white part) helps the slice hold its shape. Just wash the oranges thoroughly before slicing to remove any wax or residue.
Pin This Recipe!
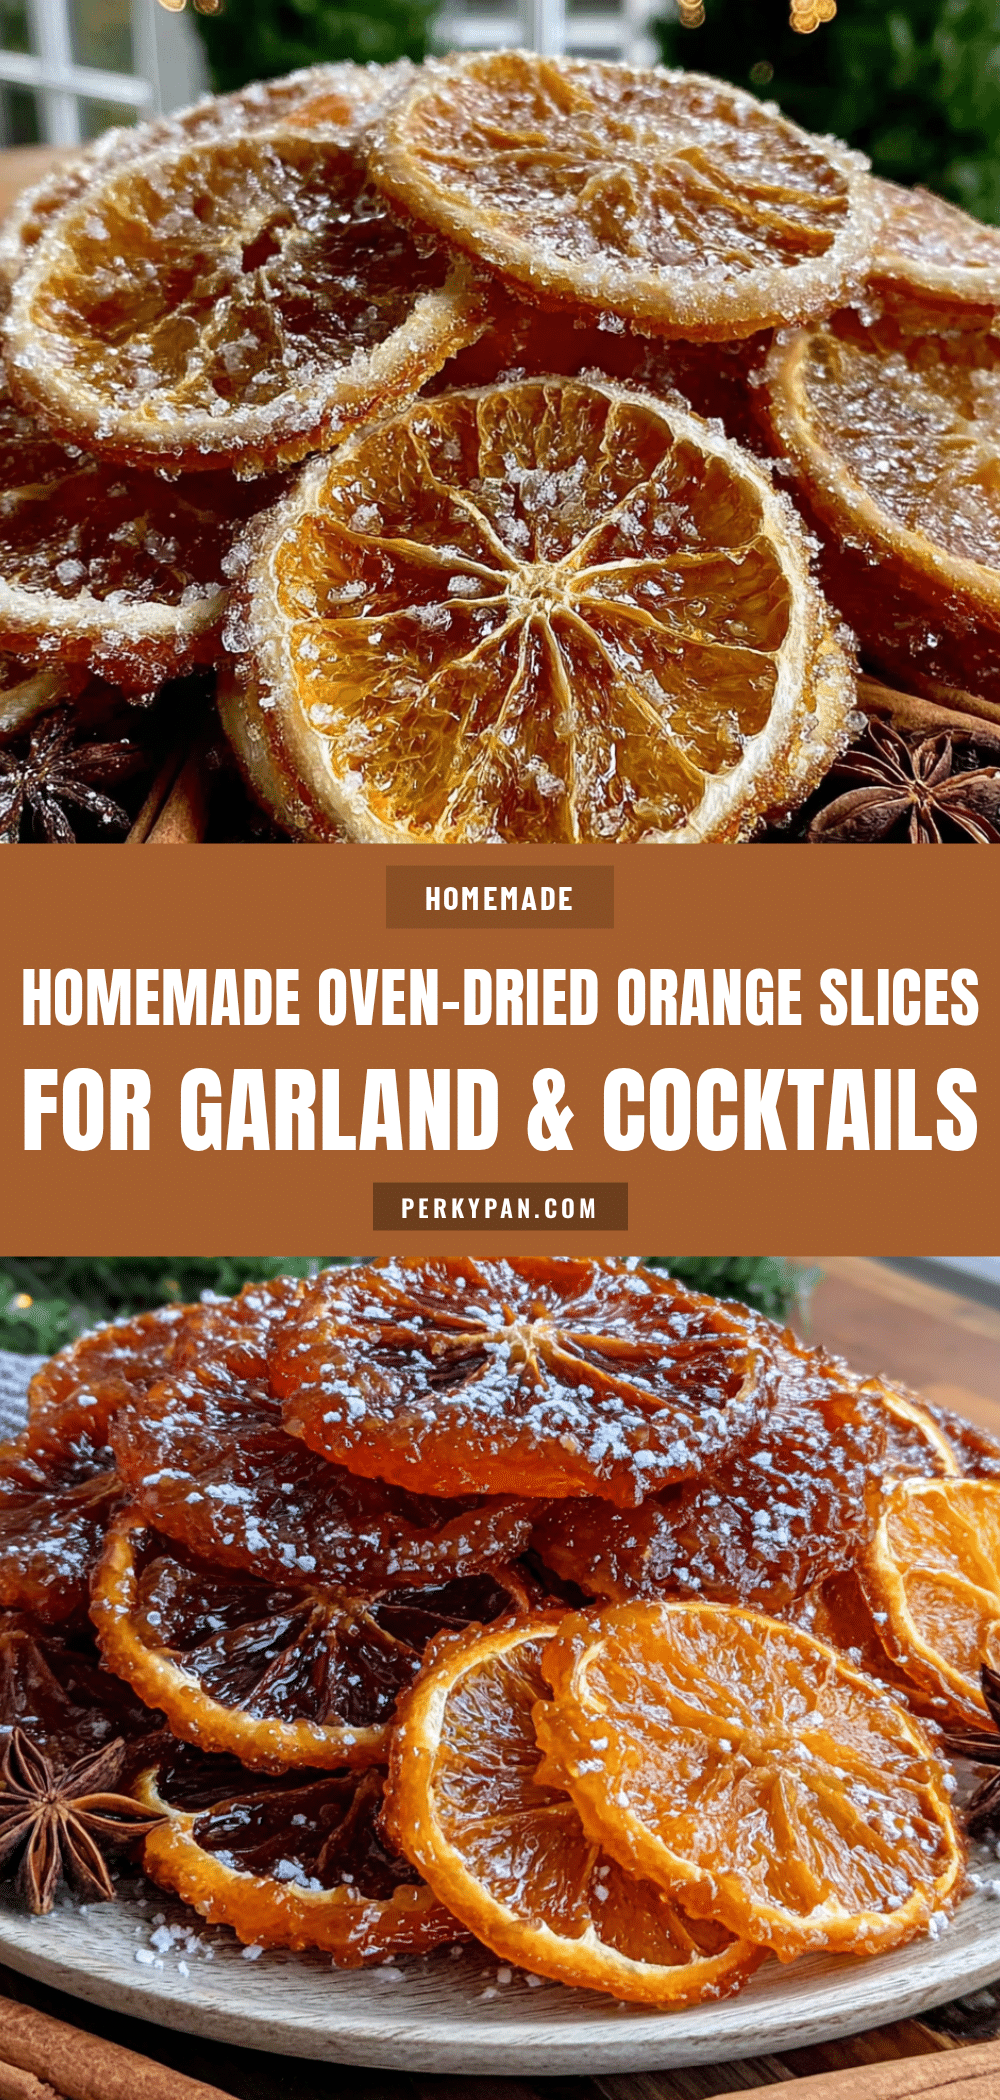
Easy Homemade Oven-Dried Orange Slices for Garland & Cocktails
These Homemade Oven-Dried Orange Slices for Garland & Cocktails are the kind of project that feels like cheating because it’s so simple, but the results look like you spent hours. Perfect for impressing guests without the stress, or turning a quiet afternoon into something memorable.
- Prep Time: 15 minutes
- Cook Time: 3 hours 30 minutes
- Total Time: 3 hours 45 minutes
- Yield: 4 servings 1x
- Category: Snack
- Cuisine: American
Ingredients
- 3–4 large fresh oranges (Navel oranges recommended)
- Optional: Other citrus (lemons, limes, blood oranges)
- Optional: Simple syrup (1 part sugar to 1 part water, boiled and cooled)
- Optional: Spices (cinnamon, cloves)
Instructions
- Preheat your oven to 200°F (93°C).
- Wash and dry your oranges thoroughly. Scrub the skins gently to remove any wax or residue. Pat them completely dry with a clean towel.
- Slice the oranges into even rounds, about ¼-inch (6mm) thick. Discard the ends.
- Blot the slices with paper towels to remove as much surface juice as possible.
- Arrange the slices on prepared baking sheets in a single layer, not touching each other. If using cooling racks, place slices on racks and set racks on baking sheets.
- Bake for 3-4 hours, flipping halfway through. Check at the 3-hour mark. They are done when dry to the touch, slightly leathery, and no longer sticky.
- Let them cool completely on the baking sheets for about 30 minutes.
- Check for any remaining moisture. If any slices still feel soft in the center, return to the oven for another 20-30 minutes.
Notes
Slice thickness matters: aim for ¼-inch (6mm). Don’t overcrowd the pan. Rotate pans halfway through drying. Check for doneness by feel, not looks. Cool completely before storing. Use the oven light to peek without opening the door.
Nutrition
- Serving Size: 1 slice
- Calories: 1520
- Sugar: 3
- Carbohydrates: 4
Keywords: dried orange slices, oven-dried oranges, citrus garland, cocktail garnish, homemade garland, holiday decor, easy recipe