Love this? Save it for later!
Share the inspiration with your friends
The first week of January and I was already drowning. My daughter brought home the sniffles from preschool, my husband was coughing through conference calls, and I could feel that telltale tickle in my own throat. You know that feeling when you’re watching a train wreck in slow motion? That was us. I had this memory of my grandmother boiling a pot of dark purple berries every autumn, the smell filling her tiny kitchen with something between medicine and magic. She’d spoon the syrup into us kids like it was our job. But honestly? I didn’t have time to stand over a stove for hours. The kids were cranky, I was exhausted, and the last thing I wanted was another chore. I needed something fast, something the kids would actually take without a fight, and something that felt like a little bit of control in the middle of chaos. That’s when I remembered those gummy vitamins my daughter actually begs for. And I thought—why not make my own? So I grabbed a carton of dried elderberries, some gelatin, and a silicone mold I’d bought on a whim last summer. Let me tell you, the first batch was a mess. Too sticky, too tart, a total disaster. But the second batch? That was the one. The kids gobbled them up. My husband asked for more. And for the first time all week, I felt like I had a tiny win. That’s how these Homemade Immune-Boosting Elderberry Gummy Bites were born—out of desperation, a little bit of stubbornness, and a whole lot of love.
Why You’ll Love This Recipe
These little gummies are honestly a game-changer for anyone trying to keep their family healthy without the sugar overload of store-bought vitamins. I’ve tested this recipe more times than I can count, tweaking the sweetness, the texture, and the set time until it was just right. Here’s what makes them stand out:
- Quick & Easy: From start to finish, you’re looking at about 20 minutes of active work. The hardest part is waiting for them to set in the fridge.
- Simple Ingredients: No weird additives or preservatives. You probably have most of these in your pantry already—elderberries, honey, gelatin, and a lemon.
- Perfect for Sick Season: Whether it’s back-to-school germs or winter sniffles, these gummies are a tasty way to support your immune system.
- Crowd-Pleaser: My kids actually ask for these. They think they’re candy. I’m not going to correct them.
- Unbelievably Delicious: The tartness of the elderberries balances perfectly with the honey. They’re not too sweet, not too sour—just right.
What makes this recipe different from the dozens of others out there? It’s the texture. I spent a lot of time figuring out the perfect gelatin-to-liquid ratio so you don’t end up with rubbery bricks or sticky goo. These are soft, chewy, and just the right amount of jiggle. Plus, I use raw honey instead of refined sugar, which adds its own immune-boosting benefits. This isn’t just another gummy recipe—it’s the one you’ll come back to every single cold season.
What Ingredients You Will Need
This recipe uses simple, wholesome ingredients that work together to deliver a powerful immune boost without any of the processed junk. Most of these are pantry staples if you’re into natural remedies, but they’re also easy to find at any grocery store or online.
- Dried Elderberries (1/2 cup): These little dark purple berries are the star of the show. They’re packed with antioxidants and vitamin C. I recommend buying organic dried elderberries from a reputable brand like Starwest Botanicals or Frontier Co-op. Look for berries that are plump and dark, not dusty or shriveled.
- Water (2 cups): Filtered water works best. Tap water with a lot of chlorine can affect the flavor, so if your water tastes strongly of chemicals, use filtered.
- Raw Honey (3 tablespoons): Raw honey is key here—it’s not just for sweetness. It has natural antibacterial properties and helps soothe sore throats. If you’re making these for a child under one, substitute with maple syrup or agave nectar.
- Gelatin Powder (3 tablespoons): This is what gives the gummies their chewy texture. I use grass-fed beef gelatin from Vital Proteins or Great Lakes. It’s flavorless and sets beautifully. Do not use collagen peptides—they won’t gel the same way.
- Fresh Lemon Juice (2 tablespoons): A little acidity helps balance the sweetness and adds a bright, fresh note. It also helps preserve the gummies. Always use fresh lemon juice, not the bottled stuff.
- Optional: Vitamin C Powder (1/2 teaspoon): If you want an extra immune boost, you can add a little vitamin C powder. It’s completely optional but a nice touch during peak cold season.
- Optional: Ginger Powder (1/4 teaspoon): Ginger adds a little warmth and anti-inflammatory benefits. It pairs beautifully with the elderberries.
For the molds, you’ll need a silicone gummy bear mold or any small silicone mold. I’ve also used ice cube trays in a pinch—they just make larger gummies. You’ll also need a fine-mesh strainer or cheesecloth for straining the elderberries.
Equipment Needed
You don’t need a lot of fancy equipment for this recipe, which is part of what makes it so approachable. Here’s what you’ll need:
- Silicone Gummy Mold: I use a bear-shaped mold because my kids love it, but any small silicone mold works. You can find them on Amazon or at craft stores for under $10. If you don’t have one, a small baking dish lined with parchment paper works too—you’ll just cut the set gelatin into squares.
- Small Saucepan: For simmering the elderberries. A stainless steel or enameled pot is best—avoid aluminum, as it can react with the berries.
- Fine-Mesh Strainer or Cheesecloth: You need to strain out the berries so you’re left with a smooth liquid. Cheesecloth gives you a finer strain, but a mesh strainer works fine.
- Measuring Cups and Spoons: Precision matters here, especially with the gelatin. Too much and your gummies are rubbery; too little and they won’t set.
- Whisk or Fork: For mixing the gelatin into the liquid. A fork works surprisingly well for breaking up clumps.
- Dropper or Small Pitcher: For filling the molds. A dropper is great for precision, but a small pitcher with a spout works too. I’ve used a liquid measuring cup with a spout in a pinch.
- Refrigerator Space: The gummies need at least 2 hours to set. Make sure you have a flat spot in your fridge.
Preparation Method
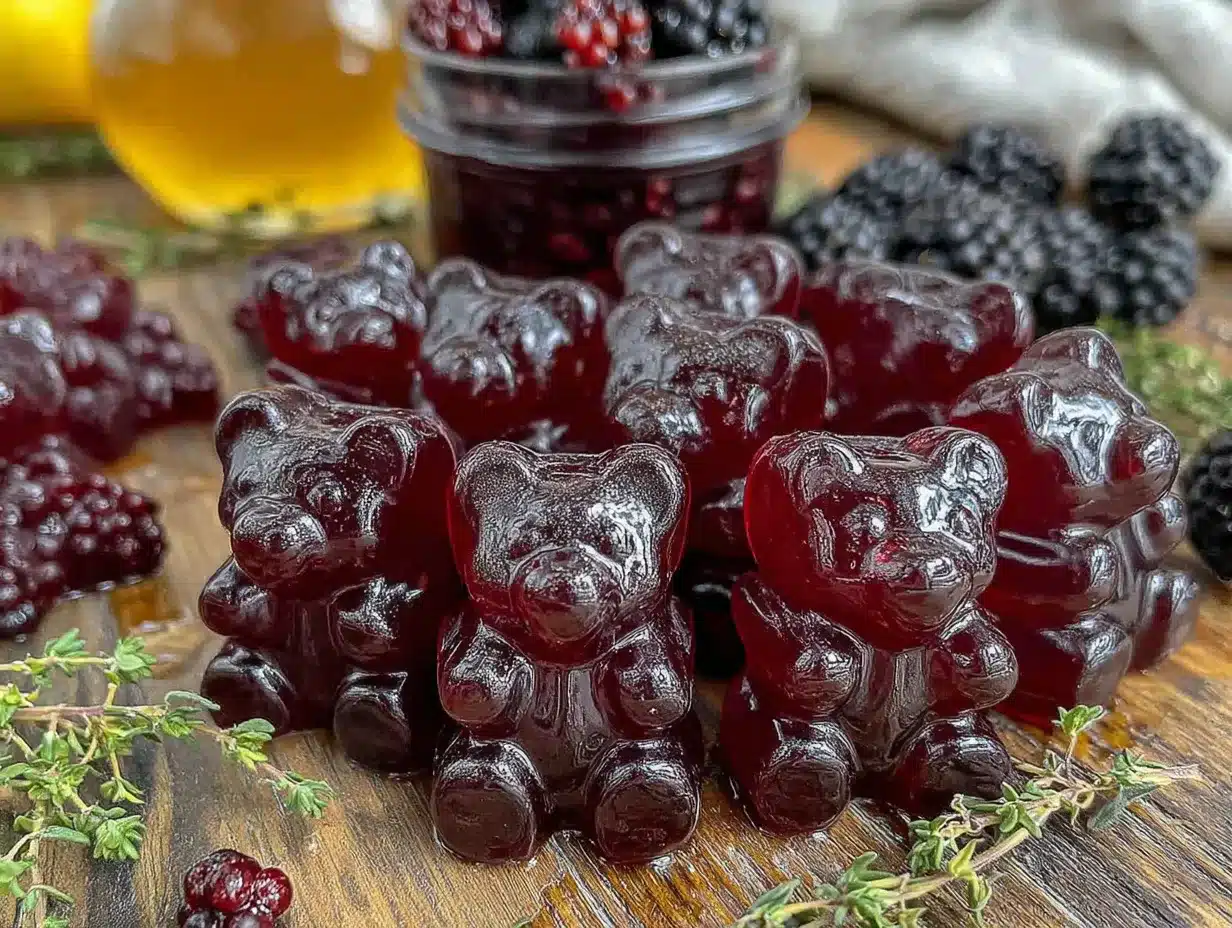
Making these gummies is surprisingly straightforward, but there are a few little tricks I’ve learned along the way that make a big difference. Follow these steps, and you’ll have perfect gummies every time.
- Simmer the Elderberries: In a small saucepan, combine the dried elderberries and 2 cups of water. Bring to a boil over medium-high heat, then reduce the heat to low and let it simmer for about 20 minutes. You’ll notice the water turning a deep, dark purple—that’s the good stuff. The berries will soften and plump up. Don’t let it boil vigorously; a gentle simmer is all you need.
- Strain the Liquid: Place a fine-mesh strainer over a medium bowl and pour the berry mixture through it. Use the back of a spoon to press down on the berries and extract as much liquid as possible. You should end up with about 1 to 1.5 cups of concentrated elderberry liquid. Discard the berries (or compost them). Let the liquid cool for about 5 minutes—it needs to be warm but not hot for the next step.
- Mix the Gelatin: While the liquid is still warm (but not boiling), whisk in the gelatin powder. This is the most important step. If the liquid is too hot, the gelatin will clump. If it’s too cold, it won’t dissolve properly. Aim for warm—like a comfortable bath temperature. Sprinkle the gelatin over the surface and whisk vigorously for about 30 seconds until it’s fully dissolved. You shouldn’t see any granules.
- Add Honey and Lemon: Stir in the raw honey and fresh lemon juice. If you’re using the optional vitamin C powder or ginger powder, add them now. Whisk until everything is fully combined. Taste the mixture—it should be slightly sweet and tart. If it’s not sweet enough for your liking, add a little more honey.
- Fill the Molds: Place your silicone mold on a flat baking sheet (this makes it easier to move). Using a dropper or small pitcher, carefully fill each cavity. Don’t overfill—leave a tiny bit of space at the top. If you get bubbles on the surface, pop them with a toothpick or the tip of a knife.
- Set in the Fridge: Carefully transfer the baking sheet to the refrigerator. Let the gummies set for at least 2 hours, but overnight is even better. They should be firm to the touch and pop out of the mold easily.
- Remove from Molds: Gently flex the silicone mold to release the gummies. If they stick, pop them in the freezer for 5 minutes—that usually does the trick. Store them in an airtight container in the fridge.
A quick note: If you’re using a baking dish instead of a mold, pour the mixture into a parchment-lined dish and refrigerate for 2-3 hours. Once set, cut into small squares with a sharp knife or pizza cutter.
Cooking Tips & Techniques
I’ve made more batches of these than I care to admit, and I’ve learned a few things the hard way. Here are my best tips for perfect gummies every time.
- Don’t Boil the Gelatin: This is the number one mistake. If you add gelatin to boiling liquid, it will clump and you’ll end up with stringy, unappetizing gummies. Always let the elderberry liquid cool for a few minutes first. I usually wait until I can comfortably touch the side of the pot.
- Use a Whisk, Not a Spoon: A whisk breaks up gelatin clumps much more effectively than a spoon. I learned this after my first batch looked like it had little clear worms in it. Not appetizing.
- Grease the Mold Lightly: If you’re having trouble getting the gummies out, spray the mold with a little coconut oil before filling. This is especially helpful if you’re using an older mold that’s lost its non-stick quality.
- Work Quickly: The gelatin mixture starts to set as it cools, so you want to fill your molds within 5-10 minutes. If the mixture starts to thicken, gently warm it over low heat for a few seconds.
- Store in the Fridge: These gummies need to stay refrigerated. They’ll last about 2-3 weeks in an airtight container. Don’t leave them out at room temperature—they’ll get soft and sticky.
- Double the Batch: I always make a double batch because they disappear so fast. Just make sure you have enough molds or use a baking dish for the extra.
Variations & Adaptations
One of the best things about this recipe is how easy it is to customize. Here are some variations I’ve tried and loved.
- Vegan Version: Replace the gelatin with agar agar powder. Use 2 tablespoons of agar agar for every 3 tablespoons of gelatin. The texture will be a bit firmer and less chewy, but still delicious. Note that agar agar sets at room temperature, so you don’t need to refrigerate them—but I still do for freshness.
- Berry Blend: Add a handful of dried goji berries or hibiscus flowers to the elderberry simmer. It adds a different antioxidant profile and a slightly different flavor. Hibiscus gives a lovely tartness.
- Spiced Gummies: Add a cinnamon stick or a few cloves to the simmering elderberries. It infuses the liquid with warm, cozy flavors that are perfect for fall and winter. Just remove them before straining.
- Citrus Boost: Replace half the water with fresh orange juice. The vitamin C content goes through the roof, and the flavor is bright and sunny. My kids love this version.
- Lower Sugar Option: If you’re watching your sugar intake, you can reduce the honey to 1 tablespoon. The gummies will be quite tart, but still tasty. You can also use stevia or monk fruit sweetener, though the texture might be slightly different.
I once made a batch with fresh ginger and turmeric for a friend going through chemo. She said they were the only thing that made her feel better. That’s the beauty of this recipe—it’s so adaptable.
Serving & Storage Suggestions
These gummies are best served cold, straight from the fridge. The texture is perfect when they’re chilled—firm but chewy, with a little give when you bite into them. I like to serve them in a small bowl as a snack, or pack them in a lunchbox for a fun surprise.
For storage, keep them in an airtight container in the refrigerator. They’ll stay fresh for about 2-3 weeks, though they rarely last that long in my house. If you want to keep them longer, you can freeze them. Place the gummies in a single layer on a baking sheet and freeze for an hour, then transfer to a freezer bag. They’ll keep for up to 3 months. Thaw them in the fridge for a few hours before eating.
A few serving ideas:
- Breakfast Boost: Pop a couple in your morning smoothie or yogurt bowl.
- Afternoon Snack: Perfect for that 3 PM slump when you need a little energy lift.
- Lunchbox Treat: My kids love finding these in their lunchboxes. They think it’s candy.
- Travel Companion: Pack them in a small container for road trips or flights. They’re a great immune support on the go.
One thing I’ve noticed is that the flavors actually develop over time. After a day or two in the fridge, the elderberry and honey meld together beautifully. They’re good on day one, but amazing on day three.
Nutritional Information & Benefits
These gummies are more than just a tasty treat—they’re packed with immune-supporting nutrients. Here’s a rough breakdown per serving (about 4-5 gummies, depending on your mold size):
- Calories: 45-60
- Carbohydrates: 10-12g
- Sugar: 8-10g (from honey and natural fruit sugars)
- Protein: 2-3g (from the gelatin)
- Vitamin C: 10-15% of the Daily Value
The real magic is in the ingredients. Elderberries are rich in anthocyanins, which are powerful antioxidants that help support the immune system. Raw honey has natural antibacterial and anti-inflammatory properties. Gelatin is great for gut health, which is closely linked to immune function. And lemon juice provides a nice dose of vitamin C.
These gummies are naturally gluten-free, dairy-free, and nut-free. If you use maple syrup instead of honey, they’re also vegan-friendly. Just keep in mind that they do contain sugar, so they’re best enjoyed in moderation as part of a balanced diet.
Conclusion
I know there are a million gummy recipes out there, but I really hope you give these a try. They’re the kind of recipe that makes you feel good—not just because they’re delicious, but because you know you’re doing something good for yourself and your family. Every time I make a batch, I think of that frantic January week when I was just trying to keep everyone healthy. Now, these gummies are a staple in my fridge, a little purple reminder that sometimes the best solutions come from the simplest ingredients.
I’d love to hear how they turn out for you! Did you try any fun variations? Did your kids love them as much as mine do? Drop a comment below and let me know. And if you’re looking for more immune-boosting recipes, check out my healing chicken soup recipe or my turmeric golden milk latte—they’re perfect companions for cold season. Happy cooking, friends!
Frequently Asked Questions
Can I use fresh elderberries instead of dried?
Yes, you can! Use about 1 cup of fresh elderberries in place of the 1/2 cup dried. Just keep in mind that fresh berries have more water content, so you may need to simmer them a little longer to concentrate the flavor. Also, never eat raw elderberries—they can cause digestive upset. Always cook them first.
Why did my gummies turn out rubbery?
Rubbery gummies usually mean you used too much gelatin or the liquid was too hot when you added it. Next time, try reducing the gelatin by 1/2 tablespoon or letting the liquid cool a bit more before mixing. Also, make sure you’re whisking thoroughly to avoid clumps.
Can I use collagen peptides instead of gelatin?
I wouldn’t recommend it. Collagen peptides don’t have the same gelling properties as gelatin. They’ll add protein and health benefits, but your gummies will be more like a thick liquid than a solid. Stick with gelatin for the right texture.
How many gummies should I take per day?
For adults, 4-6 gummies per day is a good amount. For children, 2-3 gummies is plenty. Remember, these are a supplement, not a candy—though they taste like one! Always listen to your body and adjust as needed.
Can I make these without a mold?
Absolutely! Pour the mixture into a small baking dish lined with parchment paper and refrigerate until set. Then cut into small squares with a sharp knife. They won’t be as cute, but they’ll taste just as good. I’ve done this many times when my molds were in the dishwasher.
Pin This Recipe!
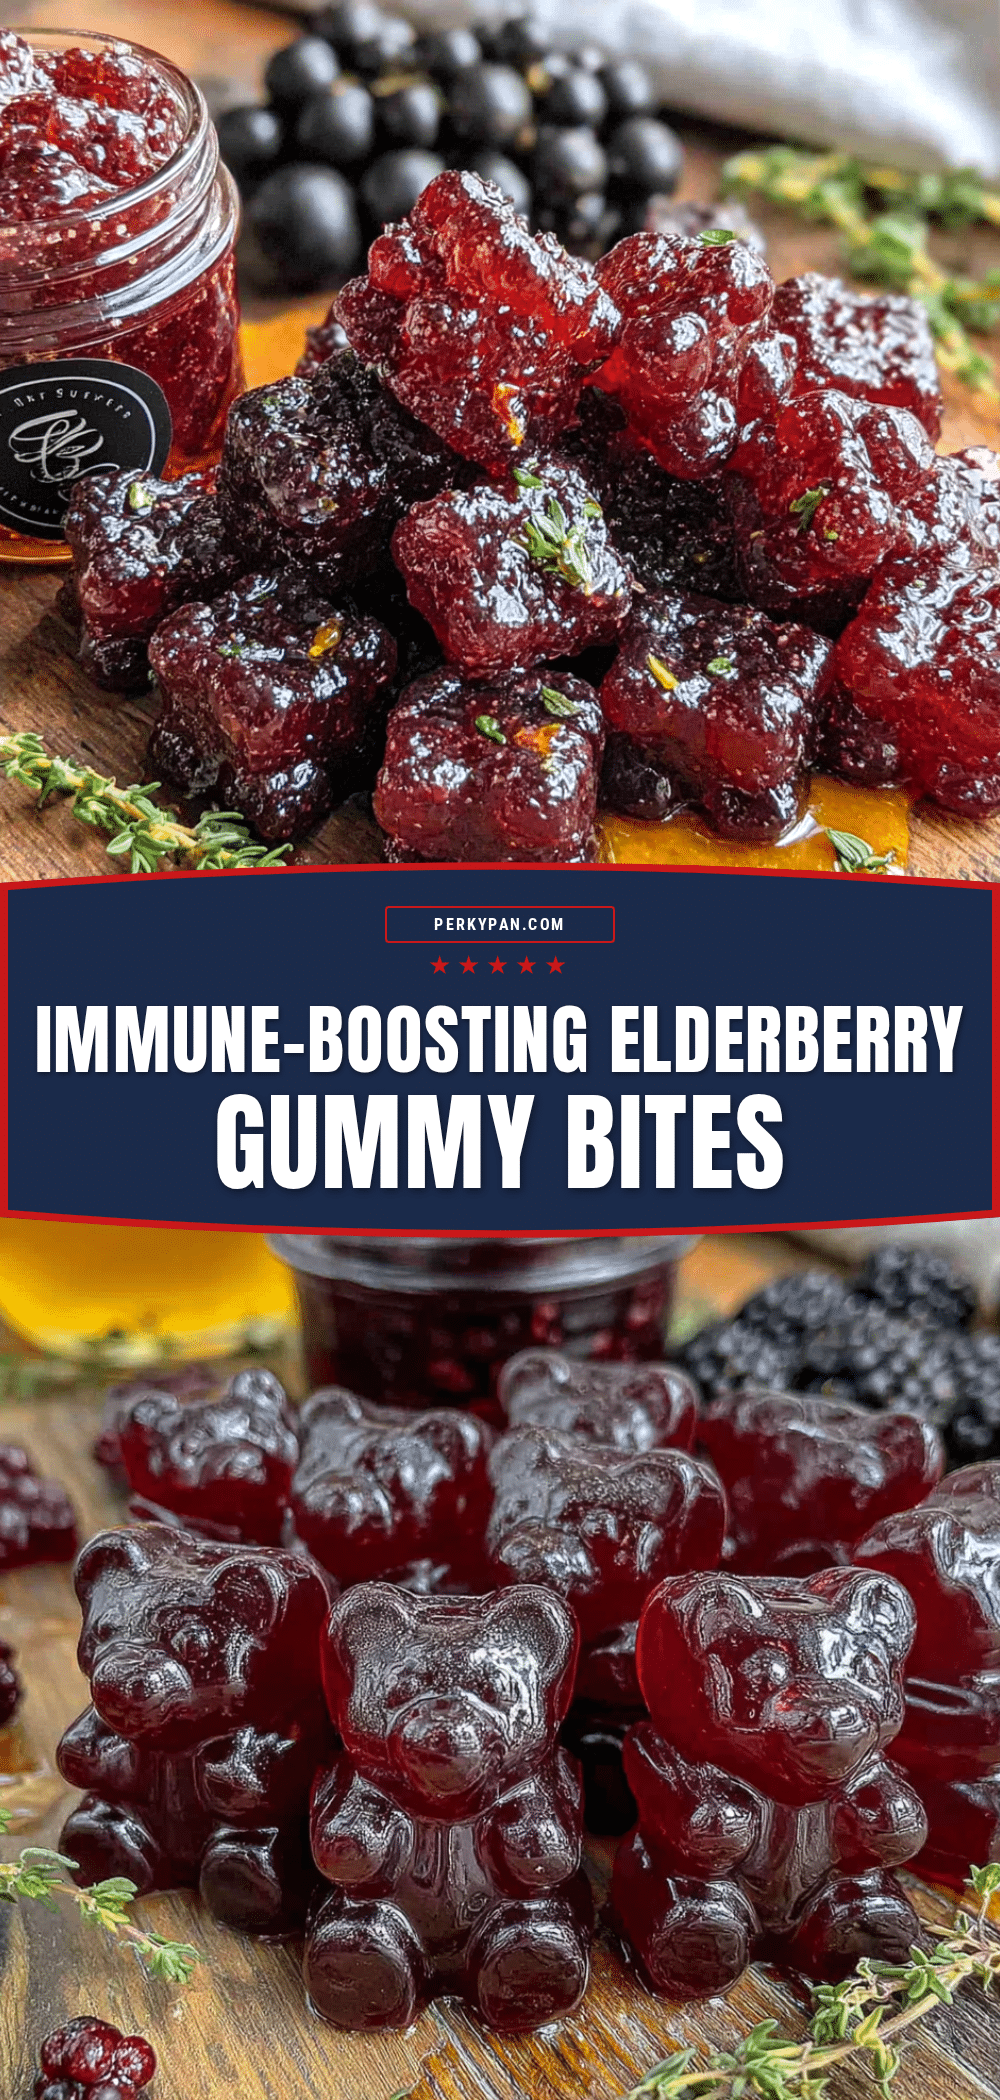
Easy Homemade Elderberry Gummy Bites for Immune Support
These homemade elderberry gummy bites are a quick and easy immune-boosting treat made with simple ingredients like dried elderberries, raw honey, and gelatin. Perfect for sick season, they’re a crowd-pleaser that kids love and adults appreciate.
- Prep Time: 10 minutes
- Cook Time: 20 minutes
- Total Time: 2 hours 30 minutes (including setting time)
- Yield: 4 servings 1x
- Category: Snack
- Cuisine: American
Ingredients
- 1/2 cup dried elderberries
- 2 cups water
- 3 tablespoons raw honey
- 3 tablespoons gelatin powder
- 2 tablespoons fresh lemon juice
- 1/2 teaspoon vitamin C powder (optional)
- 1/4 teaspoon ginger powder (optional)
Instructions
- In a small saucepan, combine the dried elderberries and 2 cups of water. Bring to a boil over medium-high heat, then reduce the heat to low and let it simmer for about 20 minutes.
- Place a fine-mesh strainer over a medium bowl and pour the berry mixture through it. Use the back of a spoon to press down on the berries and extract as much liquid as possible. Discard the berries. Let the liquid cool for about 5 minutes.
- While the liquid is still warm (but not boiling), whisk in the gelatin powder until fully dissolved, about 30 seconds.
- Stir in the raw honey and fresh lemon juice. If using, add the optional vitamin C powder and ginger powder. Whisk until fully combined.
- Place your silicone mold on a flat baking sheet. Using a dropper or small pitcher, carefully fill each cavity, leaving a tiny bit of space at the top. Pop any bubbles with a toothpick.
- Transfer the baking sheet to the refrigerator and let the gummies set for at least 2 hours, or overnight.
- Gently flex the silicone mold to release the gummies. Store in an airtight container in the refrigerator.
Notes
Do not add gelatin to boiling liquid; let the elderberry liquid cool first. Use a whisk to avoid clumps. Work quickly as the mixture starts to set. Store in the fridge for up to 2-3 weeks. For vegan version, replace gelatin with 2 tablespoons agar agar powder.
Nutrition
- Serving Size: 4-5 gummies
- Calories: 4560
- Sugar: 810
- Sodium: 5
- Carbohydrates: 1012
- Protein: 23
Keywords: elderberry gummies, immune support, homemade gummies, elderberry recipe, healthy snack, immune booster, gelatin gummies


