Love this? Save it for later!
Share the inspiration with your friends
I was standing in the party supply aisle last October, staring at a bag of plastic eyeballs, when the smell hit me—that sharp, sweet-citrus punch scent from every school Halloween party I’d ever been to. And suddenly I was seven years old, clutching a paper cup at my Aunt Carol’s house, watching her drop a scoop of orange sherbet into a bowl of bubbling soda like she was performing magic. She passed away five years ago, and honestly, I haven’t had a proper Halloween punch since. I mean, I’ve tried—store-bought mixes, weird gelatin rings, even that one disastrous year I used ginger ale and it went completely flat before anyone arrived. But nothing tasted like her punch. You know that feeling when you’re chasing a flavor you can almost remember but can’t quite recreate? That was me, standing in the aisle with a packet of fake spiderwebs in my cart. So I decided to stop guessing and start testing. This Easy Halloween Sherbet Punch is my attempt to bottle that exact memory—the fizzy, creamy, not-too-sweet magic that made every Halloween feel like the best night of the year. And let me tell you, after about seven test batches (and one very sticky kitchen floor), I finally cracked it. This is the one I keep making, because it turns out the best recipes aren’t just about ingredients—they’re about bringing people together around a bowl of something that makes them smile.
Why You’ll Love This Recipe
Let’s be real—when you’re hosting a Halloween party, the last thing you need is a complicated drink that requires a bartending degree. This punch is about as fuss-free as it gets, and that’s exactly why I keep coming back to it. I’ve tested this recipe at three different gatherings now (my annual pumpkin carving night, a potluck, and a full-blown costume party), and every single time, people hover around the punch bowl like it’s the main attraction.
- Quick & Easy: Comes together in under 10 minutes—no simmering, no blending, no stress. Just pour, scoop, and serve.
- Simple Ingredients: You probably already have most of this in your pantry or can grab everything in one aisle at the grocery store. No fancy syrups or obscure extracts.
- Perfect for Halloween: Great for costume parties, trunk-or-treat events, or just a spooky movie night at home. It’s festive without being fussy.
- Crowd-Pleaser: Kids love it, adults love it, and nobody misses the alcohol. I’ve had guests ask for the recipe before they even finished their first cup.
- Unbelievably Delicious: The combo of creamy sherbet and fizzy citrus soda creates this dreamy texture that’s part float, part punch, and 100% addictive.
What makes this recipe different from every other Halloween punch out there? It’s the ratios. I spent way too much time figuring out the perfect balance so the sherbet doesn’t just melt into a sad, watery mess after twenty minutes. The trick is using a specific soda-to-sherbet ratio that keeps things bubbly and creamy until the very last cup. Honestly, this isn’t just another punch recipe—it’s your new Halloween tradition waiting to happen.
What Ingredients You Will Need
This recipe uses simple, crowd-friendly ingredients to deliver that nostalgic punch flavor without any fuss. Most of these are pantry staples or easy to find at any grocery store during the Halloween season.
- 1 liter lemon-lime soda (like Sprite or 7UP) — chilled. This provides the crisp, fizzy base. I recommend using a brand-name soda for the most consistent carbonation.
- 1 liter orange soda (like Fanta or Sunkist) — chilled. Adds a deeper citrus flavor and that beautiful orange color. If you want a less sweet punch, you can use diet versions.
- 1 quart (about 4 cups) orange sherbet — slightly softened. This is the star of the show. The creamy texture and bright flavor are what make this punch unforgettable. I prefer the brand Blue Bell if you can find it, but any good-quality sherbet works.
- 1 cup pineapple juice — chilled. This is my secret ingredient. It adds a subtle tropical note that rounds out the citrus flavors and keeps the punch from tasting one-dimensional.
- 1/2 cup frozen orange juice concentrate — thawed. Adds a punch of concentrated orange flavor without watering things down. This is the trick for keeping the punch bold even as the ice melts.
- Ice ring or ice cubes — made with extra pineapple juice or lemon-lime soda. Using juice instead of water prevents dilution. I like to freeze a ring with gummy worms or plastic spiders inside for a spooky touch.
For the garnish (optional but highly recommended):
- Gummy worms, plastic spiders, or candy eyeballs — for floating in the punch bowl. Just make sure guests know they’re decorative or edible.
- Orange and black sprinkles — for rimming glasses. Dip the rims in a little corn syrup then into the sprinkles.
Substitution guidance: If you’re avoiding artificial colors, you can use a natural orange soda. For a less sweet option, swap the orange soda for sparkling water with a splash of orange extract. If you’re dairy-free, try a coconut-based sherbet or sorbet instead—it won’t be as creamy, but it’ll still be delicious. And if you can’t find pineapple juice, white grape juice works in a pinch.
Equipment Needed
You don’t need much for this recipe, which is part of the beauty. Here’s what I use:
- Large punch bowl — at least 4-quart capacity. Glass or clear plastic looks best so everyone can see the floating garnishes. I got mine at a thrift store for five bucks.
- Ice ring mold — a bundt pan or ring-shaped gelatin mold works perfectly. If you don’t have one, a regular loaf pan is fine; just freeze in a block.
- Ladle — a 1/2-cup ladle is ideal for serving. Make sure it’s long enough to reach the bottom of your punch bowl.
- Measuring cups and spoons — for the juice and concentrate. Nothing fancy needed.
- Large pitcher — for mixing the juices before adding to the punch bowl. This helps everything blend evenly.
- Small bowls — for rimming glasses with sprinkles if you’re going that route.
Budget-friendly tip: Don’t have a punch bowl? A clean, large plastic storage container works in a pinch—just make sure it’s food-safe. I’ve used a big glass salad bowl before too. And if you don’t have an ice ring mold, freeze the juice in an ice cube tray and use the cubes. They’ll melt a little faster, but they still work great.
Preparation Method
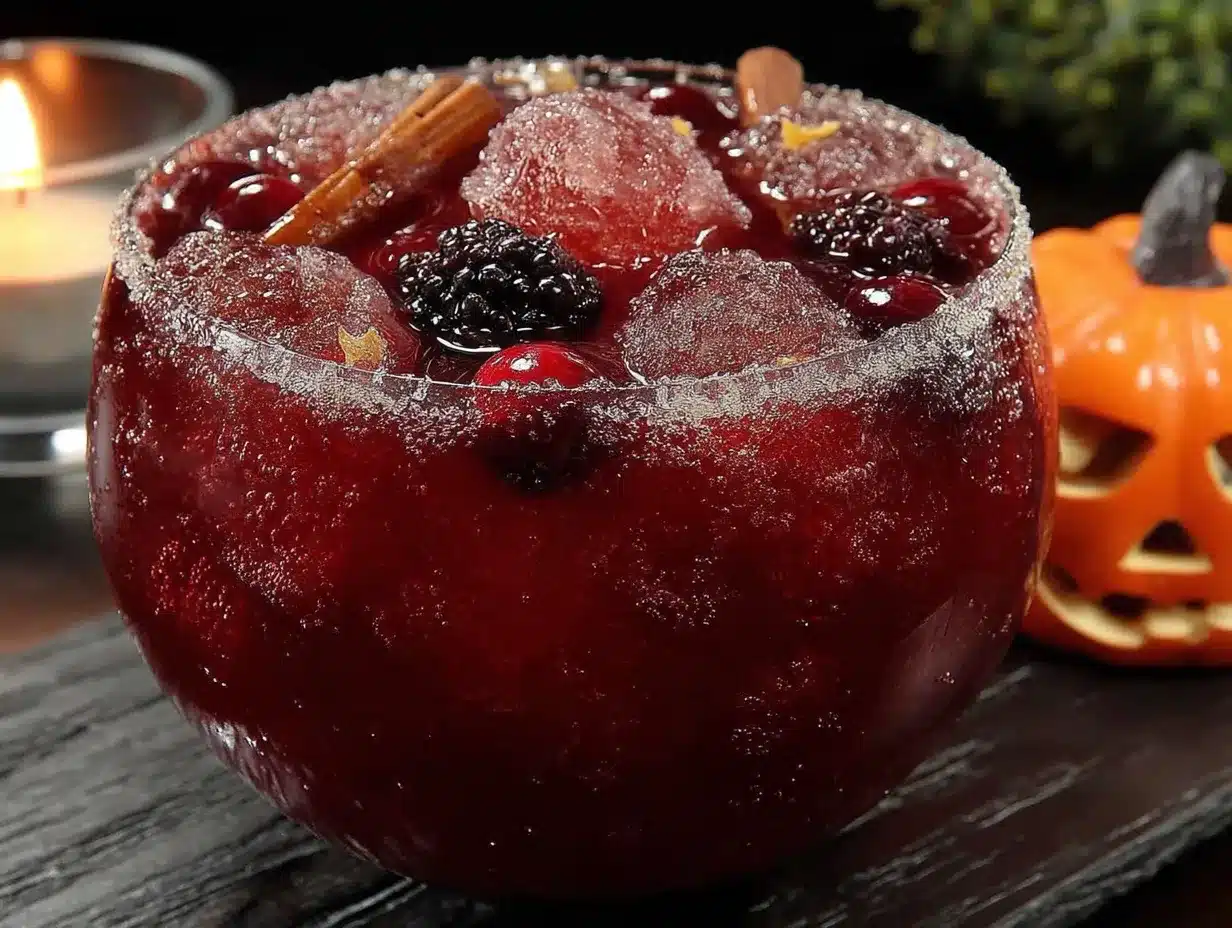
Follow these steps carefully, and you’ll have a punch that stays bubbly and beautiful from the first cup to the last. I learned the hard way that the order matters—trust me on this.
- Prepare the ice ring the night before. In your ring mold, arrange gummy worms or plastic spiders around the bottom. Pour in enough pineapple juice or lemon-lime soda to cover the garnishes by about an inch. Freeze for 2 hours, then add more liquid to fill the mold and freeze overnight. This ensures the garnishes stay suspended and don’t all float to the top.
- Chill everything. About 2 hours before serving, put your lemon-lime soda, orange soda, and pineapple juice in the fridge. Place your punch bowl in the fridge or a cool spot so it’s cold when you start. A warm bowl will melt the sherbet too fast.
- Mix the juice base. In a large pitcher, combine the chilled pineapple juice and the thawed orange juice concentrate. Stir until the concentrate is fully dissolved. This step makes sure the orange flavor is evenly distributed before it hits the soda.
- Assemble the punch. Pour the chilled lemon-lime soda and orange soda into the cold punch bowl. Add the juice mixture from the pitcher and stir gently with the ladle—don’t stir too vigorously or you’ll lose carbonation.
- Add the sherbet. Using a large spoon, scoop the slightly softened orange sherbet into the punch bowl in large dollops. Don’t stir it in! Let it float on top and melt naturally. This creates that dreamy, creamy texture as guests ladle it out. If you stir it in immediately, it’ll turn into a cloudy mess.
- Add the ice ring. Carefully unmold the ice ring by running the bottom of the mold under warm water for 10-15 seconds. Gently slide it into the punch bowl. It should float with the garnishes visible.
- Serve immediately. Ladle the punch into glasses, making sure each cup gets a little bit of the melting sherbet. The punch will stay bubbly for about 30-45 minutes. After that, the sherbet will have mostly melted, and the flavor will still be good, but it won’t be as fizzy.
Pro tip from my kitchen: If you’re serving a crowd, keep a second quart of sherbet in the freezer. After about 30 minutes, add a few more scoops to refresh the creaminess. I forgot to do this at my first party and by the end, people were drinking what was basically flat orange juice. Learn from my mistakes!
Cooking Tips & Techniques
I’ve made this punch enough times to know exactly where things can go wrong. Here’s what I’ve learned the hard way so you don’t have to.
The biggest mistake: Using room-temperature soda. I did this once because I was rushing, and the punch was lukewarm within ten minutes. The sherbet melted instantly, and the whole thing tasted flat. Always, always chill your soda for at least 2 hours before mixing.
The sherbet softening trick: Take the sherbet out of the freezer about 10-15 minutes before you need it. You want it soft enough to scoop easily but not melting. If it’s too hard, you’ll get clumps. If it’s too soft, it’ll dissolve immediately. The perfect texture is like slightly softened ice cream—you should be able to scoop it without resistance, but it should still hold its shape.
Timing strategy for hosts: I like to set out all the ingredients on the counter about 30 minutes before guests arrive. That way, I can assemble the punch in about 3 minutes when the first person walks in. It looks impressive, and nobody knows how easy it was. If you’re hosting a larger party, make a second batch in a separate pitcher and keep it in the fridge. When the punch bowl gets low, just refill it—no need to wash the bowl mid-party.
Carbonation preservation: This is the golden rule—don’t stir the punch after you add the sherbet. The sherbet acts as a natural barrier that traps carbonation. If you stir, you release all those bubbles at once. Just let it sit, and the ladle will naturally mix things as people serve themselves.
What I learned from a failed batch: I once tried to make this punch with diet soda to cut down on sugar. Bad idea. The artificial sweeteners left a weird aftertaste when mixed with the sherbet, and the carbonation seemed to disappear faster. Stick with regular soda for the best flavor and texture.
Variations & Adaptations
One of the best things about this punch is how easy it is to tweak for different tastes or occasions. Here are a few variations I’ve tried and loved.
Berry Boo Punch: Swap the orange soda for a berry-flavored soda (like Fanta Berry or a berry sparkling water) and use rainbow sherbet instead of orange. The result is a deep purple punch that looks incredibly spooky. I made this for a friend’s Halloween wedding reception and it was a hit. Add frozen raspberries to the ice ring for extra color.
Green Ghoul Punch: For a more dramatic Halloween look, use lime sherbet and green soda (like Mountain Dew or a lime sparkling water). The punch turns a bright, almost radioactive green that’s perfect for a monster-themed party. I also add a few drops of green food coloring to the ice ring for maximum effect.
Dairy-Free Friendly: If you have guests with dairy sensitivities, use a sorbet instead of sherbet. Mango or orange sorbet works beautifully. The texture won’t be as creamy, but the flavor will still be bright and refreshing. I tested this with a coconut-based sherbet alternative, and honestly, it was still delicious—just a little lighter.
Adult-Friendly Option (still non-alcoholic but more complex): Add a splash of ginger beer (like Fever-Tree or Reed’s) to the mix. It adds a spicy kick that complements the citrus flavors without adding alcohol. The ginger beer gives the punch a little “bite” that adults appreciate, while kids still love the sweet sherbet flavor.
My personal favorite variation: I once added a can of frozen pink lemonade concentrate (thawed) along with the orange juice concentrate, and it gave the punch this beautiful pink-orange swirl effect. It was a happy accident—I had run out of orange juice concentrate and needed a substitute. Now I do it on purpose every other time.
Serving & Storage Suggestions
This punch is best served immediately, but there are a few tricks to keep it going strong throughout your party.
Serving temperature: Serve the punch as cold as possible. I like to set the punch bowl on a bed of ice (in a larger bowl or a rimmed tray) to keep things chilly. If you’re serving outdoors, this is absolutely essential—warm punch loses its magic fast.
Presentation ideas: For a truly spooky look, use a clear glass punch bowl so the floating gummy worms and ice ring are visible. Rim each glass with orange and black sprinkles before serving. I also like to add a few drops of orange food coloring to the ice ring for a deeper color. If you’re feeling extra festive, float a few plastic spiders on top of the punch—just warn guests so nobody gets a fright when they reach for a ladle.
What to serve alongside: This punch pairs beautifully with salty snacks like popcorn, pretzels, or chips. The sweetness of the punch balances out the salt perfectly. For a full Halloween spread, serve it with mini pumpkin pies or spiderweb cupcakes. The citrus notes also cut through rich, creamy dips like spinach artichoke or buffalo chicken dip.
Storage: This punch doesn’t store well—the carbonation is gone within an hour, and the sherbet will have fully melted. If you have leftovers, you can pour the mixture into a pitcher and refrigerate it for up to 24 hours. It becomes a flat, creamy citrus drink that’s still tasty, just not fizzy. I wouldn’t recommend freezing it because the texture gets weird.
Reheating (not that you would): Honestly, don’t. Just make a fresh batch. It takes 5 minutes.
How flavors develop: The punch is best within the first 30 minutes. After that, the sherbet melts completely and the flavor becomes more uniform—still good, but less exciting. If you’re hosting a long party, I recommend making a second batch halfway through rather than trying to stretch the first one.
Nutritional Information & Benefits
Let’s be honest—this is a treat, not a health drink. But I think it’s worth knowing what’s in it, especially if you’re serving kids or have dietary concerns.
Estimated per serving (1 cup): Approximately 180-220 calories, 2-3g fat (from the sherbet), 40-45g carbohydrates, 35-40g sugar, 1g protein. These numbers will vary based on the specific brands you use and how much sherbet ends up in each cup.
Health benefits of key ingredients: The pineapple juice contains bromelain, an enzyme that can help with digestion. The orange juice concentrate provides vitamin C, which supports immune health—perfect for cold and flu season. And hey, the sherbet has a little bit of dairy, so there’s some calcium in there. I’m not saying this is a health food, but it’s not entirely devoid of redeeming qualities.
Dietary considerations: This recipe is vegetarian and can be made dairy-free with sorbet. It contains dairy (sherbet typically has milk or cream) and sugar. If you’re watching your sugar intake, you can use diet soda and a sugar-free sherbet, but the flavor won’t be quite as rich. Always check the labels if you’re serving guests with specific dietary needs.
Potential allergens: Sherbet contains dairy. The pineapple juice and orange juice are naturally allergen-free, but always check labels for cross-contamination if you’re serving someone with severe allergies.
My personal wellness perspective: I believe in balance. This punch is a celebration drink—it’s for parties, holidays, and special occasions. I don’t worry about the sugar content when I’m sharing it with friends and family. Life is too short to count calories at a Halloween party. Enjoy the punch, have a good time, and balance it out with a healthy dinner the next day.
Conclusion
This Easy Halloween Sherbet Punch is more than just a drink—it’s the centerpiece of a memory. Every time I make it, I think of Aunt Carol’s kitchen, the way she’d wink at me as she dropped the sherbet in, like she was letting me in on a secret. And now I get to pass that secret on to you.
The best part? You can make it your own. Change the soda, swap the sherbet, add your own creepy garnishes. This recipe is a starting point, not a rulebook. I’d love to hear what variations you come up with—drop a comment below and tell me how it turned out. Did you use gummy worms or plastic spiders? Did your guests go back for seconds? (Spoiler: they will.)
So go ahead, make this punch for your next Halloween gathering. Watch people’s faces light up when they take that first sip. And if you’re lucky, maybe it’ll bring back a memory of your own. That’s the real magic of cooking, isn’t it? Not just feeding people, but giving them a taste of something they didn’t even know they were missing. Cheers to that!
Frequently Asked Questions
Can I make this punch ahead of time?
I don’t recommend making the full punch more than 30 minutes before serving, because the carbonation will fade and the sherbet will melt. However, you can prep everything ahead: chill the sodas, mix the juice base, and make the ice ring the night before. Then assemble the punch right before guests arrive.
How do I keep the punch cold without diluting it?
Use an ice ring made from pineapple juice or soda instead of water. This adds flavor as it melts instead of watering down the punch. You can also set the punch bowl in a larger bowl filled with ice to keep everything cold without adding ice directly to the punch.
Can I use a different flavor of sherbet?
Absolutely! Rainbow sherbet is a classic choice and gives a beautiful multicolored effect. Lime sherbet creates a green, spooky punch. Raspberry sherbet works well too, especially if you’re using a berry soda. Just keep in mind that the color of the punch will change based on your sherbet choice.
Is this punch safe for kids?
Yes, this punch is completely non-alcoholic and safe for kids of all ages. Just be mindful of the sugar content and consider offering water as an alternative for younger children. Also, if you use plastic spiders or other small garnishes in the ice ring, make sure they’re large enough not to be a choking hazard.
How many servings does this recipe make?
This recipe makes about 12-14 cups of punch, which serves 10-12 people with generous 1-cup servings. If you’re hosting a larger party, I recommend doubling the recipe and having a second batch ready in the fridge. You can also keep extra sherbet on hand to refresh the punch bowl halfway through the party.
Pin This Recipe!
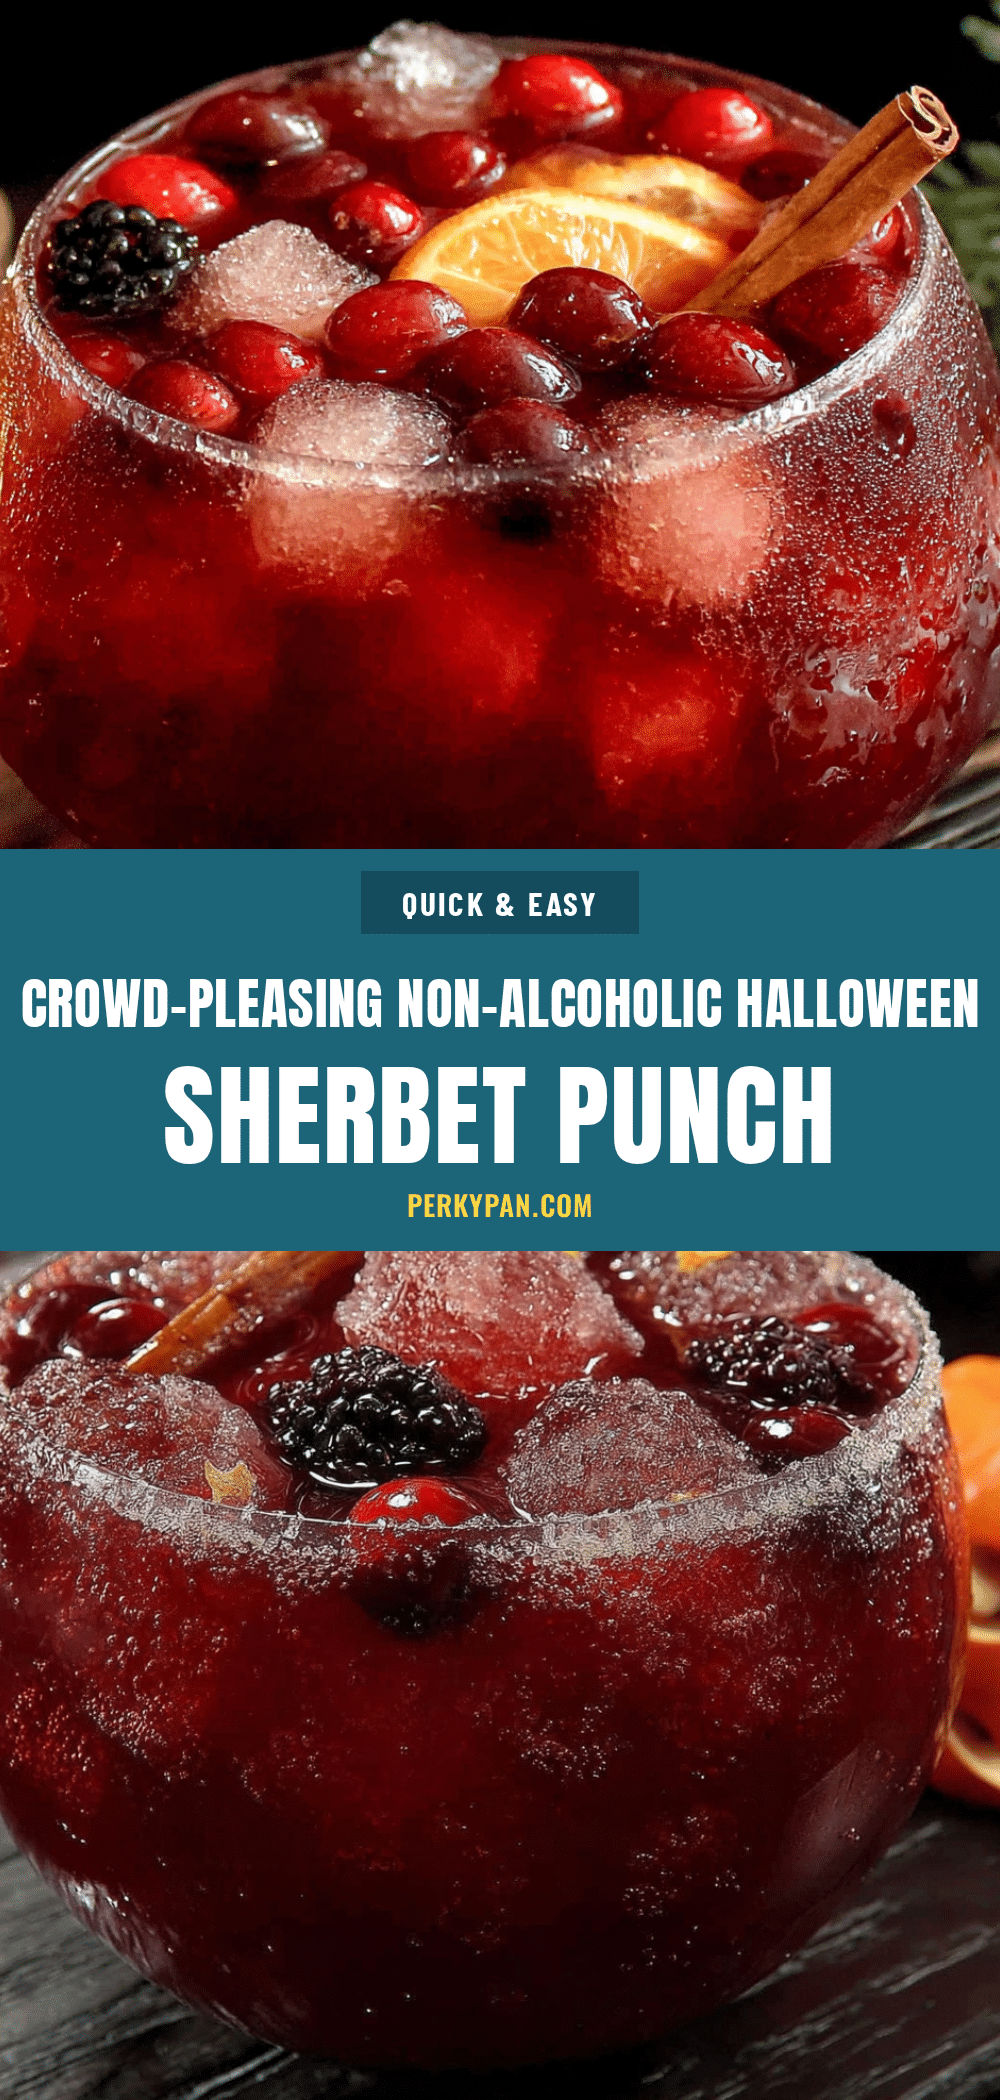
Easy Halloween Sherbet Punch Best Non-Alcoholic Recipe
This Easy Halloween Sherbet Punch is a nostalgic, fizzy, and creamy non-alcoholic drink that brings back memories of school Halloween parties. Made with orange sherbet, lemon-lime soda, and a secret pineapple juice twist, it’s a crowd-pleasing centerpiece for any spooky gathering.
- Prep Time: 10 minutes
- Cook Time: 0 minutes
- Total Time: 10 minutes (plus overnight freezing for ice ring)
- Yield: 12 servings 1x
- Category: Beverage
- Cuisine: American
Ingredients
- 1 liter lemon-lime soda (like Sprite or 7UP), chilled
- 1 liter orange soda (like Fanta or Sunkist), chilled
- 1 quart (about 4 cups) orange sherbet, slightly softened
- 1 cup pineapple juice, chilled
- 1/2 cup frozen orange juice concentrate, thawed
- Ice ring or ice cubes made with extra pineapple juice or lemon-lime soda
- Gummy worms, plastic spiders, or candy eyeballs (for garnish, optional)
- Orange and black sprinkles (for rimming glasses, optional)
Instructions
- Prepare the ice ring the night before. In a ring mold, arrange gummy worms or plastic spiders around the bottom. Pour in enough pineapple juice or lemon-lime soda to cover the garnishes by about an inch. Freeze for 2 hours, then add more liquid to fill the mold and freeze overnight.
- Chill everything. About 2 hours before serving, put the lemon-lime soda, orange soda, and pineapple juice in the fridge. Place the punch bowl in the fridge or a cool spot so it’s cold when you start.
- Mix the juice base. In a large pitcher, combine the chilled pineapple juice and the thawed orange juice concentrate. Stir until the concentrate is fully dissolved.
- Assemble the punch. Pour the chilled lemon-lime soda and orange soda into the cold punch bowl. Add the juice mixture from the pitcher and stir gently with a ladle.
- Add the sherbet. Using a large spoon, scoop the slightly softened orange sherbet into the punch bowl in large dollops. Do not stir it in; let it float on top and melt naturally.
- Add the ice ring. Carefully unmold the ice ring by running the bottom of the mold under warm water for 10-15 seconds. Gently slide it into the punch bowl.
- Serve immediately. Ladle the punch into glasses, making sure each cup gets a little bit of the melting sherbet.
Notes
For best results, chill all ingredients and the punch bowl before assembling. The punch stays bubbly for about 30-45 minutes; after that, the sherbet will have mostly melted. To refresh, add a few more scoops of sherbet. If you have leftovers, refrigerate for up to 24 hours (it becomes a flat, creamy citrus drink).
Nutrition
- Serving Size: 1 cup
- Calories: 200
- Sugar: 37
- Sodium: 45
- Fat: 2.5
- Saturated Fat: 1.5
- Carbohydrates: 42
- Protein: 1
Keywords: Halloween punch, sherbet punch, non-alcoholic punch, Halloween drink, party punch, orange sherbet punch, easy punch recipe


