Love this? Save it for later!
Share the inspiration with your friends
This was supposed to be a batch of savory, smoky roasted pumpkin seeds. I had the cayenne pepper out, the garlic powder ready, and a plan to make the kind of spicy, salty snack that disappears from bowls at parties. But somewhere between carving the second pumpkin and wiping pumpkin guts off my glasses, I grabbed the cinnamon instead of the cumin. I didn’t even realize it until the seeds were already coated and sliding into the oven. And I was already running late for a neighbor’s get-together, my kitchen looked like a flour bomb had gone off, and I honestly felt like just tossing the whole tray in the trash.
What came out of the oven was nothing like the plan — and better. The smell alone stopped me mid-cleanup. Sweet, warm, and somehow nostalgic, like the inside of a cinnamon roll bakery. I pulled the tray out, let one seed cool for maybe ten seconds, and popped it in my mouth. That first bite had this unexpected crunch, followed by a gentle warmth from the cinnamon that wasn’t overpowering. It was sweet but not sugary, cozy but not heavy. I stood there, holding a hot baking sheet, eating seeds straight off the tray like I hadn’t eaten in days. Maybe you’ve been there — that moment when a mistake turns into something you didn’t know you needed.
I ended up bringing both trays to the party. The spicy ones sat untouched for the first hour. The cinnamon sugar pumpkin seeds? The bowl was empty in twenty minutes. Someone asked me for the recipe before I even got a drink. That’s when I knew this happy little accident had to stick around. Now, I keep a bag of pumpkin seeds in the pantry just for this snack. It’s become my go-to for weeknights when I need something fast, satisfying, and just a little bit special without any fuss.
Why You’ll Love This Recipe
Let me tell you why these easy cinnamon sugar pumpkin seeds have become a staple in my kitchen. I’ve tested this recipe more times than I care to admit — tweaking the sugar ratio, trying different oven temperatures, even experimenting with a stovetop version. What I landed on is the absolute best version for busy people who want a delicious snack without the hassle.
- Quick & Easy: Comes together in under 20 minutes, perfect for busy weeknights or last-minute cravings. From prep to plate, you’re looking at less time than it takes to find something decent on TV.
- Simple Ingredients: No fancy grocery trips needed. You likely already have pumpkin seeds, cinnamon, sugar, butter, and a pinch of salt in your kitchen right now.
- Perfect for Weeknights: Great for a post-dinner treat, a lunchbox surprise, or that afternoon slump when you need a crunchy pick-me-up without reaching for a bag of chips.
- Crowd-Pleaser: Always gets rave reviews from kids and adults alike. I’ve watched people who swore they didn’t like pumpkin seeds devour an entire bowl.
- Unbelievably Delicious: The texture and flavor combo is next-level comfort food. That sweet, warm coating paired with the satisfying crunch of roasted seeds? It’s dangerously addictive.
What makes this recipe different from all the others out there? It’s the perfect balance of sweet and salty, with a cinnamon coating that actually sticks to the seeds instead of falling off in a dusty pile at the bottom of the bowl. The trick is a simple butter bath that helps the sugar and cinnamon cling to every nook and cranny of the seeds. No complicated steps, no weird ingredients — just a foolproof method that works every single time.
This recipe isn’t just good — it is the kind that makes you close your eyes after the first bite. It’s comfort food reimagined, faster and simpler, but with the same soul-soothing satisfaction. Perfect for impressing guests without stress, or turning a simple weeknight into something memorable.
What Ingredients You Will Need
This recipe uses simple, wholesome ingredients to deliver bold flavor and satisfying texture without the fuss. Most of these are pantry staples, which makes this snack perfect for those evenings when you need something good right now.
- Pumpkin Seeds: 1 cup raw pumpkin seeds, also called pepitas. You can use seeds straight from a pumpkin (rinsed and dried) or buy them pre-shelled from the store. I prefer the ones from the bulk bin at my local grocery store — they’re usually fresher and more affordable. If you’re using fresh pumpkin seeds, make sure to rinse off all the stringy pulp and pat them completely dry before starting.
- Unsalted Butter: 2 tablespoons, melted. The butter is the secret to getting the coating to stick. It also adds a richness that makes these seeds taste almost like a bakery treat. I use unsalted so I can control the salt level myself. If you only have salted butter on hand, just skip the extra pinch of salt later.
- Granulated Sugar: 2 tablespoons. Regular white sugar works perfectly here. It melts slightly in the oven and creates a delicate, crunchy shell around each seed. You can substitute with coconut sugar for a deeper, caramel-like flavor, but the texture will be slightly less crisp.
- Ground Cinnamon: 1 teaspoon. This is where the magic happens. Use a good quality cinnamon — I’ve found that the difference between a fresh jar and one that’s been sitting in the cabinet for a year is night and day. Vietnamese cinnamon has a stronger, sweeter flavor that works beautifully here.
- Salt: A pinch, about 1/4 teaspoon. This balances the sweetness and makes the cinnamon flavor pop. Flaky sea salt is nice here if you have it, but regular table salt works just fine.
- Vanilla Extract: 1/2 teaspoon (optional, but highly recommended). This adds a warm, aromatic note that makes the cinnamon taste even more complex. I honestly never skip this anymore — it was one of those additions I tried on a whim and now I can’t go back.
For the best results, I recommend using raw, unsalted pumpkin seeds. Roasted and salted seeds will work in a pinch, but you’ll need to reduce the added salt and watch the baking time closely since they’re already partially cooked. I learned this the hard way when I grabbed the wrong bag from the pantry — the seeds came out a little too dark and the coating didn’t stick as well.
One more thing — if you’re carving pumpkins and saving the seeds, make sure to dry them thoroughly before using them in this recipe. Wet seeds will steam instead of roast, and you’ll end up with chewy, sad little things instead of crunchy, golden perfection. Spread them on a paper towel and let them air dry for at least an hour, or pop them in a 200°F oven for 10 minutes to speed things up.
Equipment Needed
You don’t need much for this recipe, which is exactly how I like it on a busy weeknight. Here’s what you’ll need:
- Baking Sheet: A standard half-sheet pan works perfectly. Line it with parchment paper for easy cleanup — trust me, the sugar can get sticky and you don’t want to be scrubbing a baking sheet at 9 PM on a Tuesday.
- Mixing Bowl: Any medium bowl will do. I use a glass one because it’s easy to see when the seeds are evenly coated.
- Spatula or Wooden Spoon: For stirring the seeds around on the baking sheet. A silicone spatula is nice because it doesn’t scratch your pan.
- Measuring Spoons: For the cinnamon, sugar, and vanilla. Eyeballing it works in a pinch, but the measurements really do matter here for the perfect balance.
- Small Bowl: For mixing the cinnamon and sugar together before adding them to the seeds. This step prevents clumps.
If you don’t have parchment paper, you can use a silicone baking mat or lightly grease the baking sheet with butter. I’ve done it both ways, and parchment paper is by far the easiest for cleanup. Also, if your baking sheet is dark-colored, keep an eye on the seeds a few minutes early — dark pans absorb more heat and can brown things faster.
Preparation Method
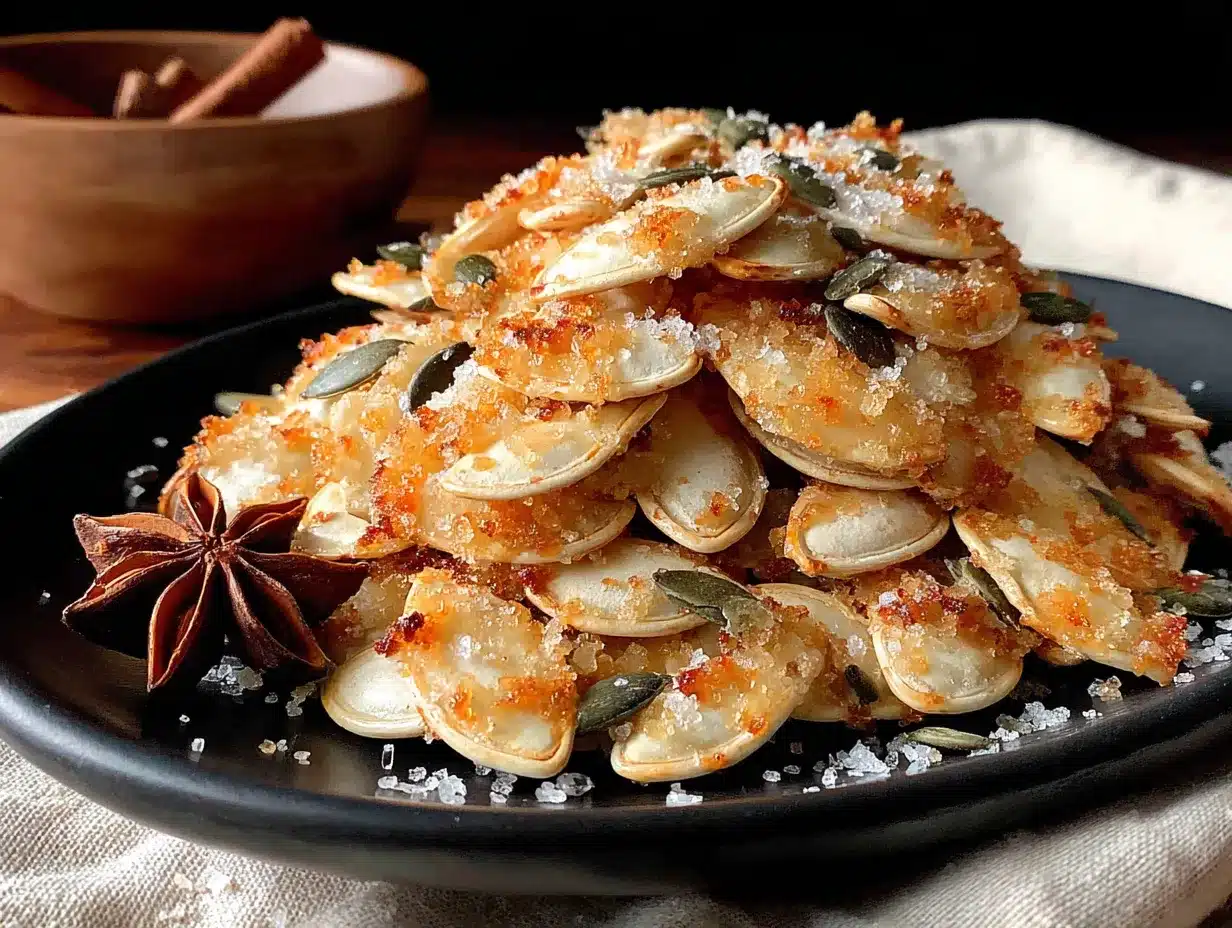
Let’s get these cinnamon sugar pumpkin seeds into your life. The whole process takes about 20 minutes from start to finish, and most of that is hands-off oven time.
- Preheat your oven to 350°F (175°C). Getting the oven hot before you start is key here. You want the seeds to hit that heat immediately so they start crisping up right away. Line a baking sheet with parchment paper while the oven heats.
- Rinse and dry your pumpkin seeds. If you’re using fresh seeds from a pumpkin, place them in a colander and rinse under cold water, picking off any big pieces of pumpkin flesh. Spread them out on a clean kitchen towel or paper towels and pat them very dry. I cannot stress this enough — wet seeds will not get crunchy. Let them sit for a few minutes while you prepare the coating.
- Mix the dry coating. In a small bowl, combine 1 teaspoon of ground cinnamon, 2 tablespoons of granulated sugar, and a pinch of salt (about 1/4 teaspoon). Stir them together with a fork until the cinnamon is evenly distributed. Sometimes cinnamon likes to clump up, so breaking those little lumps now saves you from bitter cinnamon bombs later.
- Melt the butter. Place 2 tablespoons of unsalted butter in a microwave-safe bowl and heat for 20-30 seconds until completely melted. If you’re using the vanilla extract, stir it into the melted butter now. The smell alone will make you excited for what’s coming.
- Coat the seeds. Place your 1 cup of pumpkin seeds in a medium mixing bowl. Pour the melted butter over them and stir until every seed is glistening. This is where you want to be thorough — any dry seed will end up with a patchy coating. Sprinkle the cinnamon sugar mixture over the buttered seeds and toss again until everything looks evenly coated. The mixture will look a little sandy at first, but keep stirring and it will start to stick.
- Spread on the baking sheet. Pour the coated seeds onto your prepared baking sheet. Use your spatula to spread them into a single, even layer. Try not to let them pile up on top of each other — overlapping seeds will steam instead of roast. If you need to, use two baking sheets or work in batches.
- Bake for 10-12 minutes. Place the baking sheet in the preheated oven and set a timer for 10 minutes. At the 5-minute mark, pull the sheet out and give the seeds a good stir with your spatula. This helps them cook evenly and prevents the sugar from burning on the bottom. Spread them back into a single layer and return to the oven.
- Check for doneness. At 10 minutes, the seeds should be golden brown and smell incredibly fragrant. If they still look pale, give them another 2 minutes. The key is to watch them closely — they can go from perfect to burnt in about 30 seconds. You’re looking for a deep golden color and a glossy, slightly bubbly coating.
- Cool completely. This is the hardest part. Let the seeds cool on the baking sheet for at least 10 minutes without touching them. As they cool, the sugar coating will harden into that irresistible crunchy shell. If you try to eat them too soon, the coating will be soft and sticky. Trust me on this — I’ve burned my tongue more than once because I couldn’t wait.
- Break apart and enjoy. Once completely cool, gently break apart any clusters that formed during baking. Some clumping is totally normal and actually creates those nice little clusters that are perfect for snacking. Transfer to a bowl and try not to eat them all before dinner.
Cooking Tips & Techniques
After making these cinnamon sugar pumpkin seeds more times than I can count, I’ve picked up a few tricks that make the process even smoother. Here’s what I’ve learned the hard way so you don’t have to.
Don’t skip the drying step. I know it feels like an extra hassle, but wet seeds are the enemy of crunch. If you’re short on time, spread the rinsed seeds on a baking sheet and pop them in the oven at 200°F for 10 minutes while you gather your other ingredients. They’ll come out perfectly dry and ready to coat.
Watch the sugar. The sugar in this recipe can burn if you’re not careful. That’s why I recommend checking the seeds at the 10-minute mark and keeping a close eye on them after that. If your oven runs hot, start checking at 8 minutes. Burnt sugar has a bitter, acrid taste that ruins the whole batch, and there’s no saving it once it goes too far.
Let them cool completely. I know I said this already, but it bears repeating. The coating needs time to set and harden. If you dig in while they’re still warm, you’ll get sticky fingers and a soft coating that just doesn’t hit the same. Patience pays off here.
Double the batch. Honestly, these disappear fast. I always make at least double what I think I need because people can’t stop eating them. They also make a great gift — just put them in a little jar with a ribbon and you’ve got an instant hostess gift that looks way more thoughtful than it was complicated.
Use fresh cinnamon. Cinnamon loses its punch over time. If your jar has been sitting in the cabinet for more than six months, it might be time for a replacement. Fresh cinnamon makes a noticeable difference in both flavor and aroma.
Variations & Adaptations
One of the best things about this recipe is how easy it is to customize. Here are some variations I’ve tried and loved:
- Spiced Pumpkin Seeds: Add 1/4 teaspoon of nutmeg and 1/4 teaspoon of ginger to the cinnamon sugar mixture. It gives the seeds a chai-spiced flavor that’s perfect for fall. I made this version last Thanksgiving and it was gone before the turkey even hit the table.
- Maple Cinnamon Seeds: Replace the granulated sugar with 2 tablespoons of maple syrup and reduce the butter to 1 tablespoon. The maple flavor pairs beautifully with the cinnamon and adds a slightly different sweetness. Keep in mind that the coating won’t get quite as crunchy with liquid sweetener, but the flavor trade-off is worth it.
- Chocolate Cinnamon Seeds: After the seeds have cooled completely, drizzle them with melted dark chocolate and a sprinkle of flaky salt. This turns them into a dessert that feels fancy but takes almost no extra effort. I did this for a movie night once and my friends still talk about it.
- Sugar-Free Version: Use a granulated monk fruit sweetener or erythritol in place of the sugar. The texture will be slightly different, but the cinnamon flavor still shines through. I’ve tested this for a friend who’s watching her sugar intake and it worked surprisingly well.
- Extra Crunchy Seeds: For seeds that are even crunchier, add an extra 2 minutes to the baking time and let them cool on the baking sheet in the turned-off oven with the door cracked open. The residual heat dries them out further without burning the coating.
Serving & Storage Suggestions
These cinnamon sugar pumpkin seeds are incredibly versatile when it comes to serving. Here’s how I like to enjoy them:
Serving Temperature: They’re best at room temperature, straight from the cooling sheet. The coating is at its crunchiest and the flavors are most pronounced. That said, they’re also delicious slightly warm if you can’t wait — just expect a softer coating.
Presentation Ideas: Serve them in a simple bowl for snacking, or get fancy and layer them in a mason jar for a gift. I’ve also sprinkled them over vanilla ice cream for an easy dessert, and added them to yogurt parfaits for a crunchy breakfast topping. They even work as a salad topper if you’re feeling adventurous — the sweet crunch contrasts beautifully with bitter greens and a tangy vinaigrette.
Storage Instructions: Store your cooled seeds in an airtight container at room temperature. They’ll stay fresh and crunchy for up to 2 weeks — if they last that long. Do not refrigerate them, as the moisture in the fridge will soften the coating. If you live in a humid climate, add a silica gel packet to the container to absorb excess moisture.
Reheating Tips: If your seeds lose their crunch over time (which happens in humid weather), spread them on a baking sheet and pop them in a 300°F oven for 3-4 minutes. Let them cool completely before storing again. This brings back that fresh-from-the-oven texture beautifully.
Flavor Development: Honestly, these seeds taste best on the first day, when the coating is at its crunchiest. The flavor is still good for days afterward, but nothing beats that initial crispness. If you’re making them for a party, try to make them the same day for the best experience.
Nutritional Information & Benefits
These cinnamon sugar pumpkin seeds aren’t just delicious — they also pack some surprising nutritional benefits. Here’s a quick look at what you’re getting in a 1/4 cup serving:
| Nutrient | Amount (approx.) |
|---|---|
| Calories | 180 |
| Total Fat | 14g |
| Saturated Fat | 4g |
| Carbohydrates | 10g |
| Sugar | 6g |
| Protein | 7g |
| Fiber | 2g |
Health Benefits: Pumpkin seeds are a great source of magnesium, zinc, and healthy fats. Magnesium supports muscle function and sleep quality, while zinc is important for immune health. The cinnamon adds antioxidants that help fight inflammation. Plus, the protein and fiber in the seeds make this a surprisingly satisfying snack that keeps you full between meals.
Dietary Considerations: This recipe is naturally gluten-free and vegetarian. For a vegan version, substitute the butter with coconut oil or a plant-based butter alternative. The flavor will change slightly, but the texture stays just as good. If you’re watching your sugar intake, try the sugar-free variation mentioned above.
I love that this snack feels indulgent but actually has some real nutritional value. It’s the kind of treat I feel good about eating myself and feeding to my family — a little sweet, a little crunchy, and packed with good stuff.
Conclusion
These easy cinnamon sugar pumpkin seeds are proof that the best recipes often come from happy accidents. What started as a mistake in my kitchen has become one of my most-requested snacks, and I honestly think it’s because the recipe is so simple and forgiving. You don’t need fancy equipment or hard-to-find ingredients. You just need 20 minutes, a handful of pantry staples, and a willingness to try something a little different.
I love that this recipe fits so easily into a busy weeknight. When you’re tired and hungry and need something good fast, these seeds deliver. They’re sweet enough to feel like a treat, but wholesome enough that you don’t have to feel guilty about going back for seconds. Or thirds. Not that I’m speaking from experience or anything.
I’d love to hear how these turn out for you. Did you try any of the variations? Did you discover your own twist? Drop a comment below and let me know — I read every single one and I’m always looking for new ideas to try in my own kitchen. And if you loved this recipe, share it with a friend who needs a quick, delicious snack in their life. Happy cooking, and don’t be afraid to make a few mistakes along the way — you never know what you might discover.
Frequently Asked Questions
Can I use canned pumpkin seeds for this recipe?
Yes, you can use store-bought raw pumpkin seeds, often labeled as pepitas. Just make sure they’re raw and unsalted for the best results. Pre-roasted seeds will cook faster and might burn before the coating sets properly.
How do I keep the coating from falling off the seeds?
The butter is the key here. Make sure every seed is thoroughly coated in melted butter before adding the cinnamon sugar mixture. Stir well and don’t rush this step. The butter acts as glue that helps the sugar and cinnamon stick to the seeds.
Can I make these in an air fryer?
Absolutely. Preheat your air fryer to 325°F (160°C) and cook the coated seeds for 6-8 minutes, shaking the basket halfway through. Keep a close eye on them since air fryers can vary in temperature. The result is even crunchier than the oven version.
Why did my seeds come out chewy instead of crunchy?
This usually happens for one of two reasons: the seeds weren’t dry enough before coating, or they didn’t bake long enough. Make sure your seeds are completely dry before adding the butter, and don’t be afraid to give them an extra minute or two in the oven if they still look pale.
Can I double this recipe?
Yes, this recipe doubles beautifully. Just make sure to spread the seeds in a single layer on your baking sheet. If you’re making a large batch, use two baking sheets or work in batches to avoid overcrowding, which can lead to steaming instead of roasting.
Pin This Recipe!
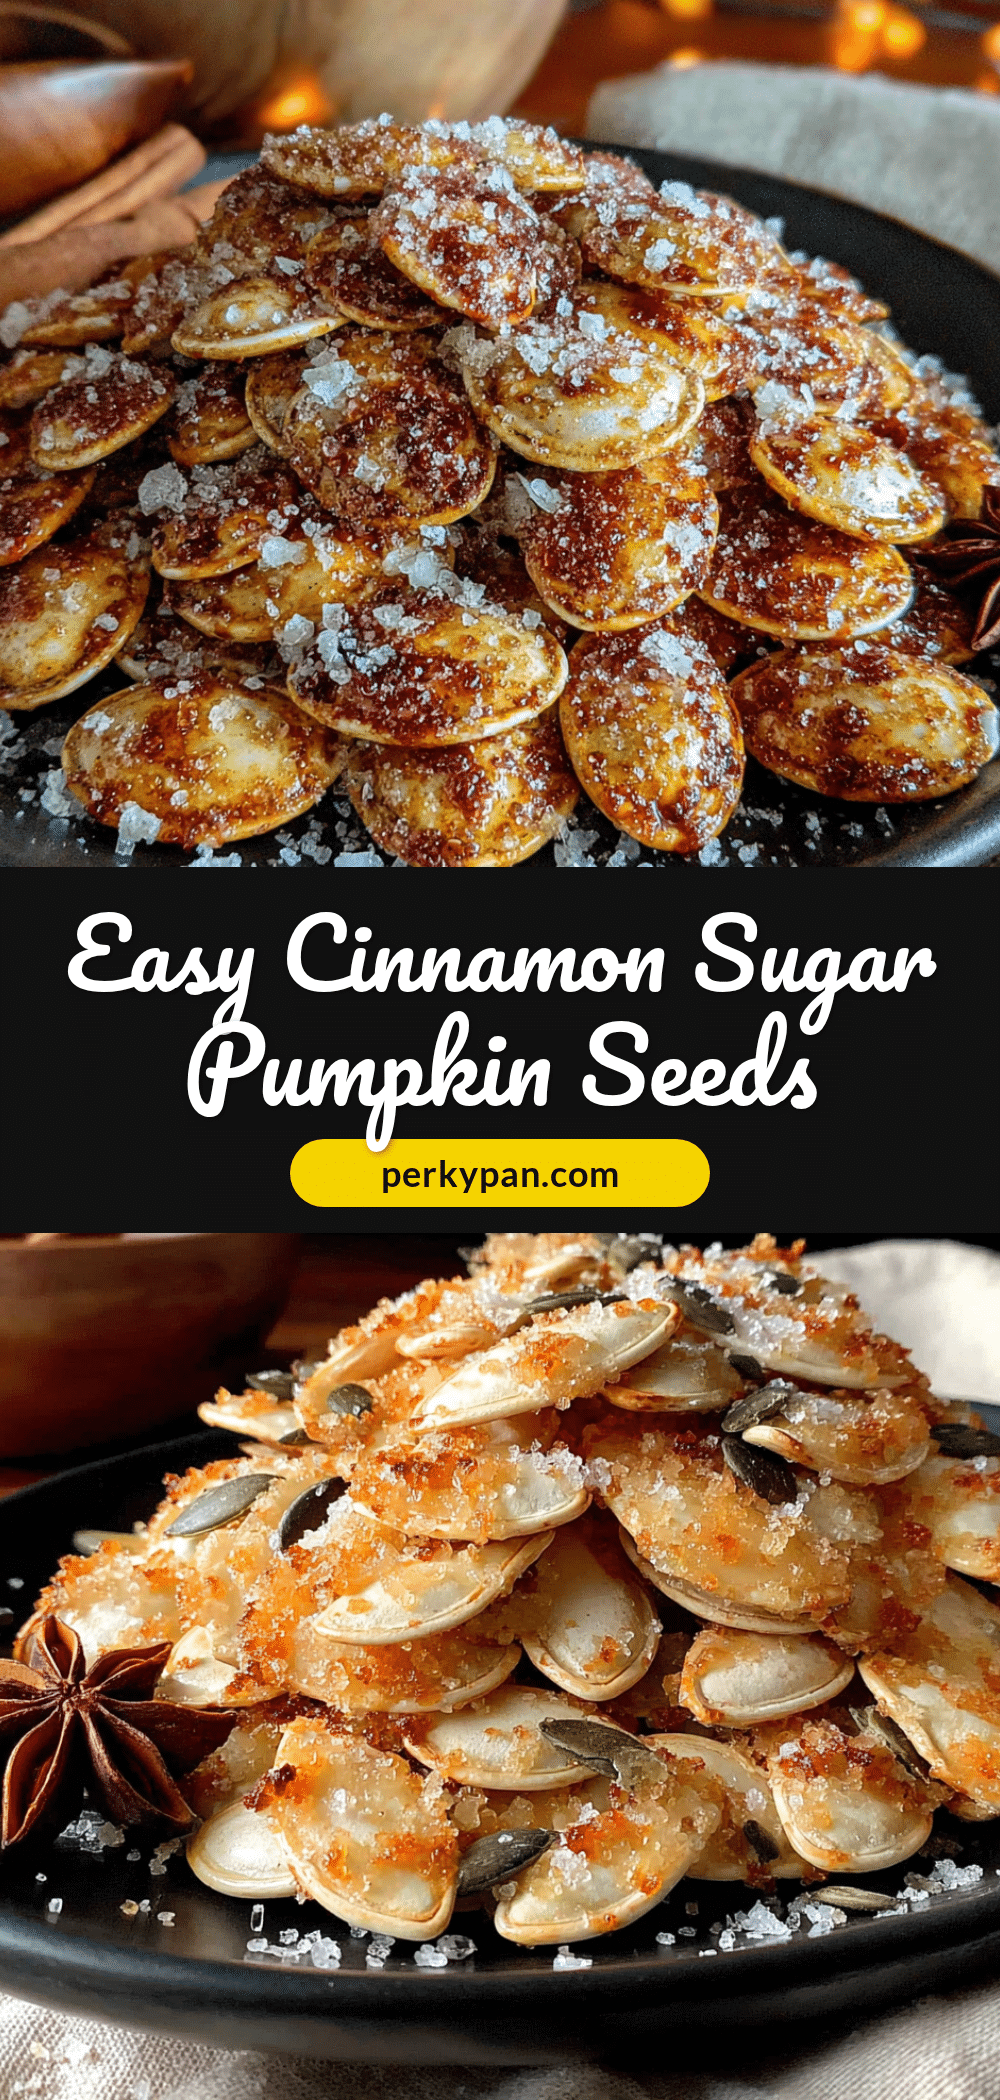
Easy Cinnamon Sugar Pumpkin Seeds: Best 20-Minute Snack

A happy accident turned into the perfect sweet and crunchy snack. These cinnamon sugar pumpkin seeds are quick, easy, and irresistibly delicious—ready in just 20 minutes.
- Prep Time: 10 minutes
- Cook Time: 12 minutes
- Total Time: 22 minutes
- Yield: 4 servings 1x
- Category: Snack
- Cuisine: American
Ingredients
- 1 cup raw pumpkin seeds (pepitas)
- 2 tablespoons unsalted butter, melted
- 2 tablespoons granulated sugar
- 1 teaspoon ground cinnamon
- 1/4 teaspoon salt
- 1/2 teaspoon vanilla extract (optional)
Instructions
- Preheat your oven to 350°F (175°C). Line a baking sheet with parchment paper.
- Rinse and dry your pumpkin seeds thoroughly if using fresh seeds. Pat them very dry.
- In a small bowl, combine 1 teaspoon ground cinnamon, 2 tablespoons granulated sugar, and 1/4 teaspoon salt. Stir until evenly mixed.
- Melt 2 tablespoons unsalted butter in a microwave-safe bowl (20-30 seconds). Stir in vanilla extract if using.
- Place 1 cup pumpkin seeds in a medium mixing bowl. Pour melted butter over them and stir until every seed is coated.
- Sprinkle the cinnamon sugar mixture over the buttered seeds and toss until evenly coated.
- Spread the coated seeds in a single layer on the prepared baking sheet.
- Bake for 10-12 minutes, stirring at the 5-minute mark. Seeds should be golden brown and fragrant.
- Let the seeds cool completely on the baking sheet for at least 10 minutes without touching them.
- Once cool, break apart any clusters and serve.
Notes
Make sure seeds are completely dry before coating to ensure crunchiness. Watch the seeds closely in the last few minutes to prevent burning. Let them cool completely for the coating to harden. For extra crunch, add 2 more minutes to baking time and cool in the turned-off oven with the door cracked open.
Nutrition
- Serving Size: 1/4 cup
- Calories: 180
- Sugar: 6
- Sodium: 150
- Fat: 14
- Saturated Fat: 4
- Carbohydrates: 10
- Fiber: 2
- Protein: 7
Keywords: cinnamon sugar pumpkin seeds, roasted pumpkin seeds, easy snack, fall recipe, pepitas, sweet snack, 20-minute recipe


