Love this? Save it for later!
Share the inspiration with your friends
I was standing in the frozen foods aisle at the grocery store last Tuesday when the smell of garlic butter hit me. Not from a package—it was just one of those phantom smells, you know? And suddenly I was eight years old in my aunt Noni’s tiny kitchen, watching her pull a cast iron skillet from the oven. The pork chops she made weren’t crispy on the outside—they were practically braised in butter, soft and tender, the kind of thing that made you close your eyes while you chewed. I loved them. But I always wondered what they’d taste like with that golden, shatter-crisp crust you usually only get from a deep fryer.
Fast forward about twenty years, and I’m in my own kitchen, determined to figure it out. I mean, honestly, I’ve burned through more pork chops than I’d like to admit trying to get that perfect balance. Some came out dry. Some were greasy. Some had a crust that looked promising but slid right off the second I picked up my fork. It was frustrating, let me tell you. But then, on a random Thursday night when I wasn’t even trying to be fancy, it just worked. The coating stayed put. The butter soaked into every crevice. The garlic got all toasty and fragrant. And the best part? Not a drop of oil for frying.
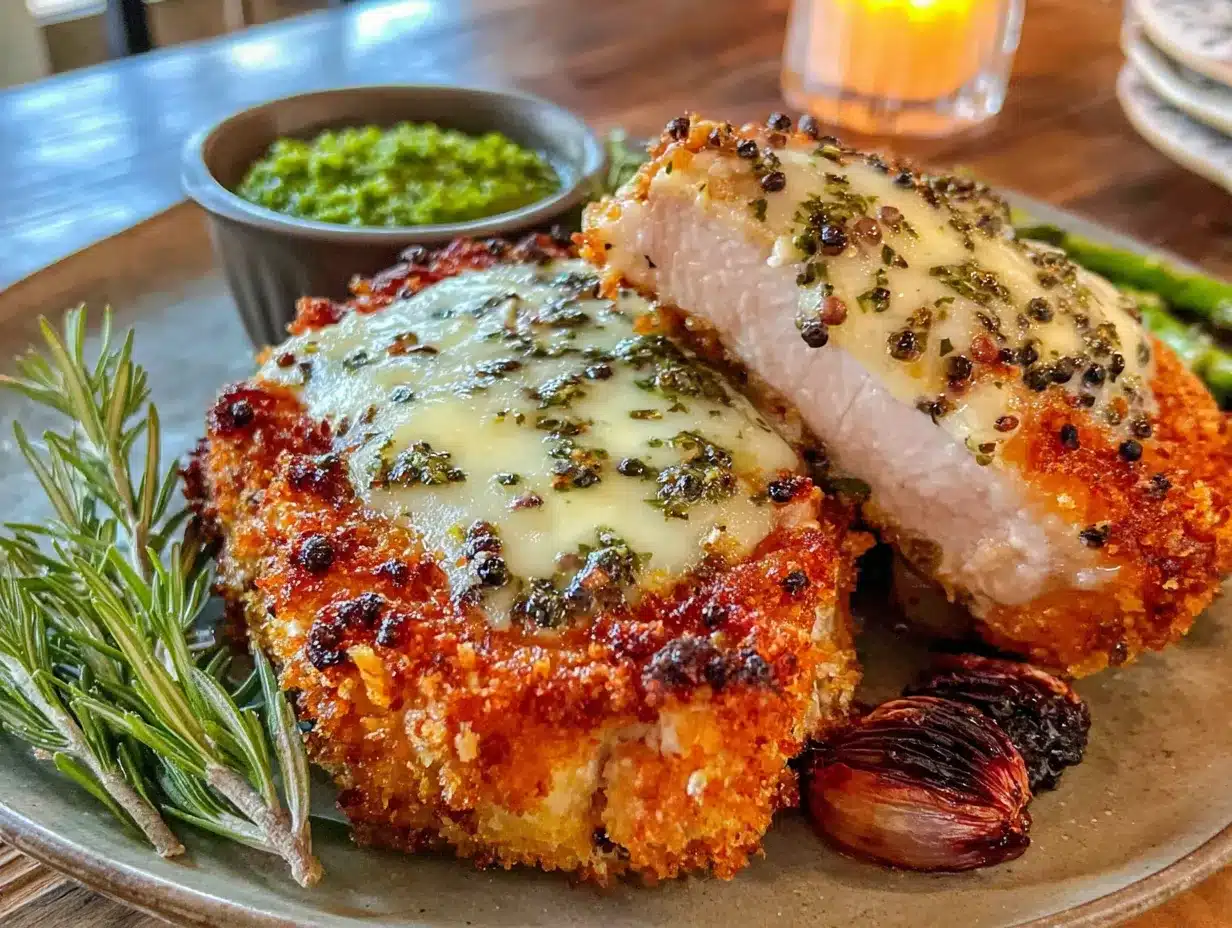
Maybe you’ve been there—standing over a hot skillet, wishing for that crispy exterior without the mess and guilt. These crispy garlic butter pork chops are the answer. They’re baked, not fried, which means less cleanup and way less grease, but you’d never guess it from the texture. That first bite has this satisfying crunch that gives way to the juiciest, most tender pork you’ve ever had at home. And the garlic butter? It seeps into every nook and cranny, making each mouthful taste like something you’d pay way too much for at a fancy restaurant. This is the recipe I keep coming back to, and I think you will too.
Why You’ll Love This Recipe
Let me tell you why these crispy garlic butter pork chops have become my go-to dinner party trick and my weeknight lifesaver all in one. After testing this recipe about a dozen times (my neighbors have definitely benefited from the extras), I can confidently say this method delivers every single time.
- Baked, Not Fried: You get that incredible crispy coating without standing over a splattering skillet. The oven does all the heavy lifting, which means less mess and way less stress.
- Simple Ingredients: No fancy grocery trips needed. You probably have garlic, butter, breadcrumbs, and pork chops in your kitchen right now. I use Panko breadcrumbs for the crispiest results, but regular ones work too.
- Perfect for Busy Weeknights: These come together in about 30 minutes from start to finish. That’s faster than takeout delivery, I promise.
- Crowd-Pleaser: I’ve served these to picky kids, health-conscious friends, and my uncle who claims he “doesn’t like pork.” Every single person went back for seconds. It’s honestly become my most-requested recipe.
- Unbelievably Delicious: The texture combo here is next-level. You get that golden, crunchy exterior from the Panko and butter, then the juiciest, most flavorful pork inside. The garlic butter bastes the chops as they bake, creating this incredible flavor that soaks all the way through.
What makes this recipe different from every other pork chop recipe out there? It’s the technique. Instead of frying, we’re using a hot oven and a generous coating of garlic butter to create that crispy crust. The butter browns slightly as it bakes, giving the breadcrumbs this nutty, rich flavor that you just can’t get from oil. Plus, the pork stays incredibly moist because the butter locks in all those juices. It’s comfort food reimagined—healthier, faster, but with the same soul-soothing satisfaction that makes you close your eyes after the first bite.
What Ingredients You Will Need
This recipe uses simple, wholesome ingredients to deliver bold flavor and satisfying texture without the fuss. Most of these are pantry staples, which makes this perfect for those nights when you need dinner on the table fast.
For the Pork Chops
- 4 bone-in pork chops, about 1-inch thick (look for chops with good marbling—they stay juicier during baking; I prefer center-cut loin chops)
- 1 teaspoon salt (I use kosher salt for better flavor distribution)
- ½ teaspoon black pepper, freshly ground
- 1 teaspoon garlic powder (not garlic salt—we’re controlling the sodium ourselves)
- 1 teaspoon paprika (smoked paprika adds a lovely depth, but sweet works too)
For the Garlic Butter Coating
- 4 tablespoons unsalted butter, melted (salted butter works if that’s what you have—just reduce the added salt slightly)
- 4 cloves garlic, minced (fresh garlic is non-negotiable here; the pre-minced stuff in jars just doesn’t have the same punch)
- 1 tablespoon fresh parsley, chopped (optional but lovely for color and freshness)
- ½ teaspoon red pepper flakes (optional, for a tiny kick—I add these because I like a little heat)
For the Crispy Coating
- 1 cup Panko breadcrumbs (these are the secret to the crunch—regular breadcrumbs won’t give you the same texture; I recommend Kikkoman or Ian’s brand)
- ¼ cup grated Parmesan cheese (the real stuff, not the green can—it adds a salty, nutty flavor that complements the garlic butter beautifully)
- 1 teaspoon Italian seasoning (or a mix of dried oregano, basil, and thyme)
- ½ teaspoon onion powder
Ingredient Selection Tips: When choosing pork chops, look for ones that are about 1-inch thick. Thinner chops will cook too quickly and might dry out before the coating gets crispy. Thicker chops need longer cooking time and might burn the coating. If you can only find thin chops, reduce the baking time by about 5 minutes and check for doneness early. For the best texture, I always use bone-in chops—the bone helps conduct heat and keeps the meat moist. Boneless works too, but watch the cooking time carefully.
Substitution Guidance: Need this dairy-free? Use vegan butter and skip the Parmesan, or use nutritional yeast for that cheesy flavor. Gluten-free? Swap the Panko for gluten-free breadcrumbs or crushed pork rinds for a keto-friendly option. The garlic butter can be made with olive oil if you’re avoiding dairy entirely, though the flavor will be slightly different. For a lower-fat version, use just 2 tablespoons of butter and spray the coating with cooking spray before baking.
Equipment Needed
You don’t need a lot of fancy equipment for these crispy garlic butter pork chops, which is honestly one of the reasons I love this recipe so much.
- Baking sheet or rimmed baking pan (I use a half-sheet pan—the rim catches any butter that might bubble over; trust me, you want the rim)
- Wire rack that fits inside your baking sheet (this is key for air circulation—without it, the bottom of the chops can get soggy; I got mine for like $8 at the grocery store)
- Small bowl for mixing the garlic butter
- Shallow dish for the breadcrumb mixture
- Tongs for handling the chops (metal ones work best, but silicone-coated are fine too)
- Meat thermometer (this is non-negotiable for perfectly cooked pork—I use a simple instant-read one; digital is nice but not necessary)
- Pastry brush for applying the garlic butter (a silicone brush works great; I’ve also used a regular basting brush in a pinch)
- Chef’s knife and cutting board for mincing the garlic
Budget-Friendly Options: If you don’t have a wire rack, you can place the chops directly on the baking sheet, but flip them halfway through cooking to help the bottom crisp up. No pastry brush? Just spoon the garlic butter over the chops—it works fine, just takes a little more time. And if you don’t have a meat thermometer, you can check doneness by cutting into the thickest part of the chop—the juices should run clear and the meat should be white all the way through with just a hint of pink.
Preparation Method
Here’s where the magic happens. Follow these steps, and you’ll have the crispiest, most flavorful pork chops of your life.
- Preheat your oven to 400°F (200°C). Place your wire rack inside the baking sheet and set it aside. Getting the oven nice and hot is crucial for that crispy coating—don’t rush this step.
- Pat the pork chops completely dry with paper towels. This is super important. Any moisture on the surface will steam the coating instead of letting it get crispy. I usually pat them down, wait 30 seconds, then pat them again. You’d be surprised how much moisture comes off.
- Season both sides of the pork chops with the salt, pepper, garlic powder, and paprika. Rub the seasonings in gently with your fingers. Let them sit at room temperature for about 10 minutes while you prepare the coating. This helps the seasoning penetrate the meat and brings the chops closer to room temperature for more even cooking.
- In a small bowl, combine the melted butter, minced garlic, parsley (if using), and red pepper flakes. Stir it together and let it sit for a minute—the garlic will infuse the butter with its flavor. I like to let mine sit for about 5 minutes while I get the breadcrumbs ready. The smell at this point is incredible.
- In a shallow dish, mix the Panko breadcrumbs, Parmesan cheese, Italian seasoning, and onion powder. Use a fork to combine everything evenly. Make sure there are no clumps of cheese or seasoning.
- Working with one pork chop at a time, brush both sides generously with the garlic butter mixture. Don’t be shy here—the butter is what helps the breadcrumbs stick and creates that golden crust. I use about half the butter mixture for this step.
- Dredge the buttered pork chop in the breadcrumb mixture, pressing gently so the crumbs adhere. Make sure every surface is covered, including the edges. I use my fingers to press the crumbs into any bare spots. Place the coated chop on the wire rack. Repeat with the remaining chops.
- Drizzle or brush the remaining garlic butter over the tops of the breaded chops. This extra butter is what gives you that incredible golden-brown color. Don’t skip this—it makes a huge difference.
- Bake for 20-25 minutes, or until the internal temperature reaches 145°F (63°C). At the 15-minute mark, check the chops—if the tops are browning too quickly, tent loosely with foil for the remaining time. My oven runs hot, so I usually check at 18 minutes. The coating should be deep golden brown and crispy to the touch.
- Remove from the oven and let rest for 5 minutes before serving. This is crucial—resting allows the juices to redistribute throughout the meat. If you cut into them right away, all those delicious juices will run out onto the plate, and you’ll end up with dry pork chops. I know it’s tempting, but trust me on this one.
Sensory Cues: When the pork chops are done, the kitchen will smell like garlic butter and toasted breadcrumbs—absolutely intoxicating. The coating should be golden brown and feel firm and crispy when you gently press on it. If you tap the crust with a fork, you should hear a slight cracking sound. The internal temperature should read 145°F on your meat thermometer—this gives you perfectly cooked pork that’s juicy and tender, not dry and tough.
Troubleshooting Tip: If your coating isn’t as crispy as you’d like, try broiling the chops for the last 1-2 minutes of cooking. Keep a close eye on them—broilers vary wildly, and you don’t want to burn the garlic butter. I’ve done this when I wanted extra crunch, and it works beautifully. Just watch carefully!
Cooking Tips & Techniques
After making these crispy garlic butter pork chops more times than I can count, I’ve picked up a few tricks that make a real difference. Let me share what I’ve learned the hard way so you don’t have to.
The Pat-Dry Rule: I cannot stress this enough—dry pork chops are happy pork chops. The first time I made this recipe, I was in a hurry and skipped the thorough drying step. The coating turned out soggy and pale, and it actually slid off in some places. Now I pat them dry, wait, and pat them again. It takes an extra 30 seconds and makes all the difference.
Room Temperature Matters: Letting the seasoned pork chops sit at room temperature for 10-15 minutes before coating them helps them cook more evenly. Cold meat straight from the fridge will cook unevenly—the outside might be done while the center is still undercooked. I learned this the hard way when I rushed the process and ended up with pork chops that were overdone on the edges and raw in the middle. Not my finest moment.
The Butter Balance: Using too much butter can make the coating greasy instead of crispy, but too little won’t give you that golden crust. I’ve found that 4 tablespoons is the sweet spot for 4 pork chops. If you’re making more or fewer chops, adjust accordingly—about 1 tablespoon of butter per chop works perfectly. Also, make sure your butter is melted but not hot—if it’s too hot, it will cook the breadcrumbs before they even hit the oven.
Wire Rack Secret: The wire rack is your best friend here. It allows hot air to circulate all around the pork chops, crisping up the bottom just as much as the top. The first few times I made this, I placed the chops directly on the baking sheet, and the bottoms were always a little soft. Once I invested in a cheap wire rack, the texture improved dramatically. If you don’t have one, flip the chops halfway through baking to help the bottom crisp up.
Don’t Overcrowd: Make sure there’s space between the pork chops on the wire rack. If they’re touching, the steam gets trapped between them and makes the coating soggy. I usually leave at least an inch between each chop. If your baking sheet is too small, use two sheets or bake in batches.
Check Early: Ovens vary wildly in temperature. My friend’s oven runs 25 degrees cooler than mine, so her pork chops always need an extra 5 minutes. Start checking the internal temperature at the 18-minute mark, especially if you’re using thinner chops. It’s better to check early and add time than to overcook them.
Variations & Adaptations
One of the best things about this recipe is how easily it adapts to different tastes and dietary needs. Here are some variations I’ve tried and loved.
Herb-Crusted Version: Add 2 tablespoons of fresh chopped herbs to the breadcrumb mixture—rosemary, thyme, and sage work beautifully with the garlic butter. I tried this last Thanksgiving when I needed something quick alongside all the traditional sides, and it was a hit. The herbs get all toasty in the oven and add this incredible aromatic quality.
Spicy Cajun Style: Replace the Italian seasoning with 1 teaspoon of Cajun seasoning and add an extra pinch of cayenne pepper to the breadcrumb mixture. This version has a nice kick that pairs perfectly with the rich garlic butter. My neighbor, who loves all things spicy, requests this version every time I make it.
Lemon Garlic Variation: Add the zest of one lemon to the breadcrumb mixture and squeeze fresh lemon juice over the chops before serving. The brightness cuts through the richness of the butter beautifully. I made this version last summer with some grilled vegetables, and it felt so fresh and light.
Keto-Friendly Adaptation: Replace the Panko breadcrumbs with crushed pork rinds or almond flour mixed with Parmesan. The texture is slightly different—crunchier and more dense—but it’s incredibly satisfying. I’ve made this for friends on keto diets, and they couldn’t believe it wasn’t “real” breading.
Air Fryer Method: Cook the breaded pork chops in an air fryer at 375°F (190°C) for 12-15 minutes, flipping halfway through. The air fryer gives you an even crispier coating in less time. I tried this when my oven was occupied with roasted vegetables, and honestly, I might prefer the air fryer version now. Just make sure not to overcrowd the basket.
Dairy-Free Option: Use vegan butter or olive oil instead of regular butter, and skip the Parmesan or use nutritional yeast. The coating won’t be quite as rich, but it’s still delicious. I’ve made this for friends with dairy allergies, and they’ve always been happy with the results.
Serving & Storage Suggestions
These crispy garlic butter pork chops are versatile enough to serve with almost anything. Here’s how I like to enjoy them.
Serving Temperature: Serve the pork chops hot, right after their 5-minute rest. The coating is at its crispiest fresh from the oven. If you let them sit too long, the steam from the meat can soften the crust. I usually time my side dishes to finish right when the chops come out of the oven.
What to Serve With Them: These chops pair beautifully with simple sides that let the garlic butter shine. I love serving them with mashed potatoes (the garlic butter drips down and flavors the potatoes—so good), roasted asparagus, or a simple green salad with a lemon vinaigrette. For a heartier meal, try them with rice pilaf or roasted baby potatoes. Last week, I served them with creamy polenta and sautéed spinach, and it was restaurant-quality.
Storage Instructions: Store leftover pork chops in an airtight container in the refrigerator for up to 3 days. The coating will soften slightly, but they’ll still be delicious. I don’t recommend freezing these—the breadcrumb coating gets weird and soggy when thawed. If you have leftovers, I suggest repurposing them (see below).
Reheating Methods: The best way to reheat these is in the oven or air fryer. Preheat your oven to 350°F (175°C), place the chops on a wire rack over a baking sheet, and heat for 8-10 minutes, or until warmed through. The air fryer works even faster—about 4-5 minutes at 350°F. Avoid the microwave at all costs—it will turn that beautiful crispy coating into a sad, soggy mess. Trust me, I’ve made that mistake.
Leftover Ideas: If you have leftover pork chops, slice them up and add them to salads, sandwiches, or pasta. I made a killer pork chop sandwich last week with leftover chops, some arugula, and a smear of Dijon mustard on crusty bread. The garlic butter flavor infused the whole sandwich—it was amazing.
Flavor Development: Interestingly, the garlic butter flavor actually deepens overnight. The leftovers, while not as crispy, have an even more pronounced garlic and herb flavor. If you’re meal-prepping, you could make the chops a day ahead and reheat them in the oven—just know the texture will be different.
Nutritional Information & Benefits
These crispy garlic butter pork chops are surprisingly balanced for how indulgent they taste. Here’s what you need to know.
Estimated Nutritional Values (per serving, based on 4 servings):
- Calories: 380-420
- Protein: 35-40g
- Fat: 22-26g
- Carbohydrates: 12-15g
- Fiber: 1-2g
- Sugar: 1-2g
Health Benefits: Pork chops are an excellent source of high-quality protein, which is essential for muscle repair and growth. They’re also rich in B vitamins, particularly B6 and B12, which support energy metabolism and brain function. The garlic in this recipe isn’t just for flavor—it contains allicin, a compound known for its anti-inflammatory and immune-boosting properties. And the butter, while rich, provides fat-soluble vitamins A, D, and E, which help your body absorb nutrients from the vegetables you serve alongside.
Dietary Considerations: This recipe is naturally low-carb and keto-friendly if you use the almond flour or pork rind variation. It’s also gluten-free if you use gluten-free breadcrumbs. For those watching sodium, you can reduce the salt in the seasoning and use unsalted butter. The Parmesan adds some saltiness, so you might not miss the extra salt.
Potential Allergens: This recipe contains dairy (butter, Parmesan) and gluten (Panko breadcrumbs). For dairy-free and gluten-free options, see the variations section above. Always check your ingredient labels if cooking for someone with allergies.
My Wellness Perspective: I love that this recipe lets me enjoy something that feels decadent without the guilt of deep frying. It’s the kind of meal that makes eating well feel like a treat, not a chore. When I serve these to my family, I know we’re getting a good dose of protein and healthy fats, but all anyone notices is how delicious they are. That’s the sweet spot, if you ask me.
Conclusion
These crispy garlic butter pork chops have become a staple in my kitchen for good reason. They deliver everything you want from a comfort food dinner—crunchy, buttery, garlicky, satisfying—without the mess and guilt of frying. The first time I made them successfully, I actually did a little dance in my kitchen. And every time since, they’ve reminded me that sometimes the best recipes are the ones that solve a problem you didn’t even know you had.
I hope you give these a try and make them your own. Maybe you’ll add extra garlic (I wouldn’t blame you). Maybe you’ll go heavy on the red pepper flakes. Maybe you’ll discover that your family loves them with a side of honey for dipping (my kids do, and honestly, it’s pretty good). The beauty of this recipe is that it’s forgiving enough to adapt to whatever you have on hand and whatever your taste buds are craving.
I’d love to hear how yours turn out! Drop a comment below and let me know if you tried any variations, what you served them with, or if you discovered a trick I haven’t thought of. And if you loved them as much as I do, share this recipe with a friend who needs a good pork chop in their life. Happy cooking, friend!
Frequently Asked Questions
Can I use boneless pork chops for this recipe?
Yes, you can use boneless pork chops, but watch the cooking time carefully. Boneless chops tend to cook faster than bone-in, so start checking the internal temperature at the 15-minute mark. They also can dry out more easily, so I recommend using chops that are at least 1-inch thick for best results.
Why did my breadcrumb coating fall off?
This usually happens for one of two reasons: the pork chops weren’t patted dry enough before coating, or the butter wasn’t applied generously enough. Make sure you pat the chops completely dry, and don’t skimp on the garlic butter—it acts as the glue that holds the breadcrumbs in place. Pressing the breadcrumbs firmly onto the chops also helps.
Can I prepare these ahead of time?
You can bread the pork chops up to 2 hours ahead of time and keep them in the refrigerator on the wire rack. Just don’t add the extra drizzle of butter until right before baking, or the coating can get soggy. I’ve also prepped the breadcrumb mixture and garlic butter separately the night before to save time on busy weeknights.
How do I know when the pork chops are fully cooked?
The most reliable way is to use a meat thermometer. Pork is safe to eat at 145°F (63°C), followed by a 5-minute rest. If you don’t have a thermometer, cut into the thickest part of the chop—the juices should run clear, and the meat should be white with just a hint of pink. Overcooked pork will be dry and tough, so err on the side of checking early.
Can I make this recipe with chicken instead of pork?
Absolutely! Boneless, skinless chicken breasts or thighs work beautifully with this method. For chicken breasts, pound them to an even thickness (about ¾ inch) and bake at 400°F for 18-22 minutes, or until the internal temperature reaches 165°F. Chicken thighs might need a few extra minutes. The garlic butter coating is just as delicious on chicken as it is on pork.
Pin This Recipe!
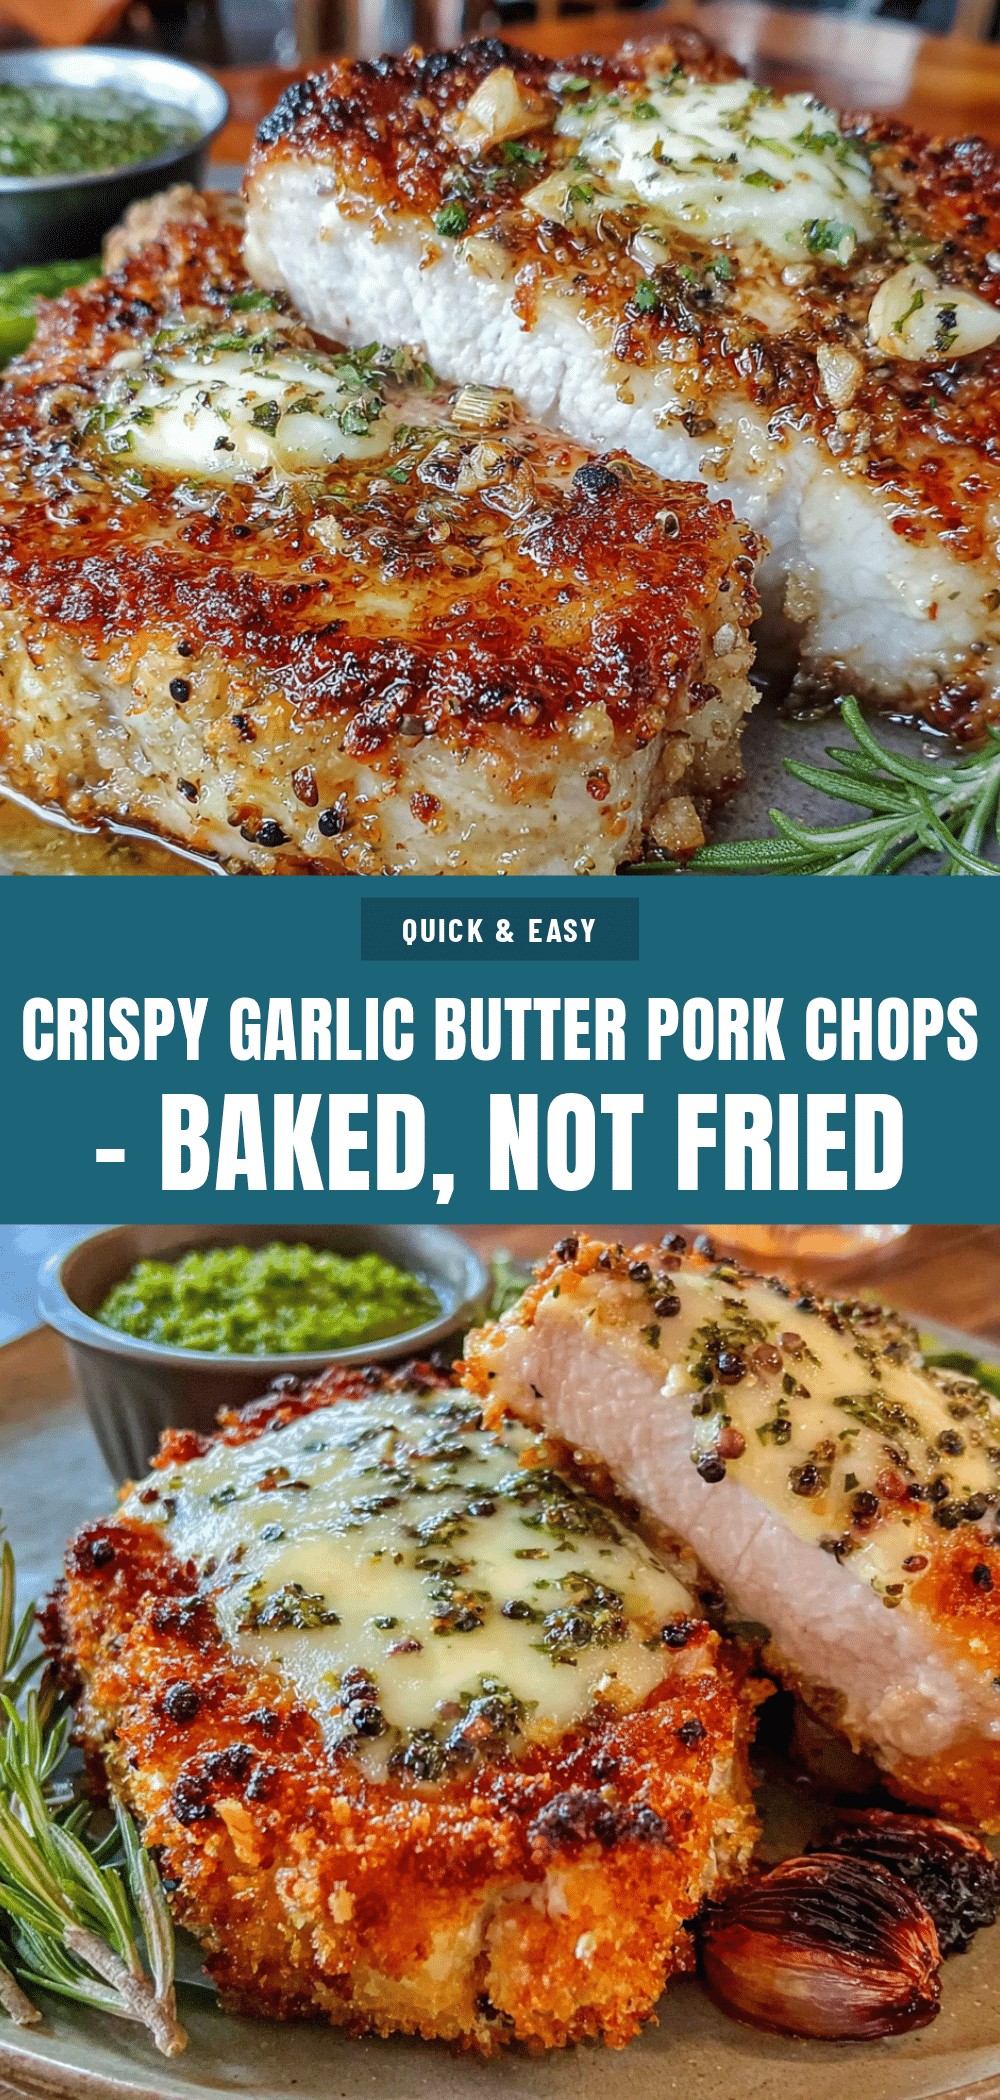
Crispy Garlic Butter Pork Chops – Baked, Not Fried (6 Easy Tips)
These crispy garlic butter pork chops are baked, not fried, delivering a golden, shatter-crisp crust with juicy, tender meat. The garlic butter seeps into every bite, making this a quick and easy weeknight dinner that tastes like a restaurant-quality meal.
- Prep Time: 15 minutes
- Cook Time: 25 minutes
- Total Time: 40 minutes
- Yield: 4 servings 1x
- Category: Main Course
- Cuisine: American
Ingredients
- 4 bone-in pork chops, about 1-inch thick
- 1 teaspoon salt
- ½ teaspoon black pepper, freshly ground
- 1 teaspoon garlic powder
- 1 teaspoon paprika
- 4 tablespoons unsalted butter, melted
- 4 cloves garlic, minced
- 1 tablespoon fresh parsley, chopped (optional)
- ½ teaspoon red pepper flakes (optional)
- 1 cup Panko breadcrumbs
- ¼ cup grated Parmesan cheese
- 1 teaspoon Italian seasoning
- ½ teaspoon onion powder
Instructions
- Preheat your oven to 400°F (200°C). Place a wire rack inside a rimmed baking sheet and set aside.
- Pat the pork chops completely dry with paper towels.
- Season both sides of the pork chops with salt, pepper, garlic powder, and paprika. Let them sit at room temperature for about 10 minutes.
- In a small bowl, combine the melted butter, minced garlic, parsley (if using), and red pepper flakes. Let it sit for about 5 minutes.
- In a shallow dish, mix the Panko breadcrumbs, Parmesan cheese, Italian seasoning, and onion powder.
- Working with one pork chop at a time, brush both sides generously with the garlic butter mixture. Use about half the butter mixture for this step.
- Dredge the buttered pork chop in the breadcrumb mixture, pressing gently so the crumbs adhere. Place the coated chop on the wire rack. Repeat with the remaining chops.
- Drizzle or brush the remaining garlic butter over the tops of the breaded chops.
- Bake for 20-25 minutes, or until the internal temperature reaches 145°F (63°C). At the 15-minute mark, check the chops—if the tops are browning too quickly, tent loosely with foil for the remaining time.
- Remove from the oven and let rest for 5 minutes before serving.
Notes
For extra crispiness, broil the chops for the last 1-2 minutes of cooking. Let the seasoned pork chops sit at room temperature for 10-15 minutes before coating for even cooking. Use a wire rack to allow air circulation and prevent soggy bottoms. If the coating browns too quickly, tent with foil. Rest the chops for 5 minutes after baking to retain juices.
Nutrition
- Serving Size: 1 pork chop
- Calories: 400
- Sugar: 1
- Sodium: 650
- Fat: 24
- Saturated Fat: 12
- Carbohydrates: 14
- Fiber: 1
- Protein: 38
Keywords: crispy garlic butter pork chops, baked pork chops, garlic butter pork chops, easy pork chop recipe, weeknight dinner, crispy pork chops


