Love this? Save it for later!
Share the inspiration with your friends
That bakery was tucked away on a rainy street corner, the kind of place where the window fogged up from the inside because the ovens were always running. I remember standing in line on a Tuesday afternoon, watching the baker slice through a pie that looked like spun gold. The crust was thin, almost translucent, and the filling was so smooth it wobbled like jelly. It wasn’t just dessert; it was a warm hug in a plate. When the “Closed” sign went up, I felt like I had lost a friend. I tried buying frozen pies, I tried making traditional baked versions, but nothing matched that light, airy mouthfeel. It was too heavy, too dense, too spiced. I kept going back to that memory, obsessed with capturing the exact balance of sweetness and spice without the heavy crust. Honestly, I thought I’d never get it right. But last month, while cleaning out my pantry, I found a box of graham crackers and a can of coconut milk that sparked an idea. I decided to go no-bake, skip the crust drama, and focus entirely on the filling. The result? It’s closer to that lost bakery pie than I ever thought possible. If you’ve ever mourned a favorite local spot, you know that feeling of trying to hold onto a flavor that’s gone. This recipe is my tribute to that lost bakery, and it’s going to be your new favorite comfort dessert.
Why You’ll Love This Recipe
This creamy no-bake pumpkin pie icebox pie isn’t just another dessert; it’s the result of years of testing and tweaking to get that perfect balance. I’ve spent countless hours in my kitchen, failing upwards until I found this exact combination of ingredients that delivers that bakery-quality texture without the hassle. Here is why this recipe stands out:
- Quick & Easy: You don’t need to turn on the oven or worry about a soggy crust. It comes together in under 20 minutes of active prep time, making it perfect for busy weeknights or last-minute dinner parties.
- Simple Ingredients: You likely already have most of these items in your pantry or fridge. No fancy grocery trips needed, just good-quality basics that let the pumpkin flavor shine.
- Perfect for Fall Entertaining: Whether it’s Thanksgiving, a Halloween party, or just a cozy Sunday night, this pie is the ultimate crowd-pleaser that looks impressive but is surprisingly simple to make.
- Unbelievably Delicious: The texture is next-level. It’s light, fluffy, and melts in your mouth, offering that soul-soothing satisfaction of traditional pumpkin pie without the heaviness.
- Unique Technique: Unlike other versions that rely on gelatin or excessive sugar, this recipe uses the natural thickening power of chilled coconut cream and cream cheese to create a rich, stable mousse that holds its shape beautifully.
This recipe is the kind that makes you close your eyes after the first bite. It’s comfort food reimagined—healthier, faster, but with the same deep, spiced warmth that defines autumn. It’s perfect for impressing guests without the stress of baking, or turning a simple meal into something memorable. Plus, since it’s no-bake, your kitchen stays cool, which is a huge win when the weather is still hanging onto summer heat.
What Ingredients You Will Need
This recipe uses simple, wholesome ingredients to deliver bold flavor and satisfying texture without the fuss. The key to success here is quality. Since there are only five main components, each one plays a critical role in the final taste and texture. I recommend using full-fat canned coconut milk for the best richness, and high-quality pumpkin puree rather than pie filling, which is often too sweet.
- Full-Fat Canned Coconut Milk: You need two cans, chilled overnight. Look for brands like Native Forest or Aroy-Jo that don’t have added gums or stabilizers. The thick cream that rises to the top is what you’ll whip into a fluffy meringue-like texture. (Use dairy-free milk if needed, but full-fat is essential for structure).
- Cream Cheese: One block (8 oz), softened to room temperature. I prefer Philadelphia brand for its consistent texture and tang. This provides the necessary body and slight tang to cut through the sweetness of the pumpkin.
- Pure Pumpkin Puree: One 15-ounce can. Make sure it is 100% pure pumpkin, not pumpkin pie mix. The mix contains sugar and spices that will throw off the balance. (Look for firm, small-curd pumpkin puree for best texture).
- Granulated Sugar: Half a cup. You can adjust this based on your sweet tooth, but I find this amount pairs perfectly with the tartness of the cream cheese. For a lower-sugar option, you can use erythritol, but it may change the texture slightly.
- Pumpkin Pie Spice: Two tablespoons. If you don’t have pre-made blend, mix cinnamon, ginger, nutmeg, and cloves. The spice level should be warm and aromatic, not overpowering. (In summer, you can swap this for cardamom and ginger for a different twist).
- Vanilla Extract: One teaspoon of pure vanilla. This adds depth and rounds out the flavors. Avoid imitation vanilla, as it can taste chemical and harsh.
- Graham Cracker Crumbs: One and a half cups. For the crust, you can use store-bought crumbs or crush whole graham crackers yourself. I like to mix in a tablespoon of brown sugar for a deeper caramel note.
- Unsalted Butter: Two tablespoons, melted. This helps bind the crust and adds a rich, nutty flavor that complements the graham crackers.
For substitutions, if you are gluten-free, use gluten-free graham crackers or almond flour for the crust. For a vegan version, swap the cream cheese for a high-quality vegan cream cheese alternative and ensure your coconut milk is free of additives. The beauty of this recipe is its flexibility, allowing you to adapt it to your dietary needs without sacrificing taste.
Equipment Needed
You don’t need a lot of fancy gadgets to make this pie, but having the right tools makes the process much smoother. A large mixing bowl is essential, preferably one that is chilled if possible, as keeping the coconut cream cold helps it whip up better. An electric hand mixer or a stand mixer with a whisk attachment is highly recommended. Trying to whip the coconut cream by hand is possible, but it takes a lot of elbow grease and time. A rubber spatula is your best friend for folding in the ingredients gently without deflating the mixture. For the crust, you’ll need a 9-inch pie dish or a springform pan. I prefer a springform pan because it makes removing the pie slices so much easier, and it gives a cleaner presentation. If you don’t have a springform pan, a standard pie dish works fine, but be careful when slicing. Also, make sure you have a fine-mesh strainer or cheesecloth if you want to strain the coconut milk to remove any potential graininess, though this step is optional for most brands. A measuring cup set and a whisk for the crust are all you really need. Keeping your equipment clean and organized will help you work efficiently, especially when you’re in the middle of whipping the cream.
Preparation Method
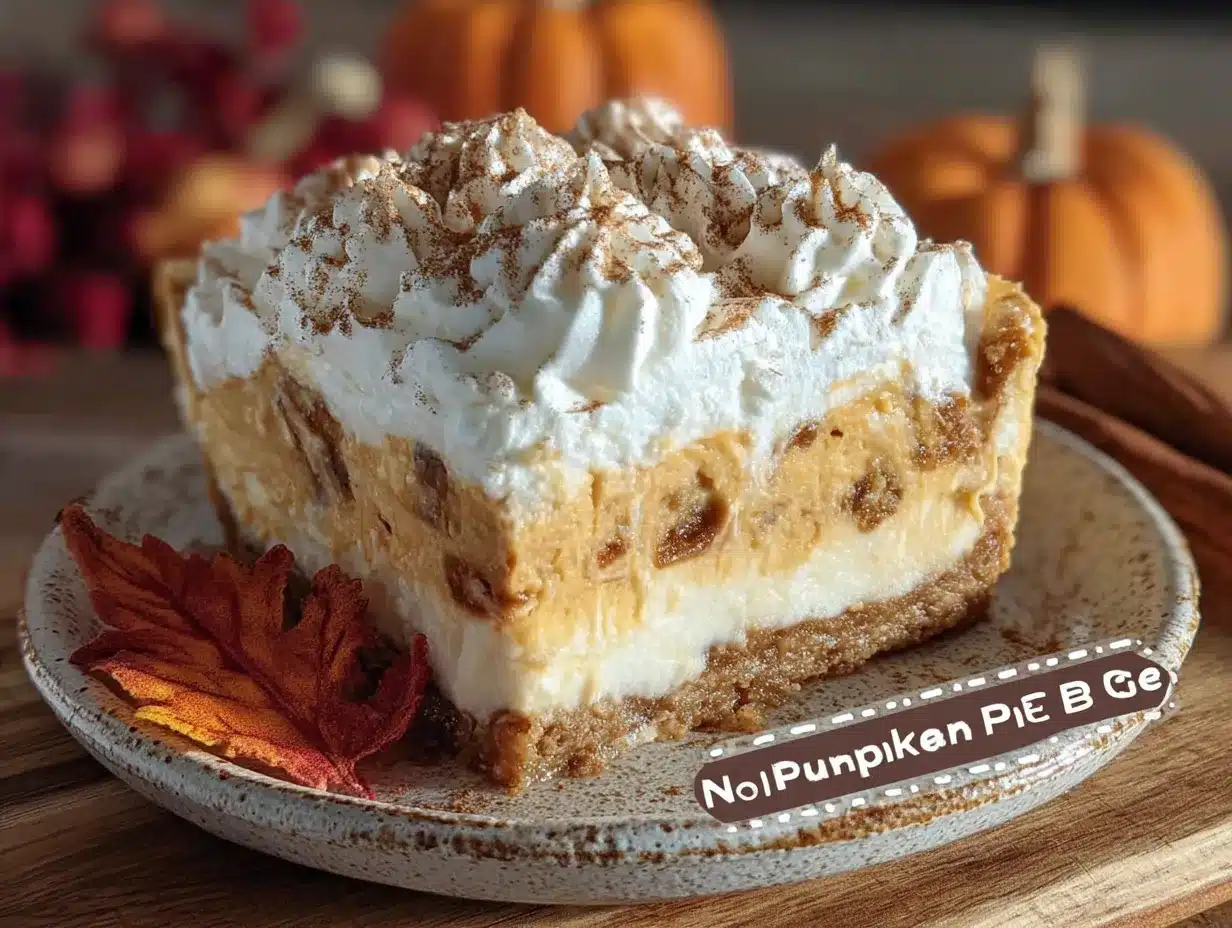
- Prepare the Crust: Start by preheating your oven to 350°F (175°C). In a medium bowl, combine the graham cracker crumbs, melted butter, and brown sugar. Mix until the crumbs resemble wet sand. Press this mixture firmly into the bottom and slightly up the sides of your pie dish or springform pan. Use the bottom of a measuring cup to pack it down evenly. Bake for 8-10 minutes until it smells fragrant and looks set. Let it cool completely on a wire rack. (This step takes about 15 minutes including cooling).
- Chill the Coconut Cream: While the crust cools, take your chilled cans of coconut milk and scoop out the thick solid cream that has risen to the top. Discard the watery liquid or save it for smoothies. Place the solid cream in a large, chilled mixing bowl. (This is crucial for the texture).
- Whip the Coconut Cream: Using an electric mixer on high speed, whip the coconut cream for 3-5 minutes until it becomes light, fluffy, and holds stiff peaks. It should look like whipped cream. Be careful not to over-whip, or it may start to separate. Set this aside.
- Mix the Pumpkin Base: In a separate large bowl, beat the softened cream cheese until smooth and creamy, about 2 minutes. Add the sugar, pumpkin puree, pumpkin pie spice, and vanilla extract. Mix on medium speed until fully combined and no lumps remain. The mixture should be smooth and uniform in color.
- Fold Together: Gently fold the whipped coconut cream into the pumpkin mixture in two additions. Use a rubber spatula and fold from the bottom up, rotating the bowl as you go. Be gentle to keep the air in the coconut cream. The mixture should be light, airy, and evenly colored. (This step takes about 5 minutes).
- Assemble the Pie: Pour the pumpkin filling into the cooled crust. Smooth the top with a spatula until it is even. Cover the pie with plastic wrap or foil and refrigerate for at least 4 hours, or ideally overnight. (Chilling time is essential for the pie to set properly).
- Serve: Before serving, you can add whipped cream, toasted pecans, or a sprinkle of cinnamon on top. Slice with a sharp knife dipped in hot water for clean cuts. Enjoy!
Cooking Tips & Techniques
One of the biggest mistakes people make with no-bake pies is using warm ingredients. Ensure your cream cheese is at room temperature before beating it, but keep the coconut cream cold. If the coconut cream gets too warm while whipping, it won’t hold its structure. I once tried this on a hot summer day and ended up with a soupy mess, so always keep your bowl in the fridge until the last minute. Another tip is to taste the filling before pouring it into the crust. If you prefer a sweeter pie, add a little more sugar. If you like it tangier, add a splash of lemon juice. Adjusting the spices is also key; pumpkin pie spice can vary in strength, so start with two tablespoons and add more if needed. When folding the coconut cream, use a light hand. Over-mixing will deflate the air you worked so hard to whip in, resulting in a dense pie. Finally, patience is key. Don’t try to slice the pie immediately after taking it out of the fridge. Let it sit for 10 minutes to soften slightly, making it easier to cut. These small adjustments can make a big difference in the final result.
Variations & Adaptations
This recipe is a fantastic base for experimentation. For a chocolate twist, add two tablespoons of cocoa powder to the pumpkin mixture. For a maple flavor, substitute half the sugar with pure maple syrup, which pairs beautifully with the pumpkin. If you want to add crunch, fold in chopped pecans or walnuts before refrigerating. For a gluten-free version, use gluten-free graham crackers or a nut-based crust. You can also make it dairy-free by using coconut cream cheese instead of dairy cream cheese. I once tried adding a layer of salted caramel sauce in the middle, and it was absolutely divine. Another variation is to use sweet potato puree instead of pumpkin for a slightly earthier flavor. These adaptations allow you to keep the recipe fresh and exciting, depending on your mood or the ingredients you have on hand.
Serving & Storage Suggestions
This pie is best served chilled, straight from the refrigerator. It pairs wonderfully with a cup of hot coffee or tea, or a glass of cold milk. For presentation, top with a dollop of whipped cream, a dusting of cinnamon, or a few toasted pumpkin seeds. Store leftovers in the refrigerator, covered tightly with plastic wrap, for up to 5 days. The flavors actually deepen over the first couple of days, making it even better on day three. Do not freeze this pie, as the texture of the coconut cream and cream cheese may change upon thawing. If you must freeze, freeze the crust and filling separately, but it’s not recommended for the best texture. When reheating, which you probably won’t want to do, just let it come to room temperature for 15 minutes.
Nutritional Information & Benefits
Each slice of this creamy no-bake pumpkin pie icebox pie contains approximately 350 calories, with 20g of fat, 40g of carbohydrates, and 5g of protein. It is a good source of vitamin A from the pumpkin and provides some calcium from the dairy. While it is a dessert, the use of pure pumpkin adds nutritional value compared to sugary pie fillings. It is naturally gluten-free if you use GF graham crackers, and can be made vegan. For those watching their sugar intake, you can reduce the sugar content by half without significantly affecting the taste. This recipe allows you to enjoy a rich, comforting dessert without feeling overly heavy, thanks to the light, airy texture.
Conclusion
This creamy no-bake pumpkin pie icebox pie is a testament to the power of simple ingredients and patience. It captures the essence of that lost bakery pie, offering a light, flavorful alternative to traditional baked pies. I hope you try this recipe and find it to be a new favorite in your home. Feel free to customize it with your favorite toppings or variations. I’d love to hear how it turns out for you, so please leave a comment below and share your experience. Happy baking, or should I say, happy no-baking!
Frequently Asked Questions
Can I use fresh pumpkin instead of canned?
Yes, you can use fresh pumpkin, but you need to roast it, puree it, and ensure it is completely dry and thick. Canned puree is more consistent and less watery, which is key for a no-bake pie. If using fresh, strain the puree through cheesecloth to remove excess moisture.
Why did my coconut cream not whip?
Coconut cream must be very cold to whip properly. Ensure you used full-fat coconut milk and chilled the cans overnight. If the kitchen is warm, chill your mixing bowl and beaters as well. Low-fat coconut milk will not whip.
Can I make this pie ahead of time?
Absolutely. This pie is even better the next day. You can make it up to 24 hours in advance, which allows the flavors to meld and the pie to set firmly.
Is there a substitute for graham crackers?
You can use vanilla wafers, ginger snaps, or a nut crust like almond flour mixed with butter. Each will give a slightly different flavor profile, but all will work well.
How long does this pie last in the fridge?
It lasts for up to 5 days in the refrigerator when covered tightly. However, it is best enjoyed within the first 3 days for optimal texture and flavor.
Pin This Recipe!
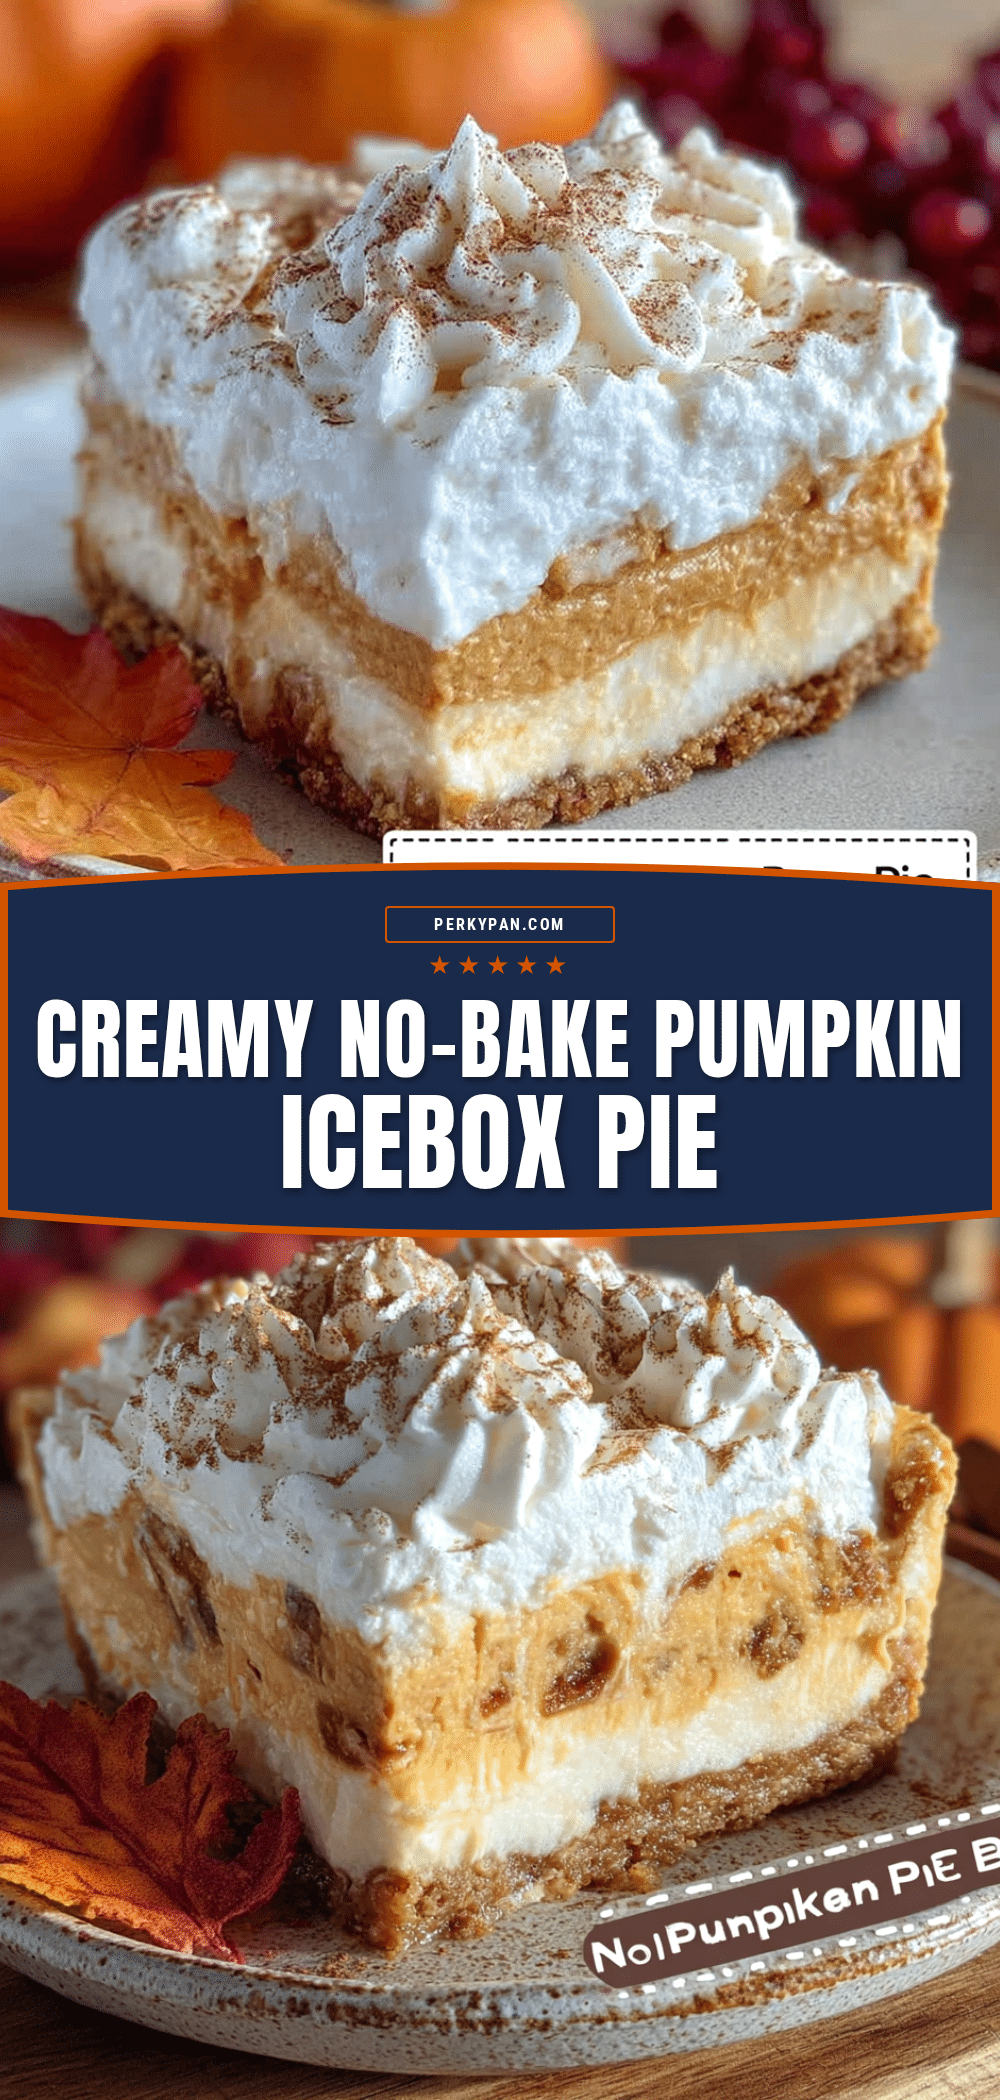
Creamy No-Bake Pumpkin Pie Icebox Pie: 5-Ingredient Easy Dessert

A light, airy, and creamy no-bake pumpkin pie that captures the flavor of a lost bakery favorite without the heavy crust or baking hassle. It uses chilled coconut cream and cream cheese for a rich, stable mousse texture.
- Prep Time: 20 minutes
- Cook Time: 10 minutes
- Total Time: 4 hours 30 minutes
- Yield: 8 servings 1x
- Category: Dessert
- Cuisine: American
Ingredients
- 2 cans (13.5 oz each) full-fat canned coconut milk, chilled overnight
- 1 block (8 oz) cream cheese, softened to room temperature
- 1 can (15 oz) pure pumpkin puree
- 1/2 cup granulated sugar
- 2 tablespoons pumpkin pie spice
- 1 teaspoon pure vanilla extract
- 1.5 cups graham cracker crumbs
- 2 tablespoons unsalted butter, melted
- 1 tablespoon brown sugar (optional, for crust)
Instructions
- Preheat oven to 350°F (175°C). In a medium bowl, combine graham cracker crumbs, melted butter, and brown sugar. Mix until resembling wet sand.
- Press the crumb mixture firmly into the bottom and slightly up the sides of a 9-inch pie dish or springform pan. Bake for 8-10 minutes until fragrant and set. Let cool completely on a wire rack.
- While the crust cools, scoop the thick solid cream from the chilled coconut milk cans into a large, chilled mixing bowl. Discard the watery liquid.
- Using an electric mixer on high speed, whip the coconut cream for 3-5 minutes until light, fluffy, and holding stiff peaks. Set aside.
- In a separate large bowl, beat the softened cream cheese until smooth. Add sugar, pumpkin puree, pumpkin pie spice, and vanilla extract. Mix on medium speed until fully combined and smooth.
- Gently fold the whipped coconut cream into the pumpkin mixture in two additions using a rubber spatula, folding from the bottom up to maintain airiness.
- Pour the filling into the cooled crust and smooth the top. Cover with plastic wrap or foil and refrigerate for at least 4 hours, or ideally overnight, until set.
- Serve chilled, optionally topped with whipped cream, toasted pecans, or a sprinkle of cinnamon.
Notes
Ensure coconut milk is full-fat and chilled overnight for the cream to separate properly. Keep the coconut cream cold while whipping to ensure it holds stiff peaks. Do not freeze the finished pie as the texture may change upon thawing. For a vegan version, use vegan cream cheese and ensure coconut milk has no additives.
Nutrition
- Serving Size: 1 slice
- Calories: 350
- Sugar: 24
- Sodium: 200
- Fat: 20
- Saturated Fat: 14
- Carbohydrates: 40
- Fiber: 2
- Protein: 5
Keywords: no-bake pumpkin pie, icebox pie, coconut cream pie, fall dessert, easy pumpkin dessert, gluten-free dessert option, vegan dessert option


