Love this? Save it for later!
Share the inspiration with your friends
Last October, I was killing time in a dusty little antique shop in Beacon, New York, waiting out a sudden downpour. The place smelled like old paper and furniture polish, and I was just poking around, not looking for anything in particular. That’s when the shopkeeper—a woman named Ruth who looked like she’d been running that store since the 1970s—started talking about bread. Not the vintage linens or the milk glass I was holding, but bread. She told me she’d been baking Irish soda bread every Saturday morning for forty-two years, and that her secret was currants, not raisins, and a heavy hand with the buttermilk. I wasn’t expecting baking advice from an antique shop owner, but there I was, standing next to a rack of old postcards, listening to her describe exactly how to make the coziest Irish soda bread I’d ever heard of. I jotted the basics on a receipt from my pocket, and honestly, I’ve been making it ever since.
The funny thing is, I’d tried Irish soda bread before. Dry, crumbly, sort of forgettable. But Ruth’s version was different—tender, a little tangy from the buttermilk, and studded with these soft, winey currants that made every bite interesting. I went home that afternoon, preheated my oven, and gave it a shot. The first loaf came out lopsided (I forgot to score the top deep enough), but the flavor was there. That warm, cozy, butter-and-buttermilk thing that makes you want to sit down with a cup of tea and not move for a while.
This isn’t a fussy bread. You don’t need a stand mixer, or a proofing basket, or any of that. It’s the kind of recipe you can decide to make at 4 PM and have on the table by 5. The currants plump up as they bake, getting all soft and jammy, and the crust gets this beautiful golden-brown crackle. Maybe you’ve been there—standing in your kitchen, wanting something homemade but not wanting to spend all day doing it. That’s exactly when this bread comes in. It’s been my go-to for fall afternoons, St. Patrick’s Day mornings, and honestly, any Tuesday that needs a little warming up.
Why You’ll Love This Recipe
I’ve tested this recipe at least a dozen times to get it just right. Too much buttermilk and the dough turns into a sticky mess. Not enough currants and you feel cheated. But this version? It’s the Goldilocks of soda bread—everything in balance.
- Quick & Easy: From mixing bowl to oven in under 15 minutes. No yeast, no rising, no waiting around. It’s practically instant gratification.
- Simple Ingredients: You probably have flour, butter, sugar, and salt in your kitchen right now. The only things you might need to grab are buttermilk and currants—both easy to find at any grocery store.
- Perfect for Cozy Occasions: This bread was made for soup season, chilly mornings, and afternoon tea. It’s also a staple on my St. Patrick’s Day table, but honestly, it works any time you want the house to smell amazing.
- Crowd-Pleaser: I’ve brought this to potlucks and brunches, and it disappears every time. Kids love the sweet currants, adults love the tender crumb—nobody’s left out.
- Unbelievably Delicious: The contrast between the crisp, buttery crust and the soft, tangy interior is pure comfort. And those plump currants? They’re like little bursts of sweetness in every bite.
What makes this recipe different from the rest is the technique—I use a light hand when mixing, and I let the dough rest for just 10 minutes before baking. That little step makes the bread tender instead of tough. Plus, I’ve dialed in the perfect ratio of currants to dough, so you get fruit in every slice without the bread falling apart. This isn’t just another soda bread recipe—it’s the one you’ll come back to again and again.
What Ingredients You Will Need
This recipe uses simple, wholesome ingredients to deliver that signature Irish soda bread flavor—tangy, slightly sweet, and incredibly satisfying. Most of these are pantry staples, which makes this the perfect last-minute bake.
- All-purpose flour – 3 cups (375g). I use King Arthur Flour for consistent results. Don’t substitute bread flour here—it’ll make the bread too dense.
- Granulated sugar – 3 tablespoons (36g). Just enough to balance the tang of the buttermilk. You can reduce it to 2 tablespoons if you prefer a less sweet bread.
- Baking soda – 1 teaspoon. This is your leavening agent—no yeast needed. Make sure it’s fresh, or your bread won’t rise properly.
- Baking powder – 1 teaspoon. I add this for extra lift, which gives a lighter crumb. Traditionalists might skip it, but I’ve found it makes a noticeable difference.
- Salt – 1 teaspoon. Use fine sea salt or table salt. Kosher salt works too, but you might need to increase it slightly.
- Unsalted butter – 4 tablespoons (56g), cold and cubed. The butter gets cut into the flour, creating little pockets of tenderness. I use Kerrygold for the best flavor, but any good-quality butter works.
- Dried currants – 1 cup (150g). These are smaller and more tart than raisins, with a lovely concentrated sweetness. I buy mine from Bob’s Red Mill, but any brand works. If you can’t find currants, you can substitute raisins or chopped dried apricots.
- Buttermilk – 1 ¼ cups (300ml), cold. This is non-negotiable—the acidity reacts with the baking soda to give the bread its rise and signature tang. If you don’t have buttermilk, you can make a quick substitute by adding 1 tablespoon of lemon juice or white vinegar to 1 ¼ cups of milk and letting it sit for 5 minutes.
- Egg – 1 large, lightly beaten. This adds richness and helps bind the dough. I’ve tested it without the egg, and the bread is noticeably drier, so I recommend keeping it.
For the topping, you’ll need an extra tablespoon of butter, melted, to brush over the top before baking. It gives the crust a beautiful golden sheen and a little extra richness.
Equipment Needed
You don’t need much for this recipe, which is part of its charm. Here’s what you’ll want on hand:
- Large mixing bowl – Any big bowl works. I use a ceramic one because it’s heavy and doesn’t slide around.
- Pastry cutter or two forks – For cutting the butter into the flour. A pastry cutter is faster, but two forks work just fine if that’s what you have.
- Wooden spoon or spatula – For mixing the dough. Don’t use an electric mixer—you want to keep a light hand.
- Bench scraper – Optional but helpful for shaping the dough and cleaning up flour mess.
- Cast iron skillet or baking sheet – I prefer a 10-inch cast iron skillet because it gives the bread a gorgeous crust. A regular baking sheet lined with parchment works perfectly too.
- Sharp knife – For scoring the top. A serrated knife works best, but any sharp knife will do.
- Pastry brush – For brushing the melted butter on top. If you don’t have one, just use a spoon and spread it gently.
- Cooling rack – Essential for letting the bread cool evenly. If you don’t have one, you can prop the bread up on its edge using two chopsticks or forks.
I picked up my cast iron skillet at a thrift store for eight dollars, and it’s one of my best baking tools. If you’re just starting out, a baking sheet is totally fine—don’t feel like you need fancy equipment.
Preparation Method
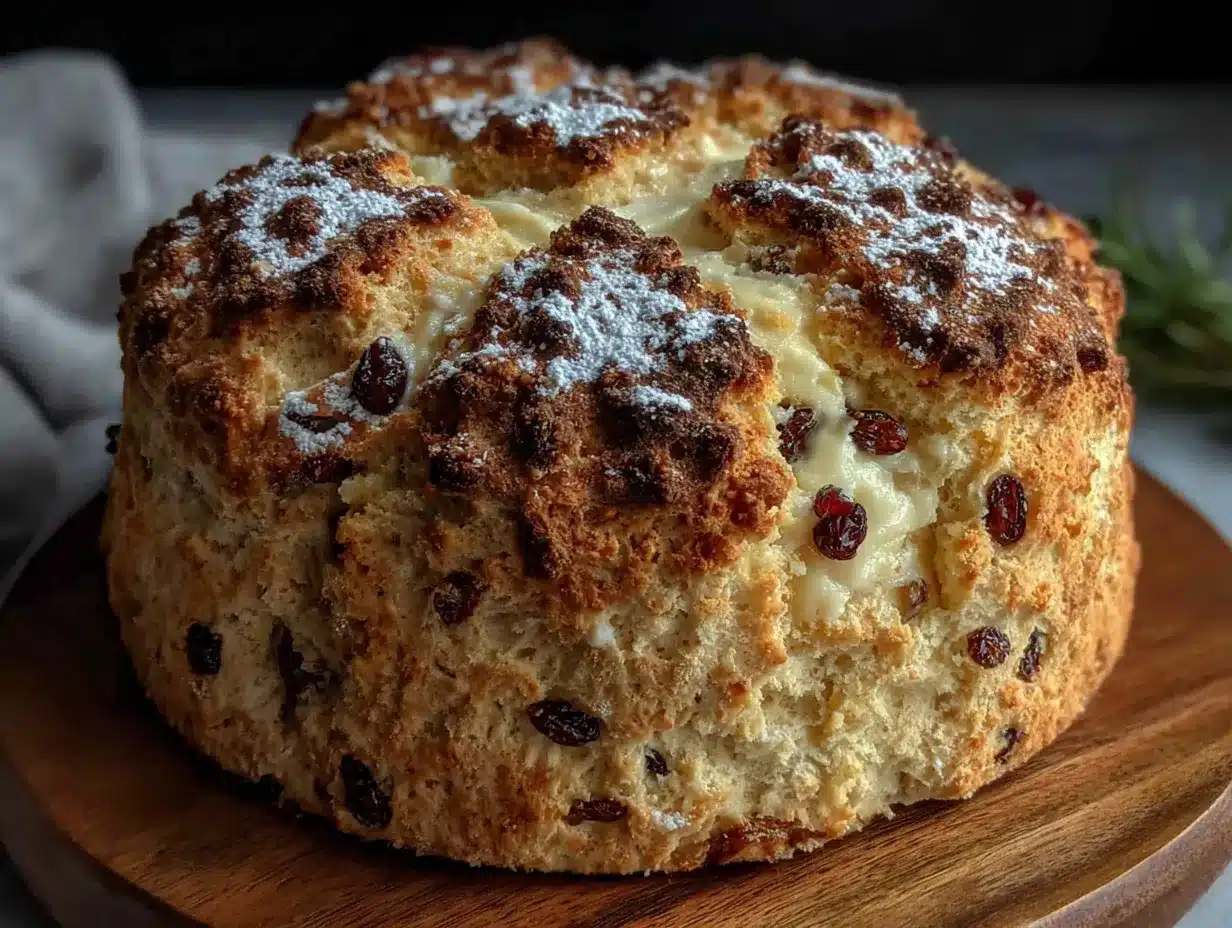
Let’s get baking! This comes together fast, so read through the steps once before you start.
- Preheat your oven to 400°F (200°C). Place your cast iron skillet or baking sheet inside to heat up while you make the dough. A hot pan helps the bottom crust get nice and crispy.
- Whisk the dry ingredients together. In your large mixing bowl, combine 3 cups flour, 3 tablespoons sugar, 1 teaspoon baking soda, 1 teaspoon baking powder, and 1 teaspoon salt. Give it a good whisk to distribute everything evenly.
- Cut in the butter. Add the cold, cubed butter to the flour mixture. Use your pastry cutter or two forks to cut it in until the mixture looks like coarse crumbs with some pea-sized butter pieces remaining. Don’t overwork it—you want those little butter pockets to create flaky layers. This should take about 2 minutes.
- Stir in the currants. Add the dried currants and toss them through the flour mixture until they’re evenly coated. This helps prevent them from sinking to the bottom of the bread.
- Mix the wet ingredients. In a separate small bowl or measuring cup, whisk together the cold buttermilk and the beaten egg.
- Combine wet and dry. Make a well in the center of the flour mixture and pour in the buttermilk mixture. Use a wooden spoon to stir until just combined. The dough will look shaggy and a little sticky—that’s exactly what you want. Don’t overmix, or the bread will be tough. Stop as soon as you don’t see any more dry flour.
- Turn out and shape. Lightly flour your work surface. Turn the dough out and gently bring it together with your hands. Pat it into a round disc about 7 inches across and 1 ½ inches thick. Don’t knead it—just shape it. If the dough is too sticky to handle, dust your hands with a little flour.
- Score the top. Use a sharp knife to cut a deep cross into the top of the dough, about ½ inch deep. This isn’t just for looks—it helps the bread bake evenly and allows the heat to reach the center. The cross also has a traditional meaning in Irish baking: letting the devil out and blessing the bread.
- Bake. Carefully remove the hot skillet or baking sheet from the oven. Place the dough in the center. Brush the top with melted butter. Bake for 35-40 minutes, until the bread is golden brown and sounds hollow when you tap the bottom. If the top is browning too quickly after 25 minutes, tent it loosely with foil.
- Cool. Transfer the bread to a cooling rack. Let it cool for at least 20 minutes before slicing. I know it’s hard to wait, but slicing too early will make the crumb gummy. Trust me on this—I learned the hard way.
Your kitchen will smell incredible—like butter, toast, and something a little bit magical.
Cooking Tips & Techniques
After making this bread more times than I can count, I’ve picked up a few tricks that make a real difference.
Keep everything cold. Cold butter and cold buttermilk are key. If the butter gets too warm, it melts into the flour instead of creating those lovely flaky pockets. I sometimes pop my mixing bowl in the fridge for 5 minutes before I start if my kitchen is warm.
Don’t overmix. This is the number one mistake I see with soda bread. Mix until the dough just comes together, then stop. Overmixing develops the gluten and makes the bread tough. Shaggy dough is good dough.
Score deeply enough. That cross on top needs to be at least ½ inch deep. I once made a shallow score and the bread cracked in a weird spot instead of along the cross. It still tasted fine, but it looked like a science experiment gone wrong.
Check for doneness. The tap test is reliable—the bread should sound hollow when you tap the bottom. If you’re unsure, you can also insert a skewer into the center; it should come out clean or with just a few moist crumbs.
Let it rest before slicing. I know the wait is torture, but it’s worth it. The bread continues to set as it cools, and slicing too early will give you a gummy texture. Twenty minutes is the minimum—thirty is better.
Toast leftovers. Day-old soda bread is fantastic toasted. The crumb gets a little firmer, and the currants caramelize slightly in the toaster. Slather it with butter and you’ve got breakfast.
Variations & Adaptations
This recipe is super flexible. Here are a few ways I’ve changed it up over the years:
- Savory Soda Bread: Omit the sugar and currants. Add 1 cup of shredded sharp cheddar cheese, 2 tablespoons of chopped fresh rosemary, and a pinch of black pepper. This version is incredible with soups and stews.
- Whole Wheat Version: Substitute 1 cup of the all-purpose flour with whole wheat flour. The bread will be denser and nuttier, but still delicious. You might need to add an extra tablespoon of buttermilk since whole wheat flour absorbs more liquid.
- Gluten-Free Adaptation: Use a good quality 1:1 gluten-free flour blend (I like King Arthur’s). Add 1 teaspoon of xanthan gum if your blend doesn’t already include it. The texture will be a little more crumbly, but the flavor is still spot on.
- Spiced Currant Soda Bread: Add 1 teaspoon of cinnamon and ½ teaspoon of nutmeg to the dry ingredients. It gives the bread a warm, holiday-ish vibe that’s perfect for Christmas morning or a cozy fall afternoon.
- Dairy-Free Version: Use a plant-based butter (like Miyoko’s) and substitute the buttermilk with 1 ¼ cups of unsweetened almond milk mixed with 1 tablespoon of apple cider vinegar. Let it sit for 5 minutes to curdle before using.
I’ve tried the cheddar-rosemary version for a St. Patrick’s Day party, and it was a huge hit. Honestly, I might like it even more than the original sometimes.
Serving & Storage Suggestions
This bread is best served warm, with a generous pat of salted butter melting into every slice. It’s perfect alongside a bowl of hearty soup—think potato leek, tomato basil, or a rich beef stew. For breakfast, try it with a smear of jam or honey and a cup of strong tea.
To store, wrap the cooled bread tightly in plastic wrap or aluminum foil. It will keep at room temperature for up to 3 days. Don’t refrigerate it—the fridge dries out the bread and makes it stale faster.
For longer storage, you can freeze the bread for up to 3 months. Wrap it well in plastic wrap, then a layer of foil, and pop it in the freezer. To thaw, leave it at room temperature for a few hours, then warm it in a 300°F oven for 10 minutes to revive the crust.
I actually think this bread gets better on day two. The flavors meld together, and the texture firms up just enough to make it perfect for toasting. If you have leftovers, slice them and store them in a paper bag—the bread stays fresher that way.
Nutritional Information & Benefits
Each slice (based on 8 slices per loaf) contains approximately:
| Nutrient | Amount |
|---|---|
| Calories | 285 |
| Total Fat | 8g |
| Saturated Fat | 5g |
| Cholesterol | 40mg |
| Sodium | 420mg |
| Total Carbohydrates | 47g |
| Dietary Fiber | 2g |
| Sugars | 14g |
| Protein | 7g |
Currants are a good source of antioxidants and iron, while buttermilk provides calcium and probiotics. This bread isn’t health food, but it’s made with real ingredients—no preservatives, no weird additives. I love that I know exactly what’s in it.
If you’re watching your sugar intake, you can reduce the sugar to 2 tablespoons without affecting the texture much. For a lower-sodium version, use unsalted butter and reduce the salt to ½ teaspoon.
Conclusion
This cozy Irish soda bread with plump currants has become a staple in my kitchen for a reason. It’s simple, forgiving, and deeply satisfying. That first slice, still warm, with butter melting into every nook and cranny—it’s the kind of moment that makes you slow down and appreciate the little things.
I hope you give it a try, and I hope you make it your own. Add more currants if you like. Leave out the sugar for a savory version. Score it with a different pattern. The beauty of this bread is that it’s hard to mess up, and even your “mistakes” will taste wonderful.
I’d love to hear how yours turns out. Did you try a variation? Did you serve it with something amazing? Drop a comment below and let me know—I read every single one. And if you share a photo on Pinterest, tag me so I can see your beautiful loaf. Happy baking, friends!
Frequently Asked Questions
Can I use raisins instead of currants?
Absolutely. Raisins are larger and sweeter than currants, but they work just fine. If you use raisins, consider chopping them roughly so they distribute more evenly through the dough.
Why did my soda bread turn out dry?
Dry soda bread is usually a result of overmixing or overbaking. Mix the dough just until it comes together, and check for doneness at the 35-minute mark. Every oven runs a little differently, so keep an eye on it.
Can I make this recipe vegan?
Yes! Use a plant-based butter and substitute the buttermilk with 1 ¼ cups of unsweetened almond milk mixed with 1 tablespoon of apple cider vinegar. For the egg, you can use a flax egg (1 tablespoon ground flaxseed mixed with 3 tablespoons water, let sit for 5 minutes).
How do I know when the bread is fully baked?
The best test is the hollow sound test—tap the bottom of the bread, and it should sound hollow. You can also insert a skewer into the center; it should come out clean or with just a few moist crumbs.
Can I freeze the dough instead of the baked bread?
I don’t recommend it. The chemical reaction between the buttermilk and baking soda starts as soon as you mix them, so the dough needs to be baked right away. Freeze the baked bread instead—it thaws beautifully.
Pin This Recipe!
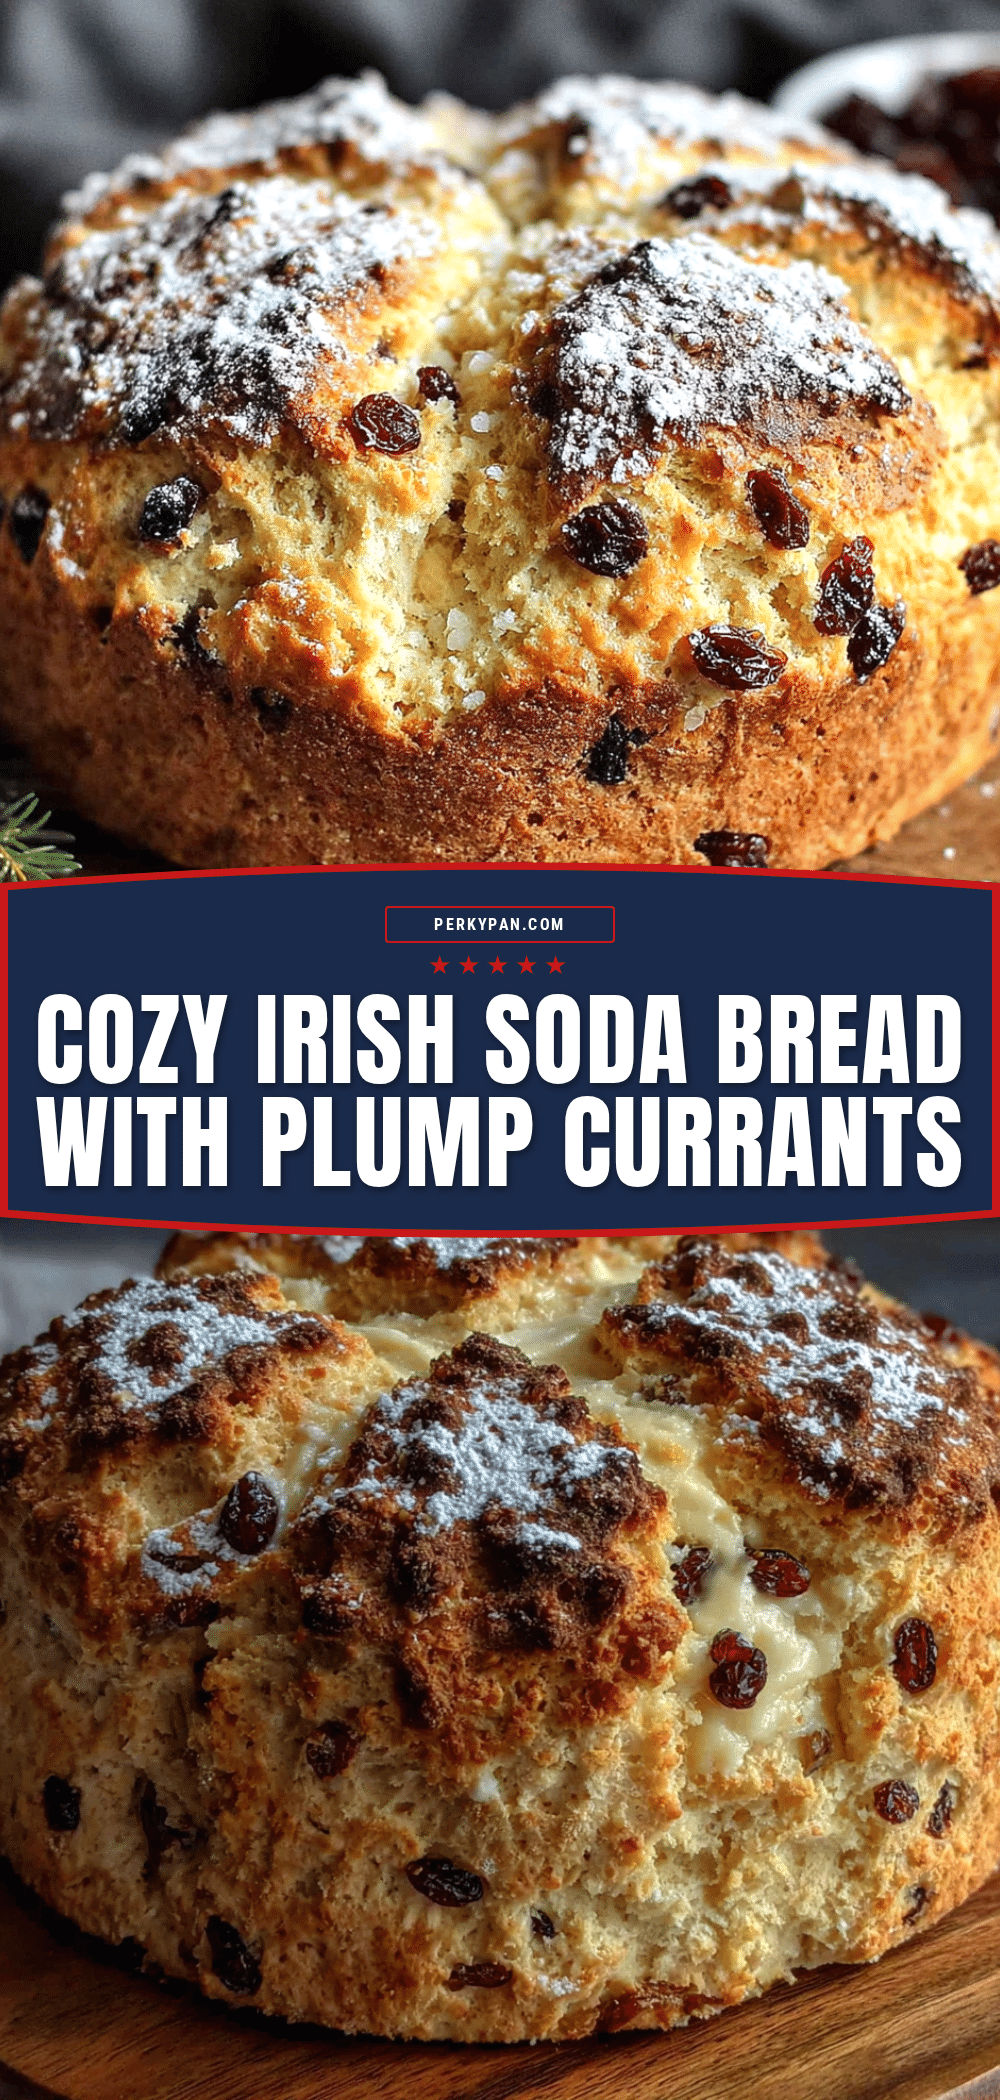
Cozy Irish Soda Bread with Plump Currants
This tender, tangy Irish soda bread is studded with soft, winey currants and has a crisp, buttery crust. It’s quick to make with no yeast or rising time, perfect for cozy fall afternoons, St. Patrick’s Day, or any day you want the house to smell amazing.
- Prep Time: 15 minutes
- Cook Time: 35-40 minutes
- Total Time: 55-60 minutes
- Yield: 8 servings 1x
- Category: Bread
- Cuisine: Irish
Ingredients
- 3 cups (375g) all-purpose flour
- 3 tablespoons (36g) granulated sugar
- 1 teaspoon baking soda
- 1 teaspoon baking powder
- 1 teaspoon fine sea salt
- 4 tablespoons (56g) unsalted butter, cold and cubed
- 1 cup (150g) dried currants
- 1 ¼ cups (300ml) cold buttermilk
- 1 large egg, lightly beaten
- 1 tablespoon unsalted butter, melted (for topping)
Instructions
- Preheat your oven to 400°F (200°C). Place a cast iron skillet or baking sheet inside to heat up.
- In a large mixing bowl, whisk together flour, sugar, baking soda, baking powder, and salt.
- Cut in the cold butter using a pastry cutter or two forks until the mixture resembles coarse crumbs with some pea-sized butter pieces remaining.
- Stir in the dried currants until evenly coated.
- In a separate bowl, whisk together cold buttermilk and beaten egg.
- Make a well in the center of the flour mixture and pour in the buttermilk mixture. Stir with a wooden spoon until just combined; the dough will be shaggy and slightly sticky.
- Lightly flour your work surface. Turn the dough out and gently shape it into a round disc about 7 inches across and 1 ½ inches thick. Do not knead.
- Use a sharp knife to cut a deep cross into the top of the dough, about ½ inch deep.
- Carefully remove the hot skillet or baking sheet from the oven. Place the dough in the center. Brush the top with melted butter.
- Bake for 35-40 minutes, until golden brown and the bread sounds hollow when tapped on the bottom. If the top browns too quickly after 25 minutes, tent loosely with foil.
- Transfer to a cooling rack and let cool for at least 20 minutes before slicing.
Notes
Keep butter and buttermilk cold for best texture. Do not overmix the dough. Score the cross at least ½ inch deep. Let the bread rest for 20-30 minutes before slicing to avoid a gummy texture. Day-old bread is excellent toasted.
Nutrition
- Serving Size: 1 slice
- Calories: 285
- Sugar: 14
- Sodium: 420
- Fat: 8
- Saturated Fat: 5
- Carbohydrates: 47
- Fiber: 2
- Protein: 7
Keywords: Irish soda bread, currant soda bread, quick bread, no yeast bread, St. Patrick's Day bread, buttermilk bread, easy bread recipe


