Love this? Save it for later!
Share the inspiration with your friends
My friend Rachel asked why I couldn’t just bake the stuffing in a muffin tin instead of wrestling with a giant casserole dish that never fit right in her tiny oven. I started to explain why that wouldn’t work—something about moisture distribution and the sacred tradition of the communal stuffing dish. Then I stopped. Honestly, I had no good reason other than “that’s how it’s always been done,” which is maybe the worst reason to do anything in the kitchen.
So I tried it. I scooped my standard stuffing mixture into a greased muffin tin, pressed it down gently, and baked it while Rachel watched with that “I told you so” grin already forming. Twenty-five minutes later, we pulled out the most beautiful little golden domes I’d ever seen. Each one had a perfectly crispy edge and a soft, tender center. The edges were caramelized in a way that never happens in a big dish. I stood there holding the muffin tin, genuinely humbled by how much better they turned out.
That was three Thanksgivings ago, and I haven’t made stuffing any other way since. These cozy individual stuffing muffins for a crowd have saved me from so much dinner stress. No more fighting for the corner piece with the most crunch. No more soggy middle sections. Everyone gets their own perfect little portion, and honestly, they look so cute on the plate that guests always smile when you set them down. Maybe you’ve been there—standing over a hot stove, realizing you forgot to account for the extra person who showed up. These muffins solve that problem too. Just pop a few extra in the pan.
Why You’ll Love This Recipe
These stuffing muffins aren’t just a gimmick. They solve real problems that anyone who’s ever hosted a big meal understands. I’ve tested this recipe about eight times now, tweaking the liquid ratio and baking time until every single batch came out consistently perfect. Here is why these little guys have become my go-to side dish for every holiday gathering:
- Perfectly Portioned : Each muffin is a built-in serving. No scooping, no passing the dish, no awkward “how much do I take?” moments. Everyone gets their own.
- Crispy on All Sides : The muffin tin exposes more surface area to heat, which means every muffin develops that coveted golden-brown crust all the way around. The big dish only gives you the top and maybe the edges.
- Make-Ahead Friendly : You can assemble these a day in advance and bake them right before serving. They also reheat beautifully, which is a lifesaver when you’re juggling oven space.
- Customizable for Dietary Needs : Swap in gluten-free bread, use vegetable broth, or add extra veggies—the muffin format handles substitutions without falling apart.
- Stress-Free Serving : No more worrying about the stuffing getting cold while you carve the turkey. Pop the muffin tin in the oven while everyone sits down, and serve them hot and fresh.
What makes this recipe different from other stuffing recipes is the texture. Because each muffin bakes individually, you get that ideal ratio of crispy exterior to tender interior in every single bite. The edges get almost crackly, while the center stays soft and moist. It’s the kind of side dish that makes people close their eyes after the first bite. I’ve had guests ask for the recipe before they even finished eating.
What Ingredients You Will Need
This recipe uses simple, wholesome ingredients that come together to create something truly special. Most of these are pantry staples you probably already have on hand, especially if you’ve made stuffing before. Here is everything you need:
- 1 loaf (about 16 ounces) day-old French bread or sourdough, cut into ½-inch cubes (stale bread absorbs the liquid better and holds its shape)
- 4 tablespoons unsalted butter, plus more for greasing the muffin tin (I prefer Kerrygold for its rich flavor)
- 1 large yellow onion, diced (about 1½ cups)
- 3 celery stalks, diced (about 1 cup)
- 2 cloves garlic, minced
- 1½ cups low-sodium chicken or vegetable broth (use vegetable broth for a vegetarian version)
- 1 large egg, lightly beaten (acts as a binder to hold the muffins together)
- 1 teaspoon dried sage (the backbone of classic stuffing flavor)
- 1 teaspoon dried thyme
- ½ teaspoon dried rosemary
- ½ teaspoon salt, plus more to taste
- ¼ teaspoon black pepper
- ½ cup fresh parsley, chopped (adds freshness and color)
Optional Add-Ins:
- ½ cup dried cranberries (adds sweetness and chew)
- ½ cup cooked and crumbled sausage (for a heartier, meatier version)
- ¼ cup toasted pecans or walnuts (adds crunch and nutty flavor)
For the bread, I recommend using a good-quality bakery loaf rather than pre-sliced sandwich bread. The sturdier texture holds up better to the liquid and gives you a nicer bite. If your bread isn’t stale, spread the cubes on a baking sheet and bake at 300°F for about 10 minutes to dry them out. Don’t skip this step—fresh bread will turn your stuffing into a soggy mess.
When choosing broth, go with low-sodium so you can control the salt level. Different broths have wildly different salt contents, and you can always add more salt at the end if needed. I’ve made the mistake of using regular broth before, and the muffins came out way too salty.
Equipment Needed
You don’t need anything fancy to make these stuffing muffins, which is part of why I love this recipe so much. Here is what you’ll need:
- Standard 12-cup muffin tin (non-stick works best, but any will do with enough greasing)
- Large skillet or sauté pan for cooking the vegetables
- Large mixing bowl for combining the ingredients
- Wooden spoon or spatula for mixing
- Measuring cups and spoons
- Chef’s knife and cutting board
- Cooling rack (optional but helpful for even cooling)
If you don’t have a muffin tin, you can use a mini muffin tin for smaller, bite-sized versions—just reduce the baking time to about 15 minutes. I’ve also used a jumbo muffin tin when I wanted bigger portions, and those took about 30-35 minutes. The standard size works best for most occasions, though.
One tip I learned the hard way: grease the muffin tin generously, especially if you’re using a regular (non-stick) pan. These muffins like to stick if you’re stingy with the butter. I use a paper towel to smear softened butter into every nook and cranny of each cup. It takes an extra minute but saves you from the heartbreak of torn muffins later.
Preparation Method
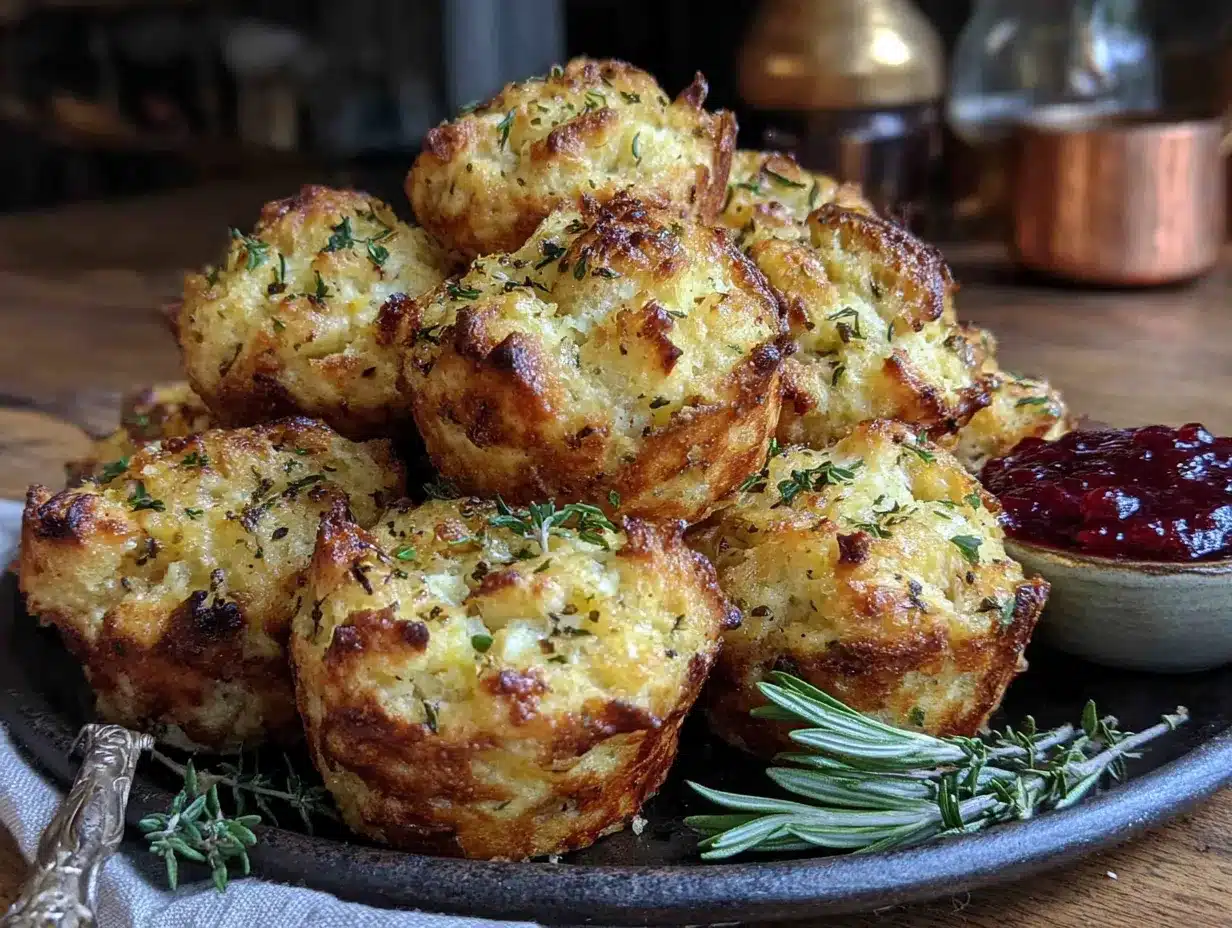
Making these individual stuffing muffins for a crowd is surprisingly straightforward. The whole process takes about 45 minutes from start to finish, with most of that being hands-off oven time. Here is how to do it:
- Preheat your oven to 375°F. Position the rack in the middle of the oven. While it heats, generously grease a 12-cup muffin tin with softened butter, making sure to coat the bottom and sides completely.
- Prepare your bread cubes. If your bread isn’t already stale, spread the cubes on a baking sheet and toast them at 300°F for 8-10 minutes, stirring once halfway through. They should feel dry but not hard. Let them cool while you cook the vegetables.
- Sauté the aromatics. Melt the 4 tablespoons of butter in a large skillet over medium heat. Add the diced onion and celery, and cook for 6-8 minutes, stirring occasionally, until the vegetables are softened and the onion turns translucent. Add the minced garlic and cook for another minute until fragrant. The kitchen should smell amazing at this point—that’s how you know you’re on the right track.
- Combine the ingredients. In a large mixing bowl, combine the bread cubes, cooked vegetables, dried sage, thyme, rosemary, salt, pepper, and fresh parsley. Toss everything together gently with your hands or a wooden spoon until the herbs are evenly distributed. If you’re adding any optional ingredients like cranberries or sausage, fold them in now.
- Add the liquid. In a small bowl or measuring cup, whisk together the beaten egg and the broth. Pour this mixture evenly over the bread mixture. Use your hands to gently toss and fold everything together, making sure every bread cube gets moistened. The mixture should look damp but not soggy—if it seems dry, add a splash more broth. Let it sit for 5 minutes so the bread can absorb the liquid.
- Fill the muffin cups. Using a spoon or a cookie scoop, divide the stuffing mixture evenly among the 12 muffin cups. Press each portion down firmly with the back of the spoon or your fingers. You want them packed tightly so they hold their shape after baking. The tops should be mounded slightly above the rim of the pan.
- Bake the muffins. Place the muffin tin in the preheated oven and bake for 20-25 minutes, or until the tops are golden brown and crispy. The edges should look caramelized and slightly darker than the center. If you want extra crispy tops, you can switch the oven to broil for the last 1-2 minutes—but watch them carefully because they burn fast.
- Cool and serve. Remove the muffin tin from the oven and let it cool on a wire rack for 5 minutes. Run a knife around the edges of each muffin to loosen them, then gently lift them out with a fork or small spatula. Serve warm, garnished with extra fresh parsley if you like.
A few things I’ve noticed from making these dozens of times: the muffins will puff up slightly during baking, then settle a bit as they cool. Don’t panic if they look a little domed—that’s normal. Also, if any stick to the pan, let them cool for a few more minutes before trying again. The steam helps release them.
Cooking Tips & Techniques
Over the years, I’ve made every mistake you can imagine with these stuffing muffins. I’ve had them fall apart, burn on the bottom, and turn into dry hockey pucks. Here is what I learned so you don’t have to repeat my failures:
Don’t skip drying the bread. This is the number one mistake people make. Fresh bread absorbs liquid differently than stale bread. If you use fresh bread, the muffins will turn out dense and soggy in the middle. Drying the bread cubes first ensures they soak up just enough liquid without turning into paste. I learned this the hard way when my first batch came out looking more like bread pudding than stuffing.
Pack the muffins firmly. When you fill the muffin cups, really press the mixture down. Loose stuffing will fall apart when you try to remove the muffins from the pan. I use the back of a measuring cup to press each portion down firmly. The mixture should feel compact but not compressed—think of it like packing a sandcastle.
Watch the liquid ratio. Different breads absorb different amounts of liquid. Dense sourdough needs more broth, while airy French bread needs less. Start with the amount listed in the recipe, then add more if the mixture looks dry after sitting for 5 minutes. The mixture should be moist but not swimming in liquid. If you see puddles at the bottom of the bowl, you’ve added too much.
Let them rest before unmolding. I know it’s tempting to flip them out immediately, but patience pays off here. Let the muffins cool in the pan for at least 5 minutes. This allows the steam to finish cooking the centers and helps the structure set. If you try to remove them too soon, they’ll crumble. If they’re still stuck after 5 minutes, run a thin knife around the edges again and give them another minute.
Bake in batches if needed. This recipe makes 12 standard muffins, which serves about 6 people as a side dish. If you’re cooking for a crowd, you can double the recipe and bake in two muffin tins. Just rotate the pans halfway through baking for even browning.
Variations & Adaptations
One of the best things about this recipe is how flexible it is. I’ve adapted these stuffing muffins for different diets, seasons, and cravings. Here are some of my favorite variations:
Gluten-Free Version: Swap the regular bread for a good-quality gluten-free loaf. I’ve had the best luck with gluten-free sourdough or a sturdy multigrain loaf. The texture will be slightly different—a bit more crumbly—but the flavor is still fantastic. Add an extra tablespoon of broth to compensate for the drier texture of gluten-free bread.
Vegetarian and Vegan Option: Use vegetable broth instead of chicken broth, and replace the egg with a flax egg (1 tablespoon ground flaxseed mixed with 3 tablespoons water, let sit for 5 minutes). Use vegan butter or olive oil for sautéing the vegetables. The muffins will be a little less sturdy without the egg, so handle them gently when removing from the pan.
Sausage and Apple Stuffing: Brown ½ pound of Italian sausage (casings removed) in the skillet before cooking the vegetables. Remove the sausage and set it aside, then cook the vegetables in the rendered fat instead of butter. Add 1 diced apple (I prefer Granny Smith for tartness) along with the celery. This version is my personal favorite for Thanksgiving—it’s hearty enough to be a main dish.
Herb and Mushroom Version: Sauté 8 ounces of sliced cremini mushrooms with the onions and celery. Mushrooms release a lot of moisture, so cook them until all the liquid evaporates before adding the garlic. Add an extra teaspoon of fresh thyme and a tablespoon of chopped fresh sage. This version is earthy and rich, perfect for vegetarians.
Spicy Southwest Style: Add 1 diced jalapeño (seeds removed for less heat) with the vegetables, and swap the parsley for cilantro. Stir in ½ cup of corn kernels and ½ cup of black beans. Use a Mexican-style bread like bolillo or telera if you can find it. This variation is great for a non-traditional holiday meal or a fun weeknight dinner side.
Serving & Storage Suggestions
These stuffing muffins are incredibly versatile when it comes to serving. Here is how I like to present them and how to store any leftovers (if there are any):
Serving Temperature: Serve these warm, straight from the oven. The contrast between the crispy exterior and the soft interior is best when they’re fresh. If you’re serving them alongside a main dish, time the baking so they come out of the oven right when everyone sits down.
Presentation Ideas: Arrange the muffins on a large platter lined with fresh rosemary sprigs or sage leaves. You can also serve them in a cast-iron skillet for a rustic look. For a more elegant presentation, place each muffin on a small plate as a individual side. A sprinkle of flaky sea salt and fresh parsley right before serving adds a nice touch.
What to Serve With Them: These muffins pair beautifully with roasted turkey, chicken, or pork. They also work well alongside a simple green salad for a lighter meal. For a cozy dinner, serve them with roasted vegetables and a dollop of cranberry sauce. I’ve even served them with eggs for a hearty breakfast—trust me, it works.
Storage Instructions: Store leftover muffins in an airtight container in the refrigerator for up to 4 days. To reheat, place them on a baking sheet and warm them in a 350°F oven for 8-10 minutes. The oven method restores the crispy edges much better than the microwave, which tends to make them soggy. If you’re in a hurry, the microwave works in a pinch—just microwave each muffin for 30-45 seconds.
Freezing Instructions: These muffins freeze beautifully. Let them cool completely, then place them on a baking sheet and freeze until solid (about 1 hour). Transfer the frozen muffins to a freezer-safe bag or container. They’ll keep for up to 3 months. To reheat from frozen, bake at 350°F for 15-20 minutes, or until heated through and crispy on the outside.
Flavor Development: Here’s a little secret—these muffins actually taste even better the next day. The flavors have time to meld together, and the texture becomes even more cohesive. I often make a double batch specifically so I have leftovers for lunch the next day.
Nutritional Information & Benefits
While these stuffing muffins are definitely comfort food, they do offer some nutritional benefits worth noting. Here is the estimated nutritional breakdown for one standard muffin (based on the basic recipe without optional add-ins):
| Nutrient | Amount Per Muffin |
|---|---|
| Calories | 185 |
| Total Fat | 8g |
| Saturated Fat | 4g |
| Cholesterol | 35mg |
| Sodium | 310mg |
| Total Carbohydrates | 22g |
| Dietary Fiber | 2g |
| Sugars | 3g |
| Protein | 5g |
The celery and onion provide fiber and antioxidants, while the herbs add anti-inflammatory properties. If you use whole-grain bread, you’ll get additional fiber and nutrients. The optional add-ins like dried cranberries contribute vitamin C and antioxidants, and nuts add healthy fats and protein.
For those watching their sodium, using low-sodium broth and unsalted butter helps keep the salt content in check. You can also reduce the added salt and rely on the herbs for flavor instead. If you’re gluten-sensitive, the gluten-free version works beautifully without sacrificing taste or texture.
I personally love that these muffins let me enjoy a classic comfort food without overindulging. The built-in portion control means I can have one muffin and feel satisfied, rather than scooping endless servings from a giant dish.
Conclusion
These cozy individual stuffing muffins for a crowd have completely changed how I approach holiday cooking. They solve so many of the little frustrations that come with traditional stuffing—the uneven cooking, the fight for crispy edges, the awkward serving situation. Plus, they’re just plain fun to eat. There’s something undeniably satisfying about having your own personal stuffing muffin, all crispy and golden and perfect.
I hope you give these a try, whether for Thanksgiving, Christmas, or just a cozy Sunday dinner. Don’t be afraid to customize them with your favorite add-ins or adapt them for dietary needs. That’s the beauty of this recipe—it’s forgiving, flexible, and always delicious. And if you make them, I’d love to hear how they turned out. Drop a comment below or tag me in your photos. Honestly, nothing makes me happier than seeing someone else discover how amazing these little muffins are.
So go ahead—preheat that oven, grab a loaf of bread, and make yourself some stuffing muffins. Your future self (and your dinner guests) will thank you.
Frequently Asked Questions
Can I make these stuffing muffins ahead of time?
Absolutely. You can assemble the muffins in the tin up to 24 hours in advance, cover them with plastic wrap, and refrigerate. Bake them directly from the fridge, adding about 5 extra minutes to the baking time. You can also fully bake them, let them cool, and reheat them in a 350°F oven for 8-10 minutes before serving.
How do I keep the muffins from sticking to the pan?
Generously grease the muffin tin with softened butter, making sure to coat every surface. Even if you’re using a non-stick pan, don’t skip this step. Let the muffins cool in the pan for 5 minutes after baking, then run a thin knife around the edges before lifting them out. If they still stick, let them cool for another 2-3 minutes—the steam helps release them.
Can I use boxed stuffing mix instead of fresh bread?
You can, but the texture won’t be quite the same. Boxed stuffing mix is much finer and more processed, so the muffins will be denser and less fluffy. If you’re in a pinch, use two boxes of stuffing mix and follow the package directions for the liquid ratio, then proceed with the recipe as written. I’d recommend using fresh bread for the best results, though.
What’s the best bread to use for stuffing muffins?
I prefer day-old French bread or sourdough for the best texture. The sturdy crumb holds up well to the liquid and gives you a nice chewy bite. Brioche or challah also work beautifully, though they’ll make the muffins richer and slightly sweeter. Avoid soft sandwich bread—it tends to turn mushy and doesn’t hold its shape as well.
How many muffins does this recipe serve?
This recipe makes 12 standard-sized muffins, which serves about 6 people as a side dish (2 muffins per person). If you’re serving them as part of a large holiday meal with lots of other sides, 1 muffin per person is usually plenty. For a crowd, I recommend doubling the recipe and baking in two muffin tins.
Pin This Recipe!
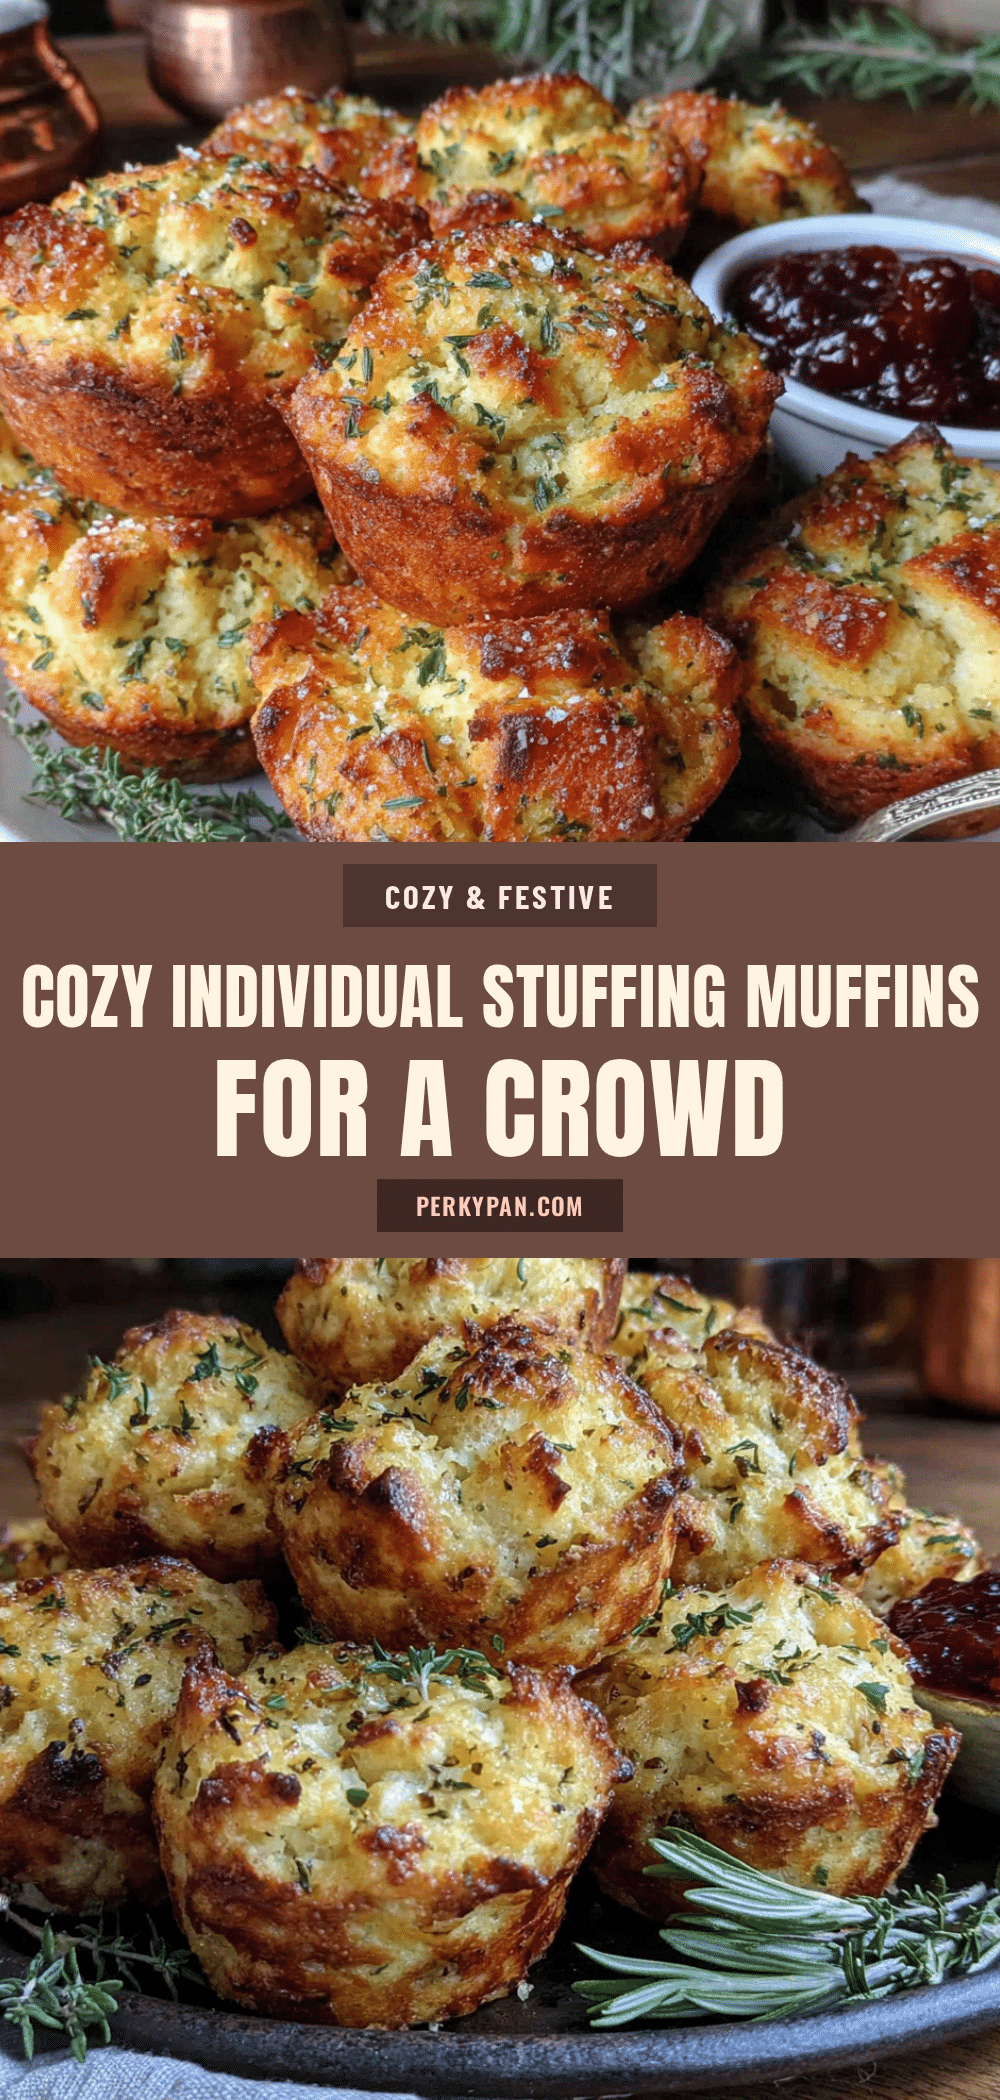
Cozy Individual Stuffing Muffins Perfect for a Crowd

These individual stuffing muffins are perfectly portioned, crispy on all sides, and make-ahead friendly. They solve the problem of uneven cooking and awkward serving, giving everyone their own golden-brown, tender muffin.
- Prep Time: 20 minutes
- Cook Time: 25 minutes
- Total Time: 45 minutes
- Yield: 12 muffins (serves 6 as a side dish) 1x
- Category: Side Dish
- Cuisine: American
Ingredients
- 1 loaf (about 16 ounces) day-old French bread or sourdough, cut into ½-inch cubes
- 4 tablespoons unsalted butter, plus more for greasing the muffin tin
- 1 large yellow onion, diced (about 1½ cups)
- 3 celery stalks, diced (about 1 cup)
- 2 cloves garlic, minced
- 1½ cups low-sodium chicken or vegetable broth
- 1 large egg, lightly beaten
- 1 teaspoon dried sage
- 1 teaspoon dried thyme
- ½ teaspoon dried rosemary
- ½ teaspoon salt, plus more to taste
- ¼ teaspoon black pepper
- ½ cup fresh parsley, chopped
- ½ cup dried cranberries (optional)
- ½ cup cooked and crumbled sausage (optional)
- ¼ cup toasted pecans or walnuts (optional)
Instructions
- Preheat your oven to 375°F. Position the rack in the middle of the oven. Generously grease a 12-cup muffin tin with softened butter, coating the bottom and sides completely.
- If your bread isn’t already stale, spread the cubes on a baking sheet and toast them at 300°F for 8-10 minutes, stirring once halfway through. Let them cool.
- Melt the 4 tablespoons of butter in a large skillet over medium heat. Add the diced onion and celery, and cook for 6-8 minutes, stirring occasionally, until softened and the onion is translucent. Add the minced garlic and cook for another minute until fragrant.
- In a large mixing bowl, combine the bread cubes, cooked vegetables, dried sage, thyme, rosemary, salt, pepper, and fresh parsley. Toss gently until the herbs are evenly distributed. If using optional ingredients, fold them in now.
- In a small bowl or measuring cup, whisk together the beaten egg and the broth. Pour this mixture evenly over the bread mixture. Gently toss and fold until every bread cube is moistened. Let it sit for 5 minutes so the bread can absorb the liquid.
- Divide the stuffing mixture evenly among the 12 muffin cups. Press each portion down firmly with the back of a spoon or your fingers. The tops should be mounded slightly above the rim.
- Bake for 20-25 minutes, or until the tops are golden brown and crispy. For extra crispy tops, broil for the last 1-2 minutes, watching carefully.
- Remove the muffin tin from the oven and let it cool on a wire rack for 5 minutes. Run a knife around the edges of each muffin to loosen them, then gently lift them out. Serve warm, garnished with extra fresh parsley if desired.
Notes
Don’t skip drying the bread—fresh bread will make soggy muffins. Pack the muffins firmly to prevent crumbling. Let them rest for 5 minutes before unmolding. For gluten-free, use gluten-free bread and add an extra tablespoon of broth. For vegan, use vegetable broth, a flax egg, and vegan butter. These muffins taste even better the next day.
Nutrition
- Serving Size: 1 muffin
- Calories: 185
- Sugar: 3
- Sodium: 310
- Fat: 8
- Saturated Fat: 4
- Carbohydrates: 22
- Fiber: 2
- Protein: 5
Keywords: stuffing muffins, individual stuffing, Thanksgiving side dish, holiday side, crispy stuffing, make-ahead stuffing, portion-controlled stuffing


