Love this? Save it for later!
Share the inspiration with your friends
I was standing in the middle of the baking aisle at the grocery store last December when the smell hit me—that sharp, cool scent of peppermint mixed with the faint sweetness of chocolate from a nearby display. And suddenly I was seven years old again, sitting cross-legged on my aunt Clara’s worn kitchen floor, watching her pull a fresh batch of marshmallows from the pan. She’d dust them with powdered sugar, and I’d sneak pieces of the sticky edges when she wasn’t looking. That memory came rushing back so fast I almost dropped my shopping basket. Honestly, I hadn’t thought about those marshmallows in years. My aunt passed when I was fifteen, and somewhere along the way, I stopped making her recipes. But standing there in the fluorescent lights, surrounded by strangers and shopping carts, I knew I had to try. I grabbed the gelatin and the peppermint extract, and I just stood there for a minute, feeling a little silly for getting emotional in the baking aisle. Maybe you’ve had a moment like that—where a random smell just pulls you right back. That night, I went home and built my first hot cocoa bar with her peppermint marshmallows. It wasn’t perfect. The marshmallows were a little lopsided, and I spilled cocoa powder all over the counter. But that first sip? It felt like coming home. And now, every year, I set up this cozy hot cocoa bar with peppermint marshmallows, and it’s become my favorite holiday tradition. This recipe is my way of keeping a little piece of her with me, and I’m so excited to share it with you.
Why You’ll Love This Recipe
This cozy hot cocoa bar with peppermint marshmallows isn’t just another hot chocolate setup. It’s the kind of thing that makes people stop and take a picture before they even take a sip. I’ve tested this recipe over three holiday seasons now, tweaking the marshmallow texture and the cocoa base until everything felt just right. Here’s what makes it special:
- Quick & Easy: The marshmallows take about 20 minutes of active work, and the cocoa base comes together in 10 minutes flat. Perfect for last-minute holiday gatherings.
- Simple Ingredients: You probably have most of the cocoa bar ingredients in your pantry already. The marshmallows need gelatin and corn syrup, but those are easy to find.
- Perfect for Holiday Parties: This setup works for Christmas morning, cookie exchanges, or just a cozy night in with friends.
- Crowd-Pleaser: Kids love building their own cups, and adults appreciate the homemade touch. I’ve never seen leftovers.
- Unbelievably Delicious: The homemade peppermint marshmallows melt into the cocoa in a way store-bought ones just can’t match. They’re soft, fluffy, and that peppermint kick is perfect.
What makes this different from other hot cocoa bars is the attention to detail. I blend a pinch of sea salt into the cocoa base to balance the sweetness, and the marshmallows have just the right amount of peppermint—not overpowering, but definitely there. It’s comfort food reimagined, you know? Healthier because you control the ingredients, faster than you’d think, but with the same soul-soothing satisfaction. This is the kind of recipe that makes you close your eyes after that first sip.
What Ingredients You Will Need
This cozy hot cocoa bar with peppermint marshmallows uses simple, wholesome ingredients to deliver that rich, comforting flavor. Most of these are pantry staples, and the marshmallow ingredients are easy to find at any grocery store. Let’s break it down.
For the Homemade Peppermint Marshmallows
- 3 envelopes unflavored gelatin (about 3 tablespoons or 21g) — I prefer Knox brand for consistent results
- 1 cup cold water, divided (240ml) — you’ll use half to bloom the gelatin and half in the syrup
- 2 cups granulated sugar (400g) — regular white sugar works best here
- 1 cup light corn syrup (340g) — this keeps the marshmallows soft and prevents crystallization
- 1/4 teaspoon salt — just a pinch to balance the sweetness
- 1 teaspoon vanilla extract (5ml) — pure vanilla adds warmth
- 1 teaspoon peppermint extract (5ml) — use a good quality extract, not peppermint oil
- 1/2 cup powdered sugar (60g) — for dusting the pan and finished marshmallows
- 1/4 cup cornstarch (30g) — mixed with powdered sugar for dusting
- Red food coloring (optional) — for that classic peppermint swirl look
- Crushed candy canes (optional) — for rolling the marshmallows
For the Hot Cocoa Base
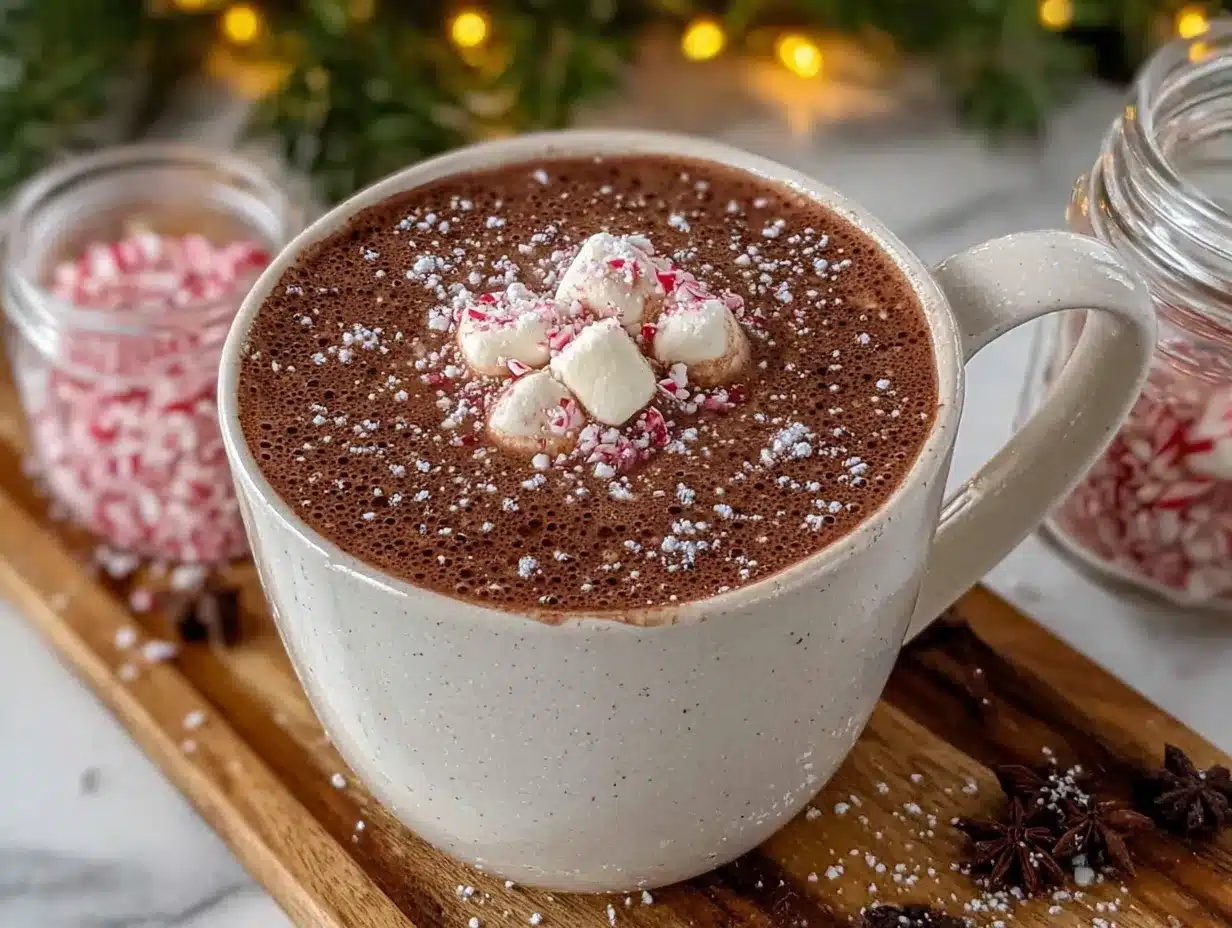
- 1/2 cup unsweetened cocoa powder (50g) — I recommend Ghirardelli or Valrhona for deep flavor
- 1/2 cup granulated sugar (100g) — adjust to your sweetness preference
- 1/4 teaspoon salt — this is key for balancing flavors
- 4 cups whole milk (960ml) — or use 2% for a lighter version; oat milk works great for dairy-free
- 1 teaspoon vanilla extract (5ml) — added at the end for brightness
- 1/2 cup heavy cream (120ml) — optional, for extra richness (use full-fat coconut milk for dairy-free)
For the Hot Cocoa Bar Toppings
- Whipped cream — homemade or store-bought
- Chocolate shavings — from a good quality dark chocolate bar
- Cinnamon sticks — for stirring
- Mini chocolate chips — they melt into the cocoa nicely
- Caramel sauce — for drizzling
- Crushed peppermint candies — extra crunch
- Marshmallow bits — the tiny dehydrated ones add texture
Equipment Needed
You don’t need a fancy kitchen to pull off this cozy hot cocoa bar with peppermint marshmallows. Here’s what I use:
- Stand mixer or hand mixer — a stand mixer with the whisk attachment makes the marshmallows easier, but a hand mixer works fine too. I’ve done both.
- Candy thermometer — this is important for getting the sugar syrup to the right temperature (240°F). I’ve ruined batches by guessing.
- 9×13 inch baking pan — for setting the marshmallows. Glass or metal both work.
- Parchment paper — line the pan for easy removal
- Saucepan — medium-sized, for the sugar syrup
- Large pot — for the hot cocoa base
- Spatula — silicone is best for scraping every bit of marshmallow
- Pizza cutter or sharp knife — for cutting the marshmallows cleanly
- Serving mugs — clear glass mugs show off the layers nicely
- Small bowls or jars — for arranging toppings on the bar
Preparation Method
Let’s get into the step-by-step for this cozy hot cocoa bar with peppermint marshmallows. Take your time with the marshmallows—they’re easier than you think.
Make the Peppermint Marshmallows
- Prep the pan: Line your 9×13 pan with parchment paper, leaving some overhang on the sides. Mix 1/4 cup powdered sugar with 2 tablespoons cornstarch and dust the pan generously. Set aside.
- Bloom the gelatin: In the bowl of your stand mixer, combine the gelatin with 1/2 cup cold water. Stir gently and let it sit for about 10 minutes. It’ll look like a thick, rubbery mass—that’s normal.
- Make the syrup: In a medium saucepan, combine the granulated sugar, corn syrup, salt, and the remaining 1/2 cup water. Stir gently over medium heat until the sugar dissolves. Then stop stirring and let it come to a boil. Clip on your candy thermometer and cook until it reaches 240°F (115°C). This takes about 8-10 minutes. Don’t walk away—syrup can burn fast.
- Combine: With the mixer on low speed, slowly pour the hot syrup into the bloomed gelatin. Be careful—that syrup is dangerously hot. Once it’s all in, gradually increase the speed to high. Whip for about 10-12 minutes. The mixture will become thick, white, and fluffy. It should hold stiff peaks when you lift the whisk.
- Add flavor: Add the vanilla and peppermint extracts and mix on low just until combined. If you want the swirl effect, pour half the marshmallow into the pan, add a few drops of red food coloring to the remaining half, swirl gently with a knife, then pour on top. Don’t overmix or you’ll lose the swirl.
- Set: Spread the marshmallow evenly in the pan. Dust the top with more of the powdered sugar-cornstarch mixture. Let it sit uncovered at room temperature for at least 4 hours, or overnight. Patience here pays off.
- Cut: Turn the marshmallow out onto a cutting board dusted with the powder mix. Use a pizza cutter or sharp knife to cut into squares. Dip the cutter in the powder mix between cuts to prevent sticking. Roll the edges in crushed candy canes if you like.
Make the Hot Cocoa Base
- Whisk dry ingredients: In a large pot, whisk together the cocoa powder, sugar, and salt. This prevents lumps later.
- Add milk slowly: Pour in about 1 cup of milk and whisk into a smooth paste. Then gradually add the remaining milk, whisking constantly.
- Heat gently: Place the pot over medium heat and warm the cocoa, stirring occasionally. Don’t let it boil—you want it steaming hot but not scalded. This takes about 5-7 minutes.
- Add cream and vanilla: Once hot, stir in the heavy cream (if using) and vanilla extract. Taste and adjust sweetness if needed.
- Keep warm: Pour the cocoa into a slow cooker on the “warm” setting for your cocoa bar. Or keep it in the pot and reheat as needed.
Assemble Your Cocoa Bar
- Arrange the mugs: Set out your mugs near the cocoa. I like to give each person a clear mug so they can see the marshmallow melt.
- Set up toppings: Place the peppermint marshmallows, whipped cream, chocolate shavings, cinnamon sticks, and all other toppings in small bowls. Arrange them in a line or cluster so guests can move through easily.
- Add labels: Little tags or chalkboard signs help guests know what’s what. It also makes the bar look beautiful for photos.
- Let guests build: Encourage everyone to ladle their own cocoa, then add marshmallows and toppings. It’s interactive and fun.
Cooking Tips & Techniques
I’ve made this cozy hot cocoa bar with peppermint marshmallows enough times to learn a few things the hard way. Here’s what I wish someone had told me:
Don’t skip the candy thermometer. I tried making marshmallows by eye once. Once. The syrup needs to hit exactly 240°F—too low and the marshmallows won’t set, too high and they’ll be tough. Trust the tool.
Humidity is your enemy. Marshmallows don’t set well on rainy or humid days. If the air is damp, plan to make them on a drier day, or run a dehumidifier in your kitchen. I learned this after a particularly sticky batch that never firmed up.
Oil your scissors or knife. When cutting the marshmallows, a light coat of vegetable oil on your blade prevents sticking better than the powdered sugar dusting alone. I keep a little oil in a small dish nearby.
Make the marshmallows a day ahead. They actually get better after resting overnight. The texture firms up perfectly, and the peppermint flavor mellows and blends. Plus, it’s one less thing to do on party day.
For the cocoa, low and slow is the way. If you rush the heating, the cocoa powder can scorch on the bottom of the pot. Whisk frequently and keep the heat at medium or medium-low. A little patience makes a big difference.
Multitask wisely. While the marshmallow syrup is boiling, you can measure your cocoa ingredients. While the marshmallows are setting, prep your toppings. It makes the whole process feel manageable.
Variations & Adaptations
This cozy hot cocoa bar with peppermint marshmallows is flexible. Here are some ways I’ve adapted it over the years:
- Dairy-Free Version: Use oat milk or full-fat coconut milk for the cocoa base. For the marshmallows, gelatin is dairy-free, so no changes needed there. Coconut whipped cream works beautifully on top.
- Spiked Cocoa Bar: Add a small bottle of peppermint schnapps, bourbon, or Irish cream to the bar for the adults. I set it off to the side with a little sign so guests can add a splash if they want.
- Dark Chocolate Lovers: Use dark cocoa powder (like Hershey’s Special Dark) and swap the sugar for coconut sugar. The bitterness of the dark chocolate pairs perfectly with the sweet peppermint marshmallows.
- Mexican Hot Chocolate Twist: Add 1/2 teaspoon cinnamon and a pinch of cayenne pepper to the cocoa base. It gives a warm, spicy kick that’s incredible with the peppermint.
- Kid-Friendly Toppings Bar: Skip the peppermint extract in the marshmallows and make them plain. Then let kids choose from sprinkles, mini marshmallows, chocolate chips, and colored sugar. It’s less minty and more fun for little ones.
- White Cocoa Option: Make a white hot chocolate base using white chocolate chips melted into milk. The peppermint marshmallows look stunning floating in the white cocoa. I did this for a friend’s baby shower and it was a hit.
Serving & Storage Suggestions
This cozy hot cocoa bar with peppermint marshmallows is best served warm and fresh, but here’s how to handle leftovers and prep ahead.
Serving: Ladle the hot cocoa into mugs at about 180°F (steaming but not boiling). Drop in one or two peppermint marshmallows and watch them soften. Top with whipped cream and a sprinkle of crushed candy canes. The marshmallows will slowly melt into the cocoa, creating a creamy, minty finish.
Storing the Marshmallows: Store cut marshmallows in an airtight container at room temperature for up to 2 weeks. Layer them with parchment paper so they don’t stick together. Do not refrigerate—they’ll get weepy and sticky. I keep mine in a glass jar on the counter, and they make great gifts too.
Storing the Cocoa Base: Leftover cocoa keeps in the fridge for up to 5 days. Reheat gently on the stove or in the microwave, stirring every 30 seconds. Add a splash of milk if it’s thickened. The flavors actually meld overnight and taste even better the next day.
Freezing the Marshmallows: You can freeze the marshmallows for up to 3 months. Place them in a single layer on a baking sheet, freeze until solid, then transfer to a freezer bag. Thaw at room temperature for about 30 minutes before serving. They’ll be a little softer but still delicious.
Make-Ahead Tips: The marshmallows can be made up to a week ahead. The cocoa base can be prepped (minus the cream) and refrigerated for up to 3 days. Just reheat and add the cream before serving. I often make the marshmallows on a Sunday and set up the bar on Friday for a weekend party.
Nutritional Information & Benefits
This cozy hot cocoa bar with peppermint marshmallows is a treat, but it has some redeeming qualities. Here’s the breakdown per serving (1 cup cocoa with 1 marshmallow and no whipped cream):
- Calories: Approximately 320
- Protein: 8g (from the milk and gelatin)
- Carbohydrates: 58g
- Fat: 8g
- Fiber: 2g
- Sugar: 48g
Health Highlights: The gelatin in the marshmallows provides collagen, which supports skin and joint health. Cocoa is rich in antioxidants called flavanols, which can help improve blood flow and lower blood pressure. Using whole milk adds calcium and vitamin D. If you use dark cocoa powder, you get even more antioxidants with less sugar. For a lighter option, swap the heavy cream for extra milk and use a sugar substitute like monk fruit in the cocoa base. I personally love that this recipe lets me enjoy a nostalgic treat without feeling like I’ve completely abandoned my healthy habits. It’s all about balance, right?
Allergen Note: Contains dairy (milk, cream). The marshmallows contain gelatin (not vegetarian or vegan). For a dairy-free version, see the variations section. The cocoa base can be made gluten-free by ensuring your cocoa powder is certified gluten-free.
Conclusion
This cozy hot cocoa bar with peppermint marshmallows has become more than just a recipe in my house. It’s a moment. It’s the smell that fills the kitchen when the snow starts falling. It’s the way my friends gather around the counter, building their perfect cups and laughing at who added the most marshmallows. It’s my way of honoring my aunt Clara and all those afternoons on her kitchen floor. I hope this recipe brings you that same warmth and connection. Don’t be afraid to make it your own—swap in your favorite toppings, try the Mexican chocolate twist, or just keep it simple with the marshmallows and cocoa. The beauty of a cocoa bar is that it’s yours to create. I’d love to hear how it turns out for you. Drop a comment below and tell me what toppings you chose, or share a photo of your setup. And if you make these marshmallows for someone you love? That’s the whole point, honestly. Happy sipping, friends.
Frequently Asked Questions
Can I use store-bought marshmallows instead of homemade?
Absolutely. If you’re short on time, store-bought marshmallows work just fine for the cocoa bar. But the homemade peppermint marshmallows have a softer, fluffier texture and a more natural peppermint flavor. Plus, they make the bar feel extra special. If you use store-bought, try to find the larger ones and add a drop of peppermint extract to your cocoa for that minty kick.
How do I get the marshmallows to have that red swirl?
After you’ve whipped the marshmallow mixture and added the extracts, pour about half into the prepared pan. Add a few drops of red food coloring to the remaining mixture in the bowl and gently fold it with a spatula—don’t fully mix it. Then pour the pink mixture on top of the white layer. Use a knife or skewer to make a few gentle swirls through both layers. The key is not to over-swirl or you’ll lose the distinct red and white pattern.
Can I make this hot cocoa bar for a large crowd?
Yes! This recipe scales beautifully. Double the marshmallow recipe and use a larger pan (like a half-sheet pan). For the cocoa base, you can make a big batch in a large slow cooker. Plan on about 1 cup of cocoa per person. For a party of 20, I’d make a triple batch of the cocoa and keep it warm in a 6-quart slow cooker. Set out plenty of toppings and let guests serve themselves.
Why did my marshmallows turn out too sticky?
Sticky marshmallows usually mean one of two things: the humidity was too high when you made them, or they weren’t dusted enough with the powdered sugar-cornstarch mixture. Next time, make sure you’re using a generous amount of the dusting powder on the pan and on top of the marshmallows. Also, let them set for the full 4-6 hours (or overnight) in a dry environment. If they’re still sticky after cutting, toss them in more of the powder mix.
Can I use peppermint oil instead of peppermint extract?
I don’t recommend it. Peppermint oil is much more concentrated than extract. A little goes a long way, and it’s easy to end up with marshmallows that taste like toothpaste. Stick with peppermint extract for a milder, more balanced flavor. If you only have oil on hand, use just 1/4 teaspoon and mix it into the marshmallow at the end. Taste a tiny bit before adding more.
Pin This Recipe!
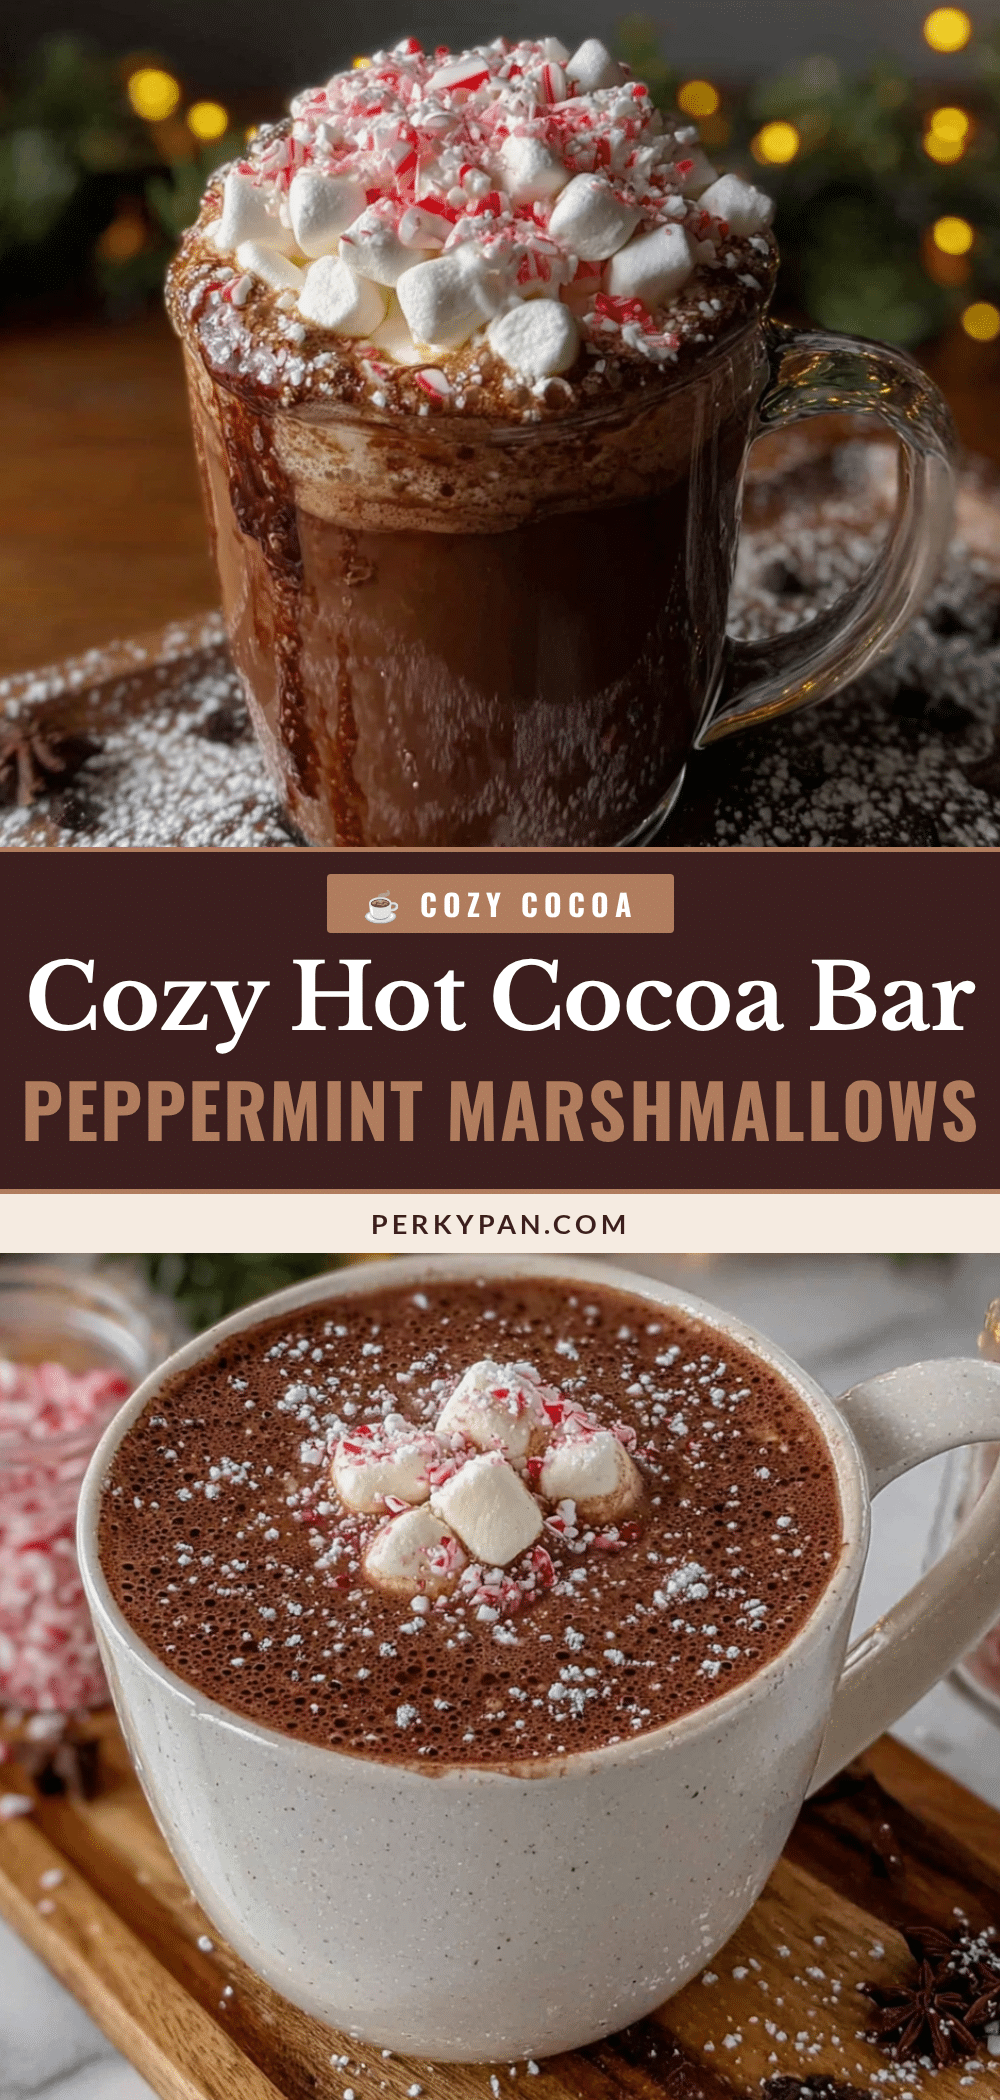
Cozy Hot Cocoa Bar with Peppermint Marshmallows

A nostalgic hot cocoa bar featuring homemade peppermint marshmallows, rich cocoa base, and an array of toppings. Perfect for holiday gatherings and cozy nights in.
- Prep Time: 20 minutes
- Cook Time: 30 minutes
- Total Time: 4 hours 50 minutes (includes setting time)
- Yield: 12 servings 1x
- Category: Beverage
- Cuisine: American
Ingredients
- 3 envelopes unflavored gelatin (about 3 tablespoons or 21g)
- 1 cup cold water, divided (240ml)
- 2 cups granulated sugar (400g)
- 1 cup light corn syrup (340g)
- 1/4 teaspoon salt
- 1 teaspoon vanilla extract (5ml)
- 1 teaspoon peppermint extract (5ml)
- 1/2 cup powdered sugar (60g)
- 1/4 cup cornstarch (30g)
- Red food coloring (optional)
- Crushed candy canes (optional)
- 1/2 cup unsweetened cocoa powder (50g)
- 1/2 cup granulated sugar (100g)
- 1/4 teaspoon salt
- 4 cups whole milk (960ml)
- 1 teaspoon vanilla extract (5ml)
- 1/2 cup heavy cream (120ml)
- Whipped cream
- Chocolate shavings
- Cinnamon sticks
- Mini chocolate chips
- Caramel sauce
- Crushed peppermint candies
- Marshmallow bits
Instructions
- Line a 9×13 inch pan with parchment paper. Mix 1/4 cup powdered sugar with 2 tablespoons cornstarch and dust the pan generously.
- In the bowl of a stand mixer, combine gelatin with 1/2 cup cold water. Let sit for 10 minutes to bloom.
- In a medium saucepan, combine granulated sugar, corn syrup, salt, and remaining 1/2 cup water. Heat over medium heat, stirring until sugar dissolves. Bring to a boil and cook until mixture reaches 240°F (115°C) on a candy thermometer, about 8-10 minutes.
- With mixer on low, slowly pour hot syrup into bloomed gelatin. Gradually increase speed to high and whip for 10-12 minutes until thick, white, and fluffy.
- Add vanilla and peppermint extracts; mix on low until combined. For swirl effect, pour half the marshmallow into pan, add red food coloring to remaining half, swirl gently, then pour on top.
- Spread marshmallow evenly in pan. Dust top with more powdered sugar-cornstarch mixture. Let set uncovered at room temperature for at least 4 hours or overnight.
- Turn marshmallow out onto a cutting board dusted with powder mix. Cut into squares using a pizza cutter or sharp knife. Roll edges in crushed candy canes if desired.
- In a large pot, whisk together cocoa powder, sugar, and salt. Add 1 cup milk and whisk into a smooth paste. Gradually add remaining milk, whisking constantly.
- Place pot over medium heat and warm cocoa, stirring occasionally, until steaming hot but not boiling, about 5-7 minutes.
- Stir in heavy cream (if using) and vanilla extract. Taste and adjust sweetness.
- Pour cocoa into a slow cooker on warm setting for serving, or keep in pot and reheat as needed.
- Arrange mugs near cocoa. Place peppermint marshmallows, whipped cream, chocolate shavings, cinnamon sticks, and other toppings in small bowls. Add labels if desired.
- Let guests ladle their own cocoa, then add marshmallows and toppings.
Notes
Don’t skip the candy thermometer; syrup must reach exactly 240°F. Humidity can affect marshmallow setting. Oil your knife or scissors when cutting marshmallows to prevent sticking. Marshmallows can be made a day ahead for best texture. For dairy-free, use oat milk or full-fat coconut milk and coconut whipped cream.
Nutrition
- Serving Size: 1 cup cocoa with 1 m
- Calories: 320
- Sugar: 48
- Sodium: 180
- Fat: 8
- Saturated Fat: 5
- Carbohydrates: 58
- Fiber: 2
- Protein: 8
Keywords: hot cocoa, peppermint marshmallows, cocoa bar, holiday, Christmas, homemade marshmallows


