Love this? Save it for later!
Share the inspiration with your friends
It was 11:47 PM on a random Tuesday in early December, and I couldn’t sleep. You know that restless feeling when the holidays are creeping up but you haven’t done a single thing to prepare? That was me. I was scrolling through my phone, half-watching some baking show, when this ridiculous craving hit me. I wanted something sweet, salty, and chewy all at once. The kind of cookie that makes you close your eyes and forget the world for a second.
I didn’t have the energy for a complicated recipe. Honestly, I was in my pajamas and not about to change. But I had a half-empty jar of creamy peanut butter in the pantry, a bag of Hershey’s Kisses I’d bought on a whim, and that familiar itch to make something with my hands. So I pulled out the mixer, cracked an egg, and just went for it. No plan, no fuss. Just pure, late-night instinct.
The kitchen was quiet except for the hum of the oven. The dough came together in minutes—soft, fragrant, and dangerously easy to eat raw. I rolled the balls, baked them, and the second they came out, I pressed a chocolate kiss into the center of each one. The chocolate melted just slightly, creating that perfect little hug on top. I stood there at the counter, eating one warm, and I swear it fixed something in me. Maybe you’ve been there—when a simple cookie feels like a small victory. That’s the magic of these classic peanut butter blossom cookies. They’re not fancy, but they’re everything.
Why You’ll Love This Recipe
Let me tell you why this recipe has earned a permanent spot in my holiday rotation. I’ve tested a lot of peanut butter cookie recipes over the years, and this one nails it every single time. The texture is soft but sturdy enough to hold that chocolate kiss without crumbling. It’s the kind of cookie that disappears from the plate before you’ve even poured the milk.
- Quick & Easy: From start to finish, you’re looking at about 30 minutes. No chilling required, no complicated steps. Perfect for those last-minute cookie swaps or when you need a quick baking fix.
- Simple Ingredients: You probably have everything in your pantry right now. Peanut butter, sugar, butter, flour, an egg—that’s it. No fancy extracts or hard-to-find items.
- Perfect for Holiday Baking: These cookies are a Christmas classic for a reason. They look festive, they travel well, and they’re the first thing to go at any holiday party.
- Crowd-Pleaser: Kids love them, adults sneak them, and they always get rave reviews. I’ve yet to meet someone who doesn’t smile at the sight of a peanut butter blossom.
- Unbelievably Delicious: That combination of salty peanut butter and sweet milk chocolate is just unbeatable. The cookie is tender, the chocolate is creamy, and together they’re pure comfort.
What makes this version different from the rest? I use a little trick I picked up from my grandmother—I cream the butter and sugar for a full five minutes until it’s light and fluffy. It makes the cookies softer and gives them that melt-in-your-mouth texture. Plus, I roll the dough balls in granulated sugar before baking, which adds a subtle crunch that contrasts beautifully with the soft center.
This recipe isn’t just good—it’s the kind that makes you close your eyes after the first bite. It’s comfort food reimagined for the holiday season: faster, easier, but with the same soul-soothing satisfaction. Perfect for impressing guests without stress, or turning a simple Tuesday night into something memorable.
What Ingredients You Will Need
This recipe uses simple, wholesome ingredients to deliver bold flavor and satisfying texture without the fuss. Most of these are pantry staples, which makes these cookies perfect for spontaneous baking sessions.
- 1/2 cup unsalted butter, softened (I prefer Land O’Lakes for consistent results; let it sit at room temperature for about 30 minutes)
- 1/2 cup creamy peanut butter (Jif or Skippy work great—avoid natural peanut butter that separates, as it can make the cookies too greasy)
- 1/2 cup granulated sugar, plus extra for rolling (the extra sugar creates that lovely sparkly coating)
- 1/2 cup packed light brown sugar (adds moisture and a subtle caramel flavor)
- 1 large egg, room temperature (cold eggs can seize the butter mixture, so let it sit out for 15 minutes)
- 1 teaspoon vanilla extract (pure vanilla extract makes a noticeable difference)
- 1 1/2 cups all-purpose flour (spoon and level it—don’t scoop directly from the bag or you’ll get too much)
- 3/4 teaspoon baking soda (helps the cookies spread just the right amount)
- 1/2 teaspoon salt (if using salted butter, reduce this to 1/4 teaspoon)
- About 36 Hershey’s Kisses, unwrapped (milk chocolate is classic, but dark chocolate works beautifully too)
A note on peanut butter: I’ve tested this with both creamy and chunky, and creamy gives the smoothest texture. If you only have chunky on hand, go for it—you’ll just get little bits of peanut in every bite, which isn’t a bad thing at all. For a nut-free version, you can substitute sunflower seed butter, though the flavor will be slightly different.
The Hershey’s Kisses are non-negotiable for the classic look, but you can experiment with other chocolates. I’ve used Ghirardelli dark chocolate melting wafers in a pinch, and they worked beautifully. Just make sure whatever you use is sturdy enough to hold its shape when pressed into the warm cookie.
Equipment Needed
You don’t need a fancy kitchen to make these cookies. Here’s what you’ll need:
- Electric mixer (stand mixer or hand mixer both work; I’ve used my trusty KitchenAid for years, but a $20 hand mixer from Walmart does the job just fine)
- Large mixing bowl
- Medium mixing bowl
- Measuring cups and spoons
- Baking sheets (I prefer light-colored aluminum sheets for even browning)
- Parchment paper or silicone baking mats (parchment is cheaper and works great)
- Cooling rack
- Small bowl for rolling sugar
- Cookie scoop or tablespoon (a 1.5-tablespoon scoop gives the perfect size)
If you don’t have a cookie scoop, just use a regular tablespoon and roll the dough into balls with your hands. It takes a little longer, but the cookies will taste the same. And if you don’t have a cooling rack, you can let the cookies cool directly on the baking sheet—just give them a few extra minutes.
Preparation Method
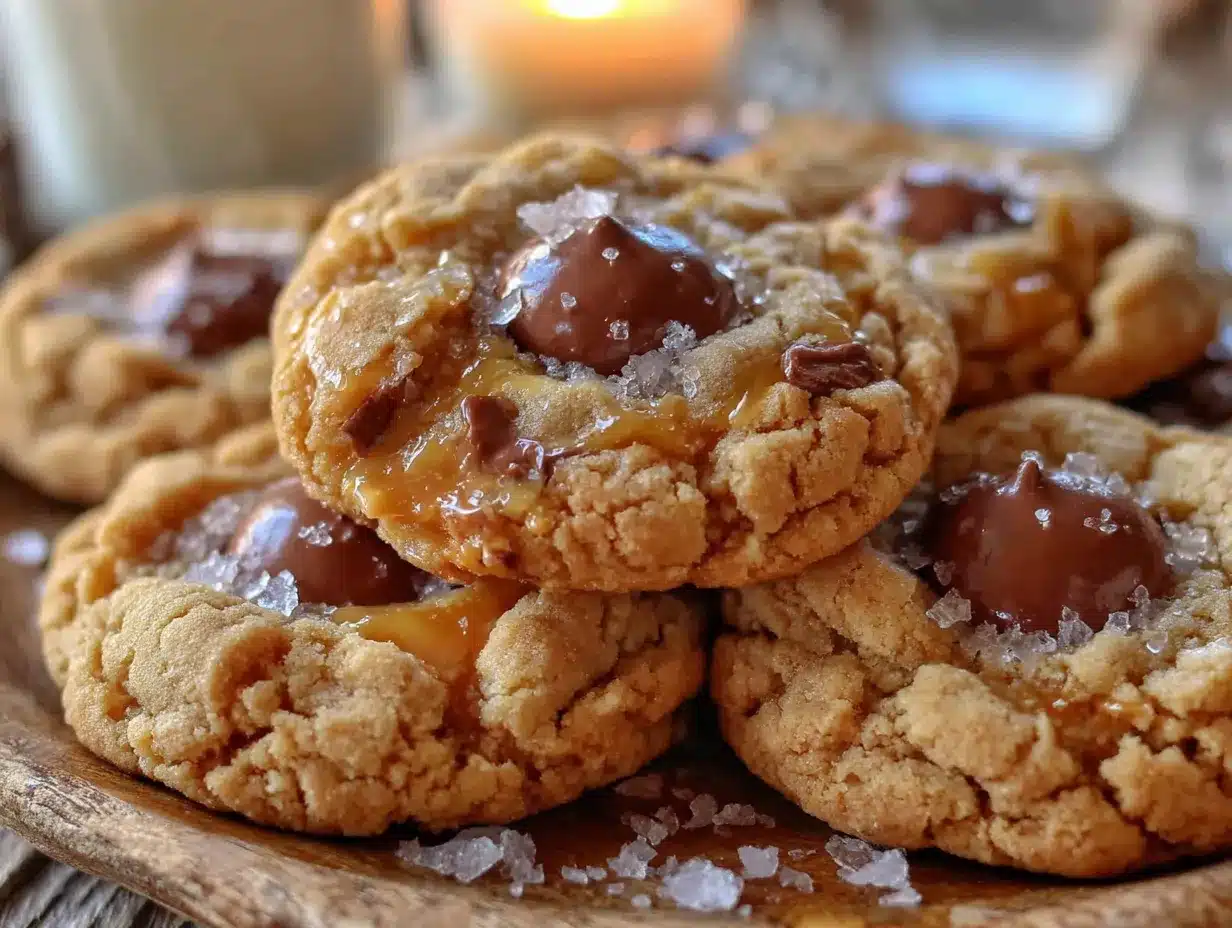
Let’s get baking! This recipe makes about 36 cookies, and the whole process takes roughly 30 minutes from start to finish.
- Preheat your oven to 375°F (190°C). Line two baking sheets with parchment paper or silicone mats. This ensures the cookies don’t stick and makes cleanup a breeze.
- Cream the butter and sugars. In a large mixing bowl, beat the softened butter, peanut butter, granulated sugar, and brown sugar together on medium speed until light and fluffy. This takes about 3-5 minutes. Don’t rush this step—the texture of your cookies depends on it. You’re looking for a pale, airy mixture that looks almost like frosting.
- Add the egg and vanilla. Beat in the egg and vanilla extract until just combined. Scrape down the sides of the bowl with a spatula to make sure everything is evenly mixed.
- Mix the dry ingredients. In a separate medium bowl, whisk together the flour, baking soda, and salt. This ensures the baking soda is evenly distributed so your cookies rise uniformly.
- Combine wet and dry ingredients. Gradually add the flour mixture to the peanut butter mixture, mixing on low speed until just combined. Stop as soon as you don’t see any more streaks of flour. Overmixing will make the cookies tough.
- Chill the dough (optional but recommended). If your kitchen is warm or your butter was very soft, pop the dough in the fridge for 15-20 minutes. This prevents the cookies from spreading too much in the oven. I usually skip this step if I’m in a hurry, and they still turn out great.
- Shape the cookies. Using a cookie scoop or tablespoon, portion out about 1.5 tablespoons of dough. Roll each portion into a smooth ball between your palms. Then roll each ball in the extra granulated sugar until fully coated. Place them on the prepared baking sheets about 2 inches apart—they’ll spread a little.
- Bake. Bake for 10-12 minutes, or until the cookies are lightly golden around the edges but still soft in the center. They’ll look slightly underbaked—that’s exactly what you want. The centers will continue to set as they cool.
- Add the Kisses. Remove the baking sheet from the oven and immediately press a Hershey’s Kiss into the center of each cookie. Press gently but firmly—the cookie should crack slightly around the edges. If the Kiss slides around, it’s okay; just nudge it back into place.
- Cool. Let the cookies cool on the baking sheet for 5 minutes. This allows them to firm up enough to transfer without breaking. Then move them to a wire rack to cool completely. The chocolate will harden as they cool, creating that iconic blossom look.
A quick note: If you’re baking in batches, let the baking sheet cool completely between batches. A hot sheet will cause the dough to spread before it hits the oven, resulting in flat cookies.
Cooking Tips & Techniques
I’ve made these cookies more times than I can count, and I’ve learned a few things along the way. Here are my best tips for perfect peanut butter blossoms every time.
Don’t overmix the dough. This is the most common mistake I see. Once you add the flour, mix just until it disappears. Overmixing develops gluten, which makes cookies tough and dense instead of tender and soft.
Use room temperature ingredients. Cold butter won’t cream properly, and a cold egg can seize the butter mixture. Let everything sit out for 20-30 minutes before you start. Trust me on this—it makes a noticeable difference in the texture.
Press the Kisses in while the cookies are hot. The window is small—about 30 seconds after they come out of the oven. If you wait too long, the cookies will start to set and the chocolate won’t stick properly. If you press too early, the cookie might break apart. You’re looking for that sweet spot where the cookie is firm enough to hold its shape but soft enough to accept the chocolate.
Rotate your baking sheets halfway through. Most ovens have hot spots, and rotating the sheets halfway through baking ensures even browning. I usually do this at the 5-minute mark.
Chill the dough if you’re in a warm kitchen. I learned this the hard way after a batch of cookies turned into flat pancakes. If your butter is too soft or your kitchen is warm, the dough will spread too much in the oven. A quick 15-minute chill in the fridge solves this problem.
One more thing: don’t skip the sugar rolling. It’s not just for looks—that sugar coating adds a subtle crunch that contrasts beautifully with the soft cookie and creamy chocolate. It’s one of those small details that makes a big difference.
Variations & Adaptations
These cookies are endlessly adaptable. Here are some of my favorite variations:
Chocolate Peanut Butter Blossoms: Swap the milk chocolate Kisses for dark chocolate or white chocolate. I’ve also used caramel-filled Kisses for a gooey surprise in the center. Each variation brings a different flavor profile, but they’re all delicious.
Gluten-Free Version: Substitute the all-purpose flour with a 1:1 gluten-free baking flour blend. I’ve tested this with Bob’s Red Mill and King Arthur brands, and both work beautifully. The texture is slightly more delicate, so be gentle when pressing in the Kisses.
Chunky Peanut Butter Twist: Use chunky peanut butter instead of creamy for added texture. You’ll get little bits of peanut in every bite, which adds a nice crunch. Just note that the cookies might spread slightly more since chunky peanut butter has a different fat content.
Holiday-Themed Variations: For Christmas, use red and green sprinkles instead of the sugar coating. For Halloween, use orange sprinkles and dark chocolate Kisses. For Valentine’s Day, press a pink or red chocolate heart into the center instead of a Kiss.
Vegan Adaptation: Substitute the butter with vegan butter (I like Miyoko’s), use a flax egg (1 tablespoon ground flaxseed mixed with 3 tablespoons water), and use dairy-free chocolate. The texture will be slightly different, but they’re still delicious.
I once made a batch with almond butter instead of peanut butter, and honestly, they were incredible. The almond flavor is more subtle, so the chocolate really shines. Just make sure to use a brand that doesn’t have added sugar—you want the natural nut flavor to come through.
Serving & Storage Suggestions
These cookies are best served at room temperature, about 20 minutes after they’ve cooled. The chocolate should be set but still soft enough to bite through easily. They’re perfect with a glass of cold milk, a cup of hot coffee, or even a scoop of vanilla ice cream for an indulgent dessert.
For holiday cookie platters, I like to arrange them in a single layer with the chocolate kisses facing up. They look festive and inviting. You can also stack them in a decorative tin lined with parchment paper—just make sure the chocolate is fully set before stacking to avoid smudging.
Storage: Store these cookies in an airtight container at room temperature for up to 5 days. I’ve found they actually get better on day two—the flavors meld together and the texture becomes even softer. If you live in a humid climate, add a slice of bread to the container to absorb excess moisture.
Freezing: These cookies freeze beautifully. You can freeze the baked cookies for up to 3 months. Just place them in a single layer on a baking sheet, freeze until solid, then transfer to a freezer-safe bag. To thaw, let them sit at room temperature for about 30 minutes. You can also freeze the unbaked dough balls—just roll them in sugar, place them on a baking sheet, freeze until solid, then transfer to a bag. Bake from frozen, adding 2-3 minutes to the baking time.
A note on flavor development: The peanut butter flavor becomes more pronounced after a day or two. So if you’re making these for a holiday party, bake them a day ahead. Your future self will thank you.
Nutritional Information & Benefits
Here’s the estimated nutritional breakdown for one cookie (based on 36 cookies):
- Calories: 145
- Total Fat: 8g
- Saturated Fat: 3.5g
- Cholesterol: 15mg
- Sodium: 95mg
- Total Carbohydrates: 17g
- Dietary Fiber: 1g
- Sugars: 11g
- Protein: 3g
While these are definitely a treat, they do offer some nutritional benefits. Peanut butter provides healthy monounsaturated fats and a decent amount of protein, which helps keep you full. The cookies also contain a small amount of iron and calcium from the flour and chocolate.
For those with dietary restrictions, this recipe contains gluten, dairy, and peanuts. I’ve included gluten-free and vegan variations above. If you have a peanut allergy, sunflower seed butter works well, though the flavor will be different.
My personal philosophy? These cookies are about joy, not nutrition. They’re a special occasion treat, and that’s okay. Life is too short to skip the good stuff.
Conclusion
These classic peanut butter blossom cookies are more than just a recipe—they’re a little piece of holiday magic. They’re the cookie that brings people together, that makes kitchens smell like Christmas, that turns a regular Tuesday into something special. Whether you’re baking for a cookie swap, a holiday party, or just because you need a moment of sweetness in your day, these cookies deliver every time.
I love how forgiving this recipe is. It doesn’t demand perfection. It doesn’t care if your Kisses are slightly crooked or if your cookies aren’t all exactly the same size. It just wants to be made and shared. And honestly, that’s the best kind of recipe to have in your back pocket.
So go ahead—preheat that oven, unwrap those Kisses, and make a batch. I promise you won’t regret it. And when you do, I’d love to hear how they turned out. Drop a comment below, share a photo, or tell me about your own late-night baking adventures. Happy baking, friends!
Frequently Asked Questions
Can I use natural peanut butter in this recipe?
I don’t recommend it. Natural peanut butter tends to separate and has a different fat content, which can make the cookies greasy and cause them to spread too much. Stick with processed peanut butter like Jif or Skippy for the best results.
Why did my cookies spread too much?
This usually happens when the butter is too soft or the dough isn’t chilled. Make sure your butter is softened but still cool to the touch, and chill the dough for 15-20 minutes if your kitchen is warm. Also, check that your baking soda is fresh—old baking soda loses its leavening power.
Can I make the dough ahead of time?
Absolutely! You can make the dough up to 3 days in advance and keep it in the refrigerator. Let it sit at room temperature for about 10 minutes before rolling and baking. You can also freeze the dough balls for up to 3 months.
How do I prevent the chocolate Kisses from falling off?
Press the Kisses in firmly while the cookies are still hot from the oven. The residual heat will melt the bottom of the chocolate slightly, helping it adhere. Let the cookies cool completely on the baking sheet before moving them to a cooling rack.
Can I use a different type of chocolate?
Yes! Dark chocolate, white chocolate, or caramel-filled Kisses all work beautifully. You can also use chocolate stars or peanut butter cups. Just make sure whatever you use is sturdy enough to hold its shape when pressed into the warm cookie.
Pin This Recipe!
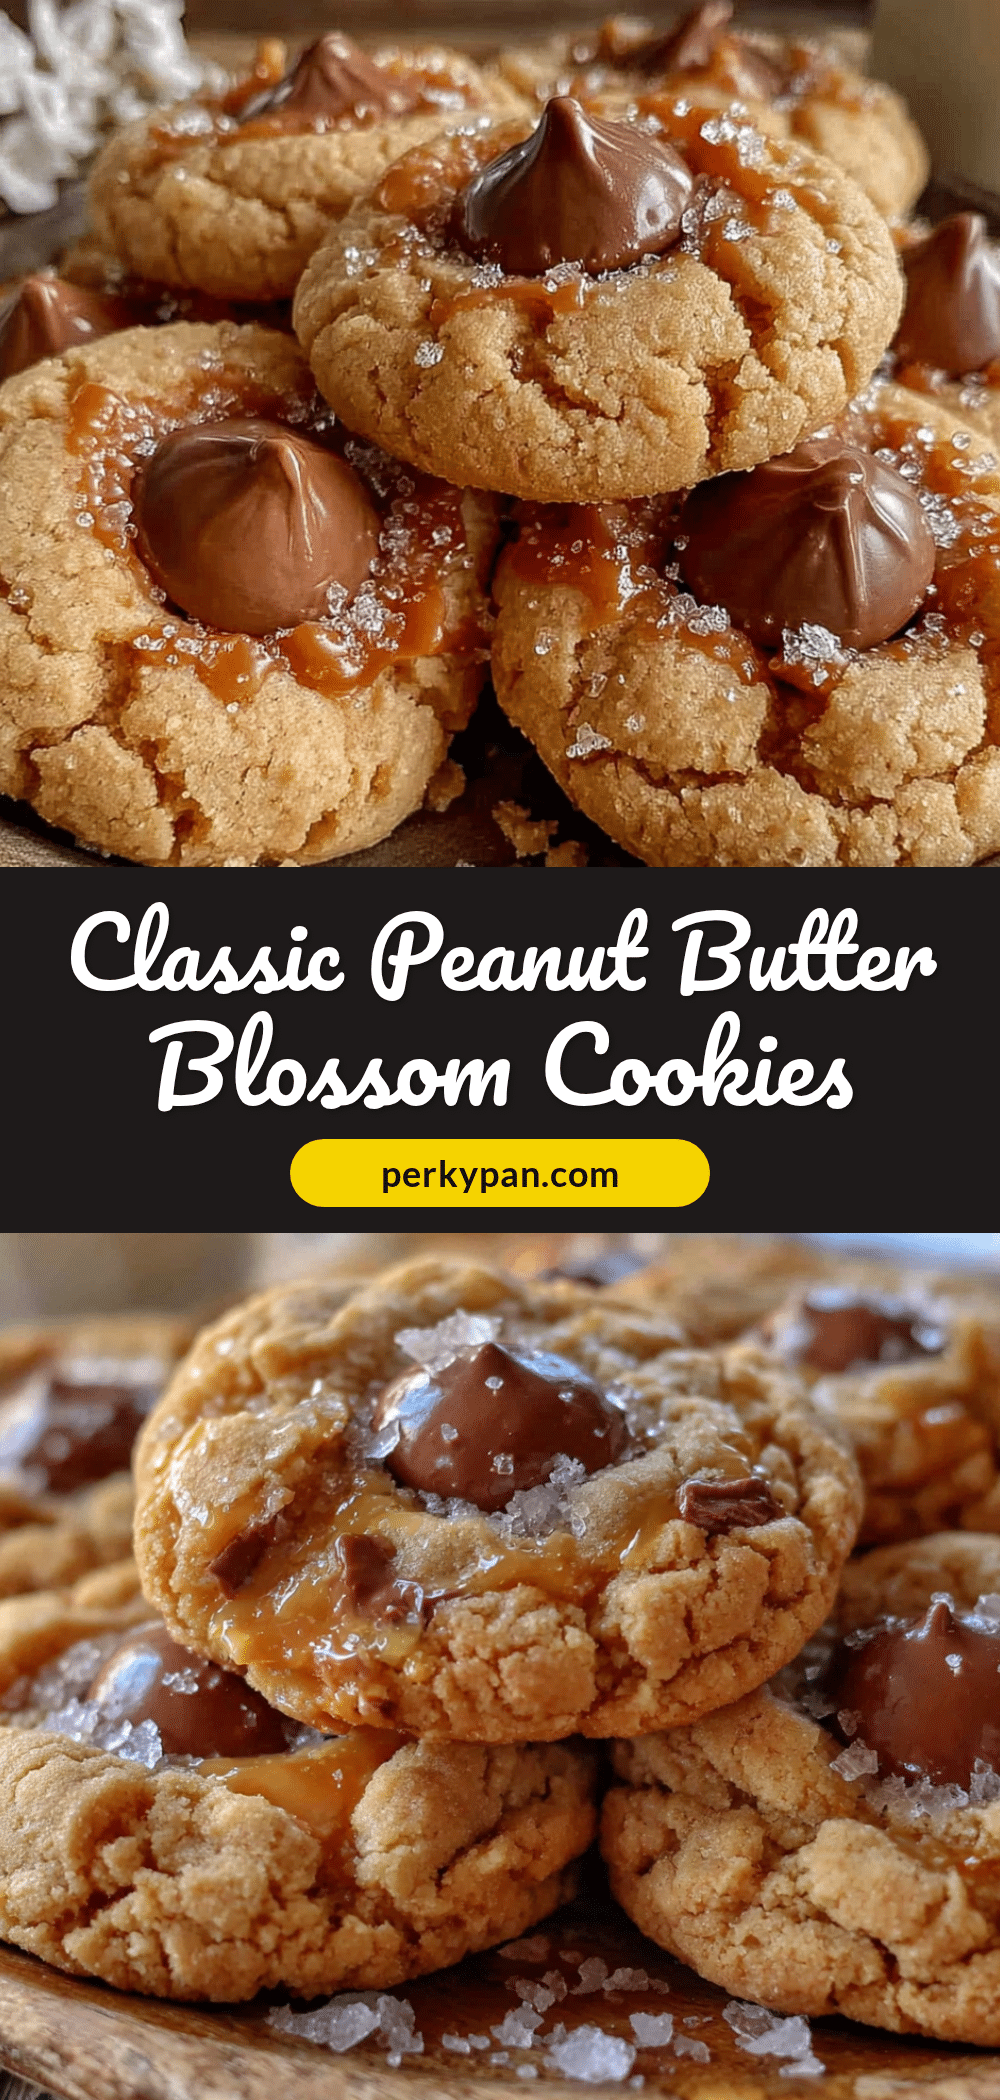
Classic Peanut Butter Blossom Cookies for Easy Holiday Baking

These classic peanut butter blossom cookies are soft, chewy, and topped with a chocolate kiss. Perfect for holiday baking, they come together in about 30 minutes with simple pantry ingredients.
- Prep Time: 15 minutes
- Cook Time: 12 minutes
- Total Time: 30 minutes
- Yield: 36 cookies 1x
- Category: Dessert
- Cuisine: American
Ingredients
- 1/2 cup unsalted butter, softened
- 1/2 cup creamy peanut butter
- 1/2 cup granulated sugar, plus extra for rolling
- 1/2 cup packed light brown sugar
- 1 large egg, room temperature
- 1 teaspoon vanilla extract
- 1 1/2 cups all-purpose flour
- 3/4 teaspoon baking soda
- 1/2 teaspoon salt
- About 36 Hershey’s Kisses, unwrapped
Instructions
- Preheat your oven to 375°F (190°C). Line two baking sheets with parchment paper or silicone mats.
- In a large mixing bowl, beat the softened butter, peanut butter, granulated sugar, and brown sugar together on medium speed until light and fluffy, about 3-5 minutes.
- Beat in the egg and vanilla extract until just combined. Scrape down the sides of the bowl.
- In a separate medium bowl, whisk together the flour, baking soda, and salt.
- Gradually add the flour mixture to the peanut butter mixture, mixing on low speed until just combined.
- If desired, chill the dough in the fridge for 15-20 minutes to prevent spreading.
- Using a cookie scoop or tablespoon, portion out about 1.5 tablespoons of dough. Roll each portion into a smooth ball, then roll in extra granulated sugar until fully coated. Place on prepared baking sheets about 2 inches apart.
- Bake for 10-12 minutes, until lightly golden around the edges but still soft in the center.
- Remove from the oven and immediately press a Hershey’s Kiss into the center of each cookie.
- Let the cookies cool on the baking sheet for 5 minutes, then transfer to a wire rack to cool completely.
Notes
For best results, use room temperature ingredients. Cream butter and sugar for a full 5 minutes for a softer texture. Roll dough balls in granulated sugar before baking for a crunchy coating. Press Kisses in while cookies are hot. Store in an airtight container at room temperature for up to 5 days. Freeze baked cookies for up to 3 months.
Nutrition
- Serving Size: 1 cookie
- Calories: 145
- Sugar: 11
- Sodium: 95
- Fat: 8
- Saturated Fat: 3.5
- Carbohydrates: 17
- Fiber: 1
- Protein: 3
Keywords: peanut butter blossoms, holiday cookies, easy cookies, chocolate kiss cookies, Christmas cookies


