Love this? Save it for later!
Share the inspiration with your friends
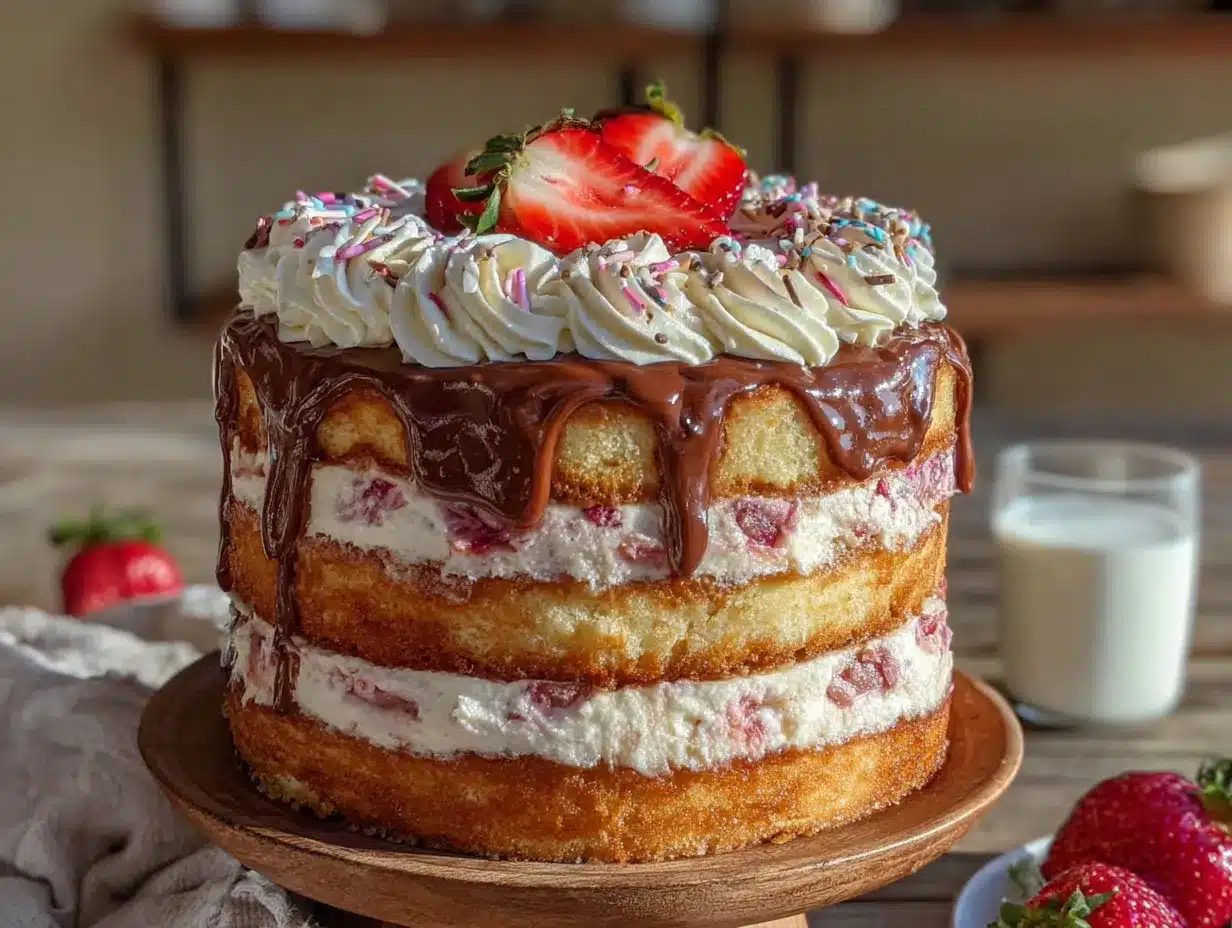
My neighbor, Mrs. Gable, wasn’t trying to impress anyone that Tuesday. I’d stopped by to return her hedge clippers, and the smell hit me before I even got to the screen door. It wasn’t the usual scent of her house—coffee grounds and old books—but something sweeter, almost nostalgic. She shrugged when I asked what she was baking. “Oh, just a cake. Leftover stuff from the pantry.” She waved her hand like it was nothing. But that cake, sitting on her counter with three perfect stripes of chocolate, vanilla, and strawberry, was something else entirely. I mean, I practically invited myself in. She cut me a slice without being asked, still talking about her tomato plants, completely unaware that she had just created the most beautiful cake I’d seen all year. Honestly, I stood there eating it over her sink, trying not to make a mess, and I knew right then I had to figure out how to make it myself. Maybe you’ve been there—that moment when a simple kitchen accident turns into something you can’t stop thinking about. That’s this cake for me.
Why You’ll Love This Recipe
This isn’t just another pretty layer cake. After testing this recipe about seven times (and eating way too much test batter), I can tell you it’s the real deal. Here’s why this version works when others fall flat:
- Three Flavors, One Bowl Method : You make one base batter and split it three ways. Less mess, less cleanup, and honestly, less stress.
- No Artificial Colors Needed : The strawberry layer gets its pink color from real freeze-dried strawberries. No neon red food coloring here.
- Stays Moist for Days : The buttermilk in each layer keeps the crumb tender and soft, even after sitting in the fridge overnight.
- Perfect for Celebrations : Birthdays, anniversaries, or just a Tuesday that needs fixing—this cake fits every occasion.
- Crowd-Pleaser Guaranteed : Everyone has a favorite Neapolitan flavor, so there’s something for everyone in every slice.
I’ve tested this with different flours, different fats, and different strawberry methods. The version I’m sharing today is the one that made Mrs. Gable herself nod in approval. It’s comfort food reimagined—familiar enough to feel like home, but special enough to make you close your eyes after the first bite.
What Ingredients You Will Need
This recipe uses simple, wholesome ingredients to deliver bold flavor and satisfying texture without the fuss. Most of these are pantry staples, but a few deserve a little explanation.
For the Cake Batter (Base)
- 2 ½ cups (310g) all-purpose flour – Spoon and level for accuracy. I prefer King Arthur Flour for consistent results.
- 2 ½ teaspoons baking powder – Make sure it’s fresh. Expired baking powder ruins the rise.
- ½ teaspoon salt – Fine sea salt works best.
- ¾ cup (170g) unsalted butter, softened – Room temperature is crucial. Cold butter won’t cream properly.
- 1 ¾ cups (350g) granulated sugar – Regular white sugar works perfectly here.
- 3 large eggs, room temperature – If you forgot to set them out, place them in warm water for 5 minutes.
- 1 cup (240ml) buttermilk, room temperature – Adds tenderness and helps the cake stay moist (use full-fat if you can).
- 1 tablespoon vanilla extract – Pure vanilla, not imitation. It makes a difference.
For the Three Flavors
- Chocolate Layer: ¼ cup (25g) unsweetened cocoa powder, sifted + 2 tablespoons hot water
- Strawberry Layer: ¾ cup (40g) freeze-dried strawberries, ground into powder + 2 tablespoons buttermilk
- Vanilla Layer: Leave the base batter as is, or add an extra ½ teaspoon vanilla extract
For the Vanilla Buttercream Frosting
- 1 ½ cups (340g) unsalted butter, softened – European-style butter (like Plugrà) gives a richer flavor.
- 5 cups (625g) powdered sugar, sifted – Sifting prevents lumps.
- ¼ cup (60ml) heavy cream – Or whole milk in a pinch.
- 2 teaspoons vanilla extract – Again, pure vanilla.
- Pinch of salt – Balances the sweetness.
For Decoration (Optional)
- Chocolate shavings – Use a vegetable peeler on a chocolate bar.
- Fresh strawberries – Halved or sliced for the top.
- Freeze-dried strawberry pieces – Crushed for garnish.
If you don’t have buttermilk, you can make a quick substitute: add 1 tablespoon of lemon juice or white vinegar to 1 cup of milk, let it sit for 5 minutes, and use it as is. I’ve done this more times than I’d like to admit, and it works every time.
Equipment Needed
You don’t need a professional bakery setup for this cake, but a few tools make the process much smoother.
- Three 8-inch round cake pans – If you only have two, just bake in batches. Let the pans cool completely before reusing.
- Electric hand mixer or stand mixer – A whisk and strong arm will work, but it takes longer and your arm will hurt.
- Parchment paper – Cut circles for the bottom of each pan. This is non-negotiable for clean release.
- Cooling rack – Speeds up cooling and prevents soggy bottoms.
- Offset spatula – Makes frosting the layers so much easier. A butter knife works, but the spatula is worth the $8.
- Cake turntable (optional but helpful) – I got mine for $12 at a discount store. It’s not fancy, but it works.
- Food processor or blender – For grinding the freeze-dried strawberries into powder.
- Sifter or fine-mesh strainer – For cocoa powder and powdered sugar.
One thing I learned the hard way: don’t use dark nonstick pans unless you reduce the oven temperature by 25°F. The cake edges brown too fast. Light-colored aluminum pans are your best bet.
Preparation Method
Take your time with this one. The cake itself isn’t difficult, but rushing through the steps will show in the final result. Trust me, I’ve rushed it before, and the layers came out lopsided and dry.
-
Preheat and prepare your pans. Preheat your oven to 350°F (175°C). Grease three 8-inch round cake pans with butter or nonstick spray, then line the bottoms with parchment paper circles. Dust the sides lightly with flour and tap out the excess. Set aside.
-
Make the base batter. In a medium bowl, whisk together the flour, baking powder, and salt. In a large mixing bowl, beat the softened butter and sugar together on medium speed for 3 to 4 minutes, until light and fluffy. Scrape down the sides of the bowl. Add the eggs one at a time, beating well after each addition. Stir in the vanilla extract.
-
Alternate dry and wet ingredients. With the mixer on low speed, add the flour mixture in three additions, alternating with the buttermilk in two additions. Start and end with the flour mixture. Mix just until combined—overmixing will make the cake tough. The batter should be smooth and thick.
-
Divide the batter into three bowls. Weigh or measure the batter evenly into three separate bowls. You should have about 1 ½ cups of batter per bowl. This is where the magic happens.
-
Make the chocolate layer. In a small bowl, whisk the cocoa powder with 2 tablespoons of hot water until smooth. Fold this mixture into one of the batter bowls until fully combined. The batter will be darker and slightly thinner—that’s normal.
-
Make the strawberry layer. Grind the freeze-dried strawberries in a food processor until they become a fine pink powder. Stir this powder into another bowl of batter along with 2 tablespoons of buttermilk. Mix until the batter is evenly pink. Don’t worry if there are tiny specks of seeds—that’s the real fruit showing off.
-
Keep the vanilla layer plain. Leave the third bowl of batter as is. You can add an extra ½ teaspoon of vanilla if you want, but it’s not necessary.
-
Bake the layers. Pour each batter into a prepared pan and spread evenly. Bake for 22 to 28 minutes, or until a toothpick inserted in the center comes out clean or with a few moist crumbs. The chocolate layer might take a minute or two less than the others—check it early. Let the cakes cool in the pans for 10 minutes, then turn them out onto a cooling rack to cool completely. Do not skip this cooling time. Warm cake crumbles under frosting.
-
Make the frosting. While the cakes cool, beat the softened butter on medium speed for 2 minutes until smooth and creamy. Gradually add the sifted powdered sugar, one cup at a time, beating on low speed. Add the heavy cream, vanilla extract, and salt. Increase to medium-high speed and beat for 3 to 4 minutes until light and fluffy. If the frosting is too thick, add a splash more cream. If it’s too thin, add more powdered sugar.
-
Assemble the cake. Place one cake layer on your serving plate or cake stand. Use a dab of frosting underneath to keep it from sliding. Spread about ¾ cup of frosting evenly on top. Repeat with the second and third layers. Apply a thin crumb coat (a very thin layer of frosting) all over the cake and refrigerate for 20 minutes. This traps the crumbs so your final coat is clean.
-
Frost the outside. After the crumb coat sets, apply the remaining frosting all over the cake. Use an offset spatula for smooth sides or leave it rustic with swirls. Decorate the top with chocolate shavings, fresh strawberries, or crushed freeze-dried strawberries.
Cooking Tips & Techniques
I’ve made this cake enough times to know where things go wrong. Here are the lessons I learned the hard way so you don’t have to.
Don’t skip the buttermilk. I tried making this with regular milk once because I was out of buttermilk. The cake was drier and less tender. Buttermilk reacts with the baking powder to create a softer crumb. If you don’t have it, make the lemon juice substitute I mentioned earlier. It’s not the same, but it’s close enough.
Freeze-dried strawberries are non-negotiable. I tried using strawberry jam once. The cake layer turned out gummy and sunk in the middle. Fresh strawberries add too much moisture. Freeze-dried strawberries give you concentrated flavor without extra liquid. They’re available at most grocery stores or online. One bag is usually enough.
Level your cake layers. After the cakes cool, use a serrated knife to trim off the domed tops. This gives you flat, even layers that stack neatly. Save the scraps for snacking or making cake pops.
Chill between steps. The crumb coat is not optional. I learned this when my first Neapolitan cake looked like a messy abstract painting. A 20-minute chill in the fridge sets the frosting and keeps crumbs out of your final coat.
Room temperature ingredients matter. Cold eggs and cold butter don’t emulsify properly. The batter ends up lumpy and the cake bakes unevenly. Set everything out 30 to 45 minutes before you start mixing. Your future self will thank you.
Variations & Adaptations
One of the best things about this cake is how easy it is to customize. Here are a few ways to make it your own.
Chocolate Strawberry Version: Instead of vanilla buttercream, use chocolate frosting between the layers. The chocolate and strawberry combination is incredible. I tried this for a friend’s birthday and it disappeared in minutes.
Gluten-Free Adaptation: Substitute the all-purpose flour with a 1:1 gluten-free baking flour blend. I’ve used Bob’s Red Mill with good results. Add an extra tablespoon of buttermilk since gluten-free flours tend to absorb more moisture.
Dairy-Free Version: Use vegan butter sticks (not tub margarine) and replace the buttermilk with almond milk mixed with 1 tablespoon of lemon juice. The texture will be slightly denser but still delicious.
Mini Cake Option: Divide the batter among six 4-inch pans and bake for 18 to 20 minutes. Perfect for small gatherings or when you want individual cakes.
Berry Swap: Replace the freeze-dried strawberries with freeze-dried raspberries or blueberries. The color changes but the flavor is just as bright. I made a raspberry version last summer and it was a hit at a picnic.
Serving & Storage Suggestions
This cake is best served at room temperature. If you’ve refrigerated it, let it sit out for 30 to 45 minutes before slicing. The buttercream softens and the cake layers become more tender.
For serving, use a sharp chef’s knife dipped in hot water and wiped dry between slices. This gives you clean, bakery-style cuts. Run the knife under hot water again for each slice.
Storage: Cover the cake with a cake dome or place it in an airtight container. It will keep at room temperature for up to 2 days. After that, refrigerate for up to 5 days. The flavors actually meld together overnight, so day two is often even better than day one.
Freezing: You can freeze the entire cake (unfrosted or frosted) for up to 3 months. Wrap each layer tightly in plastic wrap, then foil. To thaw, place in the refrigerator overnight. If the cake is frosted, let it thaw in the fridge with the wrap removed to prevent condensation from ruining the frosting.
Reheating: If you want a warm slice, microwave individual pieces for 10 to 15 seconds. The buttercream will soften and the cake will taste almost freshly baked.
Nutritional Information & Benefits
Let’s be real—this is a celebration cake. It’s not health food, and that’s okay. But there are a few bright spots worth mentioning.
One slice (1/12 of the cake) contains approximately: 480 calories, 24g fat, 65g carbohydrates, 5g protein, and 42g sugar. The strawberry layer contains real fruit, which adds a small amount of vitamin C and antioxidants. The buttermilk provides calcium and probiotics (though minimal after baking).
For dietary considerations: this recipe contains gluten, dairy, and eggs. It is not suitable for vegans or those with celiac disease without the substitutions mentioned above.
I personally believe that food should nourish more than just your body. This cake nourishes memories, celebrations, and connections. A slice of Neapolitan cake shared with someone you love is good for the soul, and that counts for something.
Conclusion
This Homemade Neapolitan Layer Cake is the kind of recipe that feels special without requiring a culinary degree. It’s three classic flavors in one stunning package—chocolate for the deep thinkers, strawberry for the dreamers, and vanilla for everyone in between. I’ve made this cake for birthdays, potlucks, and random Wednesday nights, and it never fails to get the same reaction: wide eyes and a quiet “wow” after the first bite.
I hope you give this recipe a try. Don’t be afraid to make it your own—swap the berries, change the frosting, or add sprinkles if that’s your thing. The best recipes are the ones that adapt to your kitchen and your people.
When you make it, I’d love to hear how it turned out. Drop a comment below, tag me in your photos, or tell me about the person you shared it with. Happy baking, friend.
Frequently Asked Questions
Can I use strawberry extract instead of freeze-dried strawberries?
You can, but the flavor won’t be as authentic. Freeze-dried strawberries give you real fruit flavor and natural color. Strawberry extract can taste artificial. If you must use extract, add 1 teaspoon along with a drop of pink gel food coloring.
How do I keep my cake layers from sticking to the pan?
Parchment paper circles are your best friend. Grease the pan, place the parchment on the bottom, then grease the parchment too. Let the cakes cool in the pan for exactly 10 minutes before turning out. Any longer and they may stick.
Can I make this cake a day ahead?
Absolutely. In fact, I prefer it. Bake the layers, wrap them tightly in plastic wrap, and store at room temperature overnight. Assemble and frost the next day. The layers are easier to handle when they’ve had time to settle.
Why did my strawberry layer turn brown?
This can happen if the freeze-dried strawberries are old or if the batter was overmixed. The natural pigments in strawberries are sensitive to heat and air. Use fresh freeze-dried strawberries and fold the powder in gently. The color will still be more muted than artificial pink, but that’s the trade-off for real fruit.
Can I use this recipe to make cupcakes?
Yes. Divide the batters into lined cupcake pans, filling each about ⅔ full. Bake at 350°F (175°C) for 16 to 20 minutes. You’ll get about 36 cupcakes—12 of each flavor. Frost with the same buttercream or mix things up with different frostings for each flavor.
Pin This Recipe!
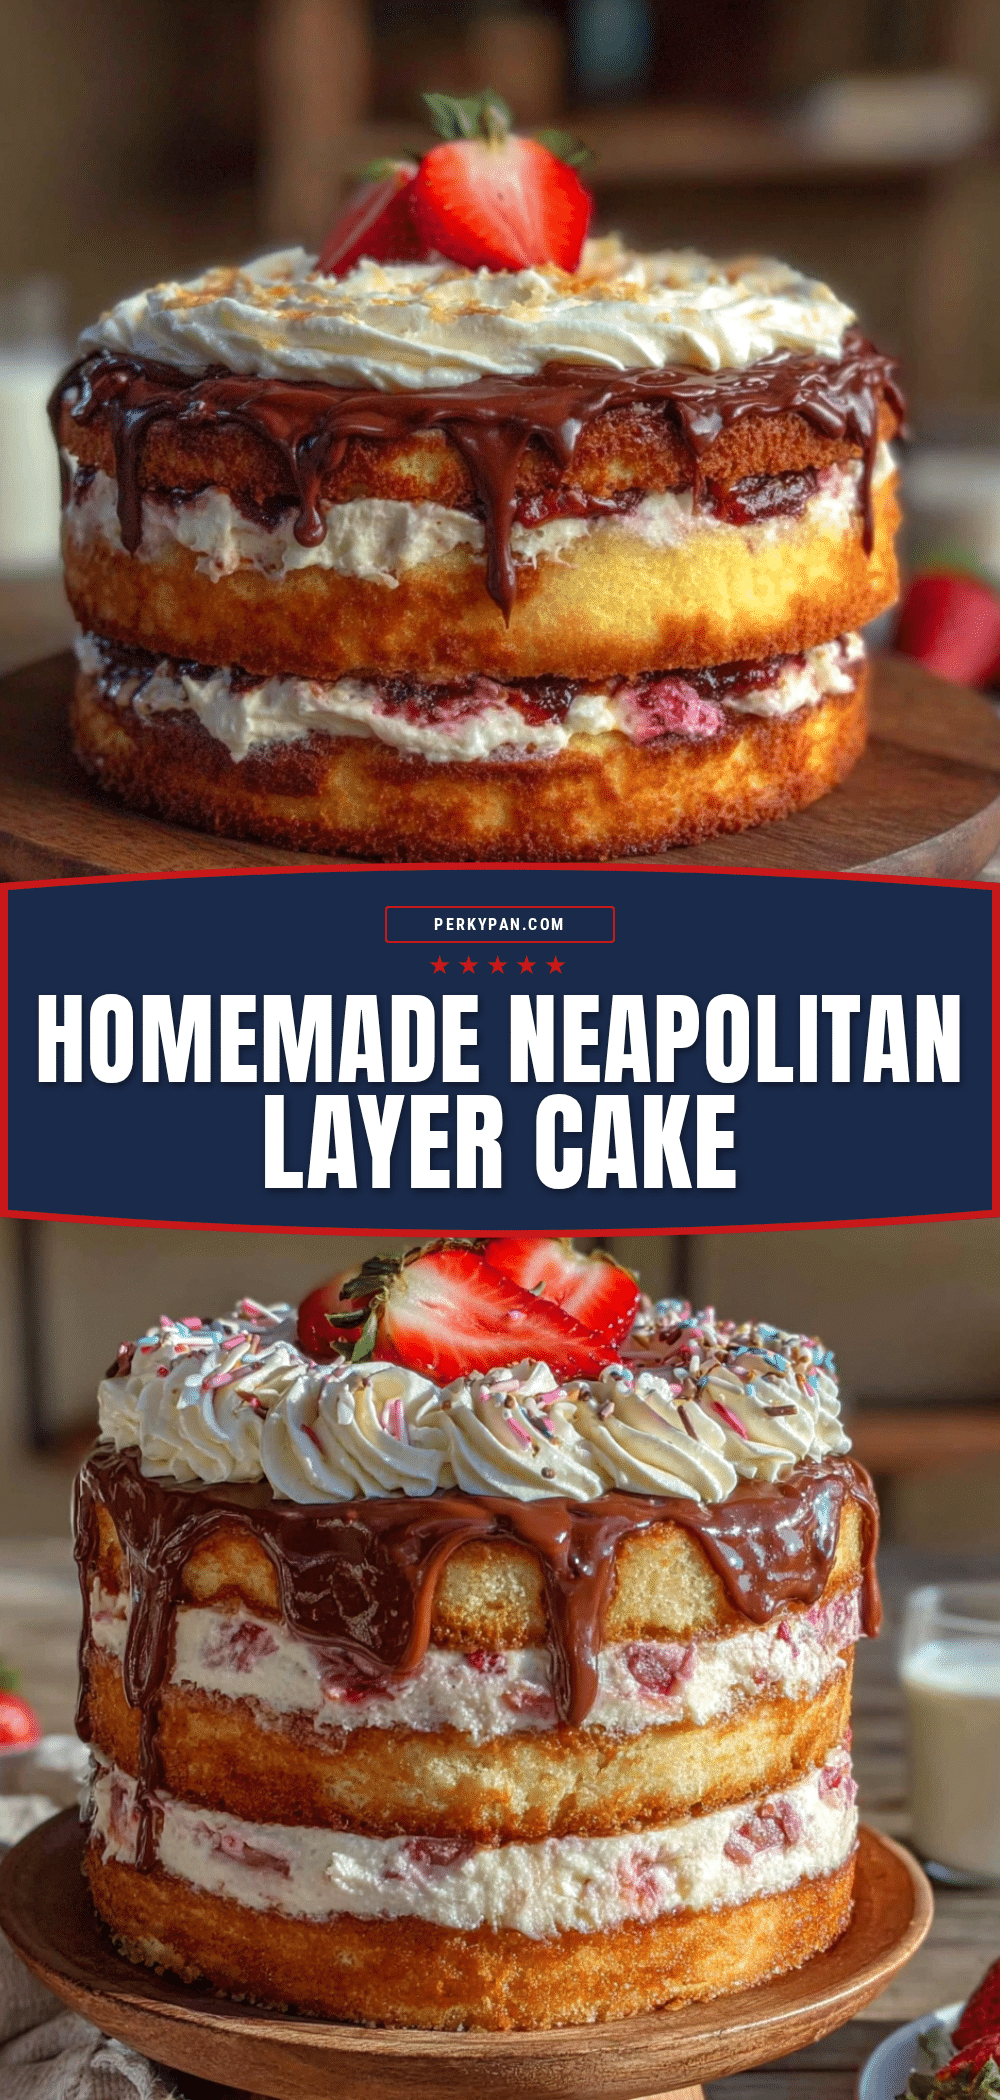
Best Homemade Neapolitan Layer Cake Recipe (Easy 3-Layer)
A stunning three-layer cake featuring chocolate, vanilla, and strawberry flavors made from one base batter. This crowd-pleasing celebration cake stays moist for days and uses real freeze-dried strawberries for natural color and flavor.
- Prep Time: 30 minutes
- Cook Time: 25 minutes
- Total Time: 55 minutes
- Yield: 12 servings 1x
- Category: Dessert
- Cuisine: American
Ingredients
- 2 ½ cups (310g) all-purpose flour
- 2 ½ teaspoons baking powder
- ½ teaspoon fine sea salt
- ¾ cup (170g) unsalted butter, softened
- 1 ¾ cups (350g) granulated sugar
- 3 large eggs, room temperature
- 1 cup (240ml) buttermilk, room temperature
- 1 tablespoon vanilla extract
- ¼ cup (25g) unsweetened cocoa powder, sifted
- 2 tablespoons hot water
- ¾ cup (40g) freeze-dried strawberries, ground into powder
- 2 tablespoons buttermilk (for strawberry layer)
- 1 ½ cups (340g) unsalted butter, softened (for frosting)
- 5 cups (625g) powdered sugar, sifted
- ¼ cup (60ml) heavy cream
- 2 teaspoons vanilla extract
- Pinch of salt
- Chocolate shavings (optional, for decoration)
- Fresh strawberries (optional, for decoration)
- Freeze-dried strawberry pieces (optional, for decoration)
Instructions
- Preheat oven to 350°F (175°C). Grease three 8-inch round cake pans with butter or nonstick spray, line bottoms with parchment paper circles, dust sides lightly with flour, and tap out excess.
- In a medium bowl, whisk together flour, baking powder, and salt. In a large mixing bowl, beat softened butter and sugar on medium speed for 3-4 minutes until light and fluffy. Scrape down sides. Add eggs one at a time, beating well after each. Stir in vanilla extract.
- With mixer on low, add flour mixture in three additions, alternating with buttermilk in two additions, starting and ending with flour. Mix just until combined.
- Divide batter evenly into three separate bowls (about 1 ½ cups each).
- For chocolate layer: In a small bowl, whisk cocoa powder with 2 tablespoons hot water until smooth. Fold into one bowl of batter until fully combined.
- For strawberry layer: Grind freeze-dried strawberries in a food processor to a fine powder. Stir into another bowl of batter along with 2 tablespoons buttermilk until evenly pink.
- Leave the third bowl of batter plain for vanilla layer (optional: add extra ½ teaspoon vanilla).
- Pour each batter into prepared pans and spread evenly. Bake 22-28 minutes until a toothpick inserted in center comes out clean or with a few moist crumbs. Cool in pans 10 minutes, then turn out onto cooling rack to cool completely.
- For frosting: Beat softened butter on medium speed for 2 minutes until smooth. Gradually add sifted powdered sugar, one cup at a time, beating on low. Add heavy cream, vanilla extract, and salt. Increase to medium-high and beat 3-4 minutes until light and fluffy.
- Place one cake layer on serving plate. Spread about ¾ cup frosting evenly on top. Repeat with second and third layers. Apply thin crumb coat all over cake and refrigerate 20 minutes.
- After crumb coat sets, apply remaining frosting all over cake. Decorate with chocolate shavings, fresh strawberries, or crushed freeze-dried strawberries.
Notes
Don’t skip the buttermilk – it creates a softer crumb. Freeze-dried strawberries are non-negotiable for best flavor and texture. Level cake layers with a serrated knife after cooling. Chill between steps for clean frosting. Room temperature ingredients are crucial for proper emulsification. For best results, let cake sit at room temperature 30-45 minutes before serving.
Nutrition
- Serving Size: 1 slice (1/12 of cak
- Calories: 480
- Sugar: 42
- Sodium: 280
- Fat: 24
- Saturated Fat: 15
- Carbohydrates: 65
- Fiber: 1
- Protein: 5
Keywords: Neapolitan cake, layer cake, chocolate cake, vanilla cake, strawberry cake, birthday cake, celebration cake, homemade cake, three-layer cake


