Love this? Save it for later!
Share the inspiration with your friends
My brother-in-law, Mark, had claimed for years that he “didn’t do pumpkin desserts.” Thanksgiving pies were ignored. Pumpkin bread got a polite nod and a quick retreat. For a solid decade, autumn passed him by without a single pumpkin-spiced crumb crossing his lips. Then I caught him, at a family potluck last October, sneaking a third cookie off a platter I’d set out “just for testing.” He had a crumb on his collar and a look of pure betrayal on his face—not at me, but at his own long-held stance.
I didn’t say a word. I just watched him reach for a fourth. Honestly, that moment was more satisfying than any five-star review I’ve ever received. These cookies did what years of gentle coaxing couldn’t. They cracked his resolve with that perfect edge of cinnamon sugar, that impossibly soft center, that whisper of pumpkin that doesn’t scream “fall” but hums it quietly. Maybe you’ve been there with a picky eater or a self-proclaimed dessert purist. You know that feeling when a recipe does the convincing for you.
These pumpkin snickerdoodle cookies have become my secret weapon for every gathering. They show up at Friendsgiving, disappear at office parties, and somehow always end up being the first platter emptied. The trick is they don’t taste like a pumpkin patch exploded in your mouth. They taste like a classic snickerdoodle that just happens to be extra soft, extra cozy, and just a little bit mysterious. I keep making them because they prove something I’ve always believed: the best recipes don’t argue. They just win.
Why You’ll Love This Recipe
Let me be real with you. I’ve tested pumpkin cookie recipes for years—some turned into sad, gummy discs, others were so dry they crumbled before they reached someone’s mouth. This one? It’s the Goldilocks of pumpkin cookies. I’ve had it tested by a pastry chef friend who usually scoffs at “blog recipes,” and she texted me later asking for the measurements in grams. That’s the kind of endorsement that matters.
- Perfect for Hosting: This recipe scales beautifully. You can easily double or triple it for a crowd without any weird chemistry issues. I’ve made batches of 60+ for holiday parties without a single failure.
- Simple Ingredients: No obscure extracts or specialty flours here. You probably have everything except maybe the pumpkin puree, and that’s a canned good worth keeping in your pantry year-round.
- Crowd-Pleaser: These convert pumpkin skeptics every single time. Mark isn’t alone—I’ve had three different people tell me they “don’t usually like pumpkin cookies” while reaching for a second one.
- Make-Ahead Friendly: The dough chills beautifully for up to 3 days, which means you can prep everything the night before your dinner party and just bake them off while guests are arriving. Your kitchen will smell incredible.
- Unbelievably Soft: The texture is the real star here. They stay soft for days, thanks to the pumpkin and a little trick with brown sugar that keeps them tender longer than regular snickerdoodles.
This isn’t just another pumpkin cookie recipe. It’s the one that makes people close their eyes after the first bite. It’s comfort food that happens to look gorgeous on a cake stand, and it’s simple enough that you won’t break a sweat making it for a crowd. That’s the sweet spot, honestly.
What Ingredients You Will Need
This recipe relies on a short list of pantry-friendly ingredients that work together to create that signature soft texture and warm spice profile. Nothing fancy, just good staples handled the right way.
- All-purpose flour, 2 ¾ cups (345g) — Spoon and level it. Don’t scoop directly from the bag or you’ll end up with dry cookies.
- Pumpkin puree, ½ cup (120g) — Not pumpkin pie filling. Make sure you grab the plain stuff. I prefer Libby’s for its consistent thickness.
- Unsalted butter, ½ cup (113g), softened to room temperature — Salted butter works in a pinch, just skip the added salt later.
- Granulated sugar, 1 cup (200g) — For the dough and the coating.
- Light brown sugar, ½ cup (100g), packed — This adds moisture and that slight chewiness. Dark brown sugar works too, for a deeper flavor.
- Large egg, 1, at room temperature — Cold egg can seize the butter mixture. Leave it out for 30 minutes.
- Vanilla extract, 2 teaspoons — Pure vanilla makes a difference here. Imitation works but the flavor is noticeably flatter.
- Baking powder, 2 teaspoons — This gives them lift. Don’t confuse it with baking soda.
- Baking soda, 1 teaspoon — Helps with spreading and browning.
- Salt, ½ teaspoon — Balances the sweetness.
- Pumpkin pie spice, 2 teaspoons — Store-bought is fine, or make your own with cinnamon, nutmeg, ginger, and cloves.
- Cinnamon, 1 teaspoon — For the dough and the coating.
- Cream of tartar, 1 teaspoon — This is the secret to that classic snickerdoodle tang. Don’t skip it.
- For the coating: ¼ cup (50g) granulated sugar mixed with 1 tablespoon cinnamon.
A quick note on the pumpkin puree: if yours looks watery, blot it with a paper towel before measuring. Extra moisture leads to flat cookies, and nobody wants that.
Equipment Needed
You don’t need a fancy bakery setup for these. Here’s what I use and what works as a backup.
- Electric mixer (stand or hand-held) — A hand mixer works perfectly. I’ve made these with a whisk and a sore arm before, and it’s doable but not fun.
- Large mixing bowls — At least two. One for dry ingredients, one for wet.
- Baking sheets — Light-colored ones are best. Dark sheets can cause over-browning on the bottoms.
- Parchment paper or silicone baking mats — Non-negotiable for even baking and easy cleanup.
- Cookie scoop — A 1.5-tablespoon scoop gives consistent sizes. I’ve used two spoons in a pinch, but the scoop is worth the $8.
- Cooling rack — Lets air circulate so the bottoms don’t steam.
- Plastic wrap — For chilling the dough. Beeswax wraps work too.
If you’re baking for a crowd, invest in a second baking sheet. Rotating them through the oven saves so much time.
Preparation Method
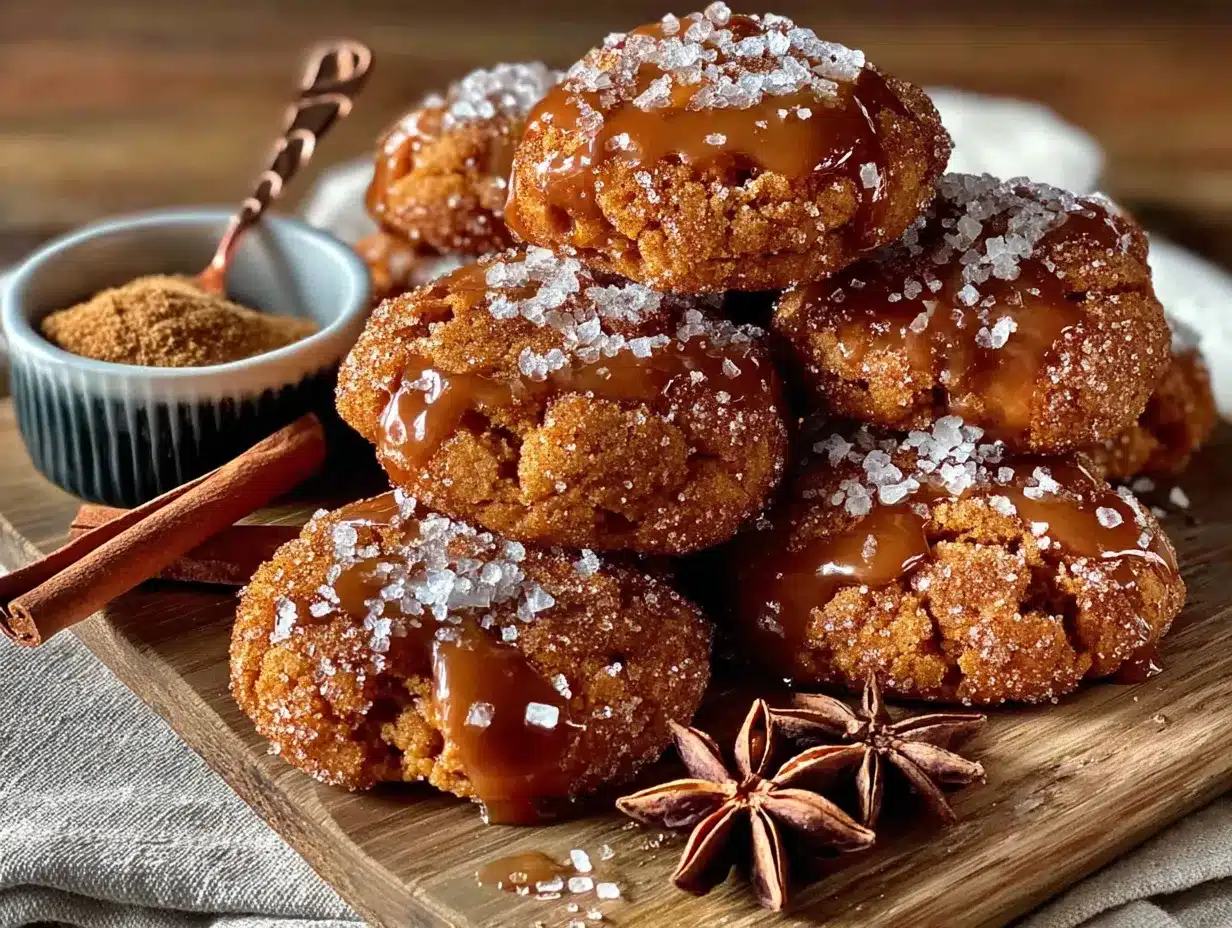
Set aside about 30 minutes of active time, plus at least 1 hour for chilling. The payoff is worth every minute.
- Whisk the dry ingredients. In a medium bowl, combine the flour, baking powder, baking soda, salt, pumpkin pie spice, cinnamon, and cream of tartar. Whisk until evenly distributed. Set aside.
- Cream the butter and sugars. In a large bowl, beat the softened butter, granulated sugar, and brown sugar together on medium speed until light and fluffy, about 2-3 minutes. Scrape down the sides halfway through. You want it pale and airy.
- Add the wet ingredients. Beat in the egg, vanilla extract, and pumpkin puree until fully combined. The mixture might look slightly curdled at this point—that’s normal. Don’t panic.
- Combine wet and dry. Gradually add the flour mixture to the wet ingredients, mixing on low speed just until no streaks of flour remain. Overmixing leads to tough cookies. Stop as soon as it comes together.
- Chill the dough. Cover the bowl with plastic wrap and refrigerate for at least 1 hour, or up to 3 days. This step is crucial—the dough is very sticky when warm, and chilling prevents excessive spreading. I’ve skipped this before and ended up with pumpkin-flavored pancakes. Learn from my mistake.
- Preheat and prep. When ready to bake, preheat your oven to 350°F (175°C). Line two baking sheets with parchment paper.
- Make the coating. In a small bowl, stir together the ¼ cup granulated sugar and 1 tablespoon cinnamon.
- Shape and coat. Using a cookie scoop or tablespoon, portion out about 1.5 tablespoons of dough. Roll it into a ball between your palms—the dough will still be slightly sticky but manageable. Roll each ball generously in the cinnamon sugar mixture and place on the prepared baking sheet, spacing them about 2 inches apart.
- Bake. Bake for 10-12 minutes, rotating the pans halfway through. The cookies should look puffed and slightly crackled on top, with set edges but still soft centers. They will continue to set as they cool, so don’t overbake them looking for firmness.
- Cool. Let the cookies rest on the baking sheet for 5 minutes. This allows them to firm up enough to transfer. Then move them to a wire rack to cool completely. If you try to move them too soon, they’ll fall apart. Trust me, I’ve had to eat the evidence more than once.
Cooking Tips & Techniques
I’ve made these cookies at least two dozen times, and I’ve collected a few hard-won lessons along the way.
Don’t skip the chill. I know, I know. You’re in a rush. But warm pumpkin dough is basically batter, and it will spread into thin, sad discs. I once tried to rush this step before a potluck and ended up with cookies that looked like lace doilies. They tasted fine but looked terrible. Give it the full hour.
Measure your pumpkin carefully. Too much moisture is the enemy here. If your pumpkin puree looks watery, blot it with a paper towel before measuring. I’ve also found that different brands have different moisture levels—Libby’s is consistently thick, while some store brands are soupier. Adjust accordingly.
Use a light-colored baking sheet. Dark sheets absorb more heat and can burn the bottoms before the tops are done. If that’s all you have, reduce the oven temperature by 25°F and watch them closely.
Rotate your pans. Halfway through baking, swap the top rack pan to the bottom and vice versa. Most ovens have hot spots, and this ensures even baking. I learned this after a batch came out with half the cookies perfectly golden and the other half pale.
Let them cool on the sheet. Those 5 minutes of rest time are non-negotiable. The cookies are fragile right out of the oven because the sugar coating is still molten. Give them time to set up, and you’ll have perfect cookies every time.
Variations & Adaptations
One of the best things about this recipe is how flexible it is. Here are a few ways I’ve adapted it for different crowds and occasions.
Gluten-Free Version: Swap the all-purpose flour with a 1:1 gluten-free baking flour blend. I’ve used Cup4Cup and King Arthur’s measure-for-measure blend with great results. Add an extra tablespoon of flour if the dough feels too sticky. The texture is slightly more tender but just as delicious.
Dairy-Free Option: Use vegan butter sticks (not the spreadable kind in a tub) in place of regular butter. Miyoko’s and Country Crock Plant Butter work well. The cookies will be slightly less fluffy but still soft and flavorful.
Spice It Up: For a bolder flavor, add ¼ teaspoon of ground ginger and a pinch of cloves to the dough. I do this when I’m making them for a fall-themed dinner party where people expect more warmth. It pairs beautifully with mulled cider.
Brown Butter Version: This is my personal favorite for impressing guests. Brown the butter before using it—cook it in a saucepan over medium heat until it turns golden and smells nutty, about 5-7 minutes. Let it cool completely before creaming it with the sugars. The flavor becomes almost toffee-like. Fair warning: this version disappears fastest.
Stuffed Cookies: For a showstopper, press a small piece of cream cheese or a caramel candy into the center of each dough ball before rolling it in sugar. Seal the dough completely around the filling. Bake as directed. The molten center is pure magic at a dinner party.
Serving & Storage Suggestions
These cookies are best served slightly warm, when the centers are still soft and the cinnamon sugar coating is perfectly set. For a dinner party, I like to arrange them on a large wooden board or a vintage cake stand—they look rustic and inviting. A dusting of extra cinnamon sugar right before serving adds visual appeal.
What to serve alongside: A glass of cold milk is the classic pairing, but for adult gatherings, they’re fantastic with spiced chai, hot apple cider, or even a bourbon old fashioned. The warm spices in the cookies complement those flavors beautifully.
Storage: Keep them in an airtight container at room temperature for up to 5 days. Place a slice of bread in the container to help maintain softness—the cookies will absorb moisture from the bread. Replace the bread slice every other day.
Freezing: These freeze beautifully. You can freeze the baked cookies for up to 3 months, or freeze the unbaked dough balls (coated in cinnamon sugar) on a baking sheet, then transfer them to a freezer bag. Bake from frozen, adding 2-3 extra minutes to the baking time. This is my go-to trick for having fresh cookies ready when guests drop by unexpectedly.
Reheating: Pop a cookie in the microwave for 10 seconds to bring back that just-baked softness. For a larger batch, warm them in a 300°F oven for 5 minutes.
Nutritional Information & Benefits
Per cookie (based on a batch of 24): approximately 145 calories, 6g fat, 22g carbohydrates, 2g protein, 1g fiber, 12g sugar. These are estimates and will vary based on specific ingredients and portion sizes.
While these are definitely a treat, the pumpkin puree adds a surprising nutritional boost. It’s rich in vitamin A (great for eye health) and provides a decent amount of fiber, which helps balance blood sugar response compared to cookies made with just butter and sugar. The cinnamon in the coating has anti-inflammatory properties, and the cream of tartar adds a small amount of potassium.
If you’re watching your sugar intake, you can reduce the coating sugar by half—the cookies will still be plenty sweet. For a lower-carb option, substitute almond flour (use 2 ½ cups plus 2 tablespoons) and reduce the brown sugar to ¼ cup. The texture will be more delicate, but the flavor holds up well.
These are not health food, and they don’t pretend to be. But knowing there’s actual pumpkin in there makes me feel slightly better about eating four in one sitting.
Conclusion
These pumpkin snickerdoodle cookies have earned their spot as my most-requested recipe for a reason. They’re the kind of cookie that makes people pause mid-conversation, look down at what they’re holding, and say, “Wait, what is this?” They’re soft, they’re spiced just right, and they have that classic snickerdoodle tang that keeps you coming back for one more.
I love that they’re forgiving enough for a beginner baker but impressive enough to win over a room full of skeptics. I love that I can make the dough ahead of time and bake them off while guests are pouring their first drink. And I really love that they turned my brother-in-law into a pumpkin convert—though he’ll never admit it out loud.
Try them for your next gathering. Make a double batch, because trust me, one batch won’t be enough. And when someone asks for the recipe (they will), send them my way. I’d love to hear how they turned out for you—leave a comment below and tell me who you converted.
Frequently Asked Questions
Can I use pumpkin pie filling instead of pumpkin puree?
No, please don’t. Pumpkin pie filling has added sugar and spices that will throw off the whole recipe. Stick with plain 100% pumpkin puree. Your cookies will thank you.
Why did my cookies spread too much?
Most likely the dough wasn’t chilled long enough, or your pumpkin puree was too watery. Make sure you chill the dough for at least 1 hour, and blot any excess moisture from the pumpkin before adding it. Also check that your butter was properly softened, not melted.
Can I make these cookies without cream of tartar?
You can substitute with 2 teaspoons of lemon juice or white vinegar mixed into the wet ingredients. The cream of tartar gives snickerdoodles their signature tang and helps with texture, but the substitute will work in a pinch.
How do I know when the cookies are done baking?
Look for puffed centers with crackled tops and set edges. The centers will look slightly underdone and soft—that’s exactly what you want. They’ll continue to set as they cool on the baking sheet. If you wait until they look fully done in the oven, they’ll be overbaked.
Can I double this recipe?
Absolutely. This recipe doubles beautifully. Just make sure your mixing bowl is large enough to handle the extra volume. You may need to chill the dough in two separate bowls to ensure even cooling. The baking time stays the same.
Pin This Recipe!
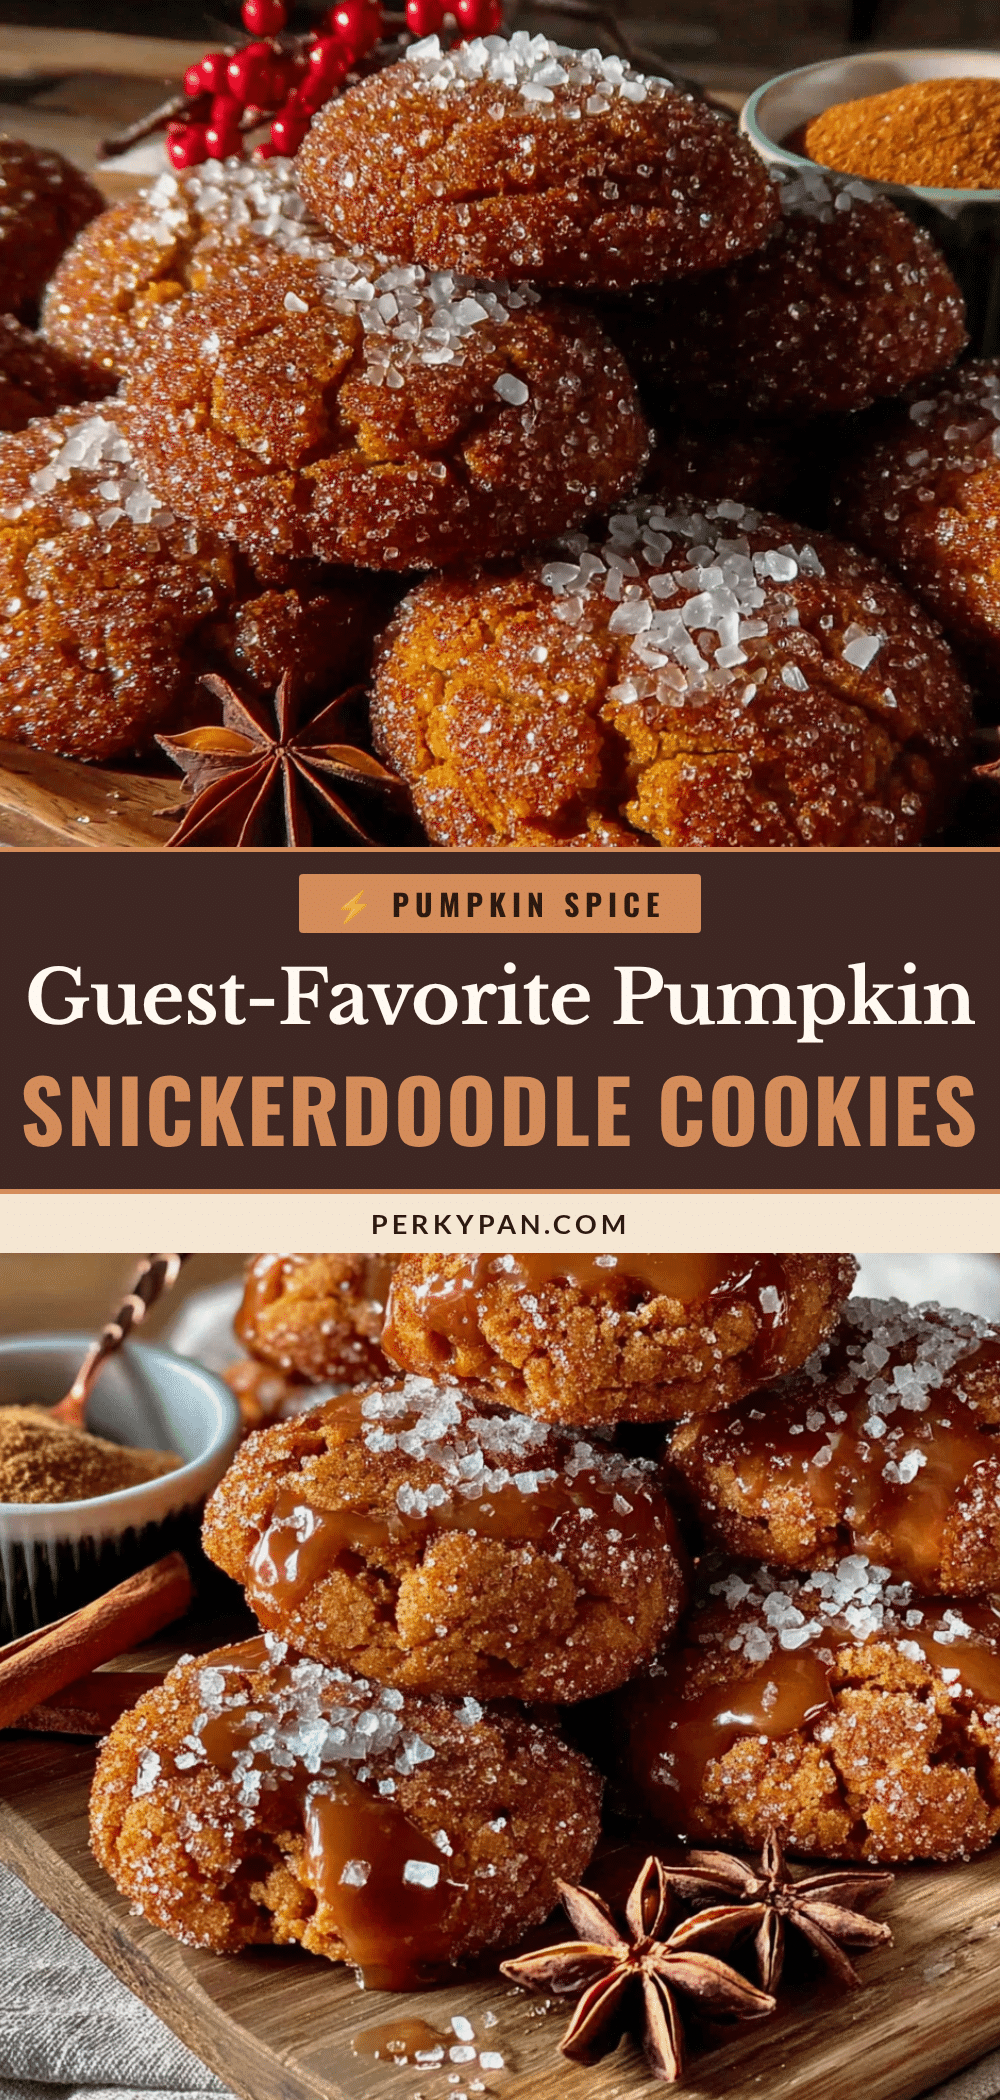
Best-Ever Pumpkin Snickerdoodle Cookies Recipe

These pumpkin snickerdoodle cookies are impossibly soft, perfectly spiced, and have that classic snickerdoodle tang. They convert pumpkin skeptics every time and are the perfect crowd-pleasing treat for any gathering.
- Prep Time: 30 minutes
- Cook Time: 12 minutes
- Total Time: 1 hour 42 minutes (including 1 hour chilling)
- Yield: 24 servings 1x
- Category: Dessert
- Cuisine: American
Ingredients
- 2 ¾ cups (345g) all-purpose flour
- ½ cup (120g) pumpkin puree (not pumpkin pie filling)
- ½ cup (113g) unsalted butter, softened to room temperature
- 1 cup (200g) granulated sugar
- ½ cup (100g) light brown sugar, packed
- 1 large egg, at room temperature
- 2 teaspoons vanilla extract
- 2 teaspoons baking powder
- 1 teaspoon baking soda
- ½ teaspoon salt
- 2 teaspoons pumpkin pie spice
- 1 teaspoon cinnamon
- 1 teaspoon cream of tartar
- For the coating: ¼ cup (50g) granulated sugar mixed with 1 tablespoon cinnamon
Instructions
- Whisk the dry ingredients. In a medium bowl, combine the flour, baking powder, baking soda, salt, pumpkin pie spice, cinnamon, and cream of tartar. Whisk until evenly distributed. Set aside.
- Cream the butter and sugars. In a large bowl, beat the softened butter, granulated sugar, and brown sugar together on medium speed until light and fluffy, about 2-3 minutes. Scrape down the sides halfway through.
- Add the wet ingredients. Beat in the egg, vanilla extract, and pumpkin puree until fully combined. The mixture might look slightly curdled—that’s normal.
- Combine wet and dry. Gradually add the flour mixture to the wet ingredients, mixing on low speed just until no streaks of flour remain. Do not overmix.
- Chill the dough. Cover the bowl with plastic wrap and refrigerate for at least 1 hour, or up to 3 days.
- Preheat and prep. When ready to bake, preheat your oven to 350°F (175°C). Line two baking sheets with parchment paper.
- Make the coating. In a small bowl, stir together the ¼ cup granulated sugar and 1 tablespoon cinnamon.
- Shape and coat. Using a cookie scoop or tablespoon, portion out about 1.5 tablespoons of dough. Roll into a ball, then roll generously in the cinnamon sugar mixture. Place on prepared baking sheet, spacing 2 inches apart.
- Bake. Bake for 10-12 minutes, rotating the pans halfway through. Cookies should look puffed and slightly crackled on top with set edges but soft centers.
- Cool. Let cookies rest on the baking sheet for 5 minutes, then transfer to a wire rack to cool completely.
Notes
Don’t skip chilling the dough—it prevents excessive spreading. If pumpkin puree looks watery, blot with a paper towel before measuring. Use a light-colored baking sheet to prevent over-browning. Let cookies cool on the sheet for 5 minutes before transferring. For gluten-free, use a 1:1 gluten-free flour blend. For dairy-free, use vegan butter sticks. Cookies can be stored in an airtight container at room temperature for up to 5 days, or frozen for up to 3 months.
Nutrition
- Serving Size: 1 cookie
- Calories: 145
- Sugar: 12
- Sodium: 120
- Fat: 6
- Saturated Fat: 3.5
- Carbohydrates: 22
- Fiber: 1
- Protein: 2
Keywords: pumpkin snickerdoodle cookies, pumpkin cookies, snickerdoodle, fall cookies, pumpkin dessert, soft cookies, cinnamon sugar cookies


