Love this? Save it for later!
Share the inspiration with your friends
My neighbor wasn’t trying to impress anyone. I’d stopped by to borrow a ladder—something mundane, right?—and the smell hit me before I even got through the side gate. It was buttery, slightly smoky, and undeniably nostalgic. I walked into her kitchen to find a baking sheet covered in what looked like tiny, adorable ghosts wrapped in blankets. She was pulling them out of the oven, completely nonchalant, while her kid was already trying to grab one off the tray. “Oh, those?” she said, waving a spatula. “Just hot dogs. My kid calls them mummies.” She said it like it was nothing. But me? I stood there, ladder completely forgotten, watching her plop little dots of cheese onto each one to form eyes. I mean, honestly, the creativity was so simple it almost made me mad I hadn’t thought of it myself. That day, I learned that the best party food doesn’t come from a fancy cookbook or a celebrity chef’s Instagram. It comes from a mom trying to get her kid to eat dinner on a random Tuesday. Maybe you’ve been there—standing in someone else’s kitchen, watching them do something so clever and effortless that you immediately start planning when you can make it yourself.
These Guest-Favorite Mummy Hot Dogs with Cheese Eyes are that recipe for me. They’re the kind of dish that steals the table at a Halloween party or a spooky-themed get-together without the host breaking a sweat. And let me tell you, I’ve made them for every gathering since that day. They’re goofy, they’re delicious, and they make people smile before they even take a bite. That’s the magic of a recipe that wasn’t trying to be anything special—it just ended up being unforgettable.
Why You’ll Love This Recipe
Let’s be real for a second. Hosting a party is stressful enough without trying to pull off some Pinterest-fail recipe that takes three hours and seventeen specialty ingredients. These mummy hot dogs are the opposite of that. They’re the hero of the snack table, and they make you look like a culinary genius with almost zero effort.
- Quick & Easy: From start to finish, you’re looking at about 25 minutes. That’s it. You can prep these while the first guests are walking through the door.
- Simple Ingredients: Hot dogs, crescent roll dough, cheese, and a little mustard. Chances are, you already have these in your kitchen right now.
- Perfect for Parties: Halloween bash, spooky movie night, or even a kid’s birthday party—these little guys fit right in. They’re a guaranteed crowd-pleaser for both kids and adults.
- Crowd-Pleaser: I’ve never, and I mean never, seen a leftover mummy hot dog. They vanish within minutes. Adults sneak them when they think no one is looking. It’s hilarious.
- Unbelievably Delicious: The combination of flaky, buttery dough wrapped around a juicy hot dog, topped with melty cheese—it’s comfort food at its finest. The texture is next-level.
What makes this version different from all the other mummy hot dog recipes out there? It’s the cheese eyes, honestly. Most recipes just use mustard dots, which are fine, but they don’t have that same gooey, satisfying pull. Using small squares of cheese gives the mummies actual faces that melt slightly in the oven, creating a look that’s both creepy and cute. Plus, I’ve tested the dough wrapping technique to ensure it doesn’t unravel during baking. No one wants a naked hot dog at a party.
This recipe isn’t just good—it’s the kind that makes you close your eyes after the first bite. It’s comfort food reimagined for a party setting: faster, funnier, and with the same soul-soothing satisfaction. Perfect for impressing guests without stress, or turning a simple snack into something memorable.
What Ingredients You Will Need
This recipe uses simple, everyday ingredients to deliver big flavor and a fun presentation. No fancy grocery trips needed—you probably have most of these in your fridge and pantry already.
- 1 can (8 oz) refrigerated crescent roll dough (I recommend Pillsbury for consistent flakiness; the store brands sometimes tear too easily when you’re wrapping)
- 8 beef or turkey hot dogs (use your favorite brand—I’ve had great luck with Applegate for a cleaner ingredient list, but classic Ball Park works beautifully too)
- 16 small squares of cheddar or mozzarella cheese (about ¼-inch thick each; pre-sliced cheese works best for uniform eyes, but you can cut your own from a block)
- Mustard or ketchup for decoration (optional, for adding pupils or mouth details after baking)
Ingredient Selection Tips:
- For the hot dogs, look for ones that are plump and juicy. Thin hot dogs can look a bit sad wrapped in dough. If you’re feeding a crowd, cocktail sausages or lil’ smokies work great as a mini version—just adjust the dough strip size.
- For the cheese, cheddar gives a nice orange color that pops against the golden dough, while mozzarella melts into a more ghostly white eye. Both are delicious. I personally use a mix sometimes for variety.
- If you’re dairy-free, swap the cheese for small slices of dairy-free cheese or even a dot of hummus for a savory eye. It won’t melt the same way, but it still looks fun.
Substitution Guidance:
- Gluten-free? Use a gluten-free crescent dough or puff pastry sheet. Just roll it out thin and cut into strips.
- Vegetarian? Use plant-based hot dogs or even cheese sticks wrapped in dough. They bake up just as nicely.
- Low-carb? Skip the dough entirely and use thin slices of zucchini or bell pepper to wrap the hot dogs. Bake at the same temperature until the peppers soften.
Equipment Needed
You don’t need a professional kitchen to pull these off. Here’s what you’ll need:
- Baking sheet (a standard half-sheet pan works perfectly; line it with parchment paper for easy cleanup)
- Parchment paper or silicone baking mat (prevents sticking and makes cleanup a breeze—honestly, I never bake without it)
- Sharp knife or pizza cutter (for cutting the dough into strips; a pizza cutter is faster and gives cleaner edges)
- Small cutting board (for cutting cheese squares)
- Pastry brush (optional) (for brushing with egg wash if you want extra golden mummies)
Budget-Friendly Options: If you don’t have a pizza cutter, a regular kitchen knife works just fine. No pastry brush? No problem. You can use a spoon to dab on a little milk or butter for browning. I’ve done it with my fingers in a pinch, and it still worked.
Preparation Method
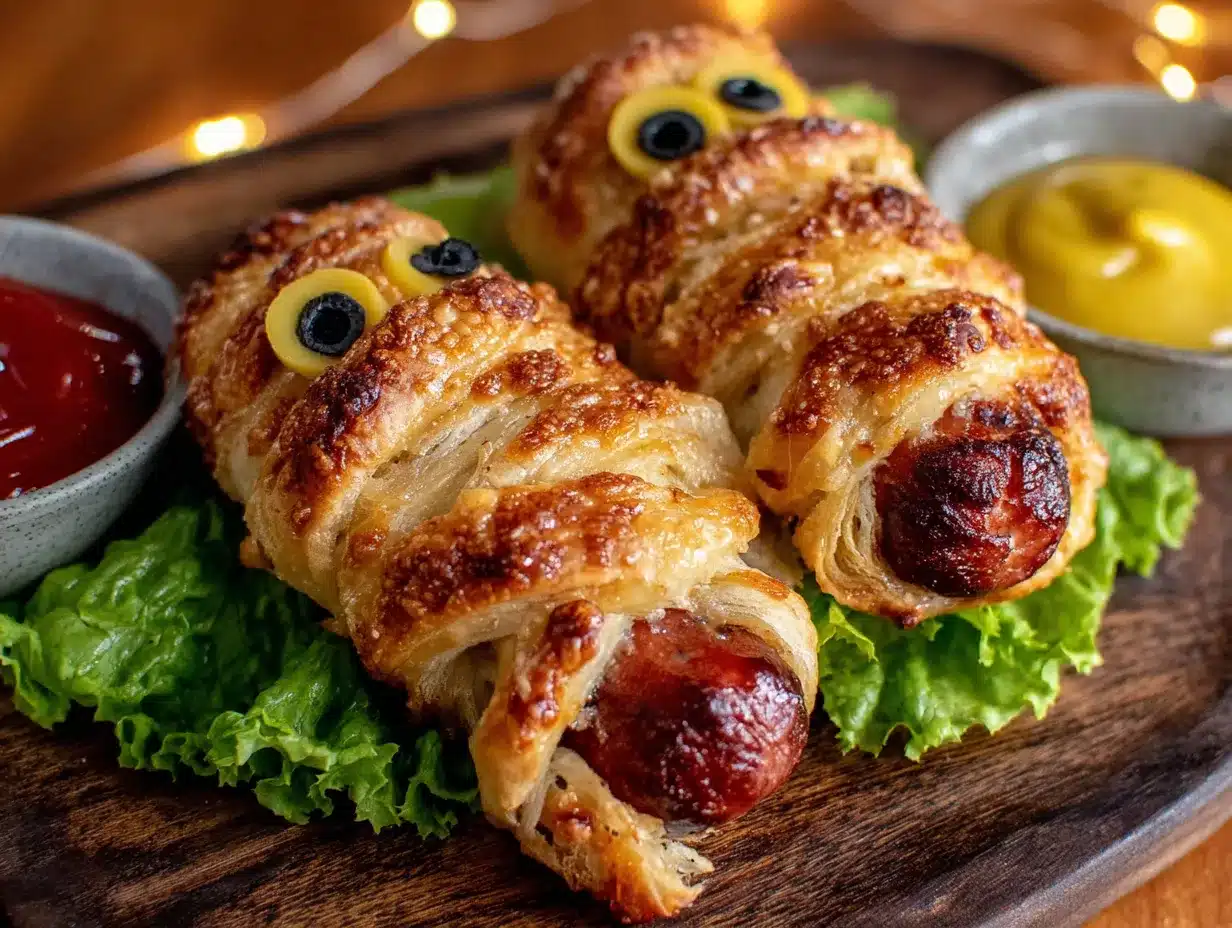
Alright, let’s get to the fun part. This is where the mummies come to life—literally.
- Preheat your oven to 375°F (190°C). Line a baking sheet with parchment paper or a silicone mat. This step is non-negotiable if you want easy cleanup. Trust me on this one.
- Prepare the dough. Open the can of crescent roll dough carefully—I’ve had it pop open and startle me more times than I’d like to admit. Unroll the dough and press the perforated seams together to form one solid rectangle. If you’re using crescent roll sheets (the seamless kind), even better. You want a flat, even piece of dough.
- Cut the dough into strips. Using a sharp knife or pizza cutter, slice the dough lengthwise into about 8 to 10 thin strips, roughly ½-inch wide. Don’t worry if they’re not perfectly even—mummies are supposed to look a little ragged. It adds character.
- Wrap the hot dogs. Take one hot dog and start wrapping a dough strip around it, starting at one end and working your way to the other. Leave a small gap near the top of the hot dog for the face—about 1 inch of exposed hot dog. The dough should overlap slightly as you wrap, like bandages. Don’t pull the dough too tight; it will expand as it bakes. Repeat with the remaining hot dogs and dough strips. You should get about 8 mummies from one can of dough.
- Place on the baking sheet. Arrange the wrapped hot dogs on the prepared baking sheet, leaving about 1 inch of space between each one. They won’t spread much, but a little breathing room helps them bake evenly.
- Add the cheese eyes. Press two small squares of cheese onto the exposed hot dog area at the top of each mummy. Push them in gently so they stick. Don’t worry if they look a little crooked—mummies aren’t known for their perfect symmetry.
- Bake. Place the baking sheet in the preheated oven and bake for 12 to 15 minutes, or until the dough is golden brown and the cheese has melted slightly. The hot dogs will be heated through and the dough will be flaky. Keep an eye on them after the 12-minute mark; ovens vary, and you don’t want burnt mummies.
- Cool slightly and add details. Let the mummy hot dogs cool on the baking sheet for about 2 minutes. This is important—the cheese will be molten hot right out of the oven. Once they’re cool enough to handle, use a toothpick to add tiny dots of mustard or ketchup onto the cheese for pupils. You can also draw little mouths if you’re feeling artistic. I usually just do pupils; it’s faster and still looks adorable.
- Serve immediately. These are best enjoyed warm, when the dough is flaky and the cheese is still soft. Arrange them on a platter and watch them disappear.
Sensory Cues: When the mummies are done, the kitchen will smell like buttery, toasted dough and savory hot dogs. The dough should be a deep golden brown, and the cheese eyes will look slightly puffed and glossy. If you tap a mummy lightly, the dough should feel crisp on the outside.
Cooking Tips & Techniques
I’ve made these mummy hot dogs at least a dozen times now, and I’ve learned a few things the hard way. Here’s what I wish someone had told me the first time.
Don’t overwork the dough. Crescent roll dough is delicate. If you handle it too much, it can become tough and won’t puff up as nicely in the oven. Cut the strips quickly and wrap gently. If the dough tears, just press it back together—it’s forgiving stuff.
Leave the face gap. I made the mistake of wrapping the dough all the way to the top of the hot dog once, and the mummies ended up looking like burritos. Not the vibe. Leave that 1-inch gap at the top so the cheese eyes have a place to sit. It’s what makes them recognizable as mummies.
Watch the cheese. Cheese can slide off the hot dog if it’s not pressed in firmly. I learned this when I found a melted cheese puddle on my baking sheet instead of on the mummy’s face. Push the cheese squares into the hot dog a little, almost embedding them slightly. The heat will help them stick.
Multitasking strategy: While the mummies are baking, set out your dipping sauces and arrange the serving platter. I like to have small bowls of ketchup, mustard, and even a little ranch dressing ready. That way, when the timer goes off, you’re ready to serve immediately.
Consistency tip: For evenly baked mummies, try to make the dough strips roughly the same width. I use a ruler sometimes—okay, I’m a little extra—but eyeballing it works just fine. The key is that thinner strips will crisp up more, while thicker strips stay softer.
Variations & Adaptations
One of the best things about this recipe is how easy it is to twist it into something new. Here are a few variations I’ve tried and loved.
Spicy Mummies: Use spicy jalapeño cheddar cheese for the eyes and add a thin slice of pickled jalapeño under each cheese square. The heat cuts through the richness of the dough and hot dog beautifully. I made these for a Halloween party last year, and they were the first to go.
Breakfast Mummies: Swap the hot dogs for breakfast sausage links and use a slice of American cheese for the eyes. Serve them with maple syrup for dipping. It sounds weird, but the sweet and savory combo is incredible. I made these for a lazy Saturday morning, and my kids still ask for them.
Vegetarian Mummies: Use plant-based hot dogs or even cheese sticks (like mozzarella sticks) wrapped in dough. The cheese sticks will melt into a gooey center, which is honestly even more fun. Just reduce the baking time by a few minutes since the filling is already cooked.
Gluten-Free Mummies: Use a gluten-free crescent dough or puff pastry. I’ve tried a few brands, and my favorite is the Schär puff pastry sheets. They roll out thin and bake up flaky. Just follow the package directions for baking time, as gluten-free doughs can vary.
Sweet Mummies: For a dessert version, wrap the dough around a banana slice or a marshmallow, and use white chocolate chips for the eyes. Bake until the dough is golden, then drizzle with a little caramel sauce. It’s a fun twist for a Halloween dessert table.
Serving & Storage Suggestions
These mummy hot dogs are best served warm, right out of the oven. The flaky dough and melted cheese are at their peak within the first 15 minutes. Arrange them on a large platter—I like to use a black or orange platter for Halloween—and scatter a few extra cheese squares or pretzel sticks around for a spooky vibe.
What to serve alongside: These pair beautifully with classic party dips. I always set out small bowls of ketchup, mustard, and a creamy ranch or chipotle mayo. For a heartier spread, serve them with a side of roasted sweet potato wedges or a simple green salad. If you’re hosting a Halloween party, add a bowl of popcorn or pumpkin seeds for crunch.
Storage: If you have leftovers—which, let’s be honest, is rare—store them in an airtight container in the refrigerator for up to 3 days. The dough will soften slightly, but they’re still tasty.
Reheating: To bring back some of the crispiness, reheat them in a 350°F (175°C) oven for about 5 minutes. Avoid the microwave; it makes the dough soggy and the cheese rubbery. If you’re in a rush, an air fryer at 350°F for 3 minutes works wonders.
Flavor development: Honestly, these are best fresh. The dough loses its magic after a day. But if you’re prepping for a party, you can wrap the hot dogs in dough up to 24 hours in advance and keep them covered in the fridge. Just add the cheese eyes right before baking.
Nutritional Information & Benefits
Let’s be real—these are party snacks, not health food. But here’s a rough breakdown per serving (one mummy hot dog):
| Nutrient | Amount |
|---|---|
| Calories | ~220 |
| Protein | 8g |
| Carbohydrates | 15g |
| Fat | 14g |
| Saturated Fat | 6g |
| Sodium | 550mg |
These numbers will vary depending on the hot dog and cheese you use. Turkey hot dogs and reduced-fat cheese can cut the calories and fat by about 20%.
Health benefits: Hot dogs are a decent source of protein, and the cheese adds calcium. If you use whole-wheat crescent dough, you’ll get a little fiber too. It’s not a superfood, but for a party snack, it’s not terrible either. I like to balance these out with a big veggie platter on the table so guests can grab something fresh between mummies.
Dietary considerations: This recipe contains gluten (from the dough) and dairy (from the cheese). For a dairy-free version, use vegan cheese or skip the eyes entirely and draw faces with mustard. For gluten-free, use a gluten-free dough as mentioned above.
Conclusion
These Guest-Favorite Mummy Hot Dogs with Cheese Eyes are the kind of recipe that makes you the hero of any party without breaking a sweat. They’re fun, they’re delicious, and they’re ridiculously easy to put together. I love that they came from a casual moment in a neighbor’s kitchen—a reminder that the best recipes often come from the most unexpected places.
I hope you give these a try and make them your own. Maybe add a little extra cheese, or swap in your favorite dipping sauce. The beauty of this recipe is that it’s a canvas for your creativity. And honestly? Watching people’s faces light up when they see these little mummies on the table is worth every second of prep time.
Have you made these before? Do you have a favorite variation? Drop a comment below and let me know—I’m always looking for new ideas. And if you loved this recipe, share it with a friend who loves hosting parties. Let’s spread the mummy love!
Frequently Asked Questions
Can I make these mummy hot dogs ahead of time?
Yes! You can wrap the hot dogs in dough up to 24 hours in advance. Store them covered in the refrigerator, and add the cheese eyes just before baking. This makes party prep so much easier.
Can I freeze these mummy hot dogs?
Absolutely. Freeze them on a baking sheet after wrapping (but before baking) until solid, then transfer to a freezer bag. Bake from frozen, adding 3-5 minutes to the cooking time. The cheese eyes should be added after baking for best results.
What if my dough strips are too short?
No worries! Just press two strips together gently to make a longer one. The dough is forgiving and will seal as it bakes. You can also use puff pastry sheets cut into strips for a different texture.
Can I use a different type of cheese for the eyes?
Definitely. Cheddar, mozzarella, provolone, or even pepper jack all work well. Just make sure the cheese is cut into small squares that will fit on the hot dog without sliding off. Harder cheeses like parmesan won’t melt as nicely.
How do I keep the dough from unraveling during baking?
Make sure the dough strips overlap slightly as you wrap, and press the end of the strip gently against the hot dog to seal it. Placing the mummies seam-side down on the baking sheet also helps hold everything together.
Pin This Recipe!
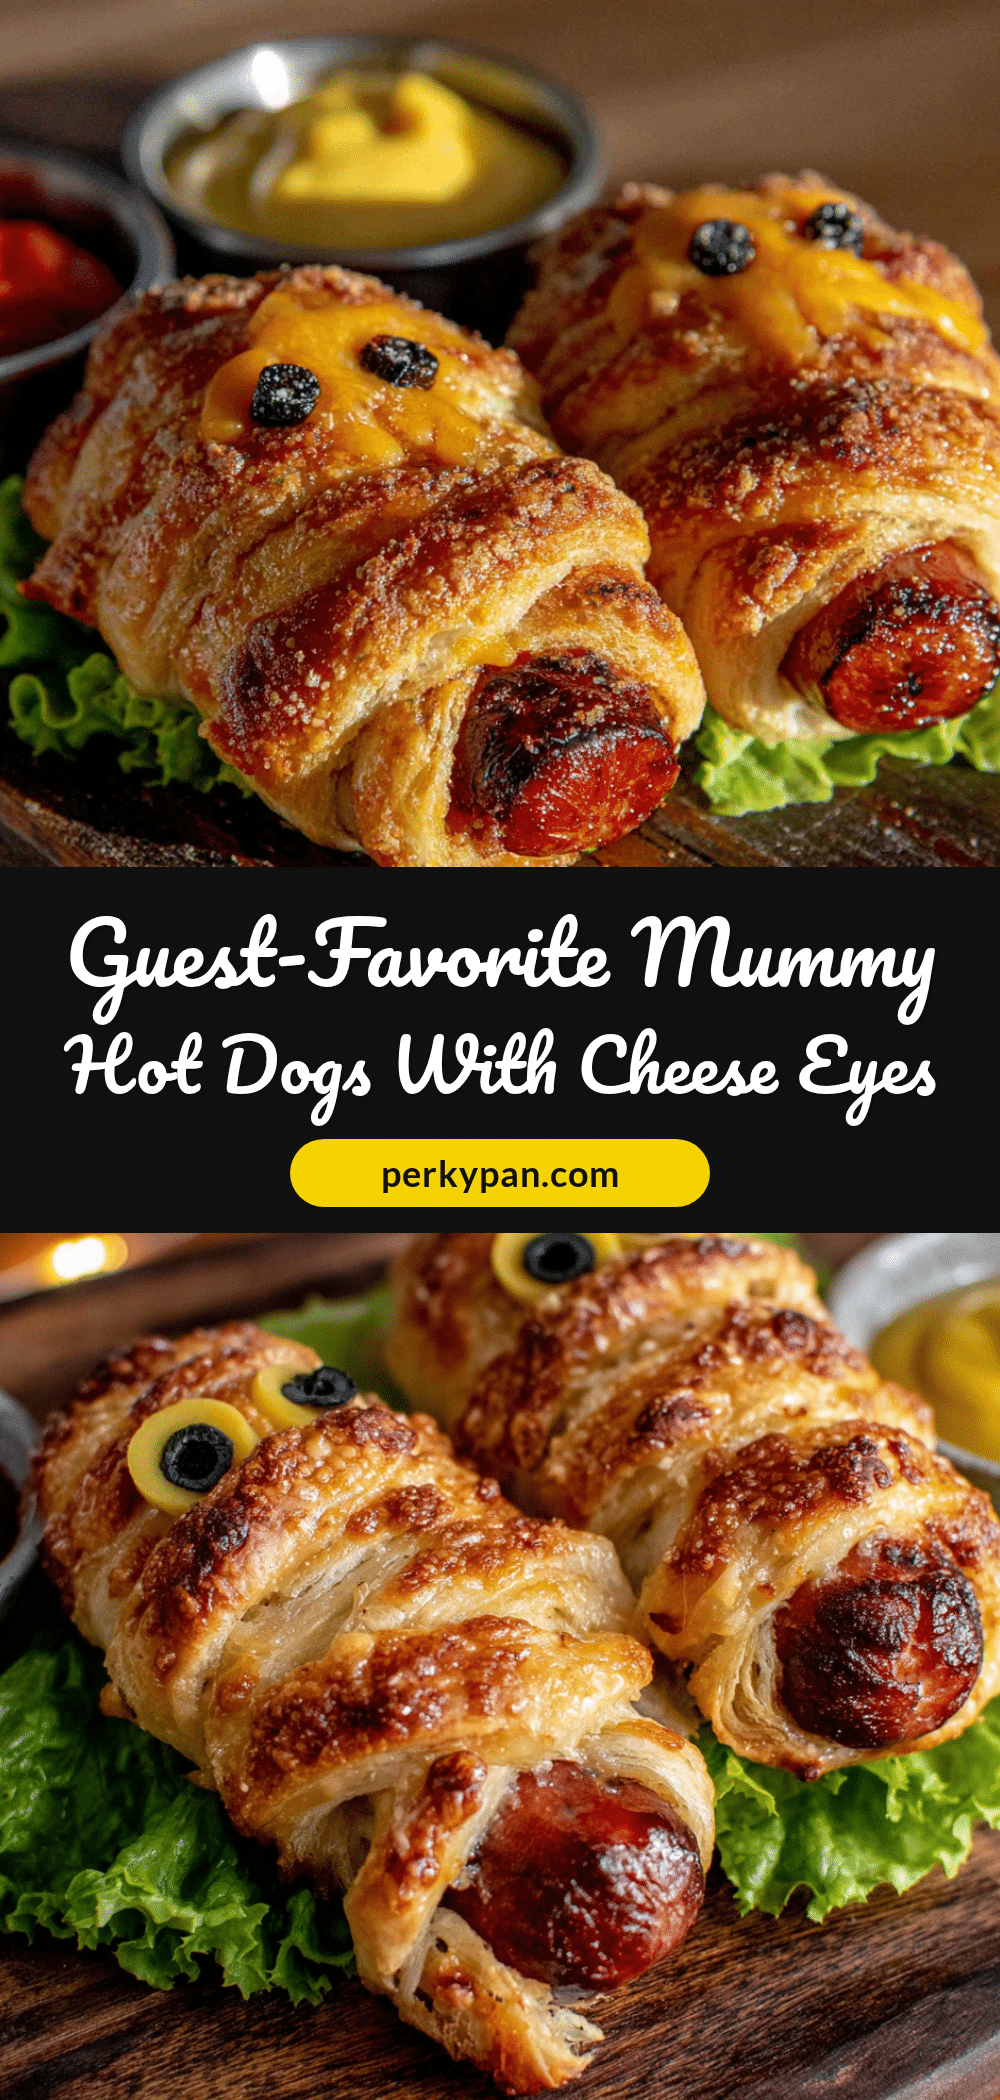
Best Easy Mummy Hot Dogs with Cheese Eyes

These mummy hot dogs are a fun, easy, and delicious Halloween party snack. Wrapped in flaky crescent dough with gooey cheese eyes, they’re a guaranteed crowd-pleaser that comes together in just 25 minutes.
- Prep Time: 10 minutes
- Cook Time: 15 minutes
- Total Time: 25 minutes
- Yield: 8 servings 1x
- Category: Appetizer
- Cuisine: American
Ingredients
- 1 can (8 oz) refrigerated crescent roll dough (e.g., Pillsbury)
- 8 beef or turkey hot dogs
- 16 small squares of cheddar or mozzarella cheese (about ¼-inch thick each)
- Mustard or ketchup for decoration (optional)
Instructions
- Preheat your oven to 375°F (190°C). Line a baking sheet with parchment paper or a silicone mat.
- Open the can of crescent roll dough carefully. Unroll the dough and press the perforated seams together to form one solid rectangle.
- Using a sharp knife or pizza cutter, slice the dough lengthwise into about 8 to 10 thin strips, roughly ½-inch wide.
- Take one hot dog and start wrapping a dough strip around it, starting at one end and working your way to the other. Leave a small gap near the top of the hot dog for the face—about 1 inch of exposed hot dog. Repeat with the remaining hot dogs and dough strips.
- Arrange the wrapped hot dogs on the prepared baking sheet, leaving about 1 inch of space between each one.
- Press two small squares of cheese onto the exposed hot dog area at the top of each mummy. Push them in gently so they stick.
- Bake for 12 to 15 minutes, or until the dough is golden brown and the cheese has melted slightly.
- Let the mummy hot dogs cool on the baking sheet for about 2 minutes. Once cool enough to handle, use a toothpick to add tiny dots of mustard or ketchup onto the cheese for pupils.
- Serve immediately.
Notes
For best results, use plump hot dogs and pre-sliced cheese for uniform eyes. If the dough tears, just press it back together. To prevent cheese from sliding off, press the squares firmly into the hot dog. For a crispier texture, reheat leftovers in a 350°F oven for 5 minutes or an air fryer for 3 minutes.
Nutrition
- Serving Size: 1 mummy hot dog
- Calories: 220
- Sugar: 2
- Sodium: 550
- Fat: 14
- Saturated Fat: 6
- Carbohydrates: 15
- Protein: 8
Keywords: mummy hot dogs, Halloween appetizer, easy party snack, crescent roll hot dogs, cheese eyes


