Love this? Save it for later!
Share the inspiration with your friends
This was supposed to be soup. I had the turkey carcass simmering on the stove, the onions were diced, and I was already picturing a big, steamy bowl of broth with chunks of meat and soft vegetables. But then the phone rang—my sister, needing a last-minute favor—and by the time I got back to the kitchen, the pot had boiled dry. The liquid was gone. What was left was this thick, savory mess of turkey and vegetables sticking to the bottom of the pot. I almost scraped it into the trash, I mean, honestly, who has time to start over on a Tuesday night? But I grabbed a cast iron skillet instead, tossed in a handful of frozen peas I found buried in the freezer, and figured I’d just see what happened. What came out was nothing like the plan—and better. Way better. That first bite had this unexpected richness, the kind you only get when the flavors have been forced to concentrate. The bottom got a little crispy, the top stayed tender, and I stood there at the counter eating straight from the skillet like a feral animal. It was one of those moments where you realize you’ve accidentally stumbled onto something you’ll make for years. And I have. Every single time I have leftover turkey now, this skillet is where it ends up.
Why You’ll Love This Recipe
Let me tell you why this skillet has become my favorite way to use up holiday leftovers. It’s not just another turkey pot pie recipe—it’s the one that actually works on a weeknight when you’re exhausted and hungry.
- Ready in 30 Minutes: From fridge to table in half an hour, no complicated steps or waiting around. Perfect for those nights when you need dinner done yesterday.
- Simple Ingredients: You probably have most of this in your pantry right now. No fancy grocery trips, no obscure spices—just good, honest food.
- One-Skillet Cleanup: Everything cooks in one pan. That means fewer dishes, less scrubbing, and more time on the couch. My kind of cooking.
- Crowd-Pleaser: I’ve served this to picky kids, hungry teenagers, and adults who claim they’re “not really turkey people.” The skillet comes back empty every single time.
- Unbelievably Comforting: That creamy, savory filling with the flaky biscuit topping? It hits every single comfort food note without the fuss of a traditional pie crust.
What makes this different from every other turkey pot pie recipe out there? It’s the technique. Instead of fussing with a pastry crust that takes forever, I use refrigerated biscuits that get dropped right on top and baked until golden. The filling gets extra creamy because I let it simmer down until it’s thick and luscious—no watery sauce here. And because it’s all in one skillet, you get those crispy edges around the biscuits that are honestly the best part. This is comfort food reimagined—faster, easier, but with the same soul-soothing satisfaction that makes you close your eyes after that first bite.
What Ingredients You Will Need
This recipe uses simple, wholesome ingredients to deliver that classic pot pie flavor without the fuss. Most of these are pantry staples or things you’ll likely have after a holiday meal.
- For the Filling:
- 3 tablespoons unsalted butter
- 1 medium yellow onion, diced (about 1 cup)
- 2 medium carrots, peeled and diced (about 1 cup)
- 2 celery stalks, diced (about 1/2 cup)
- 3 cloves garlic, minced
- 1/3 cup all-purpose flour
- 2 cups low-sodium chicken or turkey broth
- 1 cup whole milk (or half-and-half for extra richness)
- 3 cups cooked turkey, shredded or cubed (dark and white meat mixed is best)
- 1 cup frozen peas, no need to thaw
- 1/2 teaspoon dried thyme
- 1/2 teaspoon dried rosemary
- Salt and black pepper to taste
- For the Topping:
- 1 can (16.3 ounces) refrigerated buttermilk biscuits (8 count, like Pillsbury Grands)
- 1 tablespoon melted butter for brushing (optional, but recommended)
- Flaky sea salt for sprinkling (optional)
I prefer using a mix of dark and white meat turkey here—the dark meat adds moisture and flavor that really makes the filling sing. If you only have breast meat, that works fine too, just consider adding an extra tablespoon of butter for richness. For the broth, I always use low-sodium so I can control the salt level myself. Swanson’s is my go-to brand, but any good quality broth works. And about those biscuits—Pillsbury Grands are my favorite because they’re sturdy enough to hold up to the filling without getting soggy. The flaky layers get beautifully golden on top while the bottoms soak up just enough of that creamy sauce. Trust me on this one.
Equipment Needed
You don’t need much for this recipe, which is part of the beauty of it. Here’s what you’ll want to have on hand:
- 10-inch Cast Iron Skillet or Oven-Safe Skillet: This is the star of the show. I use my trusty Lodge cast iron that I’ve had for years. It heats evenly and goes straight from stovetop to oven. If you don’t have cast iron, any oven-safe skillet works—just make sure it’s at least 10 inches across.
- Wooden Spoon or Silicone Spatula: For stirring the filling without scratching your pan. I prefer a wooden spoon because it feels right for comfort food.
- Chef’s Knife and Cutting Board: For dicing the vegetables. A sharp knife makes this step so much faster.
- Measuring Cups and Spoons: Standard set for measuring ingredients accurately.
- Pastry Brush (Optional): For brushing butter on the biscuit tops. A paper towel works in a pinch.
If you don’t have an oven-safe skillet, you can transfer the filling to a 9×13 baking dish before adding the biscuits. Just add a few minutes to the baking time since the dish won’t be preheated like the skillet would be. I’ve done this before when my cast iron was otherwise occupied, and it works perfectly fine.
Preparation Method
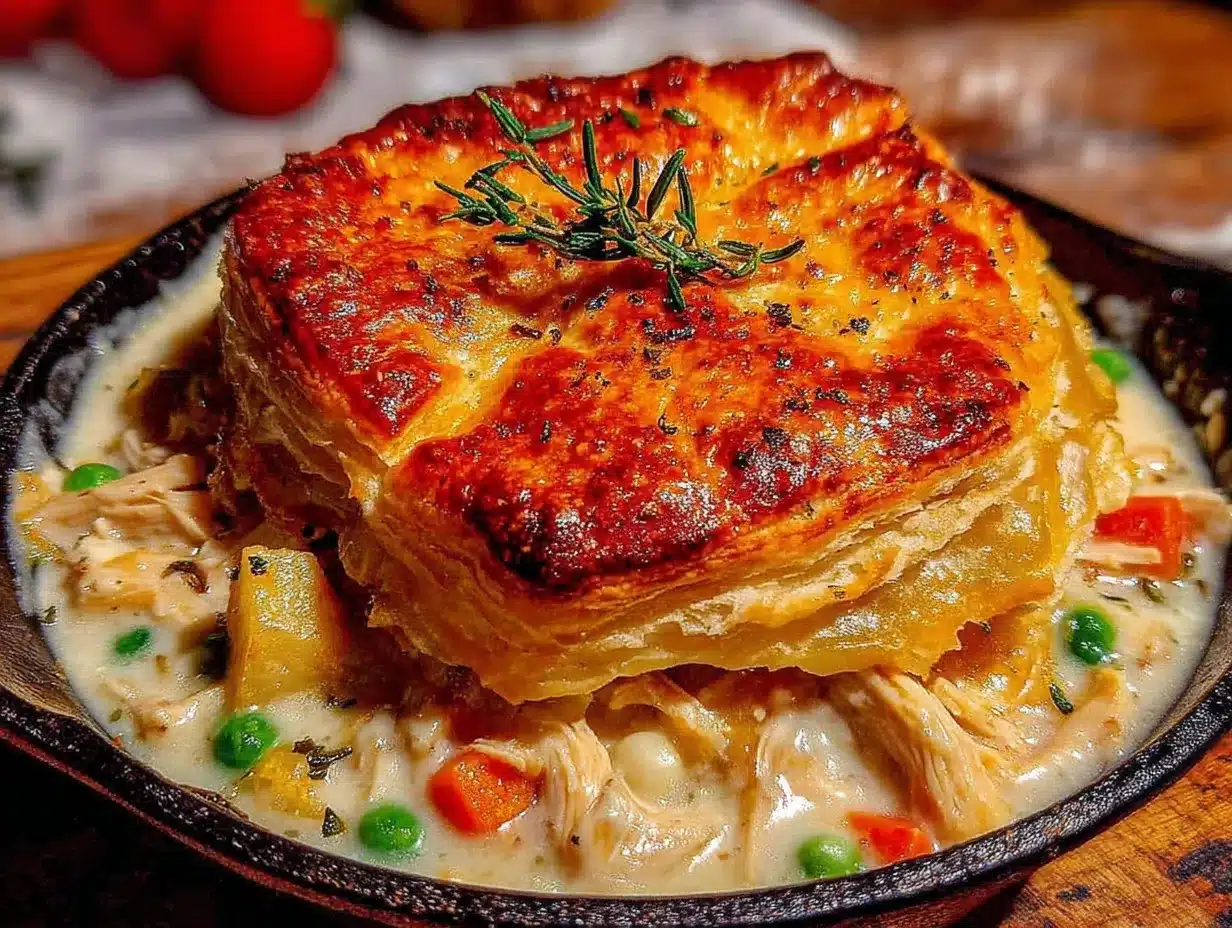
Let me walk you through this step by step. I promise it’s easier than it looks.
- Preheat your oven to 425°F (220°C). Place your cast iron skillet on the stovetop over medium heat. This gets everything going while you prep.
- Melt the butter in the skillet. Once it’s foaming, add the diced onion, carrots, and celery. Cook for 5-6 minutes, stirring occasionally, until the vegetables start to soften. You’ll smell that sweet, savory aroma—that’s the good stuff.
- Add the minced garlic and cook for another 30 seconds until fragrant. Don’t let it burn, or it’ll turn bitter. I learned this the hard way one distracted Tuesday night.
- Sprinkle the flour over the vegetables. Stir constantly for 1-2 minutes until the flour is fully incorporated and starts to turn golden. This is your roux, and it’s what thickens the sauce. Keep stirring—you don’t want any lumps.
- Slowly pour in the broth while whisking or stirring vigorously. The mixture will look clumpy at first, but keep stirring and it’ll smooth out. Then add the milk the same way. Bring this to a gentle simmer—you’ll see small bubbles around the edges.
- Let it simmer for 3-4 minutes, stirring occasionally, until the sauce thickens enough to coat the back of a spoon. It should look like a thick gravy at this point. Season with thyme, rosemary, salt, and pepper. Taste it—adjust the seasoning now before you add the turkey.
- Stir in the shredded turkey and frozen peas. No need to thaw the peas—they’ll warm through in the hot filling. Cook for another 2 minutes until everything is heated through. The filling should be thick and bubbling gently. If it looks too thick, add a splash more broth. Too thin? Let it simmer another minute or two.
- Remove the skillet from heat. Arrange the refrigerated biscuits on top of the filling. I place them in a circle around the edge and one in the center—they’ll spread as they bake. Don’t press them down; just set them gently on top.
- Brush the biscuit tops with melted butter and sprinkle with flaky sea salt if you’re using it. This step is optional but makes those tops extra golden and delicious.
- Transfer the skillet to the preheated oven. Bake for 12-15 minutes, until the biscuits are puffed up and golden brown and the filling is bubbling around the edges. The biscuits should be cooked through—tap one and it should feel firm.
- Let it rest for 5 minutes before serving. I know it’s hard to wait, but this lets the filling set up a bit so it doesn’t run all over your plate. Use that time to set the table or pour yourself a glass of wine.
The visual cue you’re looking for: the biscuits should be deeply golden on top, and you’ll see the filling bubbling up around the edges of the skillet. That’s how you know it’s ready. If the biscuits are browning too quickly but the filling isn’t bubbling yet, tent the skillet loosely with foil for the last few minutes.
Cooking Tips & Techniques
I’ve made this skillet more times than I can count, and I’ve learned a few things along the way. Here are my best tips for getting it right every time.
Don’t rush the roux. That step where you cook the flour with the butter? It’s not just for show. Cooking the flour for a full 2 minutes gets rid of that raw flour taste and gives your sauce a nutty, rich flavor. I used to skip this step when I was in a hurry, and the difference was noticeable. Take the time—it’s only 2 minutes.
Use room temperature turkey. If your turkey is straight from the fridge, it’ll cool down the filling and you’ll need to cook it longer to bring everything back up to temperature. Let the turkey sit on the counter for 10-15 minutes before you start. Or, if you’re like me and forget, just add an extra minute or two to the simmering time.
Watch your liquid ratio. The amount of liquid you need depends on how thick your filling is. If you’re using a lot of turkey or vegetables, you might need a splash more broth. The key is to look for that gravy-like consistency—thick enough to coat the back of a spoon but not so thick that it’s paste. I’ve had skillets that were too soupy and skillets that were too dry. The sweet spot is somewhere in between.
Don’t overcrowd the biscuits. They need room to expand as they bake. If your skillet is too small, use fewer biscuits or transfer the filling to a larger dish. I once crammed all 8 biscuits into a 10-inch skillet and ended up with a blob of dough rather than individual biscuits. Learn from my mistake.
Let it rest. I mentioned this in the method, but it bears repeating. That 5-minute rest is crucial. The filling thickens, the biscuits set, and everything comes together. If you dig in right away, you’ll end up with a soupy mess. Patience, my friend.
Variations & Adaptations
This recipe is wonderfully flexible. Here are some ways I’ve adapted it over the years.
Chicken Version: Don’t have leftover turkey? Use rotisserie chicken instead. Just shred the meat and proceed as directed. I actually discovered this variation when I made the recipe in March and had no turkey in sight. It works beautifully and is just as quick. For a shortcut, try our rotisserie chicken pot pie skillet which uses the same technique.
Vegetarian Adaptation: Swap the turkey for a can of drained chickpeas or a bag of frozen mixed vegetables (corn, green beans, peas). Use vegetable broth instead of chicken broth. The filling won’t be quite as rich, but it’s still deeply satisfying. I’ve made this for a vegetarian friend and she asked for the recipe.
Gluten-Free Option: Use a gluten-free flour blend in place of the all-purpose flour for the roux. Cup4Cup and Bob’s Red Mill 1:1 both work well. For the topping, use gluten-free biscuit mix or make drop biscuits from a gluten-free recipe. Just be aware that gluten-free biscuits may not puff up as much as the regular ones.
Herb Variations: Fresh herbs make a big difference here. In summer, I use fresh thyme and rosemary instead of dried—just double the amount. I’ve also tried it with fresh sage (1 tablespoon, chopped) and it was incredible. The sage gives it that classic Thanksgiving flavor that pairs so well with turkey.
Dairy-Free Version: Use olive oil or vegan butter instead of regular butter. Swap the milk for unsweetened oat milk or almond milk. The filling won’t be quite as creamy, but it still works. I’ve tested this with oat milk and it was surprisingly good.
Spicy Twist: Add a pinch of cayenne pepper or red pepper flakes to the filling along with the herbs. It adds a subtle warmth that cuts through the richness. My brother-in-law loves this version and calls it “turkey pot pie with a kick.”
Serving & Storage Suggestions
This skillet is a meal in itself, but here’s how to round it out and store the leftovers.
Serving: Serve the pot pie straight from the skillet at the table—it’s rustic and beautiful. I like to set out small bowls for everyone and let them scoop their own portions. The biscuits on top get everyone excited. For a complete meal, pair it with a simple green salad dressed with lemon vinaigrette. The acidity cuts through the richness of the filling beautifully. You can also serve it with roasted green beans or steamed broccoli on the side. If you’re feeling indulgent, a glass of crisp white wine like Sauvignon Blanc or a light Pinot Noir pairs wonderfully.
Storage: Leftovers keep well in the refrigerator for up to 4 days. Let the skillet cool completely, then transfer the pot pie to an airtight container. The biscuits will soften as they sit, but that’s not a bad thing—they soak up the sauce and become almost dumpling-like. I actually love leftovers for this reason.
Reheating: The best way to reheat is in the oven. Place the pot pie in a 350°F oven for 10-15 minutes until warmed through. The biscuits will crisp up again slightly. If you’re in a hurry, individual portions can be microwaved for 1-2 minutes. The biscuits will be soft, but it’s still delicious. I won’t judge you—I’ve done it myself on busy nights.
Freezing: This recipe freezes surprisingly well. Assemble the filling in a freezer-safe dish, but don’t add the biscuits. Cool completely, then cover and freeze for up to 3 months. When ready to bake, thaw overnight in the refrigerator, then proceed with the biscuit topping and baking as directed. You may need to add 5-10 minutes to the baking time since the filling will be cold. I do this every year after Thanksgiving—it’s my secret weapon for January meals.
Nutritional Information & Benefits
Here’s an approximate nutritional breakdown per serving (based on 6 servings):
- Calories: 425
- Protein: 28g
- Fat: 18g
- Carbohydrates: 38g
- Fiber: 3g
- Sugar: 6g
- Sodium: 680mg
This dish offers some solid nutritional benefits. The turkey provides lean protein that helps keep you full and supports muscle repair. The carrots and peas contribute vitamins A and C, along with fiber for digestive health. The onions and garlic add antioxidants that support immune function. And while the biscuits and butter aren’t exactly health foods, this is comfort food—it’s meant to nourish both body and soul.
For a lighter version, you can use low-fat milk and reduce the butter to 2 tablespoons. The filling will still be creamy, just a bit less rich. You can also use whole wheat biscuits or make your own with whole wheat flour for added fiber. I’ve tried both and they work well, though the texture is slightly denser.
This recipe can be part of a balanced diet when enjoyed in moderation. Pair it with a generous serving of vegetables on the side, and you’ve got a satisfying meal that won’t leave you feeling heavy.
Conclusion
This leftover turkey pot pie skillet has become one of those recipes I genuinely look forward to making. It started as a happy accident—a ruined soup that turned into something better—and now it’s a staple in my kitchen. There’s something deeply satisfying about transforming holiday leftovers into a meal that feels fresh and exciting. And the fact that it takes only 30 minutes and uses one skillet? That’s just the icing on the cake.
I love that this recipe is forgiving. You can swap ingredients, adjust the seasonings, make it your own. It’s the kind of dish that rewards experimentation and doesn’t punish imperfection. Whether you’re using up Thanksgiving turkey or just craving comfort food on a cold Tuesday night, this skillet delivers.
I’d love to hear how yours turns out. Did you add your own twist? Use a different herb? Swap in chicken for turkey? Drop a comment below and let me know—I read every single one, and your ideas might inspire someone else’s dinner. And if you loved it, share it with a friend who needs a quick weeknight win. Happy cooking, friends!
Frequently Asked Questions
Can I use chicken instead of turkey?
Absolutely. This recipe works perfectly with cooked chicken—rotisserie chicken is my go-to shortcut. Just shred or cube it and proceed as directed. The flavor will be slightly different but equally delicious.
Can I make this ahead of time?
You can prepare the filling up to 2 days in advance and store it in the refrigerator. When you’re ready to bake, reheat the filling on the stovetop until bubbling, then add the biscuits and bake as directed. This is a great option for busy weeknights.
What if I don’t have a cast iron skillet?
No problem at all. Use any oven-safe skillet or transfer the filling to a 9×13 baking dish before adding the biscuits. If using a baking dish, you may need to add 3-5 minutes to the baking time since the dish won’t be preheated like a skillet would be.
Can I use homemade biscuits instead of refrigerated ones?
Definitely. Homemade drop biscuits work beautifully here. Just prepare your favorite biscuit recipe, drop spoonfuls of dough over the filling, and bake as directed. You may need to adjust the baking time depending on the size of your biscuits.
How do I prevent the biscuits from getting soggy?
The key is to make sure your filling is thick enough before adding the biscuits. If it’s too thin, the biscuits will absorb too much liquid and become soggy. Let the filling simmer until it reaches a gravy-like consistency. Also, don’t press the biscuits into the filling—just place them gently on top.
Pin This Recipe!
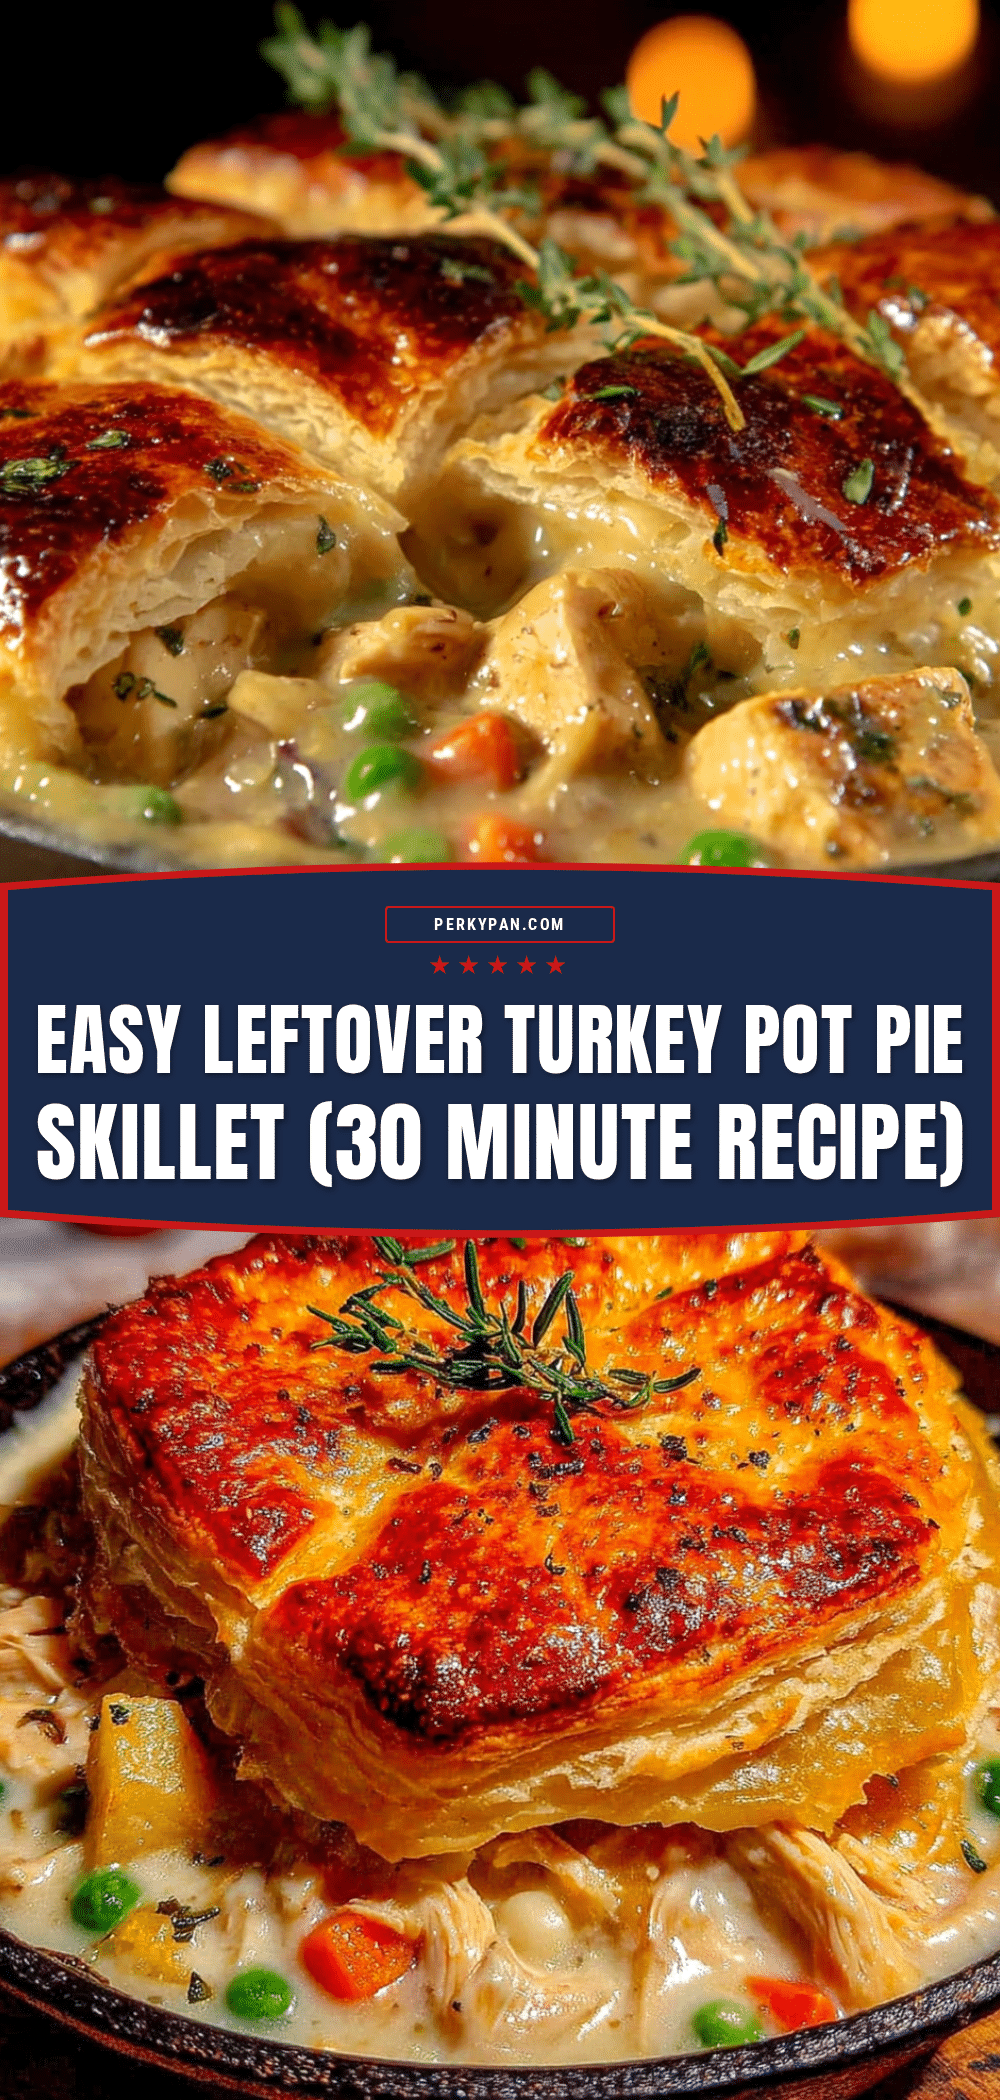
Best Easy Leftover Turkey Pot Pie Skillet – 30 Minute Meal

A quick and comforting one-skillet turkey pot pie made with leftover turkey, creamy filling, and flaky biscuit topping. Ready in just 30 minutes, it’s the perfect weeknight dinner that transforms holiday leftovers into a delicious meal.
- Prep Time: 10 minutes
- Cook Time: 20 minutes
- Total Time: 30 minutes
- Yield: 6 servings 1x
- Category: Main Course
- Cuisine: American
Ingredients
- 3 tablespoons unsalted butter
- 1 medium yellow onion, diced (about 1 cup)
- 2 medium carrots, peeled and diced (about 1 cup)
- 2 celery stalks, diced (about 1/2 cup)
- 3 cloves garlic, minced
- 1/3 cup all-purpose flour
- 2 cups low-sodium chicken or turkey broth
- 1 cup whole milk (or half-and-half for extra richness)
- 3 cups cooked turkey, shredded or cubed (dark and white meat mixed is best)
- 1 cup frozen peas, no need to thaw
- 1/2 teaspoon dried thyme
- 1/2 teaspoon dried rosemary
- Salt and black pepper to taste
- 1 can (16.3 ounces) refrigerated buttermilk biscuits (8 count, like Pillsbury Grands)
- 1 tablespoon melted butter for brushing (optional, but recommended)
- Flaky sea salt for sprinkling (optional)
Instructions
- Preheat your oven to 425°F (220°C). Place your cast iron skillet on the stovetop over medium heat.
- Melt the butter in the skillet. Once foaming, add diced onion, carrots, and celery. Cook for 5-6 minutes, stirring occasionally, until vegetables soften.
- Add minced garlic and cook for another 30 seconds until fragrant.
- Sprinkle flour over the vegetables. Stir constantly for 1-2 minutes until flour is fully incorporated and starts to turn golden.
- Slowly pour in the broth while whisking vigorously. Then add the milk the same way. Bring to a gentle simmer.
- Let simmer for 3-4 minutes, stirring occasionally, until sauce thickens enough to coat the back of a spoon. Season with thyme, rosemary, salt, and pepper.
- Stir in shredded turkey and frozen peas. Cook for another 2 minutes until everything is heated through. The filling should be thick and bubbling gently.
- Remove skillet from heat. Arrange refrigerated biscuits on top of the filling in a circle around the edge and one in the center.
- Brush biscuit tops with melted butter and sprinkle with flaky sea salt if using.
- Transfer skillet to preheated oven. Bake for 12-15 minutes, until biscuits are puffed up and golden brown and filling is bubbling around the edges.
- Let rest for 5 minutes before serving.
Notes
Don’t rush the roux – cook flour for a full 2 minutes to avoid raw flour taste. Use room temperature turkey to avoid cooling the filling. Watch liquid ratio for gravy-like consistency. Don’t overcrowd biscuits – they need room to expand. Let rest 5 minutes before serving for filling to set. For gluten-free, use gluten-free flour blend and gluten-free biscuit mix. For dairy-free, use olive oil or vegan butter and unsweetened oat or almond milk.
Nutrition
- Serving Size: 1 serving (1/6 of re
- Calories: 425
- Sugar: 6
- Sodium: 680
- Fat: 18
- Carbohydrates: 38
- Fiber: 3
- Protein: 28
Keywords: leftover turkey, pot pie, skillet, 30 minute meal, comfort food, Thanksgiving leftovers, one skillet meal


