Love this? Save it for later!
Share the inspiration with your friends
This was supposed to be banana bread. I mean, I had the bananas—three sad, spotty ones sitting on my counter, practically begging to be turned into something useful. My daughter had been asking for a treat all afternoon, and I figured, hey, banana bread is wholesome, right? It practically counts as a breakfast food. So I pulled out the mixer, grabbed the flour, and reached for the baking soda. Except I grabbed the baking powder instead. And then I realized I was out of butter. Not a little bit—completely out. The bananas were already mashed, my three-year-old was tugging on my pant leg, and I had that sinking feeling of a baking project about to implode.
I stood there for a second, staring at the mashed bananas, the wrong leavening agent, and a stick of margarine I’d forgotten was in the back of the fridge. Honestly, I almost just gave her a handful of crackers and called it a day. But something made me push forward. I swapped the banana bread plan for something simpler—something that didn’t need a whole stick of butter. I halved a standard cookie recipe, threw in what I had, and crossed my fingers. What came out of the oven was nothing like the banana bread I’d planned. It was better. These small-batch chocolate chip cookies were chewy, golden, and exactly what a Tuesday afternoon needed. Maybe you’ve been there—staring down a kitchen fail that turns into a win. That’s this recipe. It’s the happy accident I keep coming back to.
Why You’ll Love This Recipe
Let me be real with you for a second. I’ve tested a lot of cookie recipes over the years. Some were too cakey. Some spread into weird, flat puddles. And some just didn’t taste like anything special. But this one? It’s different. It’s the kind of cookie that makes you close your eyes after the first bite—and then reach for a second before you’ve even finished the first.
- Quick & Easy: From start to finish, these cookies take about 20 minutes. No chilling the dough, no complicated steps. Just mix, scoop, bake, and enjoy.
- Simple Ingredients: You probably have everything in your pantry right now. No fancy flours, no obscure extracts. Just basic baking staples.
- Perfect for Small Families: This recipe makes exactly six cookies. No more, no less. It’s ideal for when you want a treat without a giant batch staring at you from the counter.
- Kid-Approved: My daughter calls these “the best cookies ever,” and she’s not easy to impress. They’re soft, chewy, and packed with chocolate—everything a kid wants.
- Budget-Friendly: Because it’s a small batch, you use less of everything. No wasting ingredients or overspending on a recipe that might flop.
What makes this recipe stand out from the dozens of cookie recipes out there? It’s the technique. I use melted butter instead of softened, which gives the cookies a denser, chewier texture. And I brown the butter just slightly—not enough to make it complicated, but enough to add a nutty, caramel-like depth. It’s a small tweak that makes a huge difference. Honestly, this isn’t just another chocolate chip cookie recipe. It’s the one you’ll bookmark, screenshot, and text to your sister. It’s comfort food reimagined—faster, simpler, but with the same soul-soothing satisfaction.
What Ingredients You Will Need
This recipe uses simple, wholesome ingredients to deliver bold flavor and satisfying texture without the fuss. Most of these are pantry staples, so you probably don’t need to make a special trip to the store.
- Unsalted butter – 4 tablespoons (56g), melted. I prefer unsalted so I can control the salt level. If you only have salted butter, just reduce the added salt by a pinch. Let me tell you, browning this butter is a game-changer—it adds a toasty, nutty flavor that makes these cookies taste like they came from a bakery.
- Granulated sugar – 3 tablespoons (38g). This gives the cookies structure and helps them spread just the right amount.
- Brown sugar – 3 tablespoons (42g), packed. Light or dark brown sugar both work. Dark brown sugar gives a deeper molasses flavor, which I personally love. The brown sugar is what makes the cookies chewy and soft.
- Large egg yolk – 1 yolk (about 18g). Save the white for an omelet or breakfast scramble. The yolk adds richness and tenderness without making the dough too wet.
- Vanilla extract – ½ teaspoon. I recommend using pure vanilla extract if you have it—it makes a noticeable difference in flavor. But imitation works fine in a pinch.
- All-purpose flour – ½ cup (60g). Spoon and level your flour—don’t scoop directly from the bag, or you’ll end up with dry, crumbly cookies. I use Gold Medal or King Arthur Flour for consistent results.
- Baking soda – ¼ teaspoon. This helps the cookies spread and brown. Make sure it’s fresh—old baking soda won’t give you the same lift.
- Salt – ¼ teaspoon. A little salt balances the sweetness and enhances the chocolate flavor. I use fine sea salt.
- Semi-sweet chocolate chips – ⅓ cup (60g). I’m partial to Ghirardelli or Guittard chips—they melt beautifully and have a rich, not-too-sweet taste. But any brand works. You can also chop up a chocolate bar if you want bigger puddles of chocolate.
Substitution Guidance: If you need a dairy-free option, use vegan butter or coconut oil (solid, not melted). For a gluten-free version, swap the all-purpose flour with a 1:1 gluten-free baking flour blend. I’ve tried both, and they work surprisingly well—just don’t overmix the dough.
Equipment Needed
You don’t need a fancy kitchen to make these cookies. Here’s what I use:
- Small mixing bowl – Any medium bowl works. I use a ceramic one because it’s heavy and doesn’t slide around.
- Whisk or fork – For mixing the wet ingredients. A whisk is faster, but a fork gets the job done.
- Rubber spatula or wooden spoon – For folding in the flour and chocolate chips. I prefer a spatula—it scrapes the bowl clean.
- Measuring cups and spoons – Accurate measurements matter in baking. Use dry measuring cups for flour and sugar, and liquid measuring cups for the melted butter.
- Baking sheet – A standard half-sheet pan works perfectly. I line mine with parchment paper for easy cleanup.
- Cookie scoop or tablespoon – A small cookie scoop (about 1.5 tablespoons) gives you evenly sized cookies. If you don’t have one, just use a regular tablespoon.
- Cooling rack – Optional but helpful. It lets the cookies cool evenly so they don’t get soggy on the bottom.
If you don’t have parchment paper, you can use a silicone baking mat or lightly grease the pan. I’ve done both—parchment is my favorite because it’s cheap and makes cleanup a breeze.
Preparation Method
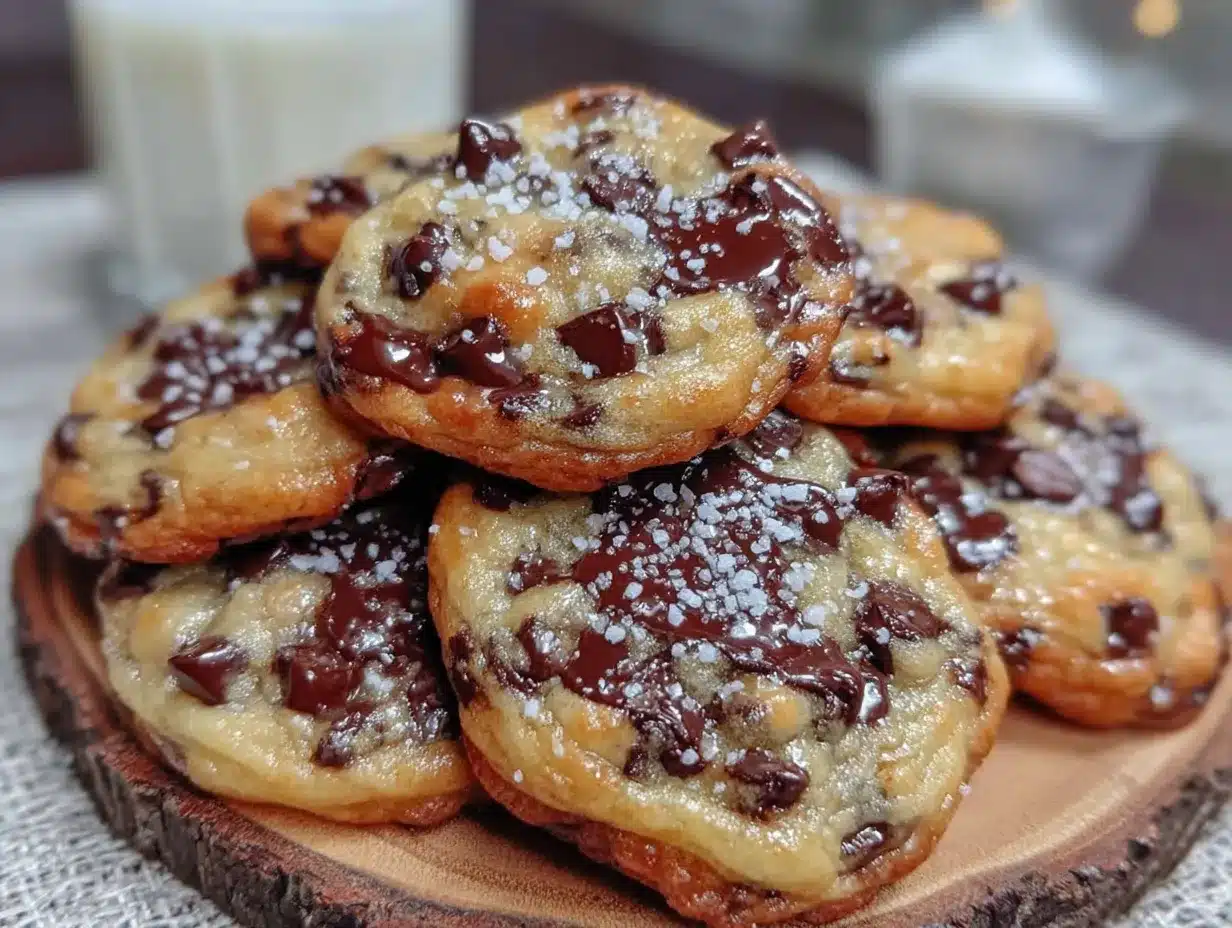
Let’s make some cookies. This is the easy part—I promise.
- Preheat your oven to 350°F (175°C). Line a baking sheet with parchment paper. While the oven heats, get your ingredients ready. This recipe moves fast, so having everything measured out helps.
- Melt the butter. Place 4 tablespoons of unsalted butter in a small saucepan over medium heat. Let it melt completely, then keep cooking for another 1-2 minutes, swirling the pan occasionally. You’ll see it foam up, then settle down, and tiny brown specks will appear at the bottom. That’s the milk solids toasting—it smells amazing, like toasted nuts and caramel. Don’t walk away; burnt butter happens fast. Once it’s golden-brown and fragrant, pour it into your mixing bowl and let it cool for 2 minutes. (I once forgot to cool it and ended up with scrambled egg in my dough—learn from my mistake.)
- Mix the sugars and butter. Add 3 tablespoons granulated sugar and 3 tablespoons packed brown sugar to the warm butter. Whisk until smooth and glossy—about 30 seconds. The mixture should look like wet sand. This step dissolves the sugar, which helps create that chewy texture.
- Add the egg yolk and vanilla. Drop in the egg yolk and ½ teaspoon vanilla extract. Whisk vigorously until the mixture is thick, pale, and slightly lighter in color—about 1 minute. It should look like a thick caramel sauce. If it looks separated, keep whisking; it will come together.
- Add the dry ingredients. Sprinkle ½ cup all-purpose flour, ¼ teaspoon baking soda, and ¼ teaspoon salt over the wet mixture. Use a rubber spatula to fold everything together gently. Stir just until you no longer see streaks of flour—about 10-15 strokes. Overmixing leads to tough cookies, so stop as soon as it comes together.
- Fold in the chocolate chips. Add ⅓ cup semi-sweet chocolate chips. Fold them in with 3-4 gentle strokes. Don’t overmix—you want pockets of chocolate, not a uniform paste. The dough will be thick and slightly sticky.
- Scoop the dough. Use a small cookie scoop or a tablespoon to portion the dough into 6 equal balls (about 1.5 tablespoons each). Place them on the prepared baking sheet, spacing them about 2 inches apart. They will spread, but not too much. For taller, thicker cookies, roll the dough balls into smooth rounds and place them slightly taller than wide.
- Bake. Slide the baking sheet into the preheated oven and bake for 9-11 minutes. The cookies are done when the edges are golden brown and the centers look slightly puffy and underdone. They will continue to set as they cool. For soft, chewy cookies, pull them out at 9 minutes. For slightly crispier edges, go to 11 minutes. My sweet spot is 10 minutes—perfect every time.
- Cool. Let the cookies rest on the baking sheet for 5 minutes. This allows them to firm up without overbaking. Then transfer them to a cooling rack. If you’re impatient like me, you can eat one warm—just be careful, the chocolate is molten!
Cooking Tips & Techniques
I’ve made these cookies more times than I can count, and I’ve learned a few things along the way. Here are my best tips:
- Don’t skip browning the butter. I know it’s an extra step, but it takes just 2 minutes and adds so much flavor. The nutty, toasty notes make these cookies taste like they have caramel in them—without any extra work.
- Use room temperature egg yolk. Cold egg yolk can seize the butter and make the dough lumpy. If you forget to take the egg out ahead of time, place it in a bowl of warm water for 5 minutes.
- Measure flour correctly. This is the most common mistake in baking. Spoon the flour into your measuring cup, then level it off with a knife. Scooping directly from the bag packs the flour down, leading to dry, crumbly cookies.
- Chill the dough if you have time. I know I said no chilling required, but if you can wait 30 minutes, the cookies will be even chewier and more flavorful. The rest time lets the flour hydrate and the flavors meld.
- Watch the oven like a hawk. Ovens vary wildly. My old oven ran hot, and I burned a batch of cookies in 8 minutes. Start checking at 9 minutes, and trust your eyes more than the timer.
- Let them cool on the pan. I learned this the hard way. If you move cookies too soon, they fall apart. Those 5 minutes on the hot baking sheet are crucial for setting the structure.
Variations & Adaptations
This small-batch recipe is super versatile. Here are some of my favorite twists:
- Double Chocolate Chip: Swap 1 tablespoon of flour for 1 tablespoon of unsweetened cocoa powder. Use white chocolate chips instead of semi-sweet for a fun contrast. My daughter loves these—they look fancy but are just as easy.
- Add Nuts: Fold in ¼ cup of chopped walnuts or pecans along with the chocolate chips. Toast the nuts first for extra crunch and flavor. I do this when I want a more “adult” cookie.
- Gluten-Free Version: Use a 1:1 gluten-free baking flour blend. I’ve tested this with Bob’s Red Mill and King Arthur Flour blends, and both work perfectly. The cookies are slightly more tender but just as delicious.
- Vegan Adaptation: Replace the butter with solid coconut oil or vegan butter, and use a flax egg (1 tablespoon ground flaxseed + 3 tablespoons water, left to sit for 5 minutes). The texture is a bit more cakey, but the flavor is spot-on.
- Add a Sea Salt Finish: Right after baking, sprinkle a tiny pinch of flaky sea salt on top of each cookie. It sounds weird, but the salt cuts the sweetness and makes the chocolate pop. It’s my secret weapon for impressing guests.
Serving & Storage Suggestions
These cookies are best served warm, when the chocolate is still melty and the edges are crisp. I like to pair them with a cold glass of milk—it’s a classic for a reason. For a more indulgent treat, serve them alongside a scoop of vanilla ice cream or a drizzle of warm caramel sauce.
Storage: Place leftover cookies in an airtight container at room temperature. They’ll stay soft and chewy for up to 3 days. If you stack them, put a piece of parchment paper between layers to prevent sticking.
Freezing Instructions: You can freeze the baked cookies for up to 3 months. Wrap each cookie individually in plastic wrap, then place them in a freezer-safe bag. To thaw, let them sit at room temperature for 15 minutes, or pop them in the microwave for 10 seconds. You can also freeze the raw dough—scoop it into balls, freeze on a baking sheet, then transfer to a bag. Bake from frozen, adding 1-2 minutes to the baking time.
Reheating: For that just-baked taste, reheat cookies in a 300°F (150°C) oven for 3-5 minutes. The microwave works in a pinch, but the oven keeps the edges crispy.
Flavor Development: Honestly, these cookies taste even better the next day. The flavors meld and deepen overnight. If you can resist eating them all, save a couple for tomorrow—you’ll thank me.
Nutritional Information & Benefits
Here’s the estimated nutritional breakdown for one cookie (based on 6 cookies per batch):
| Nutrient | Amount per Cookie |
|---|---|
| Calories | 195 |
| Total Fat | 11g |
| Saturated Fat | 7g |
| Cholesterol | 45mg |
| Sodium | 135mg |
| Total Carbohydrates | 24g |
| Dietary Fiber | 1g |
| Sugars | 16g |
| Protein | 2g |
These cookies are a treat, not a health food, but they do offer some benefits. The dark chocolate chips contain antioxidants, and the butter provides vitamin A. Plus, the small batch size helps with portion control—you’re less likely to overindulge when there are only six cookies. For a slightly healthier twist, use dark chocolate chips with at least 70% cocoa and reduce the sugar by 1 tablespoon.
Dietary Considerations: This recipe contains gluten, dairy, and eggs. For allergen-friendly options, see the variations section above.
Conclusion
These perfect small-batch chocolate chip cookies are proof that you don’t need a complicated recipe or a fully stocked pantry to make something truly delicious. They’re quick, affordable, and—most importantly—they make people happy. Whether you’re baking with your kids on a rainy afternoon or just craving a warm cookie after a long day, this recipe delivers every single time.
I love this recipe because it’s forgiving. It doesn’t demand perfection—it just asks you to show up and give it a try. And honestly, that’s the kind of cooking I want to share with you. So go ahead, make a mess, eat one warm, and save the rest for tomorrow. You won’t regret it.
If you try this recipe, I’d love to hear about it. Leave a comment below and tell me how your cookies turned out—did you add nuts? Use dark chocolate? Burn the butter? Share your wins (and your happy accidents). Happy baking!
Frequently Asked Questions
Can I double this recipe?
Absolutely. Just double all the ingredients and bake in batches. The baking time stays the same. I do this all the time when I’m bringing cookies to a potluck or playdate.
Why did my cookies turn out flat?
Flat cookies usually mean the butter was too warm or the dough wasn’t chilled. Next time, let the melted butter cool for a few minutes before mixing, and chill the dough for 15-20 minutes before baking.
Can I use margarine instead of butter?
You can, but the cookies won’t be as flavorful or chewy. Butter adds richness and helps with browning. If you’re in a pinch, use margarine, but skip the browning step—margarine doesn’t brown the same way.
How do I make these cookies softer?
For softer cookies, bake them for 9 minutes instead of 10 or 11. Also, make sure you’re measuring your flour correctly—too much flour makes cookies dry and crumbly.
Can I use milk chocolate chips instead of semi-sweet?
Yes, but the cookies will be sweeter. I recommend reducing the sugar by 1 tablespoon if you use milk chocolate chips. Dark chocolate chips are also a great option for a less sweet, more intense flavor.
Pin This Recipe!
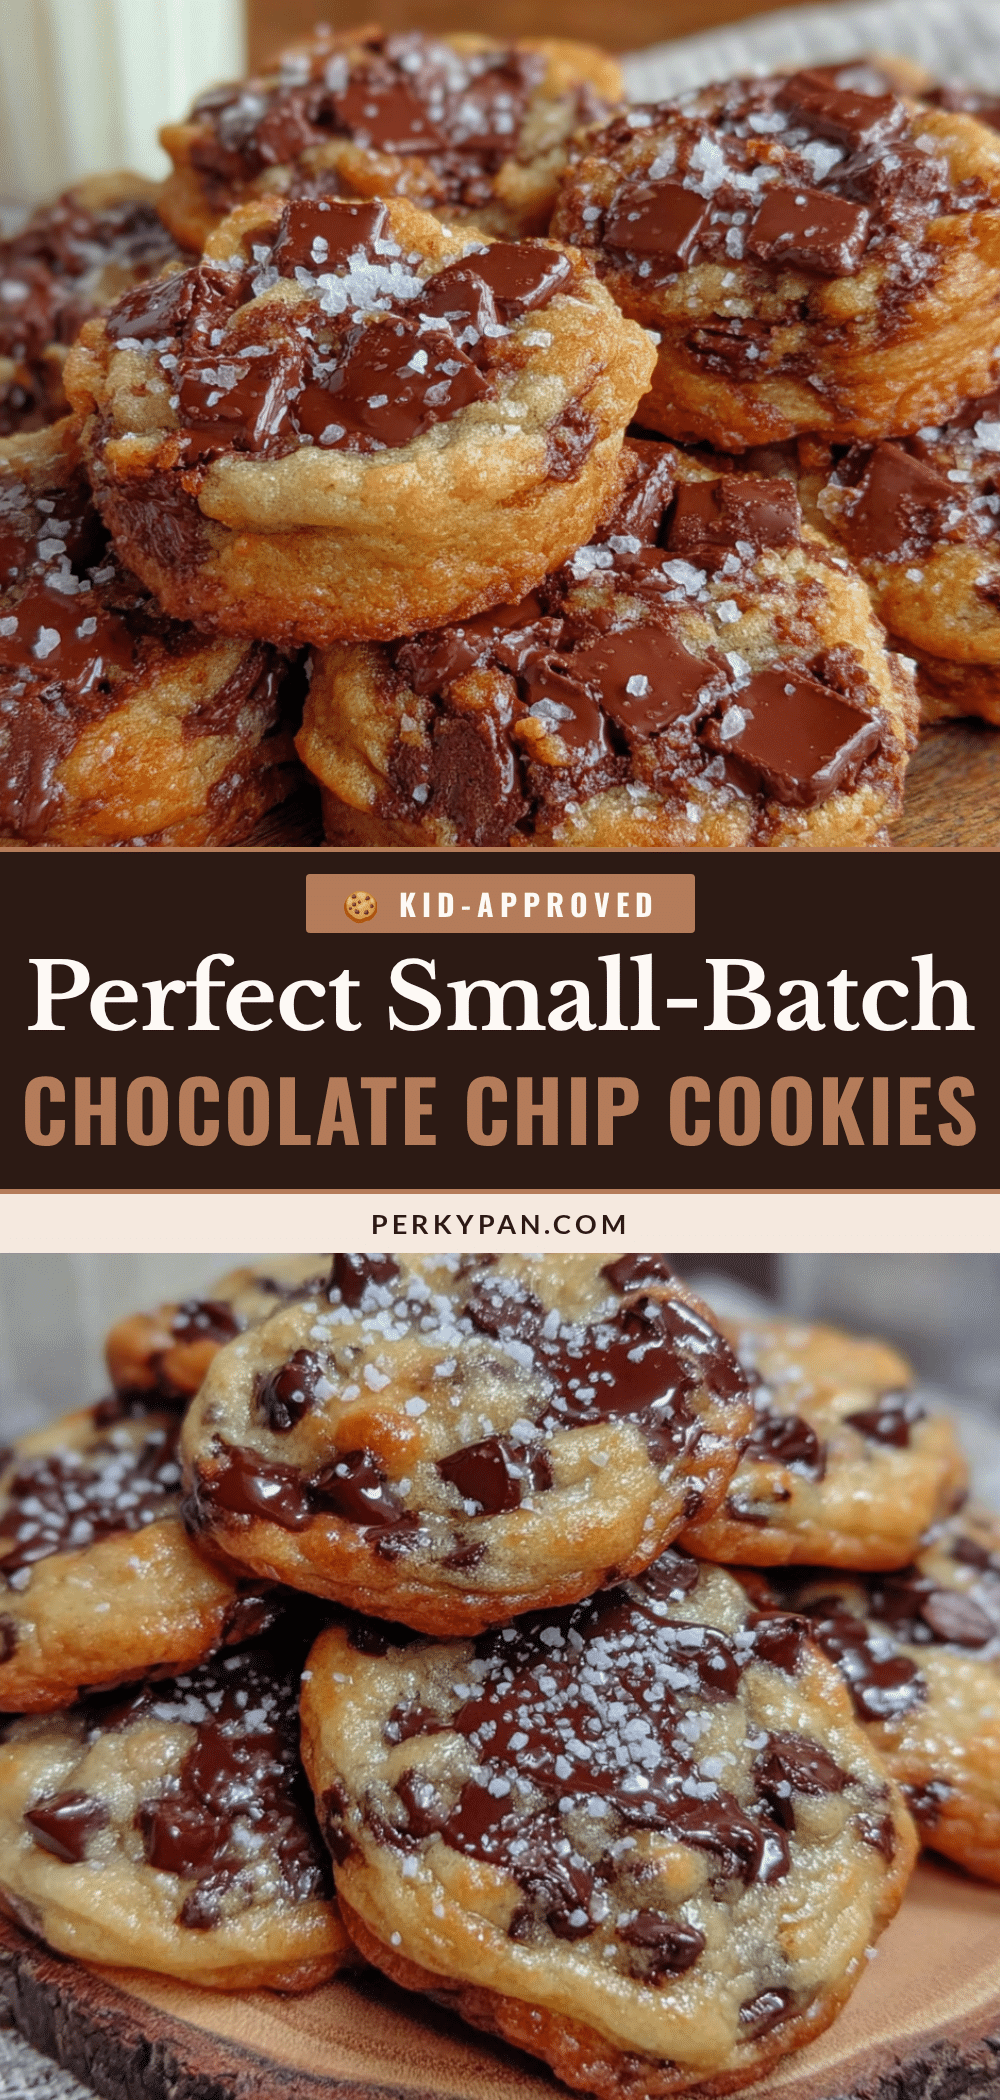
Perfect Small-Batch Chocolate Chip Cookies: Easy Homemade Recipe

These small-batch chocolate chip cookies are chewy, golden, and perfect for a quick treat. Made with simple ingredients and browned butter for a nutty depth, they come together in about 20 minutes and yield exactly six cookies.
- Prep Time: 10 minutes
- Cook Time: 10 minutes
- Total Time: 20 minutes
- Yield: 6 cookies 1x
- Category: Dessert
- Cuisine: American
Ingredients
- 4 tablespoons (56g) unsalted butter, melted
- 3 tablespoons (38g) granulated sugar
- 3 tablespoons (42g) packed brown sugar (light or dark)
- 1 large egg yolk (about 18g)
- ½ teaspoon vanilla extract
- ½ cup (60g) all-purpose flour, spooned and leveled
- ¼ teaspoon baking soda
- ¼ teaspoon salt
- ⅓ cup (60g) semi-sweet chocolate chips
Instructions
- Preheat your oven to 350°F (175°C). Line a baking sheet with parchment paper.
- Melt the butter in a small saucepan over medium heat. Continue cooking for 1-2 minutes, swirling occasionally, until it foams, settles, and turns golden-brown with a nutty aroma. Pour into a mixing bowl and let cool for 2 minutes.
- Add granulated sugar and brown sugar to the warm butter. Whisk until smooth and glossy, about 30 seconds.
- Add the egg yolk and vanilla extract. Whisk vigorously until the mixture is thick, pale, and slightly lighter in color, about 1 minute.
- Sprinkle flour, baking soda, and salt over the wet mixture. Fold gently with a rubber spatula until just combined, about 10-15 strokes.
- Fold in the chocolate chips with 3-4 gentle strokes. The dough will be thick and slightly sticky.
- Scoop the dough into 6 equal balls (about 1.5 tablespoons each) and place them on the prepared baking sheet, spacing 2 inches apart.
- Bake for 9-11 minutes, until edges are golden brown and centers look slightly puffy and underdone.
- Let cookies rest on the baking sheet for 5 minutes, then transfer to a cooling rack.
Notes
For best results, use room temperature egg yolk and measure flour correctly by spooning and leveling. Chilling the dough for 30 minutes enhances chewiness. Watch the oven closely as baking times vary.
Nutrition
- Serving Size: 1 cookie
- Calories: 195
- Sugar: 16
- Sodium: 135
- Fat: 11
- Saturated Fat: 7
- Carbohydrates: 24
- Fiber: 1
- Protein: 2
Keywords: small-batch chocolate chip cookies, easy cookie recipe, chewy cookies, browned butter cookies, homemade cookies


