Love this? Save it for later!
Share the inspiration with your friends
“Why don’t you just crush the Oreos by hand instead of using a food processor?” my friend asked one lazy Saturday afternoon. I started to explain why that wouldn’t work — then stopped. Honestly, the crumbly mess in my hands turned out better than any finely processed crust I’d made before. It was a little chaotic, some crumbs went everywhere, and I forgot to grab the cream cheese out of the fridge early enough, but that messy, hands-on approach made the whole process feel more real. The texture was perfect, and the taste? Even better. I mean, I thought the food processor was essential, but nope—sometimes the beginner’s way is exactly right.
That spontaneous moment led me to perfecting this Easy No-Bake Oreo Cheesecake Cups Recipe. It’s become a go-to dessert that’s as simple as it is irresistible. Maybe you’ve been there — craving something rich and creamy but not wanting to heat up the oven or fuss with complicated steps. This recipe is exactly that: quick, forgiving, and totally crowd-pleasing. Every time I make it now, I’m reminded that sometimes I learn more by stepping back and letting the process be imperfect. And honestly, these Oreo cheesecake cups never fail to impress!
Why You’ll Love This Recipe
After testing dozens of no-bake desserts, this Easy No-Bake Oreo Cheesecake Cups Recipe stands out for several reasons. It’s not just a quick fix; it feels like a mini celebration in every bite. Here’s why it’s become a favorite in my kitchen and might just be yours, too:
- Quick & Easy: Comes together in under 20 minutes, perfect for busy weeknights or last-minute guests.
- Simple Ingredients: No fancy grocery trips needed; you likely already have Oreos, cream cheese, and a few pantry staples.
- Perfect for Parties: Great for potlucks, birthday treats, or casual get-togethers where you want something fuss-free yet impressive.
- Crowd-Pleaser: Kids and adults alike rave about the creamy texture combined with the crunchy Oreo bits.
- Unbelievably Delicious: The balance of sweet and slightly tangy cream cheese with chocolate cookie crunch is next-level comfort food.
What sets this recipe apart? It’s the little things: folding crushed Oreos gently into the cream cheese mixture for texture, no over-whipping so it stays luxuriously creamy, and serving in individual cups that look as good as they taste. Honestly, it’s the kind of dessert that makes you close your eyes after the first bite, savoring the simple joy of familiar flavors done right.
What Ingredients You Will Need
This recipe uses simple, wholesome ingredients to deliver that classic Oreo cheesecake flavor without fuss. Most are pantry staples or easy to find in any supermarket.
- Oreos (about 24 cookies, crushed; use regular or double-stuffed depending on preference) — the star for crust and mix-in
- Unsalted butter (4 tablespoons / 60 grams, melted) — binds the crust and adds richness
- Cream cheese (8 ounces / 225 grams, softened) — provides the creamy, tangy base (I prefer Philadelphia brand for smoothness)
- Powdered sugar (½ cup / 60 grams) — sweetens the filling without graininess
- Heavy cream (⅓ cup / 80 ml, cold) — whipped to add lightness and fluffiness
- Vanilla extract (1 teaspoon) — enhances flavor depth
- Optional garnish: extra Oreo crumbs or mini chocolate chips for topping
Substitutions: To make it dairy-free, swap cream cheese and heavy cream with coconut-based alternatives. For gluten-free, use gluten-free chocolate sandwich cookies like Kinnikinnick’s.
Equipment Needed
- Mixing bowls (medium and large)
- Electric mixer or hand whisk (an electric mixer makes whipping cream easier but hand whisking works with some effort)
- Food processor or rolling pin and ziplock bag (for crushing Oreos; crushing by hand is fine too!)
- Measuring cups and spoons for accuracy
- Spoons or spatula for folding and mixing
- Individual serving cups or small jars (about 6-8 cups, depending on portion size)
Note: If you don’t have a food processor, placing Oreos in a sturdy ziplock bag and gently crushing with a rolling pin is an old-school trick that works just as well. I’ve also used a mortar and pestle for a finer crumb texture on occasion. Keep your electric mixer clean and dry to avoid splatters during whipping!
Preparation Method
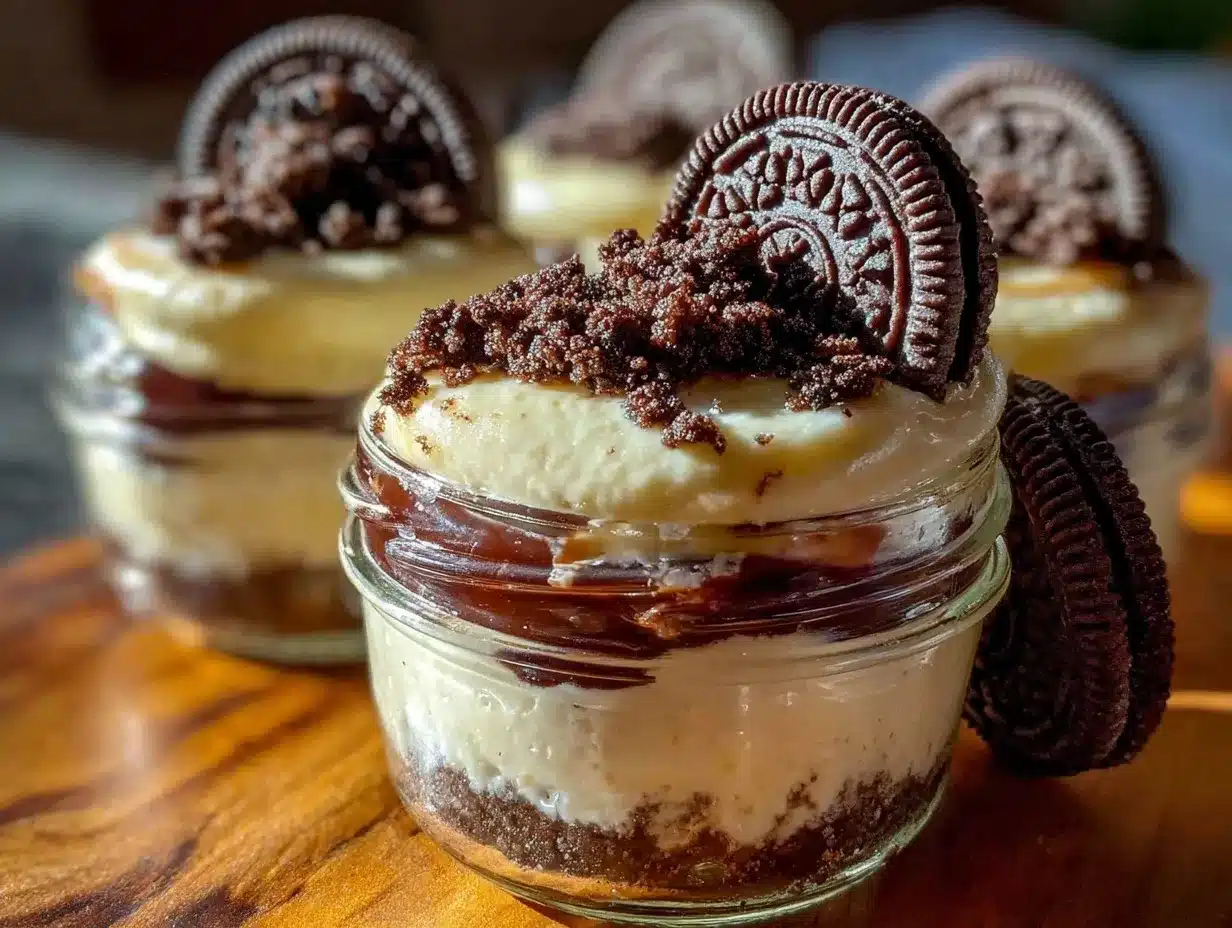
- Crush the Oreos: Place 18 Oreos in a food processor and pulse until finely ground. If crushing by hand, put them in a sealed bag and gently tap with a rolling pin until you get fine crumbs. Transfer crumbs to a bowl.
- Make the crust: Pour melted butter over the Oreo crumbs and stir until combined. The mixture should feel like wet sand and hold when pressed. Press about 2 tablespoons of this mixture into the bottom of each serving cup to form a crust layer. Place cups in the fridge to chill while you prepare the filling. (Chilling helps set the crust so it doesn’t mix with the filling.)
- Whip the cream: In a chilled bowl, beat the heavy cream with an electric mixer until stiff peaks form. This usually takes about 3-4 minutes. Set aside.
- Prepare the cream cheese mixture: In a large bowl, beat the softened cream cheese until smooth. Add powdered sugar and vanilla extract, mixing until fully incorporated. Gently fold in the whipped cream using a spatula to keep the mixture light and airy.
- Add crushed Oreos to filling: Chop the remaining 6 Oreos roughly and fold them into the cream cheese mixture, saving a few pieces for garnish.
- Assemble the cheesecake cups: Spoon the creamy filling over the chilled crust in each cup, filling nearly to the top. Sprinkle reserved Oreo crumbs or mini chips on top for decoration.
- Chill: Refrigerate the assembled cups for at least 2 hours to allow the cheesecake to set properly. For best results, overnight chilling is ideal.
Tip: If the cream cheese is too cold, you’ll struggle to get a smooth mixture. Let it sit at room temperature for 20-30 minutes before starting. Also, folding whipped cream gently is key—don’t rush or you’ll lose that fluffy texture.
Cooking Tips & Techniques
Even though this recipe skips the oven, there are a few tricks to get these Oreo cheesecake cups just right. First, the cream cheese must be softened but not melted. I’ve learned the hard way that cold cream cheese lumps ruin the smooth texture. Leaving it out for half an hour before mixing really pays off.
Crushing Oreos by hand can feel messy, but it gives more texture variety, which honestly adds to the charm. When folding whipped cream into the cream cheese, use a gentle hand and a big spatula. You want to keep as much air in as possible to avoid a dense dessert.
Also, chilling time is non-negotiable. Trust me, I tried serving these right away once — the filling was too runny and disappointing. At least two hours (or overnight) in the fridge lets the flavors marry and the texture firm up nicely.
Lastly, I find using individual cups is smarter than one big cheesecake. It’s easier to serve, looks cute, and everyone gets their own portion. Plus, it’s perfect when you want to impress without extra fuss!
Variations & Adaptations
This recipe is pretty flexible and friendly to tweaks. Here are some ways to mix it up:
- Flavor twists: Add a tablespoon of instant coffee powder to the cream cheese mixture for a mocha Oreo cheesecake cup, or a teaspoon of peppermint extract for a festive minty touch.
- Fruit additions: Layer fresh strawberries or raspberries between the crust and filling for a fruity surprise that cuts through the richness.
- Dietary swaps: Use dairy-free cream cheese and coconut cream to make it vegan-friendly. Gluten-free Oreo alternatives keep it safe for gluten sensitivities.
- Texture changes: Try grinding half of the Oreos into a fine powder and leaving the other half coarsely chopped. This adds a nice contrast that’s fun to bite into.
- Baking option: If you prefer a baked cheesecake, these cups can be baked at 325°F (160°C) for 15 minutes, then chilled to set — but honestly, I love the no-bake ease!
One personal favorite? Mixing in a swirl of peanut butter or Nutella before chilling. It’s indulgent and always a hit at family gatherings.
Serving & Storage Suggestions
Serve these Oreo cheesecake cups chilled straight from the fridge. They’re perfect as a cool, refreshing finish to a meal, especially on warm days when you don’t want something heavy or hot. The individual cups make them ideal for casual entertaining or even picnic treats.
Pair with a strong coffee or a glass of cold milk to balance the sweetness. I sometimes add a sprig of fresh mint or a few fresh berries on top for a pop of color and freshness.
To store, cover the cups tightly with plastic wrap or lids and keep refrigerated for up to 3 days. They can also be frozen for up to one month — just thaw in the fridge overnight before serving. The flavors actually deepen with a day or two in the fridge, so don’t rush to eat them all right away!
Nutritional Information & Benefits
Each serving of these Oreo cheesecake cups packs roughly 350 calories, with about 20 grams of fat, 35 grams of carbohydrates, and 5 grams of protein. While definitely an indulgence, the recipe uses real cream cheese and butter, providing calcium and some vitamin A.
The combination of cream cheese and whipped cream means it’s rich in fats, so moderation is key if you’re watching intake. Using dark chocolate Oreos or gluten-free options can slightly adjust nutritional value to suit dietary needs.
For those who want a lighter version, swapping heavy cream for a lighter whipped topping works, though texture will be less creamy. I appreciate this dessert as a sweet treat to share with loved ones, balancing enjoyment with everyday nutrition.
Conclusion
If you’re searching for a dessert that’s fast, fuss-free, and downright delicious, this Easy No-Bake Oreo Cheesecake Cups Recipe fits the bill perfectly. It’s a recipe that’s flexible, forgiving, and full of familiar flavors that everyone loves.
I keep coming back to it because it’s simple enough for a weeknight treat but impressive enough to serve at a party — plus, it never feels like a chore. I encourage you to make it your own with the variations and tips shared here. Don’t hesitate to experiment; you might stumble upon your own favorite twist.
Give it a try and let me know how these Oreo cheesecake cups turn out for you — I’d love to hear your stories and creative spins. Happy no-baking!
Frequently Asked Questions
Can I make these Oreo cheesecake cups ahead of time?
Absolutely! In fact, chilling them overnight improves the texture and flavor. Just cover and refrigerate until ready to serve.
What can I use if I don’t have heavy cream?
You can substitute with whipped topping or coconut cream for a dairy-free version, though the texture might be slightly different.
How many servings does this recipe make?
This recipe yields about 6 to 8 individual cups, depending on portion size.
Can I use other cookies besides Oreos?
Yes, chocolate wafer cookies or any sandwich cookies you like will work. Just adjust the sweetness accordingly.
Do I need to bake these cheesecake cups?
Nope! This is a no-bake recipe designed for ease and speed. Just chilling in the fridge sets them perfectly.
Pin This Recipe!
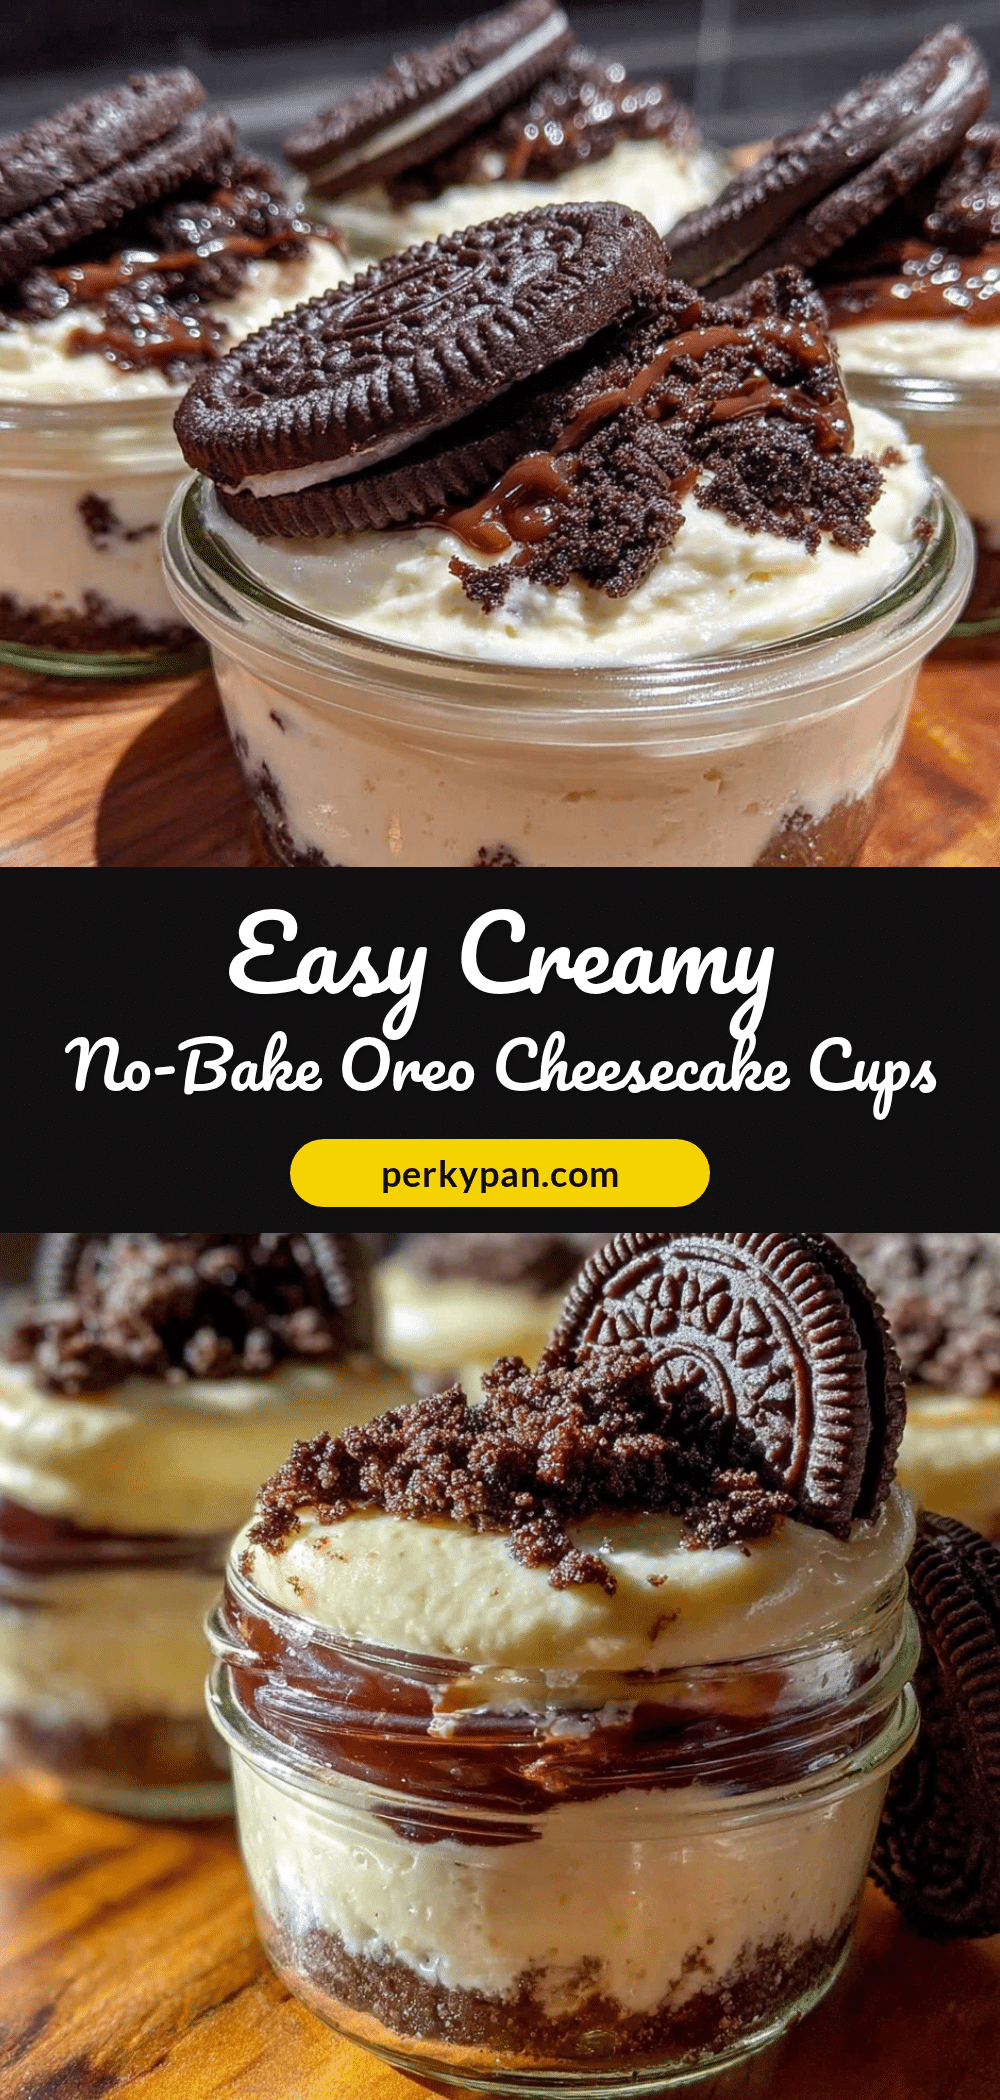
Easy No-Bake Oreo Cheesecake Cups
A quick and easy no-bake dessert featuring creamy cheesecake filling with crushed Oreos in individual cups. Perfect for parties and last-minute treats.
- Prep Time: 15 minutes
- Cook Time: 0 minutes
- Total Time: 2 hours 15 minutes
- Yield: 6 to 8 servings 1x
- Category: Dessert
- Cuisine: American
Ingredients
- 24 Oreos (regular or double-stuffed), crushed
- 4 tablespoons (60 grams) unsalted butter, melted
- 8 ounces (225 grams) cream cheese, softened
- ½ cup (60 grams) powdered sugar
- ⅓ cup (80 ml) heavy cream, cold
- 1 teaspoon vanilla extract
- Optional garnish: extra Oreo crumbs or mini chocolate chips
Instructions
- Crush 18 Oreos finely using a food processor or by placing them in a sealed bag and tapping with a rolling pin. Transfer crumbs to a bowl.
- Pour melted butter over the Oreo crumbs and stir until combined. Press about 2 tablespoons of this mixture into the bottom of each serving cup to form a crust layer. Chill in the fridge.
- In a chilled bowl, beat the heavy cream with an electric mixer until stiff peaks form. Set aside.
- In a large bowl, beat the softened cream cheese until smooth. Add powdered sugar and vanilla extract, mixing until fully incorporated.
- Gently fold the whipped cream into the cream cheese mixture to keep it light and airy.
- Chop the remaining 6 Oreos roughly and fold them into the cream cheese mixture, saving a few pieces for garnish.
- Spoon the creamy filling over the chilled crust in each cup, filling nearly to the top. Sprinkle reserved Oreo crumbs or mini chocolate chips on top.
- Refrigerate the assembled cups for at least 2 hours or overnight to set properly.
Notes
Let cream cheese sit at room temperature for 20-30 minutes before mixing for smooth texture. Fold whipped cream gently to keep mixture airy. Chill at least 2 hours or overnight for best results. Crushing Oreos by hand adds texture variety. Individual cups make serving easier and more attractive.
Nutrition
- Serving Size: One individual chees
- Calories: 350
- Fat: 20
- Carbohydrates: 35
- Protein: 5
Keywords: no-bake, Oreo, cheesecake, dessert, easy, quick, party, creamy, crowd-pleaser


