Love this? Save it for later!
Share the inspiration with your friends
The PTA bake sale was in twelve hours and I’d completely forgotten. My phone buzzed with a reminder text from the room mom—the one that said “don’t forget your contribution tomorrow!”—while I was elbow-deep in laundry and leftover meatloaf. Everyone else would be bringing those gorgeous, Pinterest-perfect creations. You know the ones. Layer cakes with perfectly piped buttercream. Macarons that probably required a culinary degree. And here I was, staring into my pantry like it held the answer to world peace.
Honestly, I almost gave up. I thought about grabbing a box of store-bought cookies and calling it a day. But then I saw the sugar cookie mix I’d stashed for a rainy day, a bag of white chocolate chips, and a half-empty jar of sprinkles from my kid’s birthday party three months ago. And I thought—maybe, just maybe—I could fake it. I threw things together in a panic, my toddler “helping” by dumping extra sprinkles on the counter. I slid the pan into the oven, crossed my fingers, and prayed they’d at least look edible.
The next morning, I walked into that bake sale feeling like a fraud. My bars were in a beat-up container, no fancy doily, no handwritten tag. But then something wild happened. They sold out in twenty minutes. A mom actually asked me for the recipe. I stood there, stunned, holding a crumpled five-dollar bill. I mean, I’d basically made a glorified sugar cookie bar. But that’s the thing about simple, honest food—it doesn’t need to be fancy to be unforgettable. These sugar cookie fudge bars are proof. And maybe you’ve been there, too, scrambling for a last-minute dessert that doesn’t look last-minute. This one’s for you.
Why You’ll Love This Recipe
Let me tell you why this recipe has become my secret weapon for every school event, potluck, and “I need dessert now” emergency. It’s not just good—it’s the kind of dessert that makes people close their eyes after the first bite.
- Quick & Easy: From start to finish, these bars come together in under 45 minutes. No chilling dough, no rolling pins, no fuss. Perfect for busy weeknights or last-minute bake sale panic.
- Simple Ingredients: You probably have everything in your kitchen right now. A box of sugar cookie mix, butter, an egg, white chocolate chips, and sprinkles. That’s it. No fancy grocery trips required.
- Budget-Friendly: This whole recipe costs under $8 to make, and it feeds a crowd. Compare that to the $30 cake at the bakery, and you’re saving serious money while still impressing everyone.
- Crowd-Pleaser: Kids go absolutely wild for these bars. Adults do too. They’re sweet, buttery, and topped with a creamy fudge layer that feels way more indulgent than it is.
- Unbelievably Delicious: The texture is what gets me every time. A soft, chewy sugar cookie base topped with a rich white chocolate fudge layer that melts in your mouth. It’s comfort food reimagined—simpler, faster, but with the same soul-soothing satisfaction.
What makes this recipe different from the rest? It’s the texture. By pressing the cookie dough into a pan instead of scooping it, you get that perfect chewy-to-crispy ratio that’s impossible to achieve with regular cookies. And the fudge topping? It’s not a complicated ganache. It’s a simple melt-and-pour situation that sets up beautifully every single time. This isn’t just another version of a sugar cookie bar—it’s my best version, born from a moment of panic and perfected over countless bake sales.
What Ingredients You Will Need
This recipe uses simple, budget-friendly ingredients to deliver big flavor without the fuss. Most of these are pantry staples, so you can whip up a batch anytime the craving hits.
- 1 box (17.5 oz) sugar cookie mix – I prefer Betty Crocker or Pillsbury for consistent results. Look for the standard size, not the smaller “just add butter” version. (Some brands vary slightly, so check the weight.)
- 1/2 cup (1 stick) unsalted butter, melted – Melted butter gives the cookie base a richer flavor and softer texture than oil. If you only have salted butter, just reduce the salt in the mix—though most mixes already have plenty.
- 1 large egg – Room temperature is best, but if you’re in a rush (like I always am), just let it sit in warm water for 5 minutes.
- 1 teaspoon vanilla extract – Pure vanilla adds warmth, but imitation works fine in a pinch. I’ve used both, and honestly, no one notices the difference in a fudge bar.
- 1 1/2 cups white chocolate chips – Use good-quality chips for the smoothest melt. Ghirardelli or Guittard are my go-to brands. (For a budget option, store-brand chips work—just stir constantly to prevent scorching.)
- 1/2 cup sweetened condensed milk – This is the secret to the fudge layer. Don’t substitute evaporated milk—it’s not the same. The condensed milk gives the fudge its creamy, thick texture.
- 2 tablespoons unsalted butter – Added to the fudge layer for richness and shine.
- 1/4 cup rainbow sprinkles (plus extra for topping) – Jimmies (the long, rod-shaped sprinkles) work best. They hold their color and don’t bleed into the fudge. Avoid nonpareils—they tend to dissolve and create a mess.
Substitution Guidance: If you’re out of white chocolate chips, semi-sweet or milk chocolate chips work beautifully. Just know the flavor profile shifts to a more classic chocolate fudge bar. For a gluten-free option, use a gluten-free sugar cookie mix—most brands have one, and the texture holds up surprisingly well. If you’re dairy-free, use a plant-based butter substitute and dairy-free white chocolate chips. The fudge layer might be slightly softer, but it’s still delicious.
Equipment Needed
You don’t need a fancy kitchen to make these bars. Here’s what you’ll need:
- 9×13-inch baking pan – This is the standard size for a thick, chewy bar. If you only have an 8×8 pan, the bars will be much thicker and need about 10 extra minutes of baking time.
- Parchment paper or aluminum foil – Lining the pan makes lifting the bars out a breeze. I’ve forgotten this step before, and let me tell you, wrestling a stuck bar out of a pan is not fun.
- Mixing bowls (medium and small) – One for the cookie base, one for the fudge topping.
- Whisk or wooden spoon – For mixing the dough. A hand mixer works too, but I prefer the simplicity of a spoon—less cleanup.
- Spatula – For pressing the dough evenly into the pan and spreading the fudge.
- Small saucepan or microwave-safe bowl – For melting the fudge ingredients. I use a saucepan for better control, but the microwave works in a pinch.
- Cooling rack – Essential for even cooling. If you don’t have one, just let the pan cool on the counter—it just takes a bit longer.
Budget-friendly tip: If you don’t have parchment paper, just grease the pan generously with butter or non-stick spray. The bars might stick a little, but they’ll still taste amazing.
Preparation Method
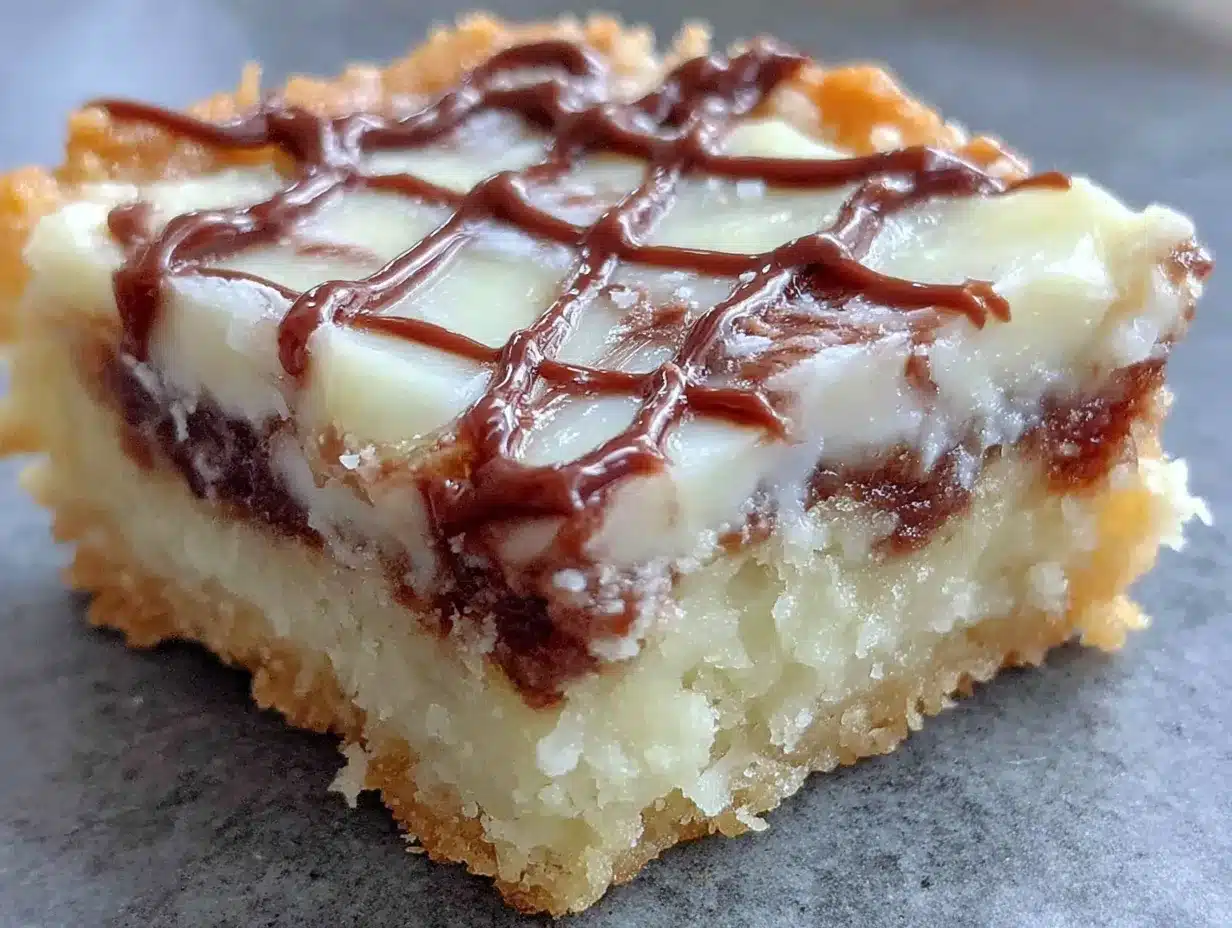
Alright, let’s get baking. This recipe is straightforward, but I’ve included all my little tricks to make sure you nail it on the first try.
- Preheat your oven to 350°F (175°C). Line your 9×13-inch baking pan with parchment paper, leaving a little overhang on two sides. This creates “handles” for lifting the bars out later. If you’re using foil, grease it lightly so the bars don’t stick.
- Make the cookie base. In a medium mixing bowl, combine the sugar cookie mix, melted butter, egg, and vanilla extract. Stir with a wooden spoon or spatula until a soft dough forms. It will be slightly sticky—that’s normal. Don’t overmix, or the bars will be tough. (I learned this the hard way after a batch of hockey-puck cookies.)
- Press the dough into the pan. Transfer the dough to your prepared pan. Using your hands or a spatula, press it into an even layer. The dough will be thin—about 1/4 inch thick. Don’t worry if it doesn’t reach the edges perfectly; just spread it as evenly as you can. Pro tip: lightly wet your fingers to prevent sticking.
- Bake the cookie base. Place the pan in the preheated oven and bake for 12-15 minutes, or until the edges are lightly golden and the center looks set. The top should be pale—not brown. Overbaking will make the bars dry. (I once forgot to set a timer and ended up with sugar cookie crackers. Still edible, but not the same.)
- Let the base cool slightly. Remove the pan from the oven and let it cool on a wire rack for about 10 minutes. This step is important—if you pour the fudge on a hot base, it’ll melt into the cookie and create a mess. Trust me, I’ve done it.
- Make the fudge topping. While the base cools, combine the white chocolate chips, sweetened condensed milk, and 2 tablespoons of butter in a small saucepan. Heat over low heat, stirring constantly, until everything is melted and smooth. This takes about 5-7 minutes. Don’t rush it—high heat will scorch the chocolate. (If using a microwave, heat in 30-second bursts, stirring between each, until smooth.)
- Stir in the sprinkles. Remove the fudge from the heat and immediately stir in the sprinkles. The color will bleed slightly, creating a pretty, pastel swirl. If you want a more vibrant look, sprinkle extra sprinkles on top after spreading the fudge.
- Spread the fudge over the cookie base. Pour the fudge mixture over the slightly cooled cookie base. Use a spatula to spread it evenly, right to the edges. Work quickly—the fudge sets as it cools.
- Add extra sprinkles (optional). If you want those picture-perfect rainbow tops, sprinkle a generous handful of sprinkles over the wet fudge. Gently press them in with your fingers so they stick.
- Chill until set. Place the pan in the refrigerator for at least 1 hour, or until the fudge is firm to the touch. For clean, sharp cuts, chill for 2 hours. (I’ve been known to sneak a warm square straight from the pan—it’s messy but delicious.)
- Cut and serve. Once the fudge is fully set, lift the bars out of the pan using the parchment overhang. Place on a cutting board and slice into squares. I usually cut 24 bars (6 rows by 4 rows), but you can go bigger or smaller depending on your crowd.
Cooking Tips & Techniques
Over the years, I’ve made these bars more times than I can count. Here are the lessons I’ve learned the hard way so you don’t have to.
Don’t overbake the cookie base. This is the number one mistake I see. The base should be pale and just set in the center. If it’s golden brown all over, it’ll be too dry. Remember, it’ll continue to cook slightly from the residual heat after you pull it out. When in doubt, pull it out a minute early.
Use low heat for the fudge. White chocolate is finicky—it can seize and turn grainy if overheated. Keep the heat on low and stir constantly. If you see any lumps forming, remove the pan from the heat immediately and stir vigorously. Sometimes you can save it by adding a teaspoon of vegetable oil.
Let the base cool before adding fudge. I know it’s tempting to rush, but patience pays off here. A hot base will cause the fudge to melt and soak into the cookie, leaving you with a soggy bottom. Ten minutes of cooling makes all the difference.
Chill thoroughly before cutting. This is crucial for clean, Instagram-worthy squares. If you cut too early, the fudge will smear and stick to your knife. For the cleanest cuts, use a sharp chef’s knife and wipe it clean between slices.
Multitasking strategy: While the cookie base bakes and cools, make the fudge. That way, everything is ready at the same time. I usually clean up my mixing bowls during the cooling phase—less mess, more zen.
Variations & Adaptations
One of the best things about this recipe is how easily it adapts. Here are some of my favorite variations:
- Chocolate Lover’s Version: Swap the white chocolate chips for semi-sweet or dark chocolate chips. The fudge will be richer and less sweet. My husband prefers this version—he says it’s more “adult.”
- Holiday Theme: Use seasonal sprinkles! Red and green for Christmas, pastels for Easter, orange and black for Halloween. I once made a batch for Valentine’s Day with pink and red sprinkles, and they were a huge hit at my daughter’s class party.
- Gluten-Free Adaptation: Use a gluten-free sugar cookie mix. Most brands perform identically to the regular version. Just double-check that your white chocolate chips are also gluten-free (most are, but some contain wheat-based additives).
- Lemon Sugar Cookie Bars: Add 1 tablespoon of lemon zest to the cookie dough and use lemon extract instead of vanilla. The bright citrus flavor cuts through the sweetness beautifully. I tried this on a whim last summer, and it’s now my go-to for picnics.
- Peppermint Bark Bars: Crush up some candy canes and sprinkle them over the fudge instead of rainbow sprinkles. Perfect for the holiday season. Just be warned—your kitchen will smell like a candy shop.
Serving & Storage Suggestions
These bars are best served chilled or at room temperature. I personally love them straight from the fridge—the fudge is firm and the cookie base is chewy. If you prefer a softer texture, let them sit at room temperature for 10-15 minutes before serving.
Storage: Store leftover bars in an airtight container in the refrigerator for up to 1 week. They actually get better after a day or two—the flavors meld together, and the texture becomes even more fudge-like. (If they last that long in your house, that is.)
Freezing: These bars freeze beautifully. Wrap individual squares in plastic wrap, then place them in a freezer-safe bag or container. They’ll keep for up to 3 months. To thaw, just leave them at room temperature for 30 minutes, or pop them in the microwave for 15 seconds for that just-baked warmth.
Reheating: If you want a warm, gooey experience, microwave a single bar for 10-15 seconds. The fudge gets slightly melty, and the cookie base softens. It’s a completely different experience from the chilled version—and both are amazing.
Nutritional Information & Benefits
Let’s be real—these are a treat, not a health food. But here’s the estimated nutritional breakdown per bar (based on 24 servings):
- Calories: 190
- Fat: 9g
- Carbohydrates: 26g
- Protein: 2g
- Sugar: 18g
Health benefits of key ingredients: White chocolate contains calcium from the milk solids, and butter provides a small amount of vitamin A. The sprinkles? Well, they make you smile—and that counts for something, right?
Dietary considerations: This recipe is vegetarian. For a gluten-free version, use a gluten-free cookie mix. For a dairy-free version, use plant-based butter and dairy-free white chocolate chips. Note that the texture will be slightly different, but still delicious.
My personal perspective: I believe in balance. These bars are a celebration food—perfect for birthdays, bake sales, or Tuesday nights when you just need a little sweetness. I don’t stress about the sugar content because I know my family eats them in moderation and gets plenty of veggies the rest of the week. Life is too short to skip dessert.
Conclusion
These sugar cookie fudge bars are everything a budget-friendly dessert should be: simple, delicious, and full of joy. They came from a moment of panic, but they’ve become a staple in my kitchen for all the right reasons. Whether you’re scrambling for a last-minute bake sale contribution, feeding a crowd at a potluck, or just treating your family to something sweet, these bars deliver every single time.
I encourage you to make this recipe your own. Swap the sprinkles for your favorite holiday colors, try the lemon version, or go full chocolate lover. The possibilities are endless, and that’s the beauty of a simple, forgiving recipe. And when you make them—because I know you will—come back and tell me how they turned out. Did your kids devour them? Did you get asked for the recipe? I want to hear it all.
So go ahead, preheat that oven, and make some memories. Your family will thank you. And honestly? You’ll thank yourself for having this recipe in your back pocket. Happy baking!
Frequently Asked Questions
Can I use homemade sugar cookie dough instead of a mix?
Absolutely! Use your favorite sugar cookie recipe—just make sure it yields a dough that’s sturdy enough to hold the fudge topping. Avoid overly soft or cakey doughs, as they may not hold up well.
Why did my fudge turn out grainy?
Grainy fudge usually means the white chocolate was overheated. Always melt it over low heat, stirring constantly. If using a microwave, use 30-second bursts and stir well between each. If it seizes, try adding a teaspoon of vegetable oil and stirring vigorously.
Can I use milk chocolate or dark chocolate instead of white chocolate?
Yes! The recipe works beautifully with any chocolate. Just keep in mind that milk chocolate will make the bars sweeter, while dark chocolate will balance the sweetness with a bit of bitterness. Adjust the sugar in the cookie base if needed.
How do I get clean, sharp cuts?
Chill the bars for at least 2 hours before cutting. Use a sharp chef’s knife and wipe it clean with a damp paper towel between each slice. For extra-clean cuts, run the knife under hot water and dry it before slicing.
Can I make these bars ahead of time for a party?
Definitely! These bars actually taste better the next day. Prepare them up to 2 days in advance and store them in the refrigerator. Just bring them to room temperature for 15 minutes before serving, or serve them chilled—both are delicious.
Pin This Recipe!
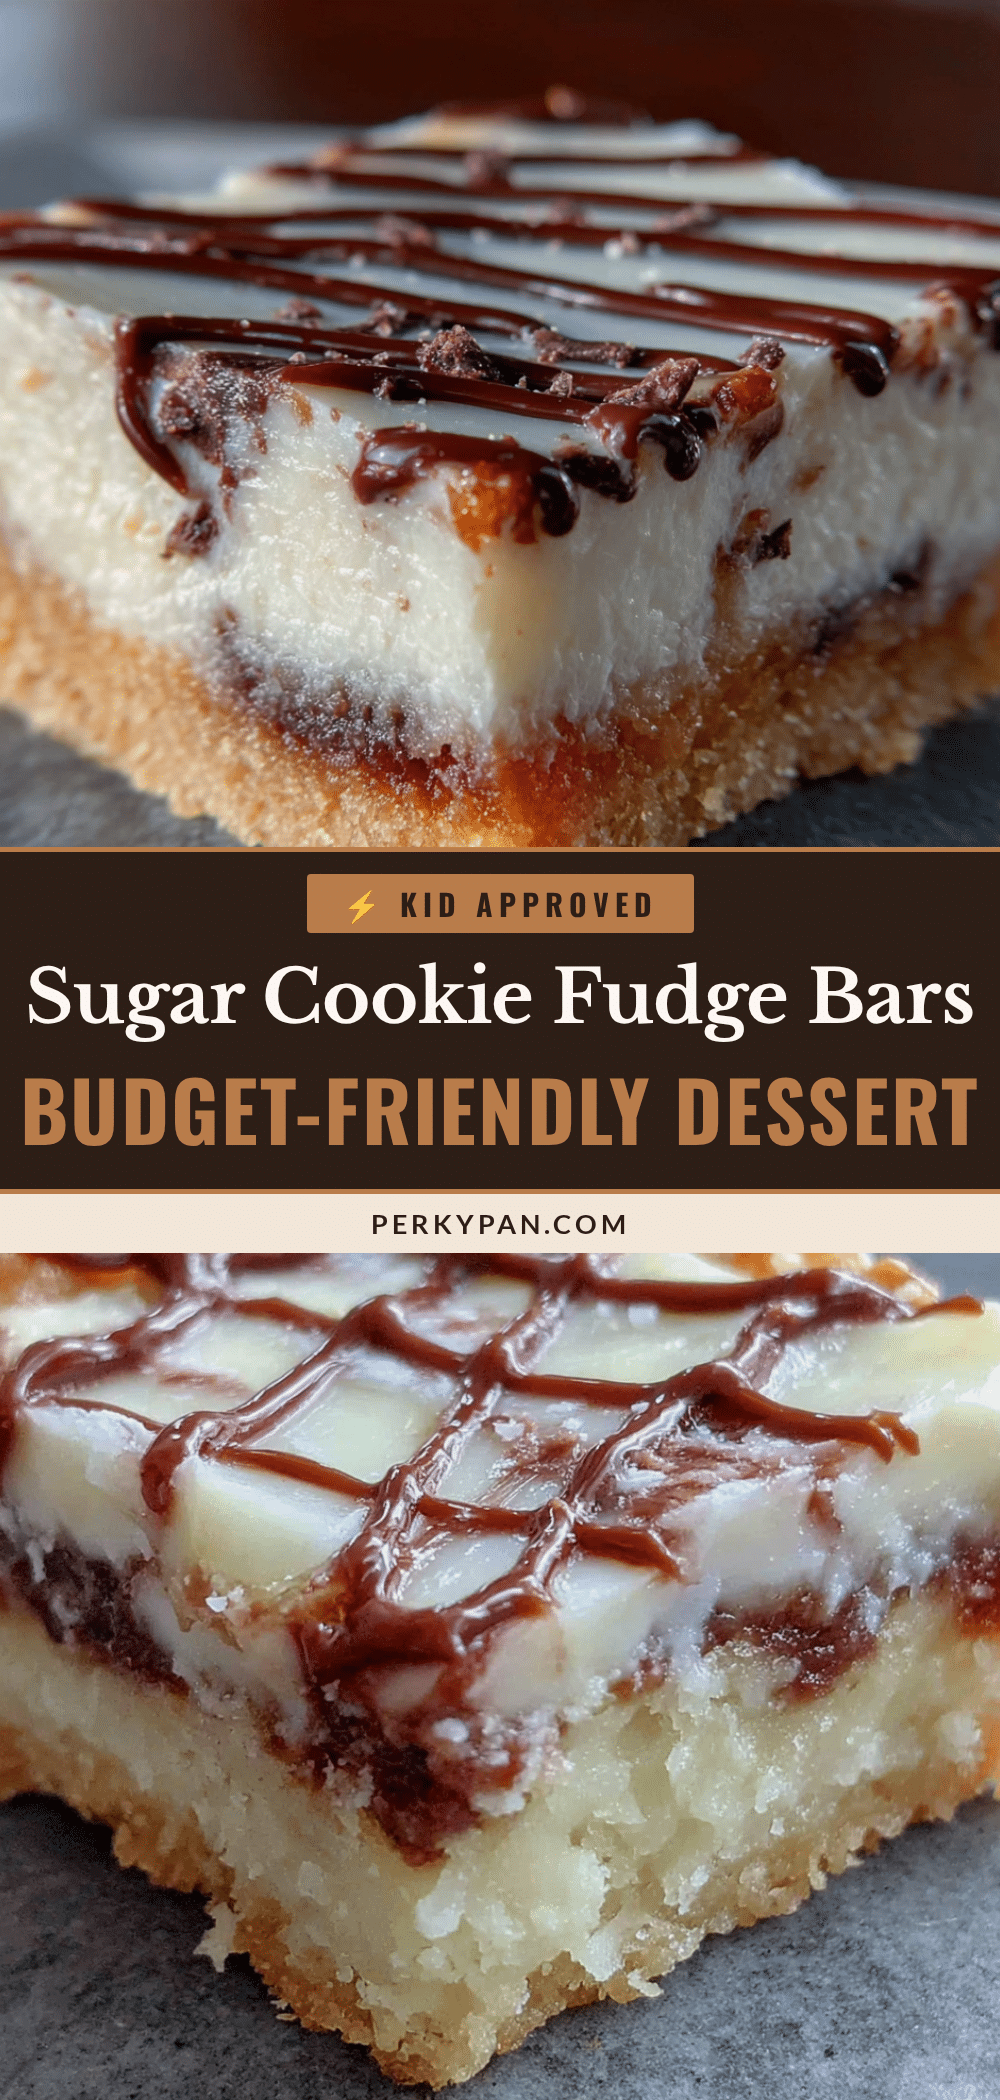
Easy Sugar Cookie Fudge Bars – Best Kid-Approved Dessert
These sugar cookie fudge bars are a quick, easy, and budget-friendly dessert perfect for bake sales, potlucks, or last-minute cravings. A soft, chewy sugar cookie base is topped with a creamy white chocolate fudge layer and rainbow sprinkles.
- Prep Time: 15 minutes
- Cook Time: 15 minutes
- Total Time: 1 hour 30 minutes (including chilling)
- Yield: 24 servings 1x
- Category: Dessert
- Cuisine: American
Ingredients
- 1 box (17.5 oz) sugar cookie mix
- 1/2 cup (1 stick) unsalted butter, melted
- 1 large egg
- 1 teaspoon vanilla extract
- 1 1/2 cups white chocolate chips
- 1/2 cup sweetened condensed milk
- 2 tablespoons unsalted butter
- 1/4 cup rainbow sprinkles (plus extra for topping)
Instructions
- Preheat your oven to 350°F (175°C). Line your 9×13-inch baking pan with parchment paper, leaving a little overhang on two sides.
- In a medium mixing bowl, combine the sugar cookie mix, melted butter, egg, and vanilla extract. Stir until a soft dough forms.
- Transfer the dough to your prepared pan. Using your hands or a spatula, press it into an even layer, about 1/4 inch thick.
- Bake the cookie base for 12-15 minutes, or until the edges are lightly golden and the center looks set. The top should be pale.
- Remove the pan from the oven and let it cool on a wire rack for about 10 minutes.
- While the base cools, combine the white chocolate chips, sweetened condensed milk, and 2 tablespoons of butter in a small saucepan. Heat over low heat, stirring constantly, until melted and smooth (about 5-7 minutes).
- Remove the fudge from the heat and immediately stir in the sprinkles.
- Pour the fudge mixture over the slightly cooled cookie base. Use a spatula to spread it evenly.
- If desired, sprinkle extra sprinkles over the wet fudge and gently press them in.
- Place the pan in the refrigerator for at least 1 hour, or until the fudge is firm (2 hours for clean cuts).
- Lift the bars out of the pan using the parchment overhang. Place on a cutting board and slice into squares (typically 24 bars).
Notes
Don’t overbake the cookie base; it should be pale and just set. Use low heat for the fudge to prevent graininess. Let the base cool before adding fudge to avoid a soggy bottom. Chill thoroughly before cutting for clean squares. Bars can be stored in the refrigerator for up to 1 week or frozen for up to 3 months.
Nutrition
- Serving Size: 1 bar
- Calories: 190
- Sugar: 18
- Sodium: 120
- Fat: 9
- Saturated Fat: 5
- Carbohydrates: 26
- Protein: 2
Keywords: sugar cookie bars, fudge bars, easy dessert, bake sale, kid-friendly, white chocolate, sprinkles, last-minute dessert