Love this? Save it for later!
Share the inspiration with your friends
My nephew Liam asked why I couldn’t just throw everything into a bowl and roll it into a ball instead of all the shaping and chilling and whatnot. I started to explain why that wouldn’t work — then stopped. Honestly, I had no good reason. I’d been making cheese balls for years, following some unwritten rule that they needed to be fussy. Liam was eight. He didn’t know the rules.
So I grabbed a block of cream cheese, some shredded cheddar, a handful of green onions from the fridge, and that packet of ranch seasoning I always keep around. He watched me dump it all in a bowl, mash it together with a fork, and roll it into a lopsided ball. It took maybe four minutes. “See?” he said. “That was easy.” I felt a little silly, honestly. All those years of meticulous layering and plastic wrap and I’d missed the obvious.
That cheese ball disappeared in about ten minutes flat. My brother-in-law asked for the recipe, and I had to admit it wasn’t really a recipe — it was just stuff mixed together. But you know that feeling when something so simple works better than the complicated version? That’s this cheese ball. It’s become our go-to for Friday night snacking, last-minute playdates, and the occasional Tuesday when you just need a little something. Maybe you’ve been there — overthinking a recipe until a kid shows you the obvious path.
Why You’ll Love This Recipe
This isn’t just another cheese ball recipe. It’s the one that actually gets made, again and again, because it doesn’t ask anything from you. No fancy equipment, no obscure ingredients, no waiting around for things to chill before you can even start. Here’s what makes it different:
- Five Ingredients — You probably have them all right now. Cream cheese, shredded cheddar, ranch seasoning, green onions, and your choice of coating (nuts, bacon bits, or more cheese). That’s it.
- No Baking, No Waiting — Mix, roll, serve. I mean it. You can have this on the table in under ten minutes. No oven, no stovetop, no chilling required (though it does taste even better after a quick rest in the fridge).
- Kid-Approved and Parent-Approved — My nephew proved that. Kids love the mild, creamy flavor, and parents love that it’s affordable and uses pantry staples. It’s a crowd-pleaser at school events, potlucks, and family movie nights.
- Endlessly Adaptable — The base is so simple that you can switch up the flavors to match any occasion. Holiday gathering? Add dried cranberries. Game day? Throw in some chopped jalapeños. This recipe bends to your will.
- Budget-Friendly — A block of cream cheese and some shredded cheddar cost next to nothing. You’re feeding a crowd for the price of a fast-food run, and honestly, this tastes way better.
I’ve tested this with different cream cheese brands, various shreds of cheddar, and even dairy-free alternatives. It works every time. It’s the kind of recipe that makes you look like you put in effort when you really just threw things together. And honestly, that’s my favorite kind of recipe.
What Ingredients You Will Need
This recipe uses simple, everyday ingredients to deliver a creamy, savory cheese ball that disappears fast. No trips to specialty stores, no hunting down obscure items. Just five things you probably already have.
- 8 ounces cream cheese, softened — This is the base of your cheese ball. Make sure it’s at room temperature so it mixes smoothly. I use Philadelphia cream cheese for the creamiest texture, but any block-style cream cheese works. (For a lighter option, use Neufchâtel cheese — it has less fat but still blends beautifully.)
- 1 cup shredded sharp cheddar cheese — Sharp cheddar gives the most flavor without needing extra seasoning. Pre-shredded cheese works in a pinch, but freshly shredded melts and blends better. (I’ve found that bagged shreds have a coating that can make the cheese ball slightly grainy, so shred your own if you have the time.)
- 1 packet (1 ounce) ranch seasoning mix — This is the flavor powerhouse. It adds that savory, herby kick that makes the cheese ball irresistible. I use Hidden Valley Ranch seasoning, but any brand works. (If you’re watching sodium, you can use a reduced-sodium version or make your own blend with dried dill, parsley, garlic powder, and onion powder.)
- 3 tablespoons finely chopped green onions — These add a mild onion flavor and a pop of color. You can substitute chives if you prefer a more delicate taste. (I’ve also used finely diced red onion in a pinch — just soak it in cold water for five minutes to mellow the bite.)
- 1/2 cup coating of your choice — This is where you get creative. I usually use chopped pecans or walnuts for a classic crunch. For a nut-free version, try crushed bacon bits, extra shredded cheese, or everything bagel seasoning. (My personal favorite is a mix of chopped pecans and crispy bacon bits — the salty-savory combo is unbeatable.)
Optional add-ins: A dash of garlic powder, a squeeze of lemon juice, or a few dashes of hot sauce can brighten the flavor. If you’re making this for a party, consider mixing in 1/4 cup of dried cranberries or chopped sun-dried tomatoes for a sweet-tart contrast.
Equipment Needed
You don’t need much for this recipe, which is part of its charm. Here’s what you’ll need:
- Mixing bowl — Any medium-sized bowl works. I use a glass or ceramic bowl because they don’t hold onto odors.
- Fork or spatula — For mashing and mixing the ingredients together. A fork is my go-to because it breaks up the cream cheese easily.
- Plastic wrap — Optional, but helpful if you want to shape the cheese ball neatly. You can also just use your hands.
- Parchment paper or a small baking sheet — For rolling the cheese ball in the coating. It keeps the mess contained.
- Measuring cups and spoons — For accurate ingredient portions, though honestly, this recipe is forgiving enough that you can eyebit it.
I’ve made this cheese ball with nothing but a bowl and my hands when I was camping. It worked fine. Don’t let a lack of fancy tools stop you.
Preparation Method
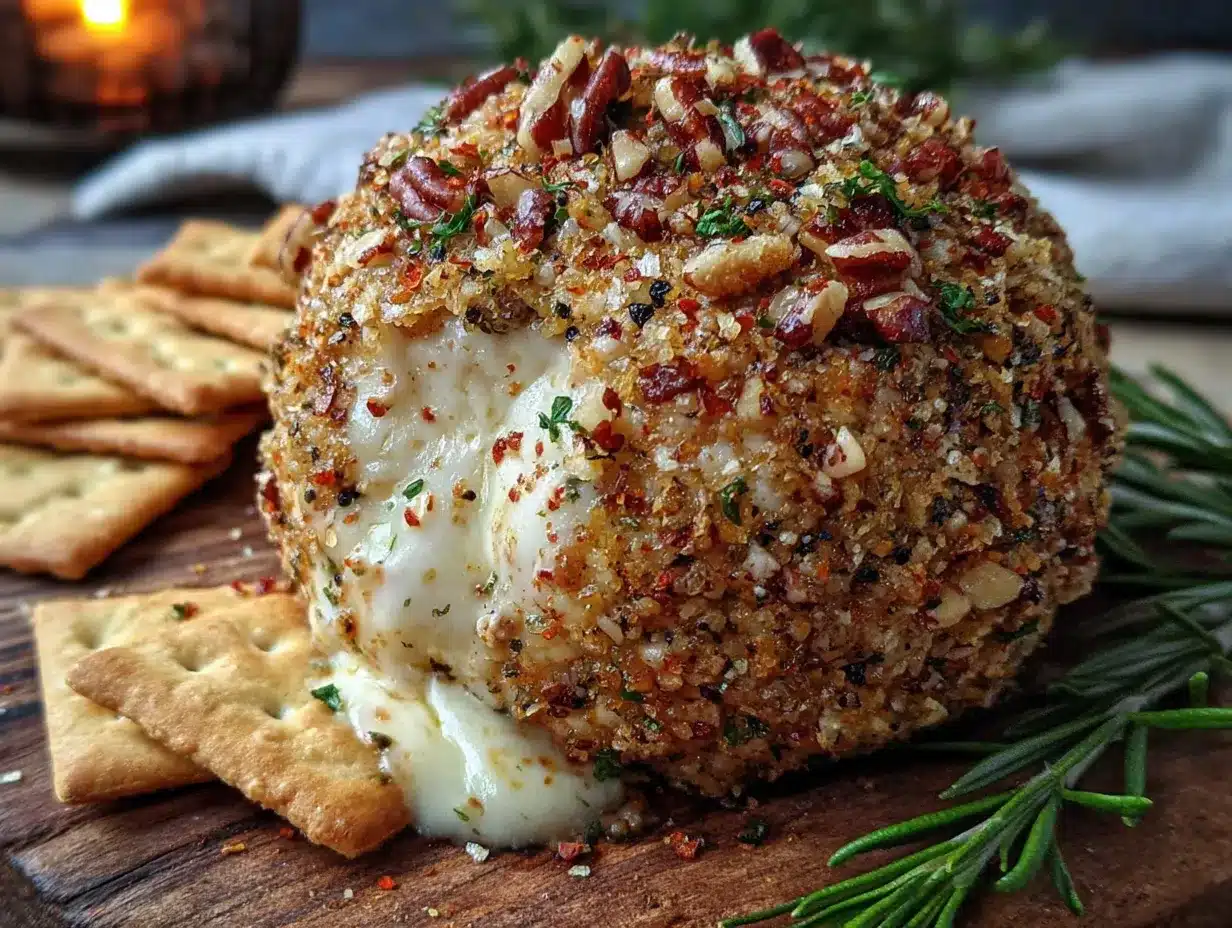
- Soften the cream cheese. Take the cream cheese out of the fridge about 30 minutes before you start. If you forgot (I do this all the time), microwave it in 10-second bursts until it’s soft but not melted. You want it to give easily when you press it.
- Combine the base ingredients. In your mixing bowl, add the softened cream cheese, shredded cheddar, ranch seasoning mix, and chopped green onions. Use a fork to mash and stir everything together until it’s well combined. Don’t overmix — you just want everything evenly distributed. The mixture should be thick and slightly sticky.
- Taste and adjust. This is the step I never skip. Take a tiny taste and see if you want more seasoning, a pinch of salt, or a dash of pepper. Remember that the coating will add more flavor, so don’t go overboard.
- Shape the cheese ball. Scrape the mixture onto a piece of plastic wrap. Use the wrap to help shape it into a ball — gather the edges, twist the top, and gently press it into a round shape. If you don’t have plastic wrap, just use your hands. The mixture will be a little sticky, but it’ll hold together.
- Prepare the coating. Spread your chosen coating (chopped nuts, bacon bits, everything seasoning, whatever you picked) on a piece of parchment paper or a small plate. Make sure it’s in an even layer.
- Roll the cheese ball. Unwrap the cheese ball and gently roll it in the coating, pressing lightly so the coating sticks. Use your hands to pat on any extra coating in bare spots. Don’t worry if it’s not perfectly round — rustic cheese balls have character.
- Chill (optional but recommended). If you have time, wrap the finished cheese ball in plastic wrap and refrigerate for at least 30 minutes. This helps the flavors meld and makes it easier to slice. But honestly, I’ve served it immediately and it was still delicious.
- Serve. Place the cheese ball on a serving plate with crackers, pretzels, or sliced veggies. Let it sit at room temperature for about 10 minutes before serving if it’s been in the fridge — it spreads better when it’s slightly soft.
Cooking Tips & Techniques
I’ve made this cheese ball more times than I can count, and I’ve learned a few things along the way. Here are my best tips:
- Don’t overmix. The more you stir, the softer the mixture gets, and it can become too loose to hold its shape. Mix just until everything comes together.
- Use cold hands for shaping. If the mixture feels too sticky, wet your hands with cold water or rub them with a tiny bit of oil. It helps the cheese ball hold its shape without sticking to your palms.
- Toast your nuts. If you’re using nuts as a coating, toast them first in a dry pan over medium heat for 3-4 minutes until fragrant. It adds so much more flavor than raw nuts.
- Make it ahead. This cheese ball actually tastes better the next day. You can make it up to three days in advance and keep it wrapped in the fridge. Just add the coating right before serving to keep it crunchy.
- Double the batch. This recipe is easy to scale up. I often make two cheese balls at once — one for now and one to freeze. They freeze beautifully for up to a month.
- Don’t skip the green onions. I know it’s tempting to leave them out if you don’t have them, but they add a subtle freshness that balances the richness of the cream cheese. Chives work as a substitute.
One time I forgot the ranch seasoning and tried to compensate with extra garlic powder and dried dill. It was fine, but not the same. The ranch packet really does the heavy lifting here, so don’t skip it.
Variations & Adaptations
This recipe is a blank canvas. Here are some of my favorite ways to change it up:
- Spicy Southwest Cheese Ball: Add 1/4 cup of finely diced pickled jalapeños and swap the cheddar for pepper jack cheese. Coat with crushed tortilla chips and a sprinkle of chili powder. Perfect for game day.
- Bacon Ranch Cheese Ball: Mix in 1/4 cup of cooked, crumbled bacon along with the other ingredients. Coat with more bacon bits and a little extra cheddar. This one disappears fastest at parties.
- Everything Bagel Cheese Ball: Use the base recipe as written, but coat the ball with everything bagel seasoning (the kind with sesame seeds, poppy seeds, garlic, and onion). Serve with bagel chips or cucumber slices.
- Sweet and Savory Holiday Cheese Ball: Mix in 1/4 cup of dried cranberries and 2 tablespoons of chopped fresh rosemary. Coat with chopped pecans. The cranberries add a pop of sweetness that’s perfect for winter gatherings.
- Dairy-Free Version: Use dairy-free cream cheese (I like Kite Hill or Violife) and dairy-free shredded cheddar. The texture will be slightly softer, so chill it for at least an hour before serving. The flavor is still fantastic.
My personal favorite variation is the Bacon Ranch — I add extra crispy bacon bits right into the mix and use a coating of crushed bacon and shredded cheddar. It’s ridiculous and wonderful.
Serving & Storage Suggestions
This cheese ball is versatile, but here’s how to serve and store it for the best experience:
- Serving temperature: Let the cheese ball sit at room temperature for 10-15 minutes before serving. It spreads much more easily when it’s slightly softened. If it’s too cold, it can tear crackers.
- What to serve with it: Classic butter crackers, pretzel sticks, pita chips, and sliced baguette are all excellent choices. For a low-carb option, try cucumber rounds, bell pepper strips, or celery sticks. I also love it spread on warm dinner rolls.
- Storage: Wrap the cheese ball tightly in plastic wrap or store it in an airtight container in the refrigerator. It will keep for up to 5 days. The coating may soften over time, so if you’re storing it for more than a day, consider adding a fresh layer of coating before serving.
- Freezing: You can freeze the cheese ball (without the coating) for up to 3 months. Wrap it tightly in plastic wrap, then foil. Thaw it overnight in the fridge, then add the coating before serving. The texture remains surprisingly good.
- Flavor development: This cheese ball actually tastes better after a day in the fridge. The flavors meld together, and the ranch seasoning becomes more pronounced. I often make it a day ahead for parties.
Nutritional Information & Benefits
This cheese ball is a treat, but it’s not without some redeeming qualities. Here’s a rough breakdown per serving (based on 8 servings):
- Calories: Approximately 180-200 calories per serving (about 2 tablespoons)
- Protein: 6-7 grams from the cream cheese and cheddar
- Fat: 16-18 grams (mostly from the cheese, which provides satiety)
- Carbohydrates: 3-5 grams (mostly from the ranch seasoning)
- Calcium: About 10% of your daily needs from the cheese
The cream cheese and cheddar provide a good source of calcium and protein, which help keep you full. The green onions add a small amount of vitamin K and antioxidants. If you use nuts for the coating, you’ll also get healthy fats and a bit of fiber.
This recipe is naturally low-carb and can be made gluten-free by using gluten-free crackers for serving. It’s not exactly health food, but it’s a real-food snack made from ingredients you can recognize. I’d rather have a few tablespoons of this than a bag of processed chips any day.
Conclusion
This five-ingredient no-bake cheese ball is proof that the best recipes don’t need to be complicated. It started with an eight-year-old questioning my methods, and it ended with a family favorite that we make on repeat. It’s creamy, savory, endlessly adaptable, and comes together in minutes. What’s not to love?
I hope you give this recipe a try, and I hope you make it your own. Add your favorite mix-ins, switch up the coating, serve it with whatever crackers you have on hand. That’s the beauty of a recipe this simple — it’s a starting point, not a rulebook.
If you make this cheese ball, I’d love to hear about it. Drop a comment below and tell me what variations you tried, or tag me in your photos. And if you have a picky eater at home, let me know if this one passed the test. Happy snacking!
Frequently Asked Questions
Can I make this cheese ball ahead of time?
Absolutely! You can make it up to 3 days in advance. Just wrap it tightly in plastic wrap and keep it in the fridge. Add the coating right before serving to keep it crunchy.
Can I use low-fat cream cheese?
Yes, but the texture will be slightly softer and less rich. Neufchâtel cheese (which has about a third less fat than regular cream cheese) works well and holds its shape better than fat-free options.
What can I use instead of ranch seasoning?
You can make your own blend with 1 teaspoon dried dill, 1 teaspoon dried parsley, 1/2 teaspoon garlic powder, 1/2 teaspoon onion powder, and 1/4 teaspoon salt. It won’t taste exactly the same, but it’ll be delicious in its own way.
How do I keep the coating from falling off?
Make sure the cheese ball is slightly sticky when you roll it. If it’s too cold, the coating won’t adhere well. Let it sit at room temperature for a few minutes before rolling, and press the coating gently into the surface.
Can I double this recipe?
Yes! This recipe scales beautifully. Just double all the ingredients and mix in a larger bowl. You can make one big cheese ball or two smaller ones. If making two, consider using different coatings for variety.
Pin This Recipe!
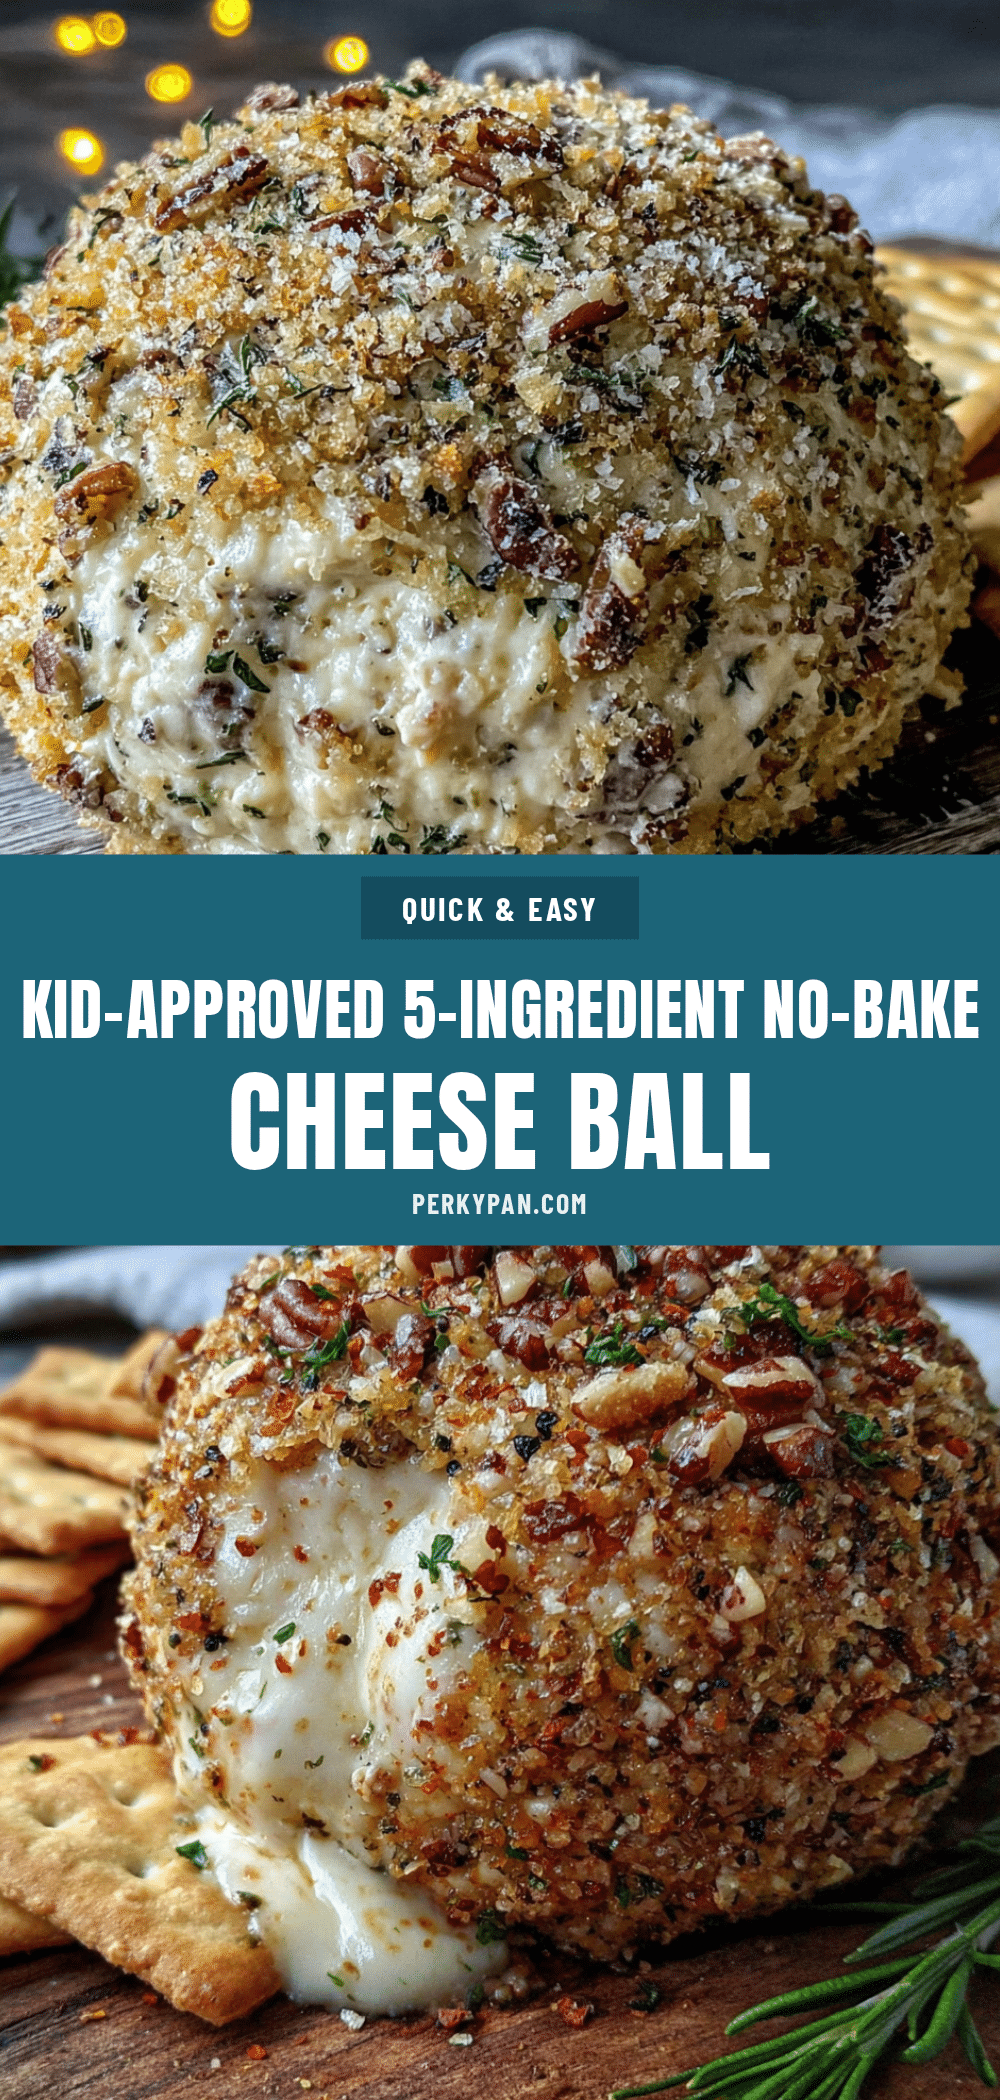
Easy 5-Ingredient No-Bake Cheese Ball Recipe

This creamy, savory cheese ball comes together in minutes with just five simple ingredients. No baking, no fuss, and it’s endlessly adaptable for any occasion.
- Prep Time: 10 minutes
- Cook Time: 0 minutes
- Total Time: 10 minutes (plus optional 30 minutes chilling)
- Yield: 8 servings 1x
- Category: Appetizer
- Cuisine: American
Ingredients
- 8 ounces cream cheese, softened
- 1 cup shredded sharp cheddar cheese
- 1 packet (1 ounce) ranch seasoning mix
- 3 tablespoons finely chopped green onions
- 1/2 cup coating of your choice (chopped pecans, walnuts, crushed bacon bits, everything bagel seasoning, or extra shredded cheese)
Instructions
- Soften the cream cheese: Take the cream cheese out of the fridge about 30 minutes before you start. If you forgot, microwave it in 10-second bursts until soft but not melted.
- Combine the base ingredients: In a mixing bowl, add the softened cream cheese, shredded cheddar, ranch seasoning mix, and chopped green onions. Use a fork to mash and stir everything together until well combined. Don’t overmix.
- Taste and adjust: Take a tiny taste and add more seasoning, salt, or pepper if desired.
- Shape the cheese ball: Scrape the mixture onto a piece of plastic wrap. Use the wrap to help shape it into a ball. If you don’t have plastic wrap, use your hands.
- Prepare the coating: Spread your chosen coating on a piece of parchment paper or a small plate in an even layer.
- Roll the cheese ball: Unwrap the cheese ball and gently roll it in the coating, pressing lightly so the coating sticks. Use your hands to pat on extra coating in bare spots.
- Chill (optional but recommended): Wrap the finished cheese ball in plastic wrap and refrigerate for at least 30 minutes to let flavors meld. You can serve it immediately if needed.
- Serve: Place the cheese ball on a serving plate with crackers, pretzels, or sliced veggies. Let it sit at room temperature for about 10 minutes before serving if it’s been in the fridge.
Notes
This cheese ball can be made up to 3 days in advance. Add the coating right before serving to keep it crunchy. For best flavor, let it sit at room temperature for 10-15 minutes before serving. The recipe is easily doubled and freezes well (without coating) for up to 3 months.
Nutrition
- Serving Size: 2 tablespoons
- Calories: 190
- Sugar: 2
- Sodium: 350
- Fat: 17
- Saturated Fat: 10
- Carbohydrates: 4
- Protein: 6
Keywords: cheese ball, no-bake, 5-ingredient, easy appetizer, ranch cheese ball, party snack, cream cheese, cheddar, kid-friendly


