Love this? Save it for later!
Share the inspiration with your friends
I was standing in the middle of a hardware store last October—Aisle 7, paint supplies, not a single apple in sight—when the smell hit me. It wasn’t paint. It was the faint, sweet scent of cinnamon from one of those pinecone-and-spice potpourri bags they sell near the checkout. And suddenly I was seven years old, sitting on a wobbly wooden stool in my neighbor Mrs. Gable’s kitchen. She was pulling a bubbling dish out of the oven, the oat topping golden and cracked in all the right places. I remember the steam fogging up her glasses, and how she’d always let me scrape the leftover brown sugar from the bottom of the bowl. That was the first time I ever had a proper apple crisp. I didn’t know it then, but I was tasting a memory I’d spend the next twenty years trying to recreate. Honestly, I’ve made a lot of versions since that afternoon. Some were too soggy, some had a topping that felt more like gravel than crumble. But this one—this Classic Apple Crisp with Easy Oat Crumble Topping—finally feels like coming home. Maybe you’ve had that moment where a recipe just clicks. This is that recipe for me. And I think it will be for you, too.
Why You’ll Love This Recipe
Let me tell you, I have tested a lot of apple crisp recipes. Some are too fussy. Some use a topping that turns into a sad, soggy blanket. This one is different. It’s the one I bring to every potluck, the one my family requests for Thanksgiving instead of pie, and the one that disappears in about ten minutes flat.
- Quick & Easy : From start to table in about an hour. Most of that time is hands-off baking. Perfect for a Tuesday night craving or a last-minute dessert emergency.
- Simple Ingredients : You likely have everything in your pantry right now. Apples, oats, butter, brown sugar, and cinnamon. No trips to a specialty store required.
- Perfect for Any Occasion : It works for a cozy family dinner, a fall gathering, or even a summer barbecue if you use a mix of seasonal apples.
- Crowd-Pleaser : Kids love the sweet, crunchy topping. Adults love the tender, spiced fruit. It’s a universal win.
- Unbelievably Delicious : The texture is the star here. You get a tender, jammy apple base and a topping that stays crunchy and buttery, not doughy or hard.
What makes this version the best? It’s the ratio. I spent years getting the topping just right—more oats than flour, a good pinch of salt, and cold butter cut in just until it looks like ragged pebbles. It’s a technique I learned after one too many topping failures. This isn’t just another apple crisp. It’s the one that makes you close your eyes after the first bite. It’s comfort food reimagined—simpler, faster, and with the same soul-soothing satisfaction.
What Ingredients You Will Need
This recipe uses simple, wholesome ingredients that work together to create something truly special. Most of these are pantry staples, which is part of the magic. You don’t need anything fancy to make a dessert that feels like a warm hug.
- For the Apple Filling:
- 6 cups apples, peeled, cored, and sliced (about 6 medium apples. I recommend a mix of Granny Smith for tartness and Honeycrisp or Fuji for sweetness. It gives the best flavor depth.)
- 1/4 cup granulated sugar (balances the tartness of the apples)
- 2 tablespoons all-purpose flour (this helps thicken the juices so the filling isn’t watery)
- 1 teaspoon ground cinnamon (the backbone of the flavor. I use Saigon cinnamon for a warmer, spicier kick)
- 1/4 teaspoon ground nutmeg (freshly grated if you have it, but pre-ground works perfectly)
- 1 tablespoon lemon juice (adds brightness and prevents the apples from browning)
- For the Oat Crumble Topping:
- 1 cup old-fashioned rolled oats (do not use quick oats here—they get mushy. Old-fashioned oats give that perfect chewy-crunchy texture)
- 3/4 cup all-purpose flour (or use a gluten-free 1:1 blend if needed)
- 1/2 cup packed light brown sugar (dark brown sugar works too, for a deeper molasses flavor)
- 1/2 teaspoon ground cinnamon
- 1/4 teaspoon salt (don’t skip this—it balances the sweetness and makes the topping taste “bakery-quality”)
- 1/2 cup unsalted butter, cold and cut into small cubes (if you only have salted butter, just reduce the added salt to a pinch)
Ingredient Tips: I always use unsalted butter so I can control the salt level. For the apples, don’t slice them too thin—they should be about 1/4-inch thick. Too thin and they turn to mush. Too thick and they won’t soften enough during baking. I also recommend using a good quality vanilla extract if you have it, though it’s not listed in the main recipe. A tiny splash added to the apples is a game-changer.
Equipment Needed
You don’t need a lot of fancy gear for this recipe, which is part of its charm. Here’s what you’ll need:
- 8×8-inch or 9×9-inch baking dish (a square dish is perfect. A 9-inch pie plate also works)
- Mixing bowls (one large for the apples, one medium for the topping)
- Chef’s knife and cutting board (for peeling and slicing the apples)
- Vegetable peeler (unless you like peeling apples with a knife, which I do not recommend)
- Measuring cups and spoons
- Pastry cutter or two forks (for cutting the butter into the dry ingredients. You can also use your fingertips, but work quickly so the butter stays cold)
- Rubber spatula (for mixing)
Personal Note: I used a glass baking dish for years, but I recently switched to a ceramic one. It holds heat more evenly, and the edges of the crisp don’t burn as easily. If you only have metal, just keep an eye on it during the last 10 minutes of baking.
Preparation Method
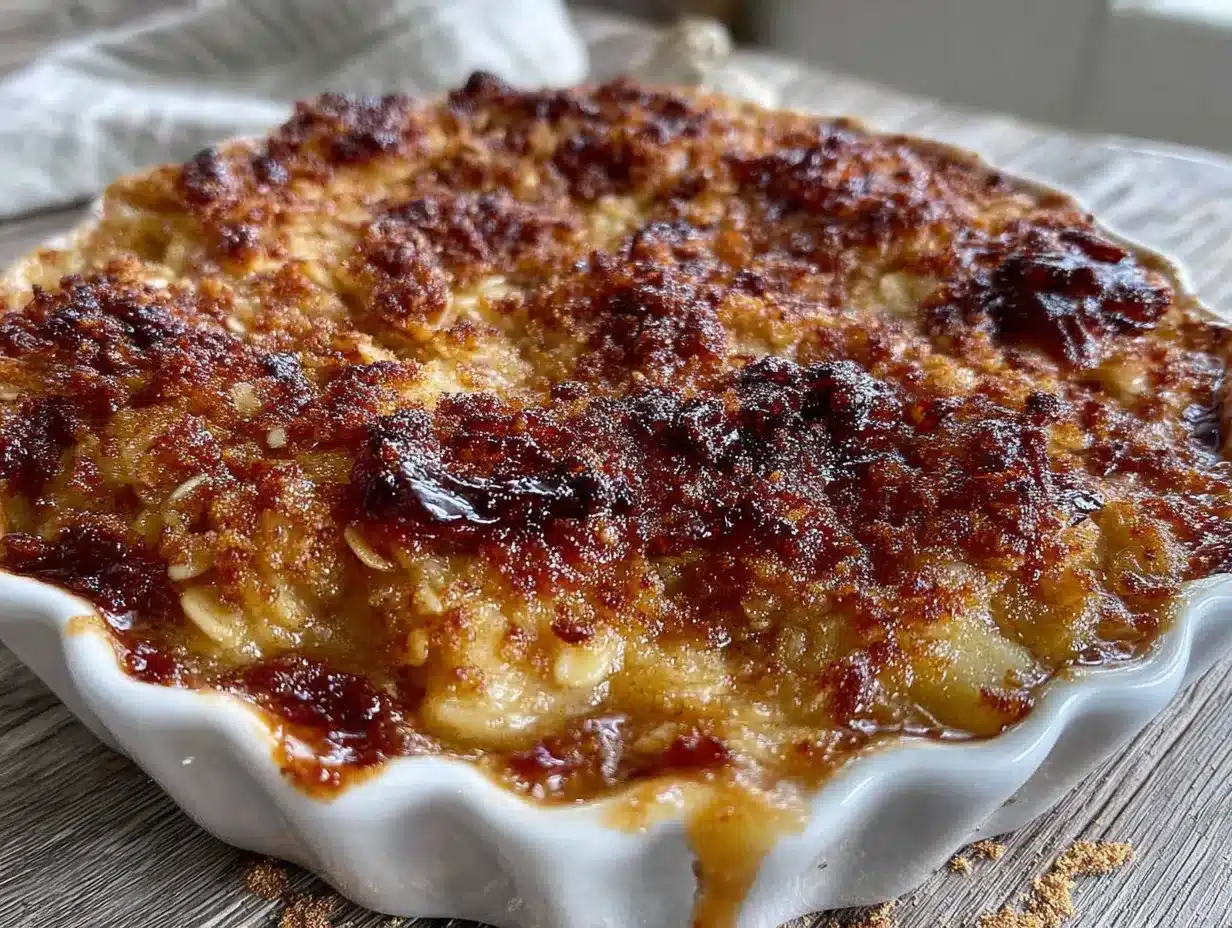
Alright, let’s get to the good part. This is straightforward, but I’ll walk you through every step so you feel confident.
- Preheat your oven to 350°F (175°C). Position a rack in the center of the oven. While it heats, lightly grease your baking dish with a little butter or non-stick spray.
- Prepare the apples. Peel, core, and slice your apples into 1/4-inch thick pieces. You want them all roughly the same size so they cook evenly. This takes about 10 minutes. Don’t rush it.
- Make the filling. In a large bowl, toss the sliced apples with the granulated sugar, 2 tablespoons flour, cinnamon, nutmeg, and lemon juice. Use your hands or a spatula to make sure every slice is coated. Let it sit for 5 minutes. This helps the apples release some juice, which will create a lovely syrup as they bake.
- Make the oat crumble topping. In a medium bowl, whisk together the rolled oats, 3/4 cup flour, brown sugar, 1/2 teaspoon cinnamon, and salt. Add the cold butter cubes. Using a pastry cutter or your fingertips, cut the butter into the dry ingredients until the mixture looks like coarse, irregular crumbs. Some bigger clumps are good—they get extra crispy. Don’t overwork it, or the butter will get too warm. Pro tip: If the butter starts to feel soft, pop the bowl in the fridge for 5 minutes.
- Assemble the crisp. Pour the apple mixture into your prepared baking dish and spread it into an even layer. Sprinkle the oat topping evenly over the apples. Don’t press it down—let it sit loosely so it bakes up crunchy.
- Bake. Place the dish on a baking sheet (to catch any drips) and bake for 40-45 minutes. The topping should be deep golden brown, and you should see the apple juices bubbling up around the edges. If the topping is browning too quickly after 30 minutes, loosely tent it with foil.
- Cool slightly. Let the crisp rest on a wire rack for at least 15 minutes before serving. This is crucial—the filling needs time to set, or it will be runny. I know it’s hard to wait, but trust me.
Sensory Cues: When it’s done, your kitchen will smell like a fall festival. The topping should look toasted and feel firm to the touch. If you see the juices bubbling, you’re golden.
Cooking Tips & Techniques
I’ve made this recipe more times than I can count, and I’ve learned a few things the hard way. Here’s how to get it perfect every time.
Don’t skip the flour in the filling. I once thought I could skip it to save a few calories. The result was a soupy mess that tasted good but looked like apple soup. The flour helps create that perfect, jammy texture.
Keep the butter cold. This is the number one rule for a crispy topping. If the butter gets warm, the oats and flour will turn into a paste, and you’ll end up with a dense, greasy topping. If your kitchen is warm, chill your bowl and butter before you start.
Use a mix of apples. Granny Smith apples alone can be too tart. Honeycrisp alone can be too sweet. Combining them gives you a balanced, complex flavor that makes the dish taste more sophisticated than it is.
Let it rest. I know I said this already, but it’s worth repeating. The rest time allows the juices to thicken. If you dig in right away, you’ll have a puddle on your plate. Patience pays off.
Toast the oats first (optional but amazing). For an extra-nutty flavor, toast the oats in a dry skillet over medium heat for 2-3 minutes before mixing them into the topping. Let them cool completely before using. This adds a layer of depth that’s hard to beat.
Variations & Adaptations
This recipe is a great base, but it’s also fun to play around with. Here are some ways to make it your own.
- Gluten-Free Version: Substitute the all-purpose flour in both the filling and the topping with a good gluten-free 1:1 baking blend. The texture will be slightly different, but it’s still delicious. Just make sure your oats are certified gluten-free.
- Dairy-Free Version: Use cold coconut oil or a plant-based butter stick in place of the butter. I’ve had good luck with the latter, but avoid margarine spreads with high water content.
- Add Some Pizazz: Toss a handful of fresh or frozen cranberries into the apple mixture for a tart pop. Or add 1/2 cup of chopped pecans or walnuts to the topping for extra crunch.
- Spice It Up: Add a pinch of cardamom or ginger to the filling. It gives the crisp a warm, almost chai-like flavor that’s amazing in the winter.
- Individual Servings: Divide the mixture among 4-6 ramekins and bake for about 25 minutes. Perfect for a dinner party where everyone wants their own little dish.
Personal Variation: Last fall, I added a handful of chopped crystallized ginger to the apple filling. It was a happy accident—I was out of fresh ginger and grabbed the wrong jar. The little spicy-sweet bits were incredible. I’ve been doing it ever since.
Serving & Storage Suggestions
This apple crisp is best served warm, with a scoop of vanilla ice cream melting slowly into the cracks. But it’s pretty amazing at room temperature for breakfast the next day, too. No judgment here.
Serving: Spoon into bowls and top with vanilla ice cream, whipped cream, or a drizzle of heavy cream. For a fancy touch, add a sprinkle of flaky sea salt on top—it makes the sweetness pop.
Storage: Cover the baking dish tightly with foil or plastic wrap and store in the refrigerator for up to 4 days. The topping will lose some of its crunch, but the flavor gets even better as the spices meld.
Reheating: The best way to revive the crispiness is in the oven. Reheat at 350°F (175°C) for about 10-15 minutes. You can use the microwave in a pinch, but the topping will be soft. If you do microwave it, try toasting some extra oats and sprinkling them on top right before eating.
Freezing: You can freeze the unbaked crisp for up to 3 months. Assemble everything in a freezer-safe dish, wrap it well, and freeze. Bake directly from frozen, adding about 15-20 minutes to the baking time. You can also freeze a baked and cooled crisp. Just thaw it in the fridge overnight and reheat in the oven.
Nutritional Information & Benefits
Let’s be real—this is a dessert, and it’s meant to be enjoyed. But it does have some redeeming qualities. Here’s a rough estimate per serving (based on 8 servings):
Approximate per serving: 320 calories, 14g fat (8g saturated), 48g carbohydrates, 4g fiber, 28g sugar, 3g protein.
Health Highlights: Apples are a great source of fiber and vitamin C. Oats are packed with soluble fiber, which is good for heart health. The cinnamon may help with blood sugar regulation. Plus, you’re getting a serving of fruit, which is more than most desserts can claim. It’s not health food, but it’s a dessert you can feel pretty good about.
Dietary Considerations: This recipe can be made gluten-free and dairy-free with simple swaps. It is vegetarian. It contains wheat and dairy in its standard form.
Conclusion
This Classic Apple Crisp with Easy Oat Crumble Topping is more than just a dessert. It’s the recipe that brings people to the table. It’s the smell that says “welcome home.” It’s the dish that makes you forget about the mess in the kitchen because the first bite is so worth it. I’ve tested a lot of versions, and this one is truly the best. It’s forgiving enough for a beginner, but impressive enough for a holiday table. I hope you make it your own—add a little extra cinnamon, swap in your favorite apple, or serve it with a giant scoop of ice cream. Whatever you do, just make it. And when you do, I’d love to hear about it. Leave a comment below and tell me how it turned out, or share your own twist. Happy baking!
Frequently Asked Questions
Can I use quick oats instead of old-fashioned oats?
I really wouldn’t recommend it. Quick oats are more finely processed and will absorb too much moisture, turning the topping into a soft, pasty layer instead of a crunchy crumble. Old-fashioned oats are the way to go for that perfect texture.
Do I have to peel the apples?
You don’t have to, but I recommend it. The peels can get tough and chewy during baking, and they prevent the apples from breaking down into that lovely, tender filling. If you’re in a rush, you can leave them on, just know the texture will be different.
Why is my apple crisp watery?
This usually happens for two reasons: either you didn’t use enough flour in the filling, or you didn’t let it rest after baking. The flour acts as a thickener, and the rest time allows the juices to set. Make sure you’re using the full 2 tablespoons and letting it sit for at least 15 minutes out of the oven.
Can I make this ahead of time?
Absolutely! You can assemble the entire crisp (without baking) up to 24 hours in advance. Just cover it and keep it in the fridge. When you’re ready to bake, add about 10 minutes to the baking time since you’re starting from cold. You can also bake it fully, let it cool, and reheat it the next day.
What’s the best apple for apple crisp?
A mix is always best. I love using Granny Smith for its tartness and firm texture, combined with a sweeter apple like Honeycrisp, Fuji, or Braeburn. This gives you a balanced flavor and a texture that holds up well without turning to mush.
Pin This Recipe!
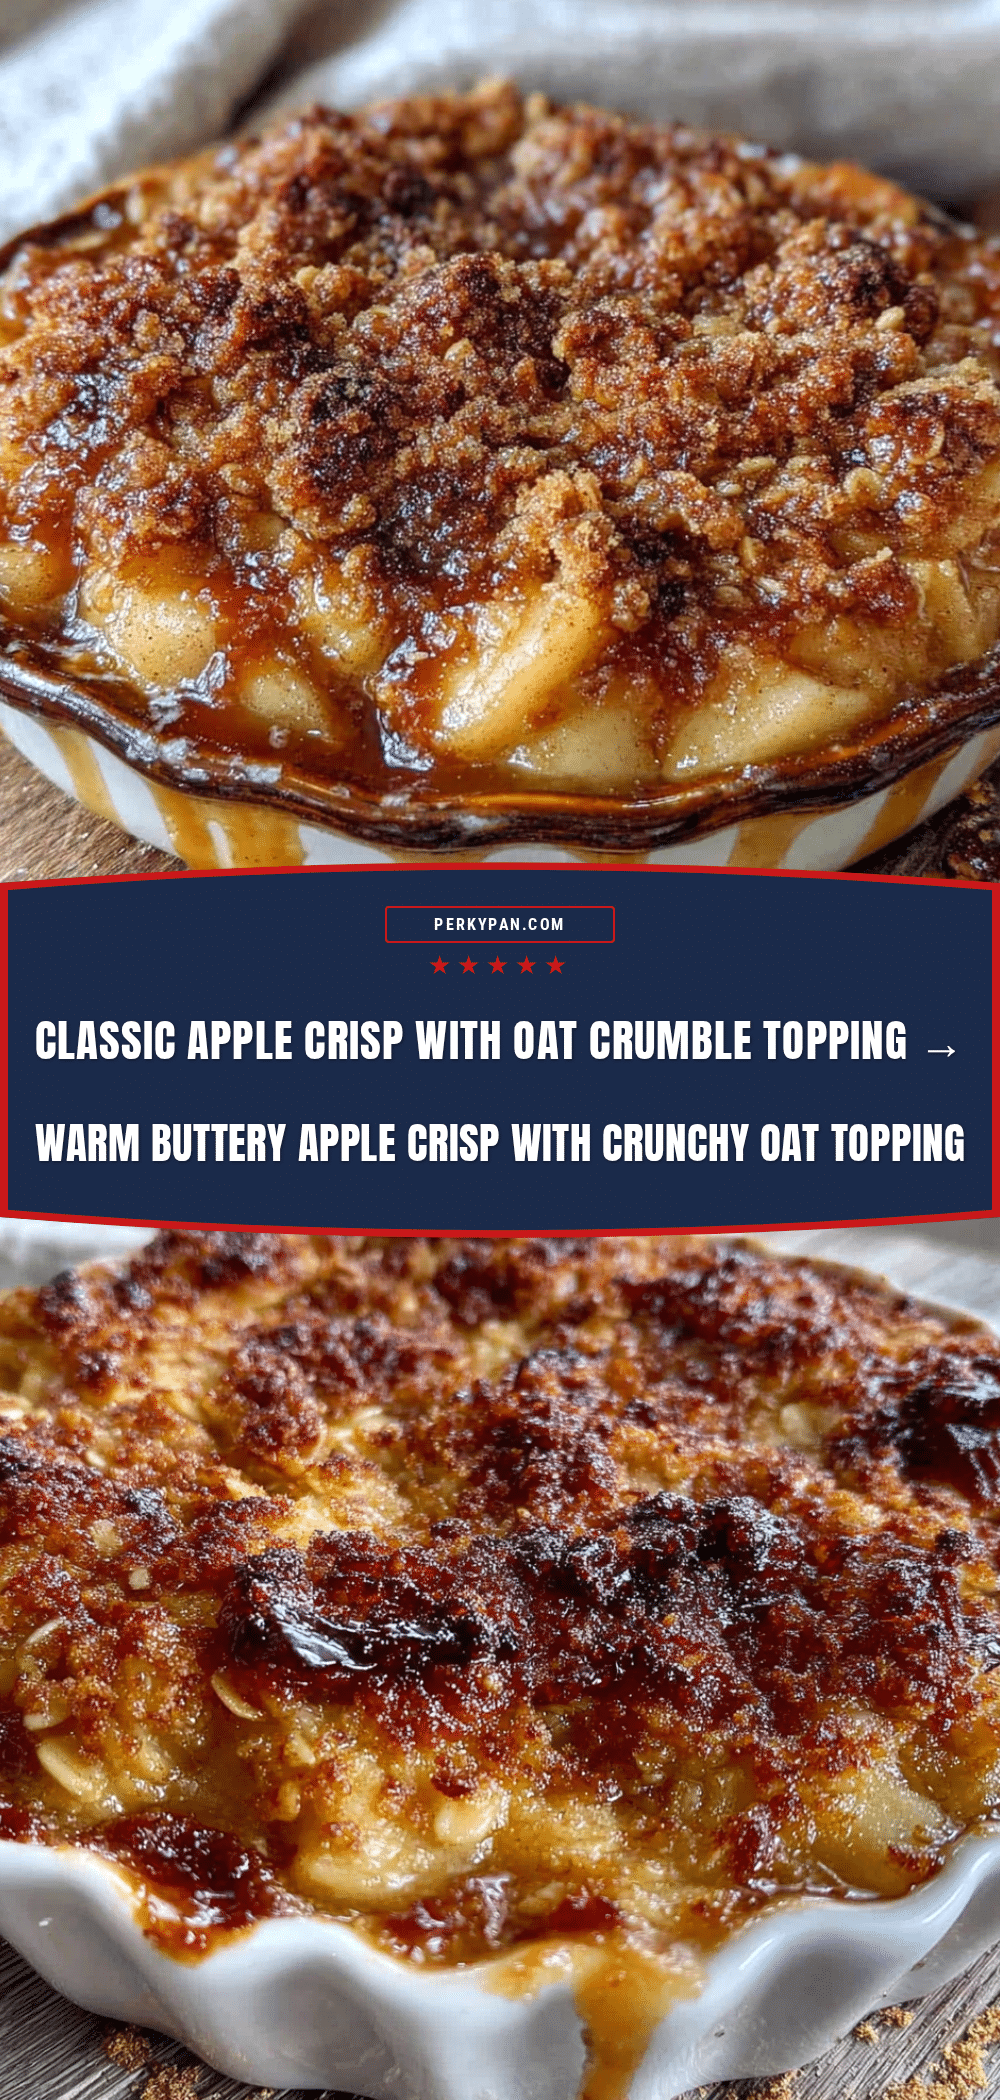
Classic Apple Crisp with Easy Oat Crumble Topping

This Classic Apple Crisp features tender, spiced apples under a crunchy oat crumble topping. It’s a simple, crowd-pleasing dessert that comes together in about an hour and tastes like a warm hug.
- Prep Time: 20 minutes
- Cook Time: 40-45 minutes
- Total Time: 1 hour 5 minutes
- Yield: 8 servings 1x
- Category: Dessert
- Cuisine: American
Ingredients
- 6 cups apples, peeled, cored, and sliced (about 6 medium apples; mix of Granny Smith and Honeycrisp or Fuji recommended)
- 1/4 cup granulated sugar
- 2 tablespoons all-purpose flour
- 1 teaspoon ground cinnamon (Saigon cinnamon recommended)
- 1/4 teaspoon ground nutmeg
- 1 tablespoon lemon juice
- 1 cup old-fashioned rolled oats
- 3/4 cup all-purpose flour (or gluten-free 1:1 blend)
- 1/2 cup packed light brown sugar
- 1/2 teaspoon ground cinnamon
- 1/4 teaspoon salt
- 1/2 cup unsalted butter, cold and cut into small cubes
Instructions
- Preheat your oven to 350°F (175°C). Position a rack in the center of the oven. Lightly grease an 8×8-inch or 9×9-inch baking dish with butter or non-stick spray.
- Peel, core, and slice the apples into 1/4-inch thick pieces. Aim for uniform size for even cooking.
- In a large bowl, toss the sliced apples with granulated sugar, 2 tablespoons flour, 1 teaspoon cinnamon, nutmeg, and lemon juice until well coated. Let sit for 5 minutes.
- In a medium bowl, whisk together rolled oats, 3/4 cup flour, brown sugar, 1/2 teaspoon cinnamon, and salt. Add cold butter cubes and cut in with a pastry cutter or fingertips until the mixture resembles coarse, irregular crumbs with some larger clumps. Avoid overworking.
- Pour the apple mixture into the prepared baking dish and spread into an even layer. Sprinkle the oat topping evenly over the apples without pressing down.
- Place the dish on a baking sheet and bake for 40-45 minutes, until the topping is deep golden brown and the apple juices bubble around the edges. If topping browns too quickly after 30 minutes, tent loosely with foil.
- Let the crisp rest on a wire rack for at least 15 minutes before serving to allow the filling to set.
Notes
For best results, use a mix of tart and sweet apples. Keep butter cold for a crispy topping. Let the crisp rest after baking to allow juices to thicken. For extra nutty flavor, toast oats in a dry skillet for 2-3 minutes before using. Can be made gluten-free or dairy-free with simple swaps.
Nutrition
- Serving Size: 1 serving (1/8 of re
- Calories: 320
- Sugar: 28
- Sodium: 150
- Fat: 14
- Saturated Fat: 8
- Carbohydrates: 48
- Fiber: 4
- Protein: 3
Keywords: apple crisp, oat crumble, easy dessert, fall dessert, apple dessert, crumble topping