Love this? Save it for later!
Share the inspiration with your friends
I had a long-standing rule about banana bread. If there wasn’t a mixer involved, I wasn’t interested. I mean, I’d burned through two hand mixers in my twenties—the cheap kind that smelled like burning plastic if you pushed them past medium speed. So when my neighbor handed me a slice of the most tender, perfectly crumbly banana bread I’d ever tasted, and I asked for the recipe, she said, “Oh, you just mash it in a bowl with a fork.” I nodded politely, took the recipe card, and promptly ignored it for three months.
Then came a Tuesday night. You know the kind—the power went out for an hour right when I needed to bake something for a work breakfast. No mixer, no stand mixer, nada. I remembered that recipe card buried under a stack of takeout menus. I figured I had nothing to lose. Honestly, I was convinced it would be dense and sad. But I was out of options, and the bananas were practically liquid on the counter.
I mashed those bananas with a fork—felt a little ridiculous, honestly—and stirred everything together in one bowl. The batter looked… wrong. Lumpy. Not aerated at all. I almost threw it out. But I poured it into the pan anyway, set a timer, and prayed to the baking gods. Forty-five minutes later, my kitchen smelled like a bakery, and that loaf came out of the oven with a dome so golden and cracked it looked like it belonged on a magazine cover. I stood there, fork in hand, eating a slice before it had even cooled. That was the moment I stopped being a snob about equipment. This quick no-mixer banana bread with walnuts changed everything. It’s the reason I haven’t plugged in a mixer for banana bread in years, and honestly, I’m a little smug about it.
Why You’ll Love This Quick No-Mixer Banana Bread with Walnuts
Let me be straight with you—I’ve tested this recipe at least a dozen times. I’ve made it with overripe bananas, borderline black bananas, and once with bananas I’d frozen and forgotten about for two months. It worked every single time. That’s the kind of reliability you need on a Tuesday night when you’re tired and the kids are asking for a snack.
- One Bowl, No Mixer: This is the whole point. You mash, stir, and pour. That’s it. Less cleanup than a single pan of brownies.
- Pantry-Friendly Ingredients: Butter, sugar, eggs, flour, baking soda, salt, bananas, and walnuts. If you don’t have walnuts, use pecans or skip them. No special trips required.
- Ready in Under an Hour: From the moment you start mashing to the moment you pull a golden loaf out of the oven, it’s about 55 minutes. That’s faster than ordering delivery in some neighborhoods.
- Perfectly Moist, Never Dense: The trick is in how you mash the bananas and how you fold the flour. I’ll show you exactly how to avoid that gummy texture that haunts most quick breads.
- Crowd-Pleasing Comfort: My kids fight over the end pieces. My husband takes a slice to work. It disappears faster than any fancy cake I’ve ever made.
This isn’t just another banana bread recipe. It’s the one you’ll make when you’re out of clean bowls, the mixer is buried somewhere in the back of a cabinet, and you need something warm and comforting in under an hour. It’s the kind of bread that makes you close your eyes after the first bite—not because it’s fancy, but because it tastes exactly like home should taste.
What Ingredients You Will Need
This quick no-mixer banana bread with walnuts uses simple, everyday ingredients that you probably already have in your kitchen. The magic comes from using them right—especially the bananas.
- 3 large ripe bananas (about 1 ½ cups mashed / 340g) — The riper, the better. Look for bananas with brown spots all over the peel. They should feel soft when you squeeze them. If your bananas aren’t ripe enough, roast them in a 300°F oven for 15 minutes until the skins darken. I’ve done this more times than I care to admit.
- ⅓ cup (75g) unsalted butter, melted — I use salted butter in a pinch and just reduce the added salt to ¼ teaspoon. Melt it gently in the microwave or on the stovetop. Let it cool slightly so it doesn’t cook the eggs.
- ¾ cup (150g) granulated sugar — You can use brown sugar for a deeper, more caramel-like flavor. I’ve done half-and-half before, and it’s lovely. Just note that brown sugar makes the bread slightly more moist.
- 1 large egg, room temperature — If your egg is cold, place it in a bowl of warm water for 5 minutes. Cold eggs can make the butter seize up, and we want a smooth batter.
- 1 teaspoon (5ml) vanilla extract — Pure vanilla extract is best, but imitation works fine. I’ve used vanilla bean paste before, and the little specks look beautiful.
- 1 ½ cups (190g) all-purpose flour — Spoon and level your flour. Don’t scoop directly from the bag—you’ll pack in too much flour, and your bread will be dry. I learned this the hard way after three dry loaves.
- 1 teaspoon (5g) baking soda — Make sure it’s fresh. Test it by dropping a little into vinegar—if it fizzes vigorously, it’s good.
- ½ teaspoon (3g) salt — Fine sea salt or table salt. If you use kosher salt, increase to ¾ teaspoon.
- ½ cup (60g) chopped walnuts — Toast them first for extra flavor. Spread them on a baking sheet and bake at 350°F for 5-7 minutes until fragrant. Let them cool before folding into the batter. I recommend Diamond of California brand for consistent quality.
Equipment Needed
You don’t need much for this recipe, which is the whole point. Here’s exactly what I use:
- Large mixing bowl — Any bowl works. I use a ceramic one because it doesn’t slide around.
- Fork or potato masher — A fork is fine. A potato masher makes it even faster. I’ve used a whisk in a pinch, but it’s messier.
- Wooden spoon or rubber spatula — For folding the flour and walnuts. A spatula is gentler and helps avoid overmixing.
- 9×5-inch (23x13cm) loaf pan — Metal pans conduct heat better than glass. If using glass, reduce the oven temperature by 25°F and check for doneness 5 minutes earlier.
- Parchment paper — This is my secret for easy removal. Cut a strip that hangs over the long sides of the pan. No sticking, no scraping.
- Cooling rack — Essential for even cooling. If you don’t have one, let the bread cool in the pan for 10 minutes, then carefully transfer it to a plate.
That’s it. No mixer, no sifter, no fancy gadgets. I bought a cheap $8 loaf pan from a discount store years ago, and it’s still going strong. Don’t overthink the equipment.
Preparation Method
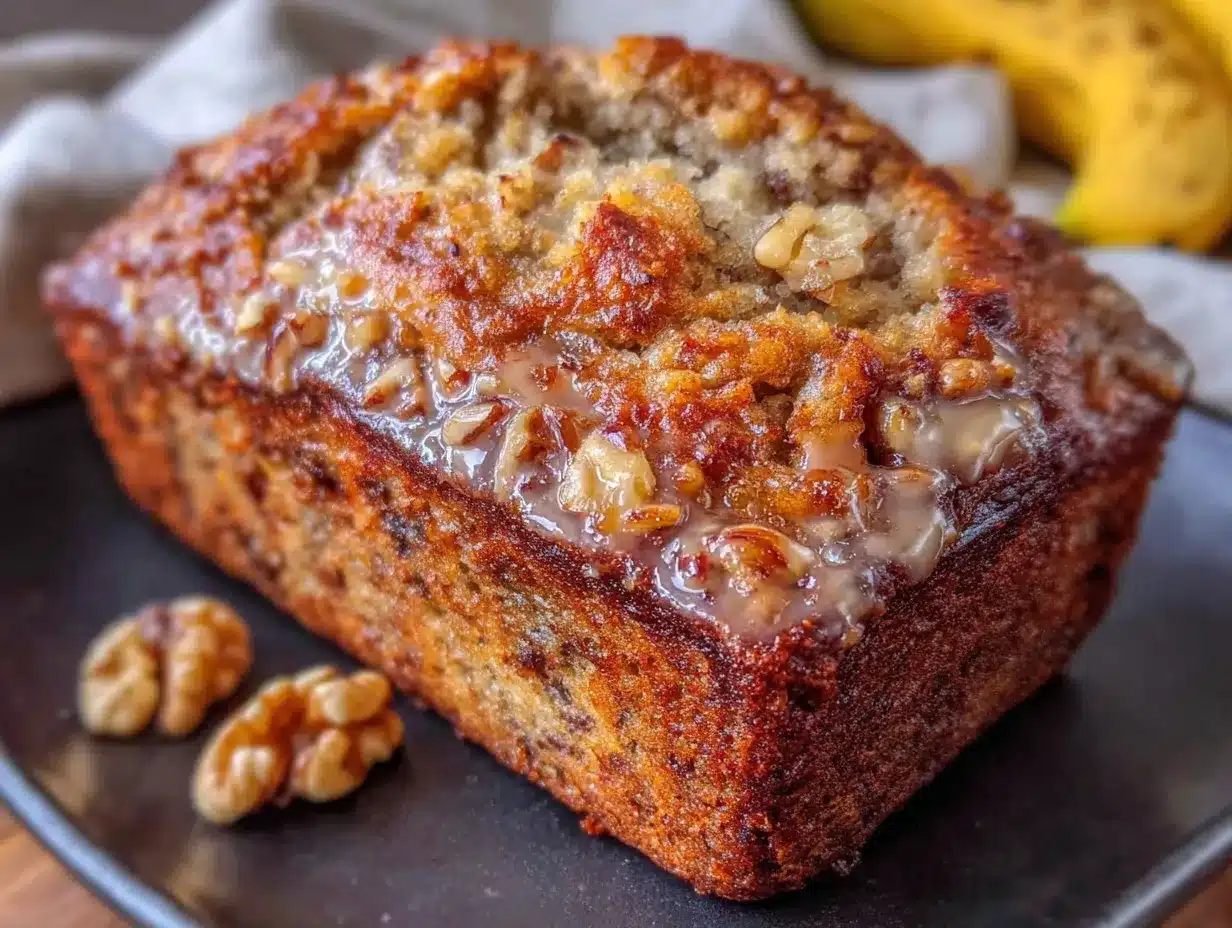
Follow these steps carefully, and you’ll have perfect quick no-mixer banana bread with walnuts every single time. I’ve numbered everything so you can follow along without getting lost.
- Preheat your oven to 350°F (175°C). Position the rack in the center. While it’s heating, line your loaf pan with parchment paper, leaving a 2-inch overhang on the long sides. Lightly grease the exposed ends with butter or cooking spray.
- Mash the bananas in your large mixing bowl. Peel them first, then use a fork or potato masher until they’re mostly smooth with a few small lumps. You want some texture—over-mashing makes the bread gummy. Aim for a consistency like thick applesauce. This should take about 1 minute.
- Add the melted butter and stir. Pour the slightly cooled melted butter over the mashed bananas. Stir with your wooden spoon or spatula until combined. The mixture will look a little separated at first—that’s normal. Keep stirring until it comes together.
- Add the sugar, egg, and vanilla. Sprinkle the sugar over the mixture, then crack in the egg and add the vanilla. Stir vigorously for about 30 seconds until everything is well combined and slightly lighter in color. Don’t worry if you see tiny sugar granules—they’ll dissolve during baking.
- Sprinkle the flour, baking soda, and salt over the wet mixture. Don’t dump it all in one spot—spread it out so it’s easier to fold. Use a spatula to gently fold the dry ingredients into the wet. Use a cutting motion: down through the center, across the bottom, and up the side. Repeat until just a few streaks of flour remain. This should take about 10-15 folds. Overmixing at this stage will make your bread tough.
- Fold in the chopped walnuts. Reserve about 2 tablespoons for the top if you want a pretty finish. Gently fold the walnuts into the batter with 3-4 strokes. Stop as soon as they’re evenly distributed.
- Pour the batter into the prepared loaf pan. Use your spatula to scrape every bit out of the bowl. Spread the batter evenly, then tap the pan on the counter 3-4 times to release any air bubbles. Sprinkle the reserved walnuts on top if you’re using them.
- Bake for 45-55 minutes. Start checking at 45 minutes. The bread is done when a toothpick inserted into the center comes out clean or with a few moist crumbs. The top should be golden brown and cracked. If the top is browning too quickly, tent it loosely with aluminum foil after 30 minutes.
- Cool in the pan for 10 minutes. Place the pan on a cooling rack. After 10 minutes, use the parchment paper overhangs to lift the bread out. Transfer it directly to the cooling rack to cool completely—at least 30 minutes. Slicing it warm is tempting, but it will fall apart. Trust me on this one.
Cooking Tips & Techniques
I’ve made this quick no-mixer banana bread with walnuts more times than I can count, and I’ve learned a few things the hard way. Here’s what I wish someone had told me.
Don’t overmix the batter. This is the number one mistake I see. Once you add the flour, you’re done in about 30 seconds. Overmixing develops gluten, which makes the bread tough and dense instead of tender. You want to see a few flour streaks when you stop folding. They’ll disappear as you pour the batter into the pan.
Use bananas that are actually ripe. I know it’s tempting to use those yellow bananas sitting on the counter, but they won’t give you the sweetness or moisture you need. Your bananas should look like they’re past their prime—brown spots, soft to the touch, maybe a little fragrant. If you only have yellow bananas, you can speed-ripen them by placing them in a paper bag with an apple overnight. It works, I promise.
Measure your flour correctly. Spoon the flour into your measuring cup, then level it off with a knife. Scooping directly from the bag can add up to 25% more flour, which will dry out your bread. I did this for years and wondered why my banana bread was always a little dry. Now I know better.
Let it cool completely before slicing. I know the smell is intoxicating. I know you want a warm slice with butter melting into it. But if you cut into it too soon, the interior will be gummy and the structure will collapse. Give it at least 30 minutes on the cooling rack. I usually make it the night before and slice it in the morning—it’s even better the next day.
Toast your walnuts. This is a small step that makes a huge difference. Raw walnuts can taste a little bitter. Toasting them brings out their natural oils and makes them nutty and warm. Just don’t forget about them in the oven—I’ve burned more batches than I’d like to admit.
Variations & Adaptations
This quick no-mixer banana bread with walnuts is endlessly adaptable. Here are some of my favorite variations:
- Chocolate Chip Banana Bread: Swap the walnuts for ½ cup (85g) semi-sweet chocolate chips. I prefer Ghirardelli or Guittard brands. The chocolate melts into little pockets of richness throughout the bread. My kids beg for this version.
- Gluten-Free Version: Use 1 ½ cups (210g) of a good gluten-free all-purpose flour blend, like King Arthur Measure for Measure or Bob’s Red Mill 1-to-1. Add ½ teaspoon of xanthan gum if your blend doesn’t include it. The texture will be slightly more delicate, but it’s still delicious.
- Vegan Adaptation: Replace the butter with ⅓ cup (80ml) melted coconut oil or vegetable oil. Use a flax egg (1 tablespoon ground flaxseed mixed with 3 tablespoons water, let sit for 5 minutes). The bread will be slightly denser but still moist and flavorful.
- Spiced Banana Bread: Add 1 teaspoon of cinnamon, ½ teaspoon of nutmeg, and ¼ teaspoon of ground ginger to the flour mixture. This gives it a warm, cozy flavor that’s perfect for fall. I add a pinch of cloves too when I’m feeling bold.
- Nut-Free Option: Skip the walnuts entirely, or replace them with ½ cup (60g) of sunflower seeds or pumpkin seeds. Toasted pumpkin seeds add a nice crunch and a slightly earthy flavor.
I once made a batch with leftover Halloween candy—chopped up peanut butter cups and a few M&Ms. It was ridiculous and wonderful. Don’t be afraid to experiment.
Serving & Storage Suggestions
This quick no-mixer banana bread with walnuts is best served slightly warm or at room temperature. I like to slice it thick—about 1 inch—and spread a little salted butter on each slice while it’s still warm. The butter melts into the bread, and honestly, it’s heaven.
For serving: Pair a slice with a cup of coffee or a glass of cold milk. It’s also lovely with a dollop of Greek yogurt and a drizzle of honey for a more substantial breakfast. If you’re feeling fancy, toast a slice in a buttered skillet for a minute on each side—the edges get crispy and the inside stays soft.
For storage: Wrap the cooled bread tightly in plastic wrap or aluminum foil. Store it at room temperature for up to 3 days. Do not refrigerate—the cold air will dry it out. If you live in a humid climate, store it in an airtight container instead of wrapping it.
For freezing: This bread freezes beautifully. Wrap the cooled loaf in plastic wrap, then in a layer of foil, and place it in a freezer bag. It will keep for up to 3 months. To thaw, leave it on the counter for 2-3 hours, or unwrap and microwave individual slices for 20-30 seconds. I always keep a loaf in the freezer for unexpected guests or lazy Sunday mornings.
The flavors actually deepen after a day or two. The banana becomes more pronounced, and the walnuts soften slightly. It’s one of those rare recipes that gets better with time.
Nutritional Information & Benefits
Here’s the approximate nutritional breakdown for one slice (based on 10 slices per loaf):
| Nutrient | Amount per Slice |
|---|---|
| Calories | 245 |
| Total Fat | 11g |
| Saturated Fat | 4.5g |
| Cholesterol | 35mg |
| Sodium | 250mg |
| Total Carbohydrates | 34g |
| Dietary Fiber | 2g |
| Sugars | 18g |
| Protein | 4g |
This banana bread is a good source of potassium from the bananas, which supports heart health and muscle function. Walnuts provide omega-3 fatty acids and antioxidants, which are great for brain health. The butter and egg add a small amount of vitamin A and B vitamins.
If you’re watching your sugar intake, you can reduce the sugar to ½ cup (100g) without significantly affecting the texture. The bananas provide natural sweetness, so the bread won’t taste bland. For a lower-fat option, replace half the butter with unsweetened applesauce—it works surprisingly well.
Conclusion
This quick no-mixer banana bread with walnuts is proof that you don’t need fancy equipment or complicated techniques to make something truly special. It’s the recipe I turn to when I’m short on time, low on energy, and need a little comfort in my day. The fact that it comes together in one bowl with a fork and a spatula still feels like a small miracle to me.
I want you to make this your own. Add chocolate chips if that’s your thing. Swap in pecans. Sprinkle a little cinnamon sugar on top before baking. The beauty of this recipe is that it’s forgiving—it wants to work with you, not against you. So mash those bananas, stir that batter, and fill your kitchen with the smell of something warm and homemade. You deserve it.
If you make this, I’d love to hear about it. Leave a comment below and let me know how it turned out. Did you add something unexpected? Did your kids fight over the last slice? Share your story—I read every single comment. And if you loved it, pass the recipe along to someone who needs a little comfort tonight. Happy baking!
Frequently Asked Questions
Can I use frozen bananas for this recipe?
Absolutely. Thaw them completely, then drain off any excess liquid before mashing. Frozen bananas are actually sweeter and more flavorful because the freezing process breaks down the cell walls. Just don’t skip the draining step—too much liquid will make your bread soggy.
Why did my banana bread sink in the middle?
This usually happens for one of three reasons: the batter was overmixed, the oven temperature was too low, or the bread was underbaked. Make sure your oven is properly preheated to 350°F, and use an oven thermometer if you’re unsure. Also, don’t open the oven door during the first 30 minutes of baking.
Can I make this into muffins instead of a loaf?
Yes! Grease a 12-cup muffin tin or line it with paper liners. Fill each cup about ¾ full. Bake at 350°F for 18-22 minutes, or until a toothpick inserted in the center comes out clean. Muffins will be done faster, so start checking at 18 minutes.
How do I know when the banana bread is fully baked?
Insert a toothpick or wooden skewer into the center of the loaf. If it comes out clean or with just a few moist crumbs, it’s done. If there’s wet batter on the toothpick, bake for another 5 minutes and check again. The top should also be golden brown and cracked.
Can I reduce the sugar in this recipe?
Yes, you can reduce the sugar to ½ cup (100g) without major issues. The bananas provide natural sweetness, so the bread won’t taste bland. If you reduce it further, the texture may be slightly less tender, and the bread may not brown as much. I’ve gone as low as ⅓ cup before, and it was still good—just a little more rustic.
Pin This Recipe!
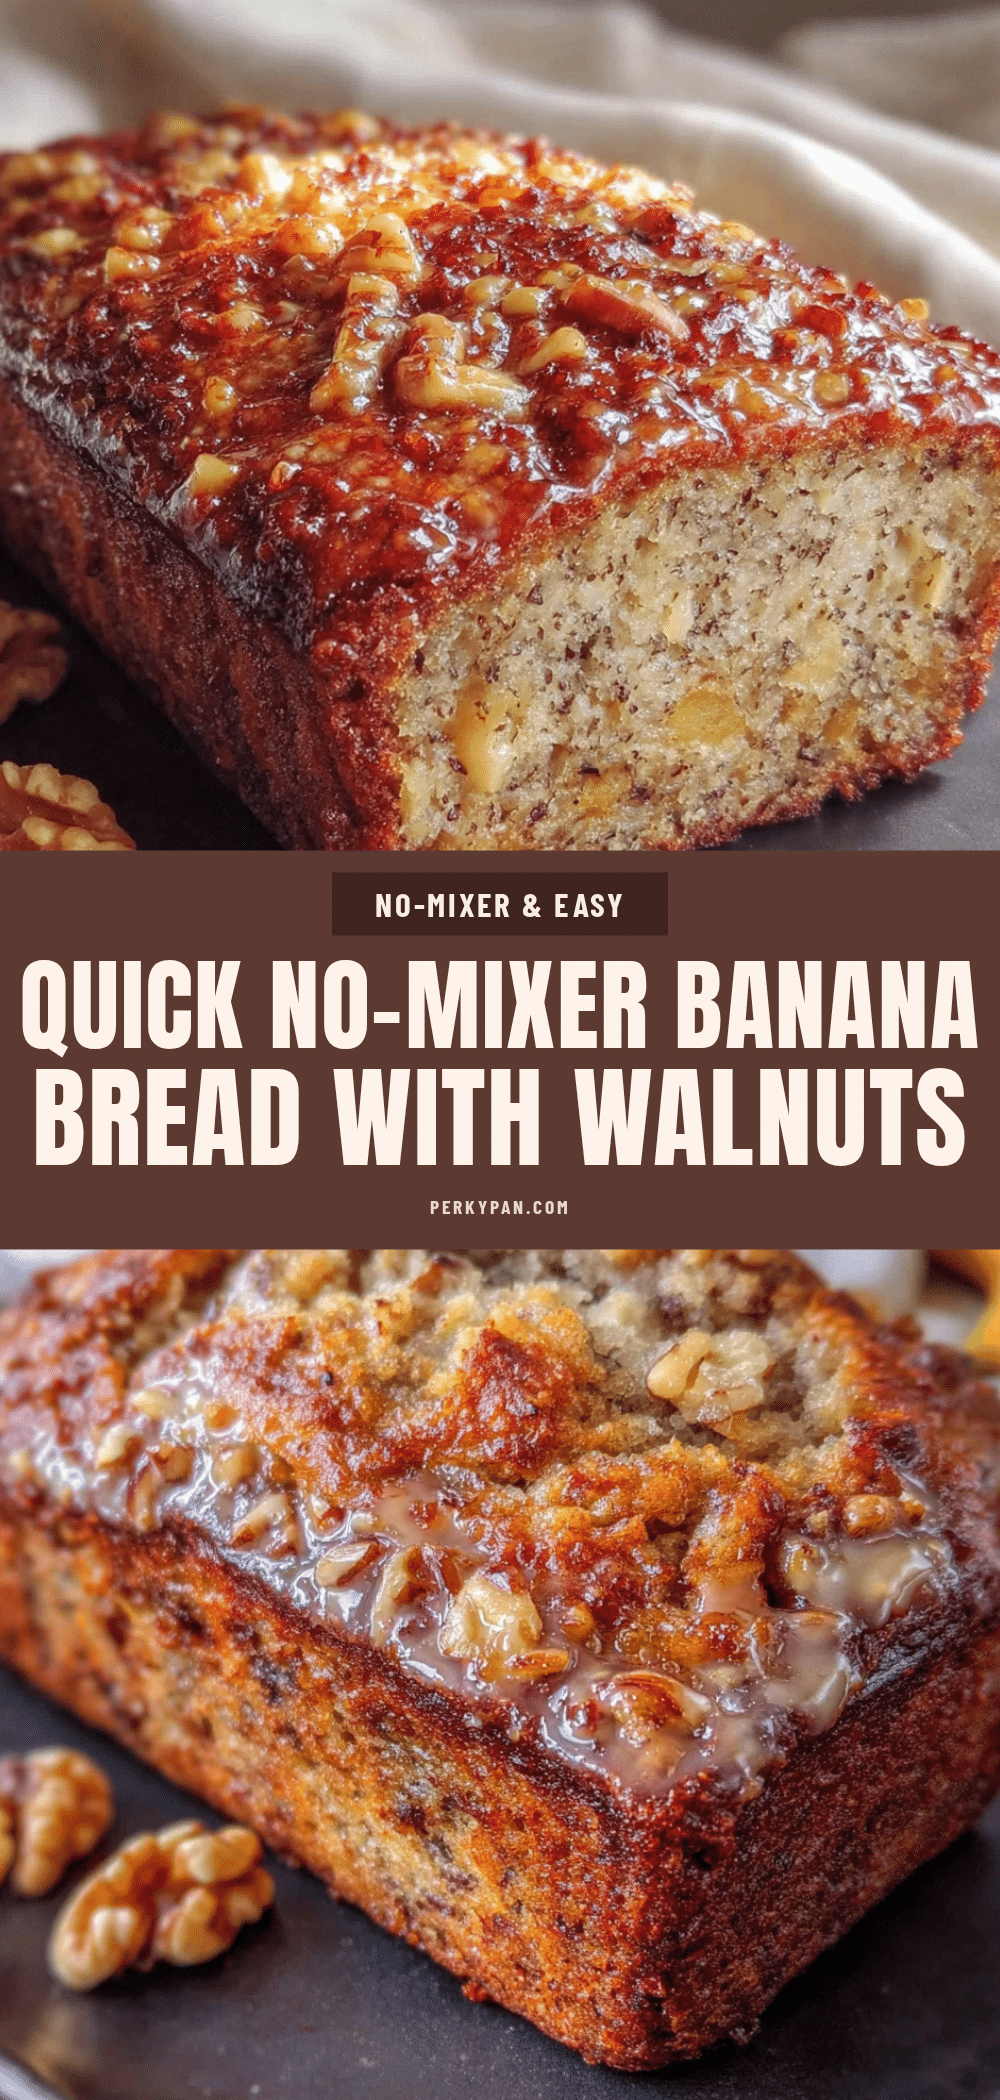
Quick No-Mixer Banana Bread with Walnuts – Easy 1-Bowl Recipe
This quick no-mixer banana bread with walnuts is proof that you don’t need fancy equipment or complicated techniques to make something truly special. It’s the recipe I turn to when I’m short on time, low on energy, and need a little comfort in my day.
- Prep Time: 10 minutes
- Cook Time: 45-55 minutes
- Total Time: 55-65 minutes
- Yield: 10 servings 1x
- Category: Dessert
- Cuisine: American
Ingredients
- 3 large ripe bananas (about 1 ½ cups mashed / 340g)
- ⅓ cup (75g) unsalted butter, melted
- ¾ cup (150g) granulated sugar
- 1 large egg, room temperature
- 1 teaspoon (5ml) vanilla extract
- 1 ½ cups (190g) all-purpose flour
- 1 teaspoon (5g) baking soda
- ½ teaspoon (3g) salt
- ½ cup (60g) chopped walnuts
Instructions
- Preheat your oven to 350°F (175°C). Position the rack in the center. While it’s heating, line your loaf pan with parchment paper, leaving a 2-inch overhang on the long sides. Lightly grease the exposed ends with butter or cooking spray.
- Mash the bananas in your large mixing bowl. Peel them first, then use a fork or potato masher until they’re mostly smooth with a few small lumps. You want some texture—over-mashing makes the bread gummy. Aim for a consistency like thick applesauce. This should take about 1 minute.
- Add the melted butter and stir. Pour the slightly cooled melted butter over the mashed bananas. Stir with your wooden spoon or spatula until combined. The mixture will look a little separated at first—that’s normal. Keep stirring until it comes together.
- Add the sugar, egg, and vanilla. Sprinkle the sugar over the mixture, then crack in the egg and add the vanilla. Stir vigorously for about 30 seconds until everything is well combined and slightly lighter in color. Don’t worry if you see tiny sugar granules—they’ll dissolve during baking.
- Sprinkle the flour, baking soda, and salt over the wet mixture. Don’t dump it all in one spot—spread it out so it’s easier to fold. Use a spatula to gently fold the dry ingredients into the wet. Use a cutting motion: down through the center, across the bottom, and up the side. Repeat until just a few streaks of flour remain. This should take about 10-15 folds. Overmixing at this stage will make your bread tough.
- Fold in the chopped walnuts. Reserve about 2 tablespoons for the top if you want a pretty finish. Gently fold the walnuts into the batter with 3-4 strokes. Stop as soon as they’re evenly distributed.
- Pour the batter into the prepared loaf pan. Use your spatula to scrape every bit out of the bowl. Spread the batter evenly, then tap the pan on the counter 3-4 times to release any air bubbles. Sprinkle the reserved walnuts on top if you’re using them.
- Bake for 45-55 minutes. Start checking at 45 minutes. The bread is done when a toothpick inserted into the center comes out clean or with a few moist crumbs. The top should be golden brown and cracked. If the top is browning too quickly, tent it loosely with aluminum foil after 30 minutes.
- Cool in the pan for 10 minutes. Place the pan on a cooling rack. After 10 minutes, use the parchment paper overhangs to lift the bread out. Transfer it directly to the cooling rack to cool completely—at least 30 minutes. Slicing it warm is tempting, but it will fall apart. Trust me on this one.
Notes
Don’t overmix the batter. Use bananas that are actually ripe—brown spots, soft to the touch. Measure your flour correctly by spooning and leveling. Let it cool completely before slicing. Toast your walnuts for extra flavor. This bread freezes beautifully for up to 3 months.
Nutrition
- Serving Size: 1 slice
- Calories: 245
- Sugar: 18
- Sodium: 250
- Fat: 11
- Saturated Fat: 4.5
- Carbohydrates: 34
- Fiber: 2
- Protein: 4
Keywords: banana bread, no mixer, one bowl, easy banana bread, walnut banana bread, quick bread, homemade banana bread


