Love this? Save it for later!
Share the inspiration with your friends
Let me be honest with you. I’ve made a lot of focaccia in my day. Like, a lot. But this sourdough version? It’s the one I keep coming back to, especially on busy weeknights when I need something that feels special but doesn’t demand hours of active work.
- Minimal Active Time: This dough does the work for you. You’re looking at about 15 minutes of hands-on time, then the fridge does the heavy lifting.
- Pantry-Friendly: Flour, water, salt, olive oil, and your sourdough starter. That’s it. No fancy ingredients or last-minute store runs.
- Weeknight Hero: Start the dough the night before, and you’ve got fresh focaccia ready by dinner time the next day. It’s that simple.
- Foolproof Texture: The long, cold fermentation gives you that perfect crispy-on-the-outside, pillowy-on-the-inside texture every single time.
- Naturally Delicious: The tang from the sourdough pairs beautifully with the rosemary and sea salt. It’s a combination that just works.
What makes this different from every other focaccia recipe? It’s the technique. Most recipes rush the fermentation, but letting this dough rest in the fridge overnight develops that complex flavor you usually only get from a bakery. Plus, the high hydration means you get those gorgeous, irregular bubbles that make focaccia so satisfying to tear apart.
This isn’t just bread. It’s the kind of bread that makes you close your eyes after the first bite. The kind that turns a simple bowl of soup into a memorable meal. And honestly? It’s the kind of recipe that makes you feel like a total rockstar with very little effort.
What Ingredients You Will Need
This recipe uses simple, wholesome ingredients that work together to create something truly special. Most of these are probably already in your kitchen, which is exactly how weeknight cooking should be.
For the Dough
- All-purpose flour, 500g (about 4 cups) – I prefer King Arthur Flour for consistent results, but any good all-purpose flour works. Bread flour will give you a slightly chewier crumb if that’s your thing.
- Water, 400g (about 1¾ cups), lukewarm – Tap water is fine, just make sure it’s not too hot or it’ll kill the yeast activity in your starter. Aim for body temperature.
- Active sourdough starter, 150g (about ¾ cup), bubbly and fed – This is your rising agent and flavor maker. Use it when it’s at its peak, usually 4-6 hours after feeding.
- Olive oil, 60g (about ¼ cup), plus extra for the pan – Use a good quality extra virgin here. You’ll taste it in the final bread, so don’t skimp.
- Fine sea salt, 10g (about 1½ teaspoons) – This goes into the dough itself. Save the flaky stuff for the top.
For the Topping
- Fresh rosemary, 2-3 sprigs, leaves removed and roughly chopped – Dried rosemary works in a pinch, but fresh gives you that aromatic punch that makes this focaccia unforgettable.
- Flaky sea salt, 1-2 teaspoons – Maldon is my go-to here. Those big, crispy crystals make all the difference.
- Extra virgin olive oil, 2-3 tablespoons, for drizzling – Be generous. The olive oil creates that crispy, golden crust you’re after.
A quick note on the starter: If yours has been sitting in the fridge for a while, give it a couple of feedings before using it in this recipe. You want it active and happy, not sluggish. And if you don’t have a sourdough starter yet? Well, now might be the time to start one. It takes about a week, but it’s totally worth it.
Equipment Needed
You don’t need much for this recipe, which is part of the beauty. Here’s what you’ll need:
- Large mixing bowl – Any bowl works, but I prefer glass or ceramic because they don’t retain odors.
- 9×13-inch baking pan or rimmed baking sheet – A metal pan gives you the crispiest bottom crust. Glass works too, but you’ll need to adjust the baking time slightly.
- Bench scraper or spatula – For folding the dough. A plastic bench scraper is my favorite tool here.
- Kitchen scale – I know, I know, but measuring by weight is so much more accurate for bread baking. You’ll get better results, I promise.
- Plastic wrap or a damp kitchen towel – For covering the dough while it rests.
- Refrigerator space – You’ll need room for the dough to chill overnight.
If you don’t have a bench scraper, a rubber spatula works fine. And if you’re using a glass baking dish, just keep an eye on the bottom crust – it might need an extra 5 minutes to get properly golden.
Preparation Method
This recipe is all about patience, but don’t let that scare you. The actual work is minimal. Here’s how it goes:
- Mix the dough (5 minutes): In your large bowl, combine the lukewarm water and active sourdough starter. Stir until the starter dissolves into the water – it should look milky. Add the flour and fine sea salt. Mix with your hands or a spatula until no dry bits remain. The dough will be shaggy and sticky. That’s exactly what you want.
- Add the olive oil (1 minute): Pour in the 60g of olive oil and work it into the dough. It’ll feel weird at first – like the oil doesn’t want to incorporate – but keep going. After a minute or so, the dough will become smooth and silky. Cover the bowl with plastic wrap and let it rest for 30 minutes at room temperature.
- Perform the first set of folds (2 minutes): After the rest, wet your hands slightly (this prevents sticking). Grab one corner of the dough, stretch it up, and fold it over the center. Repeat this for all four corners. This is called a coil fold, and it builds strength without deflating the dough. Cover and rest another 30 minutes.
- Second set of folds (2 minutes): Repeat the folding process. The dough should feel smoother and more elastic now. Cover and let it rest at room temperature for 2-3 hours, or until it’s puffy and has visible bubbles on the surface.
- Cold fermentation (overnight, 8-12 hours): Cover the bowl tightly with plastic wrap and pop it in the fridge. This is where the magic happens. The slow cold fermentation develops that tangy flavor and creates the airy structure you’re after. Don’t skip this step – it’s the secret to the best sourdough focaccia.
- Prepare the pan (5 minutes): The next day, pour a generous amount of olive oil into your 9×13-inch pan – about 2-3 tablespoons. Use your fingers to spread it all over the bottom and sides. This isn’t just for greasing; it creates that crispy, fried-bottom crust that focaccia is famous for.
- Transfer and stretch (5 minutes): Gently coax the cold dough out of the bowl and into the oiled pan. It’ll be stiff and cold – that’s fine. Let it sit at room temperature for 30 minutes to warm up slightly. Then, using oiled fingertips, gently stretch the dough to fit the pan. Don’t force it; if it resists, let it rest another 15 minutes and try again.
- Final proof (2-3 hours): Cover the pan with plastic wrap and let the dough proof at room temperature until it’s puffy, jiggly, and has doubled in height. This can take anywhere from 2 to 4 hours depending on your kitchen temperature. Be patient – a good proof is crucial for that light, airy crumb.
- Dimple and top (5 minutes): Preheat your oven to 425°F (220°C). Drizzle the top of the dough with olive oil. Then, using your fingertips, press deep dimples all over the surface. Don’t be shy – go all the way to the bottom of the pan. Sprinkle the chopped rosemary and flaky sea salt over the top.
- Bake (25-30 minutes): Place the pan on the middle rack and bake until the focaccia is deep golden brown on top and sounds hollow when tapped on the bottom. If the top is browning too quickly, tent it loosely with foil for the last 10 minutes.
- Cool (15 minutes): Let the focaccia cool in the pan for 5 minutes, then transfer it to a wire rack. This prevents the bottom from getting soggy. Try to wait at least 15 minutes before slicing – I know it’s hard, but the texture really benefits from a brief rest.
Cooking Tips & Techniques
I’ve messed up this recipe more times than I care to admit. Here’s what I’ve learned so you don’t have to make the same mistakes:
Don’t skip the stretch and folds. I know it seems fussy, but those folds are what give your focaccia that beautiful, airy structure. Without them, the dough will be flat and dense. Think of it as building a scaffold for the bubbles to hold onto.
Watch your water temperature. If your kitchen is cold, use slightly warmer water (about 80°F). If it’s hot, use cooler water. The goal is to create a comfortable environment for your starter to do its thing. I once used water that was too hot and killed the yeast activity – the focaccia came out like a brick. Learn from my mistake.
Be generous with the olive oil. This isn’t the time to be stingy. The oil in the pan creates that crispy, almost fried bottom crust. The oil on top helps the salt and rosemary stick and gives you that beautiful golden color. I use about ¼ cup total, and it’s never too much.
Trust the jiggle test. When your dough is fully proofed, it should jiggle like Jell-O when you gently shake the pan. If it’s still stiff, give it more time. This is more reliable than any timer.
Dimple with confidence. Those deep dimples aren’t just for looks – they create pockets that catch the olive oil and salt. Press all the way to the bottom of the pan. Your fingers should leave clear indentations that don’t spring back.
Variations & Adaptations
This recipe is incredibly forgiving, so feel free to make it your own. Here are some of my favorite variations:
Herb Garden Focaccia
Swap the rosemary for a mix of fresh thyme, oregano, and chives. Sprinkle some edible flowers on top for a gorgeous presentation. This is my go-to for spring brunches.
Everything Bagel Focaccia
Skip the rosemary and top your dimpled dough with everything bagel seasoning – you know, the one with sesame seeds, poppy seeds, garlic, and onion flakes. It’s absolutely addictive and perfect for sandwiches.
Garlic and Parmesan Focaccia
Before baking, press 3-4 thinly sliced garlic cloves into the dimples. Sprinkle with grated Parmesan cheese along with the salt. The garlic roasts into sweet, mellow pockets of flavor.
Gluten-Free Adaptation
Use a good gluten-free all-purpose flour blend that contains xanthan gum. The hydration will need adjustment – start with 450g of water instead of 400g. The texture won’t be exactly the same, but it’s still delicious.
Whole Wheat Version
Replace half the all-purpose flour with whole wheat flour. Add an extra 25g of water since whole wheat absorbs more liquid. The flavor will be nuttier and more rustic.
I once made a version with caramelized onions and blue cheese crumbles on top. It was messy and ridiculous and absolutely incredible. Don’t be afraid to experiment – that’s half the fun.
Serving & Storage Suggestions
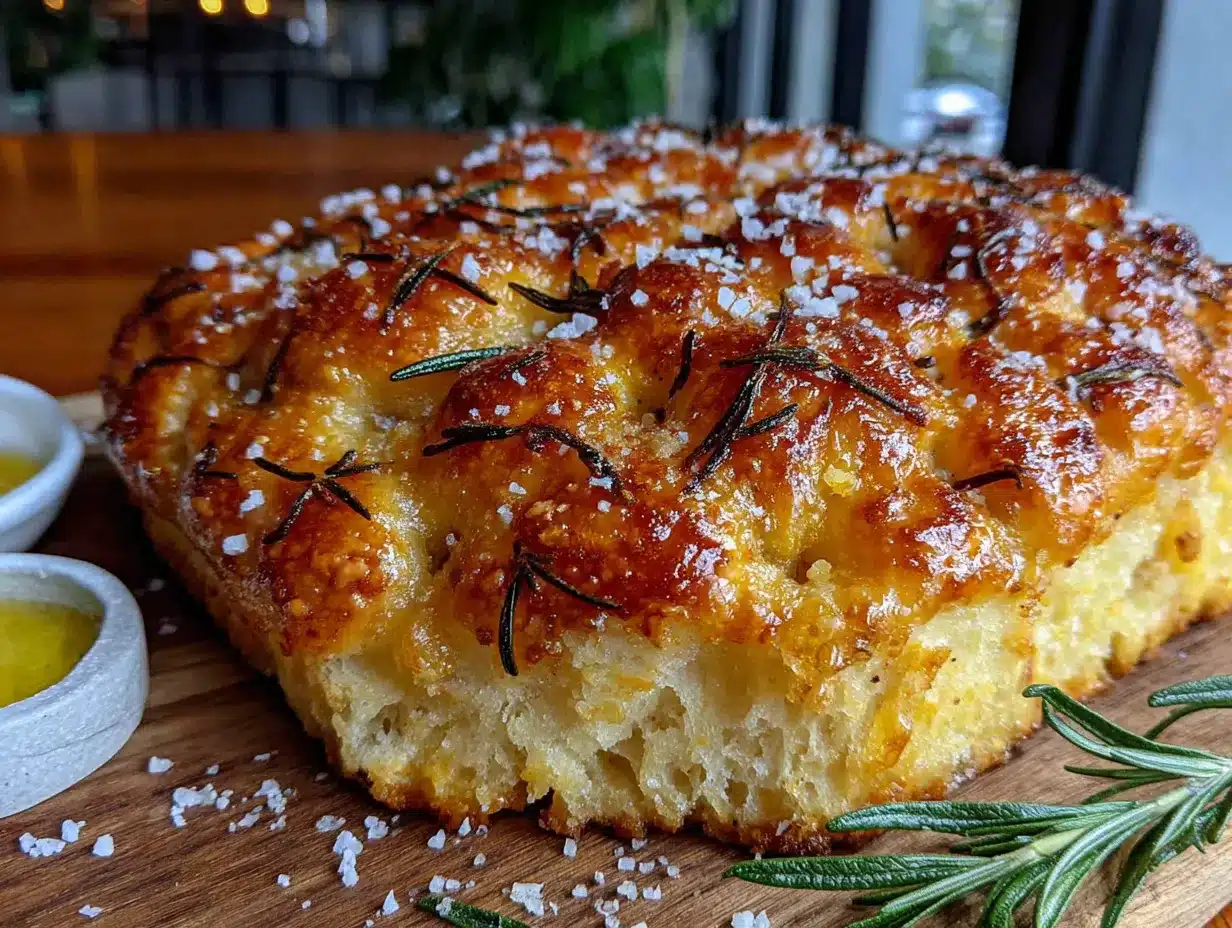
This focaccia is best served warm, straight from the oven, when the crust is still crackly and the interior is pillowy soft. But honestly, it’s pretty amazing at room temperature too.
Serving ideas: Slice it in half horizontally and use it for sandwiches – it makes an incredible panini. Tear it into chunks and serve alongside soups or salads. Or just eat it plain, with a little bowl of olive oil and balsamic vinegar for dipping. There’s no wrong way to enjoy this bread.
Storage: Keep leftover focaccia in an airtight container at room temperature for up to 2 days. Don’t refrigerate it – the fridge will dry it out and make it stale faster. If you need to keep it longer, wrap it tightly in plastic wrap and freeze for up to 3 months.
Reheating: The best way to revive focaccia is in a hot oven. Pop it in a 350°F oven for 5-7 minutes, and it’ll come back to life. The microwave works in a pinch, but the texture won’t be as good – the crust will get chewy instead of crispy.
One thing I love about this recipe is that the flavors actually improve over time. The rosemary infuses the olive oil, and the salt crystals stay crunchy. Day-old focaccia is still fantastic, especially when you warm it up.
Nutritional Information & Benefits
Per serving (1/8 of the recipe): Approximately 280 calories, 8g fat, 45g carbohydrates, 2g fiber, 7g protein.
This focaccia is more than just empty carbs. The olive oil provides healthy monounsaturated fats that are good for heart health. Rosemary is packed with antioxidants and anti-inflammatory compounds. And because it’s naturally leavened with sourdough, the fermentation process breaks down some of the gluten and phytic acid, making the nutrients more bioavailable.
That said, this is still bread. It’s meant to be enjoyed as part of a balanced diet, not as a health food. But knowing that there’s some nutritional benefit to the ingredients? That makes that second piece feel a little less guilty.
If you’re watching your sodium, you can reduce the flaky salt on top. The dough itself only has a modest amount of salt, so most of the sodium comes from that finishing sprinkle.
Conclusion
Look, I know making bread can feel intimidating. There’s the starter to maintain, the timing to coordinate, the fear of ending up with a dense, sad loaf. But this sourdough focaccia is different. It’s forgiving. It’s patient. And it rewards you with something that tastes like it came from a fancy bakery, even though you made it in your own kitchen with your own hands.
That moment when you pull it out of the oven, golden and fragrant and crackling? That’s pure magic. And the fact that you made it yourself? That makes it taste even better.
I’d love to hear how yours turns out. Did you try a variation? Did you discover a new favorite topping? Drop a comment below and let me know. And if you’re feeling generous, share this recipe with a friend who needs a little bread-making confidence boost. We all need that sometimes.
Happy baking, friends. Your kitchen is about to smell incredible.
Frequently Asked Questions
Can I use a young or new sourdough starter?
Yes, but the flavor won’t be as complex. A younger starter will still give you good rise, but you might miss some of that tangy sourdough character. Give it at least two weeks of regular feedings for best results.
My dough seems too sticky. What am I doing wrong?
Nothing! This is a high-hydration dough, which means it’s supposed to be sticky. Resist the urge to add more flour. Wet your hands before handling it, and trust the process. The folds will help develop structure.
Can I skip the overnight refrigeration?
You can, but you’ll lose some flavor and texture. The cold fermentation is what develops that complex sourdough tang and creates the airy crumb. If you’re short on time, a minimum of 4 hours in the fridge is better than nothing.
Why didn’t my focaccia get those big bubbles?
Several things could be at play: your starter might not have been active enough, the dough might have been under-proofed, or you might have been too rough when handling it. Next time, make sure your starter is bubbly and doubled before using, and be gentle when transferring the dough to the pan.
Can I make this in a different size pan?
Absolutely! A 9×13-inch pan is standard, but you can use a 10-inch cast iron skillet for a round focaccia, or a half-sheet pan for a thinner, crispier version. Just adjust the baking time – thinner focaccia bakes faster, thicker takes longer.
Pin This Recipe!
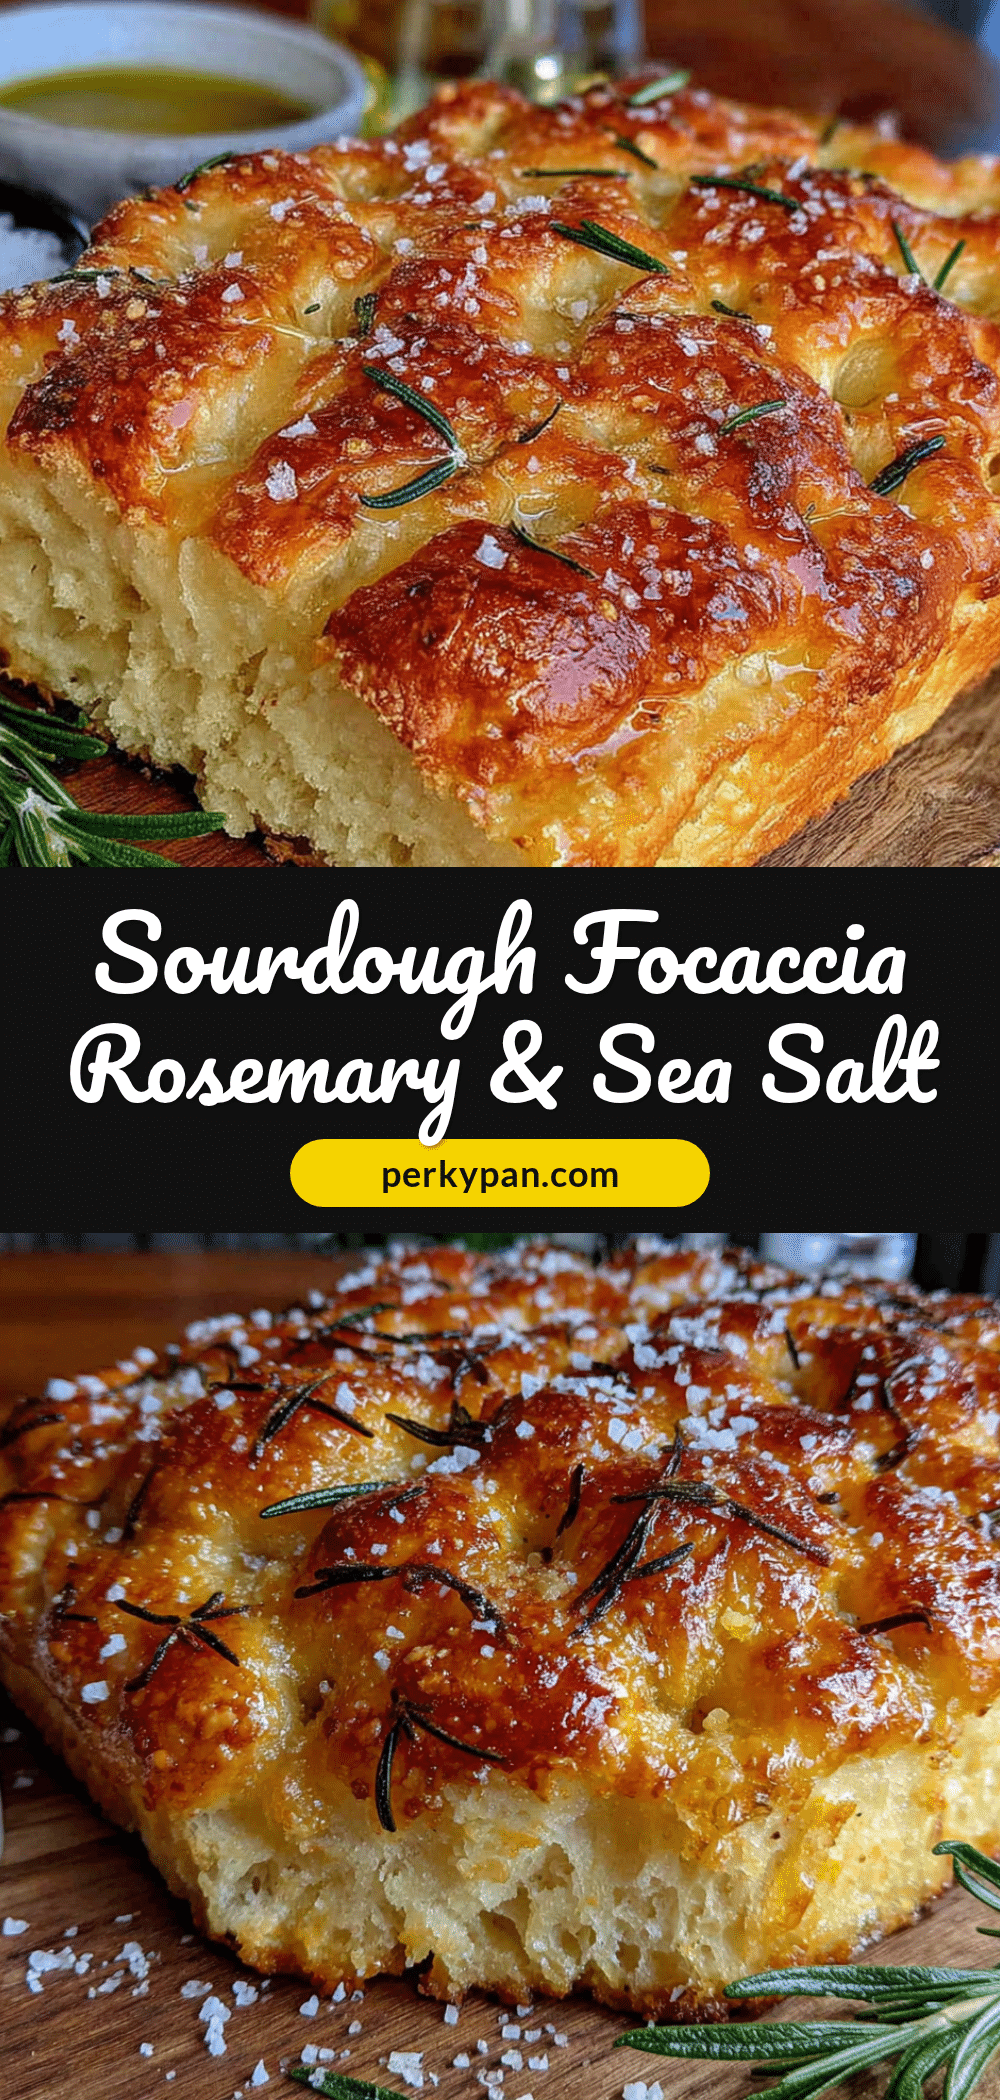
Easy Sourdough Focaccia with Rosemary and Sea Salt
This sourdough focaccia is a weeknight hero with minimal active time and a foolproof texture. The long, cold fermentation gives you a crispy-on-the-outside, pillowy-on-the-inside bread that pairs beautifully with rosemary and sea salt.
- Prep Time: 15 minutes
- Cook Time: 30 minutes
- Total Time: 45 minutes (plus overnight fermentation and proofing)
- Yield: 8 servings 1x
- Category: Bread
- Cuisine: Italian
Ingredients
- 500g all-purpose flour (about 4 cups)
- 400g lukewarm water (about 1¾ cups)
- 150g active sourdough starter (about ¾ cup), bubbly and fed
- 60g olive oil (about ¼ cup), plus extra for the pan
- 10g fine sea salt (about 1½ teaspoons)
- 2–3 sprigs fresh rosemary, leaves removed and roughly chopped
- 1–2 teaspoons flaky sea salt (e.g., Maldon)
- 2–3 tablespoons extra virgin olive oil, for drizzling
Instructions
- Mix the dough: In a large bowl, combine the lukewarm water and active sourdough starter. Stir until the starter dissolves. Add the flour and fine sea salt. Mix with your hands or a spatula until no dry bits remain. The dough will be shaggy and sticky.
- Add the olive oil: Pour in the 60g of olive oil and work it into the dough until smooth and silky. Cover the bowl with plastic wrap and let it rest for 30 minutes at room temperature.
- Perform the first set of folds: Wet your hands slightly. Grab one corner of the dough, stretch it up, and fold it over the center. Repeat for all four corners. Cover and rest another 30 minutes.
- Second set of folds: Repeat the folding process. Cover and let it rest at room temperature for 2-3 hours, or until puffy and with visible bubbles on the surface.
- Cold fermentation: Cover the bowl tightly with plastic wrap and refrigerate for 8-12 hours (overnight).
- Prepare the pan: The next day, pour 2-3 tablespoons of olive oil into a 9×13-inch pan and spread it all over the bottom and sides.
- Transfer and stretch: Gently coax the cold dough into the oiled pan. Let it sit at room temperature for 30 minutes. Using oiled fingertips, gently stretch the dough to fit the pan. If it resists, let it rest another 15 minutes and try again.
- Final proof: Cover the pan with plastic wrap and let the dough proof at room temperature until puffy, jiggly, and doubled in height (2-4 hours).
- Dimple and top: Preheat the oven to 425°F (220°C). Drizzle the top with olive oil. Using your fingertips, press deep dimples all over the surface. Sprinkle chopped rosemary and flaky sea salt on top.
- Bake: Place the pan on the middle rack and bake for 25-30 minutes until deep golden brown and hollow-sounding when tapped on the bottom. If browning too quickly, tent loosely with foil for the last 10 minutes.
- Cool: Let the focaccia cool in the pan for 5 minutes, then transfer to a wire rack. Wait at least 15 minutes before slicing.
Notes
Don’t skip the stretch and folds; they build structure. Be generous with olive oil for a crispy crust. Trust the jiggle test for proofing. Dimple with confidence to create oil pockets. For best flavor, use an active starter and cold ferment overnight.
Nutrition
- Serving Size: 1/8 of recipe
- Calories: 280
- Sodium: 400
- Fat: 8
- Saturated Fat: 1
- Carbohydrates: 45
- Fiber: 2
- Protein: 7
Keywords: sourdough focaccia, rosemary focaccia, easy focaccia, sourdough bread, homemade bread, Italian bread


