Love this? Save it for later!
Share the inspiration with your friends
I was standing in the frozen foods aisle last October, staring at a bag of pre-made pumpkin muffins that cost more than a whole chicken, when the smell of cinnamon and nutmeg hit me from some candle display nearby — and suddenly I was seven years old again, perched on a wobbly stool in my Aunt Carol’s tiny kitchen, watching her dump an entire can of pumpkin into a mixing bowl without measuring a thing. She never used recipes, you know. She just knew. The muffins she made were dense and sweet and somehow always disappeared before they cooled. I remember dropping one on the floor once, and she just laughed, picked it up, and said “five-second rule” before handing it back. That memory hit me so hard I almost teared up right there next to the frozen broccoli.
I grabbed a can of pumpkin anyway, even though I had no idea what I was doing. Honestly, my first batch was a disaster — too dry, not sweet enough, and the kids looked at me like I’d betrayed them. But I kept at it because I couldn’t let that memory go. Aunt Carol passed a few years ago, and I never got her recipe. So I had to figure it out myself, and somewhere along the way, I stumbled onto something better. These Healthy Pumpkin Banana Oat Muffins are what came out of that mess. They’re not her muffins — they’re mine. And they’re the kind of thing you can make on a Tuesday morning with half a banana that’s turning brown and a can of pumpkin you bought on a whim.
Maybe you’ve been there too, standing in your kitchen with ingredients that don’t seem like they should work together, hoping for a miracle. Well, this is that miracle. These muffins are soft, naturally sweet, packed with oats and real fruit, and cheap enough to make every single week. Let me show you how.
Why You’ll Love This Recipe
I’ve made these muffins at least twenty times over the past year, and I keep coming back because they solve real problems for real families. Here’s what makes them stand out from every other muffin recipe you’ve tried:
- Quick & Easy: From pantry to plate in under 30 minutes. No stand mixer, no complicated techniques, no waiting for butter to soften. Just mix, scoop, and bake.
- Simple Ingredients: You probably have everything already. Oats, flour, pumpkin puree, bananas, eggs, a little sugar, and some spices. Nothing weird, nothing expensive.
- Perfect for Busy Mornings: Grab one on your way out the door, toss one in a lunchbox, or serve them warm with a pat of butter for breakfast. They work for any occasion.
- Crowd-Pleaser: My pickiest eater — the one who claims to hate “orange food” — devours these without a second thought. That’s not a small win.
- Budget-Friendly: A can of pumpkin costs about a dollar. Bananas are pennies each. Oats are cheap. You can make a dozen muffins for less than the price of one fancy coffee drink.
But here’s the real reason this recipe works: it’s forgiving. I’ve made it with whole wheat flour, all-purpose flour, and even a gluten-free blend. I’ve used old bananas and barely ripe ones. I’ve forgotten the vanilla and added an extra egg by accident. Every single time, they came out good. That’s the kind of recipe you need when life is chaotic and you’re just trying to feed everyone without losing your mind.
These muffins have that perfect texture — soft and tender on the inside, with a slight chew from the oats and a golden top that makes you close your eyes after the first bite. They’re not overly sweet, which means kids can eat them for breakfast without a sugar crash, and adults actually enjoy them too. Honestly, I’ve caught myself eating three in a row more times than I’d like to admit.
What Ingredients You Will Need
This recipe uses simple, wholesome ingredients that work together to create muffins that are moist, flavorful, and satisfying without any complicated steps. Most of these are pantry staples you probably already have on hand.
- 1 cup pumpkin puree (canned is fine — look for 100% pumpkin, not pumpkin pie filling. I like Libby’s for consistent texture)
- 2 ripe bananas, mashed (the spotter the better — brown bananas add more sweetness and moisture)
- 1 cup old-fashioned rolled oats (not instant — they give the muffins a better texture and hold up during baking)
- 1 cup all-purpose flour (whole wheat works great too, just add an extra tablespoon of milk if the batter seems dry)
- 1/2 cup brown sugar, packed (light or dark both work — dark gives a deeper flavor)
- 2 large eggs (room temperature if you remember, but cold works in a pinch)
- 1/3 cup vegetable oil (or melted coconut oil, or even applesauce for lower fat)
- 1 teaspoon baking soda
- 1 teaspoon baking powder
- 1 1/2 teaspoons pumpkin pie spice (or 1 teaspoon cinnamon plus 1/2 teaspoon nutmeg and a pinch of cloves)
- 1/2 teaspoon salt
- 1 teaspoon vanilla extract
- Optional: 1/3 cup chocolate chips or chopped nuts (my kids prefer chocolate chips, obviously)
A few notes on ingredients: if you’re using fresh pumpkin, make sure to drain it well after pureeing — canned pumpkin is already thick, but fresh can be watery. For the bananas, I usually keep a bag of overripe ones in the freezer. Just thaw them in the microwave for 30 seconds and squeeze out the excess liquid before mashing. And for the oats, don’t skip them — they’re what gives these muffins that hearty, satisfying texture that keeps everyone full until lunch.
If you need a dairy-free option, these muffins are already dairy-free as written. For gluten-free, use a 1:1 gluten-free flour blend and certified gluten-free oats. I’ve tried it with Bob’s Red Mill and it works beautifully.
Equipment Needed
You don’t need fancy equipment for these muffins, which is exactly how I like it. Here’s what you’ll need:
- One large mixing bowl (any kind works — I use a ceramic one my sister gave me that’s chipped on the edge)
- One medium mixing bowl (for dry ingredients)
- A whisk or fork (for mashing bananas and mixing wet ingredients)
- A rubber spatula (for folding everything together without overmixing)
- A 12-cup muffin tin (standard size — if yours is non-stick, you might still want liners)
- Paper muffin liners (or you can grease the pan with butter or cooking spray)
- A measuring cup set (dry and liquid measures if you have both)
- A cooling rack (or just a clean kitchen towel on the counter — I’ve done both)
That’s it. No stand mixer, no food processor, no fancy gadgets. I’ve made these in a tiny apartment kitchen with a whisk that was missing a prong and they still came out perfect. If you don’t have muffin liners, just grease the pan well — I use butter because it adds flavor, but cooking spray works fine too.
Preparation Method
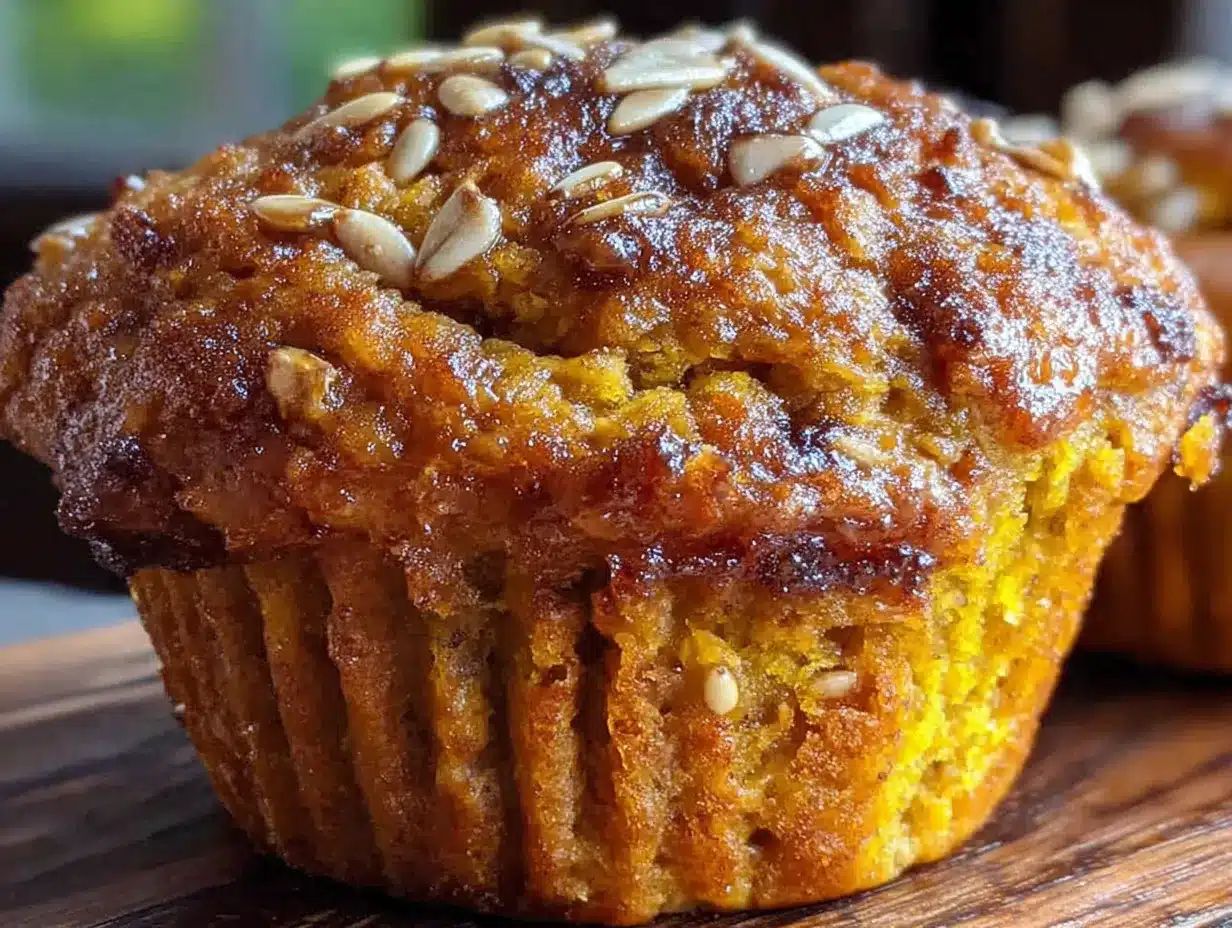
Let’s get baking. This whole process takes about 25 minutes from start to finish, and most of that is hands-off oven time.
- Preheat your oven to 375°F (190°C). Line your muffin tin with paper liners or grease it well. I always line mine because I hate scrubbing muffin tins.
- Mash the bananas. In your large mixing bowl, mash the two ripe bananas with a fork until they’re mostly smooth with a few small lumps. Don’t overwork them — a little texture is fine.
- Add the wet ingredients. To the same bowl, add the pumpkin puree, eggs, oil, brown sugar, and vanilla extract. Whisk everything together until it’s smooth and well combined. It should look like a thick, orange-brown batter at this point.
- Mix the dry ingredients. In your medium bowl, whisk together the flour, oats, baking soda, baking powder, pumpkin pie spice, and salt. Make sure there are no clumps of baking soda hiding in there — I’ve bitten into one before and it’s not pleasant.
- Combine wet and dry. Pour the dry ingredients into the wet mixture. Use your rubber spatula to fold everything together gently. Stir just until you don’t see any more streaks of flour — maybe 10 to 15 strokes. Overmixing will make the muffins tough, so resist the urge to keep stirring.
- Add any mix-ins. If you’re using chocolate chips or nuts, fold them in now with a few quick strokes. I usually save a handful to sprinkle on top of each muffin before baking — it makes them look prettier.
- Fill the muffin cups. Divide the batter evenly among the 12 muffin cups. I use a cookie scoop for this — it’s less messy than spoons. Each cup should be about 3/4 full. The batter is thick, so don’t worry if it doesn’t level itself out.
- Bake for 18 to 22 minutes. Rotate the pan halfway through for even browning. You’ll know they’re done when a toothpick inserted into the center comes out clean or with just a few moist crumbs. The tops should be golden and spring back when you press them gently.
- Cool in the pan for 5 minutes. Then transfer the muffins to a wire rack to cool completely. If you try to take them out too soon, they might stick to the liners. Trust me on this one — I’ve learned the hard way.
One thing I always do: let the batter rest for about 5 minutes after mixing. It gives the oats time to absorb some moisture, which makes the muffins more tender. It’s not a required step, but it makes a difference.
Cooking Tips & Techniques
After making these muffins more times than I can count, I’ve picked up a few tricks that make a real difference. Here are the ones I wish I’d known from the start:
Don’t overmix the batter. This is the number one mistake people make with muffins. Mix until the flour just disappears, then stop. A few lumps are totally fine — they’ll bake out. Overmixing develops gluten and gives you tough, rubbery muffins instead of tender ones.
Use room temperature eggs. Cold eggs can make the batter seize up, especially if your oil or bananas are at room temperature. If you forgot to take them out of the fridge, just place them in a bowl of warm water for 5 minutes before cracking them.
Check your baking soda. If your baking soda is old, your muffins won’t rise properly. I learned this the hard way when I made a batch that came out flat as pancakes. If you’re not sure, drop a little baking soda into vinegar — if it fizzes vigorously, it’s still good.
Let them cool completely before storing. I know it’s tempting to eat one warm (and you should, honestly), but if you store them while they’re still warm, they’ll get soggy. Let them cool completely on a wire rack, then transfer to an airtight container.
Freeze them for later. These muffins freeze beautifully. I make a double batch on Sunday and freeze half for busy mornings. Just wrap each muffin individually in plastic wrap, then toss them in a freezer bag. They’ll keep for up to 3 months. To thaw, microwave for 20 seconds or let them sit on the counter for 30 minutes.
One more thing: if your muffins are browning too quickly on top but aren’t done in the middle, tent them loosely with foil for the last 5 minutes of baking. Every oven runs differently, so keep an eye on them the first time you make this recipe.
Variations & Adaptations
This recipe is incredibly flexible, and I’ve tried quite a few variations over the months. Here are some of my favorites:
Chocolate Chip Pumpkin Banana Muffins: Add 1/2 cup of semi-sweet chocolate chips to the batter. This is the version my kids beg for. The chocolate pairs beautifully with the pumpkin and banana flavors.
Vegan Version: Replace the eggs with two flax eggs (2 tablespoons ground flaxseed mixed with 6 tablespoons water, let sit for 5 minutes). Use maple syrup instead of brown sugar, and coconut oil instead of vegetable oil. They’ll be a little denser but still delicious.
Lower Sugar Option: Cut the brown sugar to 1/4 cup and add an extra ripe banana. The muffins won’t be as sweet, but they’ll still have plenty of flavor from the fruit and spices. I make this version when I’m meal prepping for myself.
Nutty Crunch: Fold in 1/3 cup of chopped walnuts or pecans. Toast them first for extra flavor — just spread them on a baking sheet at 350°F for 5 minutes before adding to the batter.
Apple Pumpkin Banana Muffins: Replace half the pumpkin with unsweetened applesauce and add 1/2 cup of finely diced apple. This adds even more moisture and a subtle apple flavor that works really well with the spices.
I’ve also made these as mini muffins for school lunches — just bake for 12 to 14 minutes instead of 20. And if you want to turn them into a loaf, pour the batter into a greased 9×5 inch loaf pan and bake at 350°F for 45 to 50 minutes. The loaf version is great for slicing and toasting.
Serving & Storage Suggestions
These muffins are incredibly versatile when it comes to serving. Here’s how I handle it:
How to serve: I like them warm, straight from the oven, with a pat of butter melting into the top. They’re also great at room temperature — perfect for packing in lunchboxes or taking on road trips. Sometimes I split one in half and toast it in a skillet with a little butter for a crispy exterior.
What goes with them: A glass of cold milk is the classic pairing, but they’re also great with a hot cup of coffee or tea. For a more substantial breakfast, serve them alongside scrambled eggs and fresh fruit. They’re sweet enough on their own that you don’t need jam or honey, but I won’t judge if you add some.
Storing leftovers: Keep them in an airtight container at room temperature for up to 4 days. If your kitchen is warm or humid, store them in the fridge — they’ll last up to a week. Just let them come to room temperature before eating, or microwave for 15 seconds.
Freezing instructions: As I mentioned, these freeze beautifully. Wrap each muffin individually in plastic wrap, then place them in a freezer-safe bag or container. They’ll keep for up to 3 months. To thaw, just leave one on the counter for 30 minutes or microwave for 20 seconds. I always keep a stash in the freezer for mornings when we’re running late.
Flavor development: Honestly, these muffins taste even better the next day. The flavors meld together overnight, and the texture gets even more moist. So don’t worry if you make them a day ahead — they’ll be perfect.
Nutritional Information & Benefits
These muffins are packed with good stuff, and I love that I can feel good about feeding them to my family. Here’s a rough breakdown per muffin (based on 12 muffins, without mix-ins):
- Calories: Approximately 185
- Protein: 4 grams
- Carbohydrates: 28 grams
- Fiber: 3 grams
- Sugar: 12 grams
- Fat: 7 grams
- Vitamin A: 40% of daily value (from the pumpkin)
- Potassium: 150 mg (from the bananas)
The pumpkin provides a huge dose of vitamin A, which is great for eye health and immune function. Bananas add potassium, which helps with muscle function and blood pressure. Oats are full of fiber, which keeps everyone full and helps with digestion. And because these muffins aren’t overly sweet, they won’t cause a sugar crash later in the morning.
If you’re watching your sugar intake, the lower-sugar version I mentioned earlier cuts it down to about 8 grams per muffin. And if you need gluten-free, just use certified gluten-free oats and a gluten-free flour blend — the nutritional profile stays similar.
One thing to note: these muffins do contain eggs and wheat, so they’re not suitable for those with allergies to those ingredients. But they’re naturally dairy-free and can easily be made vegan with the substitutions I listed above.
Conclusion
These Healthy Pumpkin Banana Oat Muffins have become a staple in my kitchen for a reason. They’re cheap, easy, and somehow manage to please everyone at the table — including the picky eaters who swear they don’t like pumpkin. I’ve made them for breakfast, for snacks, for school bake sales, and even for Thanksgiving morning when we needed something quick before the big meal. Every single time, they disappear.
What I love most about this recipe is how forgiving it is. You can mess up the measurements, forget an ingredient, or use whatever flour you have on hand, and they still come out delicious. That’s the kind of recipe every home cook needs in their back pocket. It’s not about perfection — it’s about feeding the people you love without stressing yourself out.
I’d love to hear how these turn out for you. Did you add chocolate chips? Try the vegan version? Make them into a loaf? Drop a comment below and let me know — I read every single one, and I’m always looking for new ideas to try. And if you make these for your family, tag me in your photos. There’s nothing that makes my day like seeing someone else fall in love with a recipe I created.
Now go preheat that oven. Your kitchen is about to smell amazing.
Frequently Asked Questions
Can I use steel-cut oats instead of rolled oats?
I wouldn’t recommend it. Steel-cut oats are much harder and won’t soften enough during the short baking time. Stick with old-fashioned rolled oats or quick oats (though quick oats will give a softer texture).
Can I make these muffins without eggs?
Yes! Use two flax eggs (2 tablespoons ground flaxseed mixed with 6 tablespoons water) or 1/2 cup of unsweetened applesauce as a replacement. The texture will be slightly denser, but they’ll still be delicious.
Why did my muffins turn out dry?
This usually happens from overbaking or using too much flour. Make sure you’re measuring your flour correctly — spoon it into the measuring cup and level it off, don’t scoop directly from the bag. Also, check your oven temperature with an oven thermometer to make sure it’s accurate.
Can I use fresh pumpkin instead of canned?
Absolutely, but you’ll need to drain it well. Fresh pumpkin puree tends to be more watery than canned. After pureeing, let it sit in a fine-mesh strainer for about 30 minutes to remove excess liquid. Then measure out 1 cup for the recipe.
How do I make these muffins more kid-friendly?
Add chocolate chips — it’s the easiest way to win over picky eaters. You can also reduce the spices slightly if your kids are sensitive to strong flavors. And if they’re really resistant to “healthy” food, try calling them “pumpkin cake muffins” instead. Trust me, it works.
Pin This Recipe!
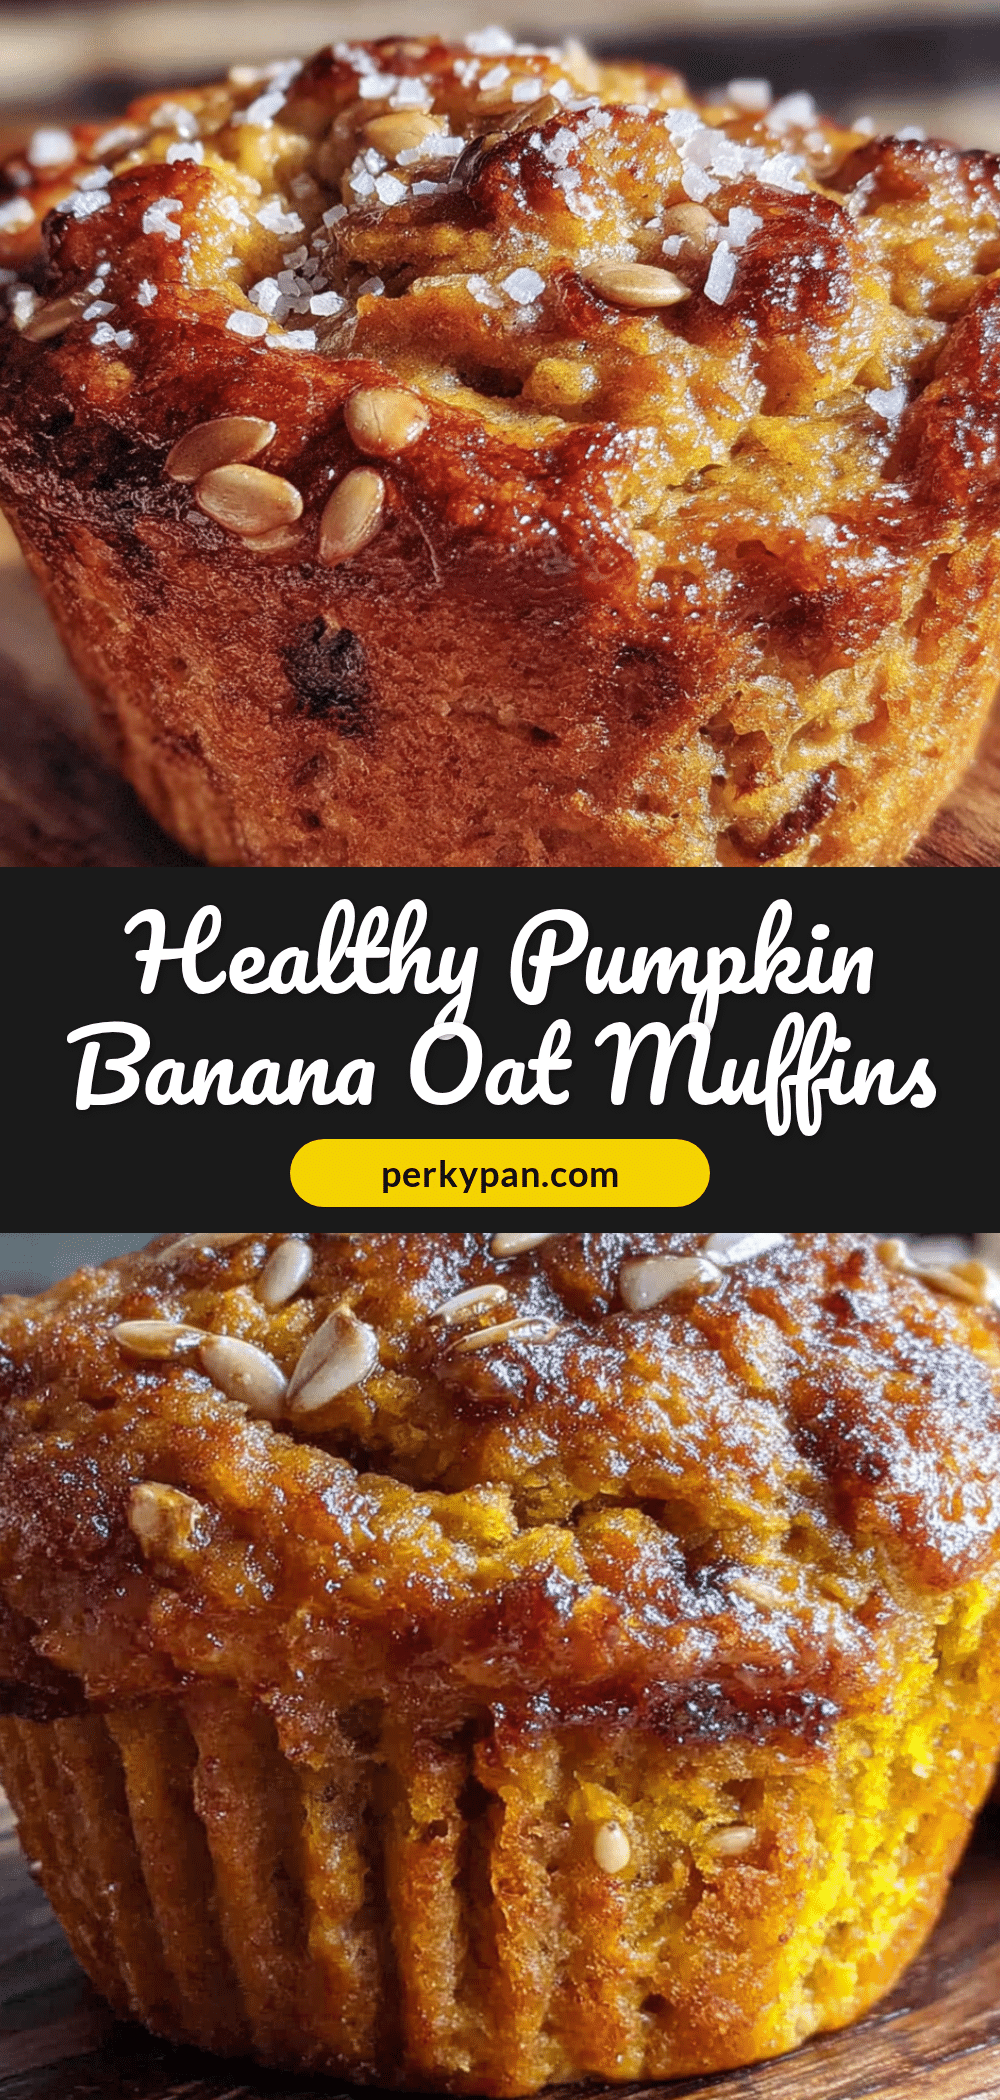
Healthy Pumpkin Banana Oat Muffins
Soft, naturally sweet muffins packed with oats, pumpkin, and bananas. Perfect for busy mornings and budget-friendly.
- Prep Time: 10 minutes
- Cook Time: 20 minutes
- Total Time: 30 minutes
- Yield: 12 muffins 1x
- Category: Breakfast
- Cuisine: American
Ingredients
- 1 cup pumpkin puree (canned, 100% pumpkin)
- 2 ripe bananas, mashed
- 1 cup old-fashioned rolled oats
- 1 cup all-purpose flour (or whole wheat)
- 1/2 cup brown sugar, packed
- 2 large eggs
- 1/3 cup vegetable oil (or melted coconut oil or applesauce)
- 1 teaspoon baking soda
- 1 teaspoon baking powder
- 1 1/2 teaspoons pumpkin pie spice (or 1 tsp cinnamon + 1/2 tsp nutmeg + pinch cloves)
- 1/2 teaspoon salt
- 1 teaspoon vanilla extract
- Optional: 1/3 cup chocolate chips or chopped nuts
Instructions
- Preheat oven to 375°F (190°C). Line a 12-cup muffin tin with paper liners or grease well.
- In a large bowl, mash the bananas with a fork until mostly smooth with a few lumps.
- Add pumpkin puree, eggs, oil, brown sugar, and vanilla extract. Whisk until smooth and well combined.
- In a medium bowl, whisk together flour, oats, baking soda, baking powder, pumpkin pie spice, and salt.
- Pour dry ingredients into wet mixture. Fold gently with a rubber spatula until just combined (10-15 strokes). Do not overmix.
- If using, fold in chocolate chips or nuts. Reserve a few to sprinkle on top.
- Divide batter evenly among muffin cups, filling each about 3/4 full.
- Bake for 18-22 minutes, rotating pan halfway through, until a toothpick inserted in center comes out clean or with a few moist crumbs.
- Cool in pan for 5 minutes, then transfer to a wire rack to cool completely.
Notes
Let batter rest for 5 minutes after mixing for more tender muffins. For best results, use room temperature eggs and check baking soda freshness. Muffins freeze well for up to 3 months.
Nutrition
- Serving Size: 1 muffin
- Calories: 185
- Sugar: 12
- Sodium: 200
- Fat: 7
- Saturated Fat: 1
- Carbohydrates: 28
- Fiber: 3
- Protein: 4
Keywords: pumpkin muffins, banana muffins, oat muffins, healthy muffins, easy muffin recipe, breakfast muffins