Love this? Save it for later!
Share the inspiration with your friends
It was 10:47 PM on a random Tuesday, and I had a very specific, very urgent craving for pumpkin cheesecake. The real kind. The kind that requires a water bath, a springform pan, and a level of patience I simply did not have at that hour. I didn’t have cream cheese that had been softening for hours, and I definitely didn’t have the energy to turn on the oven. But I had a can of pumpkin puree, a box of graham crackers, and a desperate idea. I figured, what’s the worst that could happen? A delicious mess?
So there I was, standing in my quiet kitchen in my pajamas, crushing graham crackers with the bottom of a measuring cup because my rolling pin was buried somewhere in the back of a cabinet. Honestly, it felt a little ridiculous. I mean, who makes a dessert at eleven o’clock on a school night? But the craving was real, and the alternative—just going to bed—felt like a defeat. I mixed the crust, pressed it into an 8×8 pan, and then tackled the filling. I used my hand mixer, which is loud enough to wake the neighbors, but I didn’t care. I was on a mission.
The filling came together in about five minutes. Pumpkin, a little bit of cream cheese (I microwaved it for 15 seconds to soften it—don’t judge), some brown sugar, and a hefty dose of pumpkin pie spice. I poured it over the crust, smoothed the top, and stuck the whole thing in the fridge. I didn’t even taste it. I just went to bed, hoping for the best. The next morning, I pulled it out, cut a square, and took a bite. And you know that feeling when something you threw together in a hurry turns out better than the fancy version? That was this moment. The texture was silky, the flavor was spot-on, and my kids devoured it after school without a single complaint. That’s when I knew I had stumbled onto something worth sharing. Maybe you’ve been there—wanting a special dessert but not wanting to work for it. These bars are for those nights.
Why You’ll Love This Recipe
Let me tell you why these Easy No-Bake Pumpkin Cheesecake Bars Kid Approved have become my go-to fall dessert. First off, they are genuinely simple. You don’t need an oven, a candy thermometer, or any fancy baking skills. If you can stir and press, you can make these bars. I’ve tested this recipe with my own kids—who are picky eaters, by the way—and they give it two thumbs up every time.
- Quick & Easy: Total active prep time is about 15 minutes. The hardest part is waiting for them to chill in the fridge for a few hours. This is perfect for busy weeknights when you need a dessert but don’t want to spend your whole evening in the kitchen.
- Simple Ingredients: You probably have most of these items in your pantry or fridge right now. No need for a special trip to the gourmet grocery store. Canned pumpkin, cream cheese, graham crackers—these are all affordable staples.
- Perfect for Family Meals: These bars are great for after-school snacks, Thanksgiving dessert for the kids’ table, or just a fun weekend treat. They please everyone from toddlers to grandparents.
- Crowd-Pleaser: I brought a batch to a neighborhood potluck, and they disappeared faster than the apple pie. People were asking for the recipe, and they couldn’t believe it was no-bake.
- Unbelievably Delicious: The filling is creamy, spiced just right, and has that perfect pumpkin flavor without being too heavy. The buttery graham cracker crust gives it that satisfying crunch.
What makes this recipe different from all the other pumpkin cheesecake recipes out there? It’s the texture. By using a specific ratio of cream cheese to pumpkin and a little bit of cornstarch, the filling sets up perfectly in the fridge without being too firm or too runny. It’s not just another version—it’s the best version for a busy family. This recipe is the kind that makes you close your eyes after the first bite. It’s comfort food reimagined—faster, easier, but with the same soul-soothing satisfaction. Perfect for impressing your family without any stress.
What Ingredients You Will Need
This recipe uses simple, wholesome ingredients that work together to create a rich, creamy, and perfectly spiced dessert. Most of these are pantry staples, especially during the fall season, which makes it even easier to whip up on a whim.
For the Crust
- 2 cups (200g) graham cracker crumbs (about 14-16 full sheets, crushed finely) — This forms the buttery, crunchy base. I recommend using a food processor for the finest crumbs, but a zip-top bag and a rolling pin work in a pinch.
- 1/2 cup (113g) unsalted butter, melted — This binds the crumbs together. You can use salted butter, just reduce the added salt if you use any.
- 1/4 cup (50g) granulated sugar — Adds a touch of sweetness to balance the salty butter.
- 1/4 teaspoon ground cinnamon — A little warm spice in the crust makes it extra special.
For the Pumpkin Cheesecake Filling
- 16 ounces (450g) full-fat cream cheese, softened to room temperature — This is crucial for a smooth, creamy filling. I always use Philadelphia brand for the best consistency. Don’t use low-fat; it won’t set up as nicely.
- 1 cup (200g) packed light brown sugar — Adds moisture and a deeper, caramel-like sweetness that pairs perfectly with pumpkin.
- 1 cup (245g) canned pumpkin puree — Not pumpkin pie filling! Make sure you get 100% pure pumpkin. Libby’s is my go-to brand.
- 1/2 cup (120ml) heavy cream — This helps the filling set and gives it a luscious, mousse-like texture. Cold cream works best.
- 2 teaspoons pumpkin pie spice — You can use a store-bought blend or make your own (1 tsp cinnamon, 1/2 tsp ginger, 1/4 tsp nutmeg, 1/4 tsp cloves).
- 1 teaspoon vanilla extract — Enhances all the other flavors.
- 1 tablespoon cornstarch — This is the secret ingredient that helps the filling set firmly without baking. Don’t skip it.
- Pinch of salt — Balances the sweetness and brings out the pumpkin flavor.
For the Optional Topping
- 1 cup (240ml) heavy whipping cream — For homemade whipped cream.
- 2 tablespoons powdered sugar — Sweetens the cream.
- 1/2 teaspoon vanilla extract — For flavor.
- Caramel sauce, for drizzling — A little store-bought or homemade caramel takes these bars over the top.
Equipment Needed
You don’t need a lot of fancy tools for this recipe, which is part of its charm. Here’s what you’ll need to get the job done right.
- 8×8-inch baking pan — This is the perfect size for these bars. A 9×9 will work, but the bars will be a bit thinner. I recommend a metal or glass pan. If you only have a 9×13, you can double the recipe.
- Parchment paper — Line your pan with parchment paper, leaving some overhang on two sides. This creates “handles” that make it super easy to lift the bars out for clean slicing.
- Food processor or zip-top bag and rolling pin — For crushing the graham crackers. A food processor gives the most even crumbs, but a bag and a heavy pan work just fine.
- Medium bowl — For mixing the crust.
- Large mixing bowl — For the cheesecake filling.
- Hand mixer or stand mixer — A hand mixer is perfect for this. A stand mixer works too, but a hand mixer is easier to clean. You can also use a whisk and some elbow grease, but it will take a while to get the cream cheese smooth.
- Rubber spatula — For scraping the bowl and smoothing the filling.
- Measuring cups and spoons — For accurate ingredients.
I’ve made this with a cheap hand mixer I bought for $15, and it worked perfectly. No need to invest in expensive equipment. Just make sure your bowl is big enough to prevent splatters.
Preparation Method
Follow these steps carefully, and you’ll have a perfect batch of no-bake pumpkin cheesecake bars. The key is patience—especially during the chilling time.
Step 1: Prepare the Pan
Line your 8×8-inch baking pan with parchment paper. Leave about 2 inches of overhang on two opposite sides. This will help you lift the bars out later. Set the pan aside.
Step 2: Make the Crust
In a medium bowl, combine the graham cracker crumbs, granulated sugar, and ground cinnamon. Pour the melted butter over the mixture and stir with a fork until all the crumbs are moistened. It should look like wet sand. Press the mixture firmly into the bottom of your prepared pan. Use the bottom of a measuring cup or a flat glass to press it down evenly. Make sure it’s compact, or the crust will fall apart when you slice the bars. Place the pan in the refrigerator to set while you make the filling, about 10 minutes.
Step 3: Beat the Cream Cheese
In a large mixing bowl, beat the softened cream cheese with a hand mixer on medium speed until it is completely smooth and free of lumps. This usually takes about 2 minutes. Scrape down the sides of the bowl with a rubber spatula. Add the packed brown sugar and beat again until light and fluffy, about 2 more minutes. The mixture should look pale and airy.
Step 4: Add the Pumpkin and Spices
Add the pumpkin puree, pumpkin pie spice, vanilla extract, and a pinch of salt to the cream cheese mixture. Beat on low speed until just combined. Don’t overmix, or you’ll incorporate too much air. In a separate small bowl, whisk the cornstarch with 2 tablespoons of the heavy cream until smooth. This creates a slurry that prevents lumps. Pour the slurry and the remaining heavy cream into the filling. Beat on low speed until the mixture is smooth and thick. It should be the consistency of a thick mousse. Taste the filling—it should be perfectly spiced and sweet.
Step 5: Assemble the Bars
Remove the crust from the refrigerator. Pour the pumpkin cheesecake filling over the crust. Use your rubber spatula to spread it evenly to the edges. Give the pan a few gentle taps on the counter to release any air bubbles. Smooth the top as best you can.
Step 6: Chill
Cover the pan with plastic wrap or aluminum foil. Refrigerate for at least 6 hours, but overnight is best. This is the most important step. The filling needs time to set up properly. If you try to cut them too soon, they will be a gooey mess. Trust me, I learned this the hard way. Patience pays off here.
Step 7: Slice and Serve
Once fully chilled and firm, use the parchment paper handles to lift the entire block out of the pan. Place it on a cutting board. Use a sharp knife to slice into 9 or 16 squares. For clean cuts, wipe the knife clean between each slice. Serve cold or at room temperature. Top with whipped cream and a drizzle of caramel sauce if desired.
Cooking Tips & Techniques
Over the years, I’ve made this recipe more times than I can count, and I’ve picked up a few tricks that make a big difference. First and foremost, soften your cream cheese properly. Cold cream cheese will leave you with lumpy filling. Take it out of the fridge about 30 minutes before you start. If you forget, like I often do, cut it into smaller cubes and microwave it in 10-second intervals until it’s soft to the touch. Don’t melt it, though.
Another common mistake is not pressing the crust firmly enough. A loose crust will crumble when you try to eat the bars. Use the bottom of a flat glass or a measuring cup to really compact it. I like to chill the crust for a full 15 minutes before adding the filling to make sure it’s solid.
When it comes to the filling, don’t overbeat it after adding the cream. Overmixing can cause the filling to become too thin or even separate. Mix just until everything is combined and smooth. Also, make sure your pumpkin puree is well-drained. Sometimes canned pumpkin can be a bit watery. If you see liquid sitting on top of the puree in the can, pour it off before measuring.
One of my biggest failures was trying to rush the chilling time. I once took the bars out after only 3 hours, and they were a soupy disaster. The cornstarch needs time to activate and thicken the filling. Six hours is the minimum, but overnight is the gold standard. Plan ahead, and you’ll be rewarded with perfect slices.
Finally, use a warm knife for cleaner slices. Run your knife under hot water, dry it off, and then cut. The warmth helps the knife glide through the cold filling without sticking. Wipe the blade clean between each cut for the prettiest presentation.
Variations & Adaptations
One of the best things about this recipe is how easy it is to adapt. Here are some of my favorite variations that I’ve tried and loved.
- Gluten-Free Version: Simply use gluten-free graham crackers or crushed gluten-free cookies like shortbread. The rest of the ingredients are naturally gluten-free. I’ve used Schär brand graham-style crackers with great results.
- Dairy-Free Adaptation: Use dairy-free cream cheese (like Kite Hill or Tofutti) and a dairy-free butter substitute for the crust. Replace the heavy cream with full-fat coconut cream (the solid part from a can of coconut milk). The texture will be slightly different, but still delicious.
- Chocolate Twist: Add 1/4 cup of cocoa powder to the graham cracker crust for a chocolate base. You can also drizzle melted dark chocolate over the top of the bars before chilling for a fancy finish.
- Maple Pecan: Add 1/4 cup of pure maple syrup to the filling (reduce the brown sugar by 2 tablespoons). Top the bars with chopped toasted pecans before serving. The maple and pumpkin combination is incredible.
- Pumpkin Gingerbread: Swap the graham crackers for crushed ginger snaps. The spicy ginger flavor pairs beautifully with the pumpkin. This is my personal favorite for the holidays.
I once made a version with a Biscoff cookie crust and a dollop of cookie butter on top. It was a little over-the-top, but my kids absolutely loved it. Don’t be afraid to experiment—this recipe is very forgiving.
Serving & Storage Suggestions
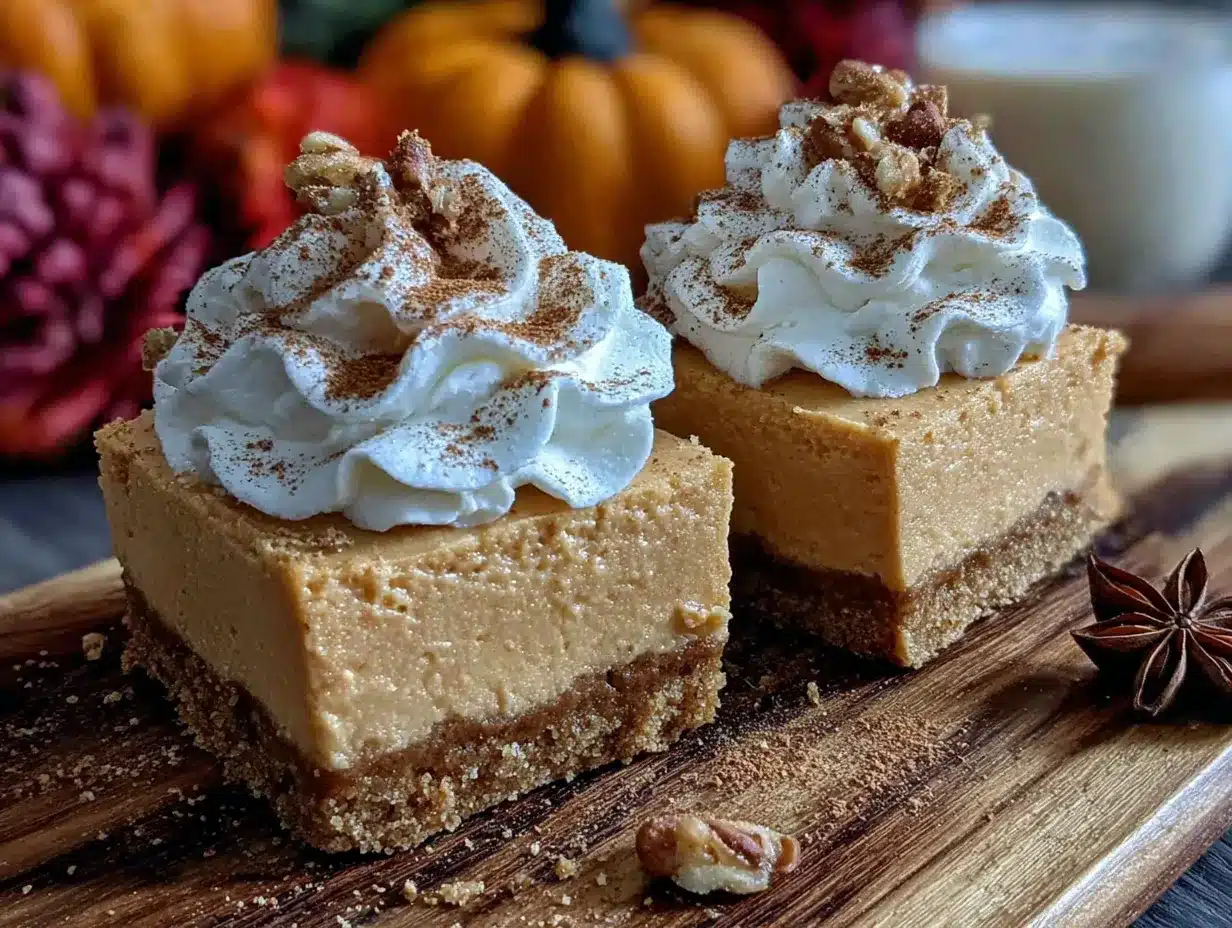
These bars are best served cold, straight from the refrigerator. The texture is firm and creamy, like a dreamy pumpkin mousse. For the prettiest presentation, I like to top each bar with a generous swirl of homemade whipped cream and a drizzle of caramel sauce. A light dusting of cinnamon or pumpkin pie spice on top adds a nice visual touch.
They pair wonderfully with a cup of hot coffee, spiced apple cider, or a warm chai latte. For a fun dessert board, arrange the bars on a platter with fresh apple slices, cinnamon sticks, and a bowl of extra whipped cream for dipping.
Storage: Store any leftover bars in an airtight container in the refrigerator. They will stay fresh for up to 5 days. In fact, the flavor actually improves after a day or two as the spices meld together. I think they taste even better on day two.
Freezing: These bars freeze beautifully. Once they are fully set, cut them into individual squares. Place them on a baking sheet lined with parchment paper and freeze for about an hour, or until solid. Then transfer the frozen bars to a freezer-safe bag or container. They will keep for up to 3 months. To thaw, simply move them to the refrigerator for a few hours or overnight. Do not thaw at room temperature, or they may get too soft.
Reheating: These are a no-bake dessert, so there’s no need to reheat them. However, if you prefer a slightly softer texture, let them sit at room temperature for about 10 minutes before serving. The crust will soften just a touch, and the filling will become a bit creamier.
Nutritional Information & Benefits
While these are definitely a treat, there are a few redeeming qualities to note. Pumpkin is packed with vitamin A and fiber, which is good for eye health and digestion. The cream cheese provides a bit of protein and calcium, though it’s also high in fat. Using full-fat ingredients helps the bars set properly and gives them that luxurious texture.
Here is an approximate nutritional breakdown for one bar (based on 9 servings):
- Calories: 410
- Fat: 28g
- Saturated Fat: 17g
- Carbohydrates: 36g
- Sugar: 26g
- Protein: 5g
- Fiber: 2g
- Vitamin A: 120% of the Daily Value
If you are watching your sugar intake, you can reduce the brown sugar to 3/4 cup, but the filling will be slightly less firm. For a lower-fat option, you can use Neufchâtel cream cheese (which has a third less fat) but the texture will be a bit less creamy. This recipe is not suitable for a low-carb or keto diet due to the graham cracker crust and sugar content.
I personally feel good about serving these to my family because they are made from real ingredients. No artificial flavors or preservatives. It’s a dessert that feels indulgent but has a little bit of nutritional value hidden inside.
Conclusion
These Easy No-Bake Pumpkin Cheesecake Bars Kid Approved are the perfect solution for when you want a show-stopping dessert without turning on the oven. They are creamy, spiced to perfection, and so simple that even a beginner baker can pull them off. The best part? They are made with affordable ingredients that you probably already have in your kitchen.
I love this recipe because it reminds me that you don’t need to be a professional pastry chef to make something truly special. It’s about being resourceful and knowing that a little bit of effort—and a lot of patience for chilling—can create something amazing. My kids ask for these bars every fall, and I’m happy to oblige because they are so easy to make.
Now, I want to hear from you! Have you tried these bars? Did you add your own twist? Drop a comment below and let me know how they turned out. Don’t forget to share this recipe with a friend who needs a quick and delicious dessert idea. Happy no-bake baking, everyone!
Frequently Asked Questions
Can I use a different type of cracker for the crust?
Absolutely! You can use any dry, crunchy cookie or cracker. Ginger snaps, Biscoff cookies, vanilla wafers, or even pretzels (for a sweet-salty twist) all work great. Just make sure to crush them into fine crumbs and adjust the butter amount if needed—denser cookies may need a bit more butter to bind.
Why is my filling not setting up?
This usually happens for one of three reasons: the filling wasn’t chilled long enough (it needs at least 6 hours), the cream cheese was too soft or too cold, or the cornstarch was omitted. Make sure to use full-fat cream cheese and let it chill for the full recommended time. If it’s still runny after 8 hours, you can try freezing it for an hour to firm it up.
Can I make these bars vegan?
Yes, with a few substitutions. Use vegan cream cheese and vegan butter for the crust. Replace the heavy cream with full-fat coconut cream (the solid part from a can of chilled coconut milk). The texture will be slightly different—a bit denser—but they will still be delicious and creamy.
How do I get clean, neat slices?
The key is to use a sharp knife and wipe it clean between each cut. You can also run the knife under hot water, dry it off, and then make your cut. The warmth helps the knife slide through the cold filling without dragging. Chilling the bars for the full recommended time is also crucial for clean slices.
Can I use fresh pumpkin instead of canned?
You can, but you need to be careful. Fresh pumpkin puree often has a higher water content than canned. If you use fresh, you should strain it through a cheesecloth or a clean kitchen towel to remove excess liquid. Otherwise, your filling might be too runny to set properly. Canned pumpkin is more consistent and easier to use for this recipe.
Pin This Recipe!
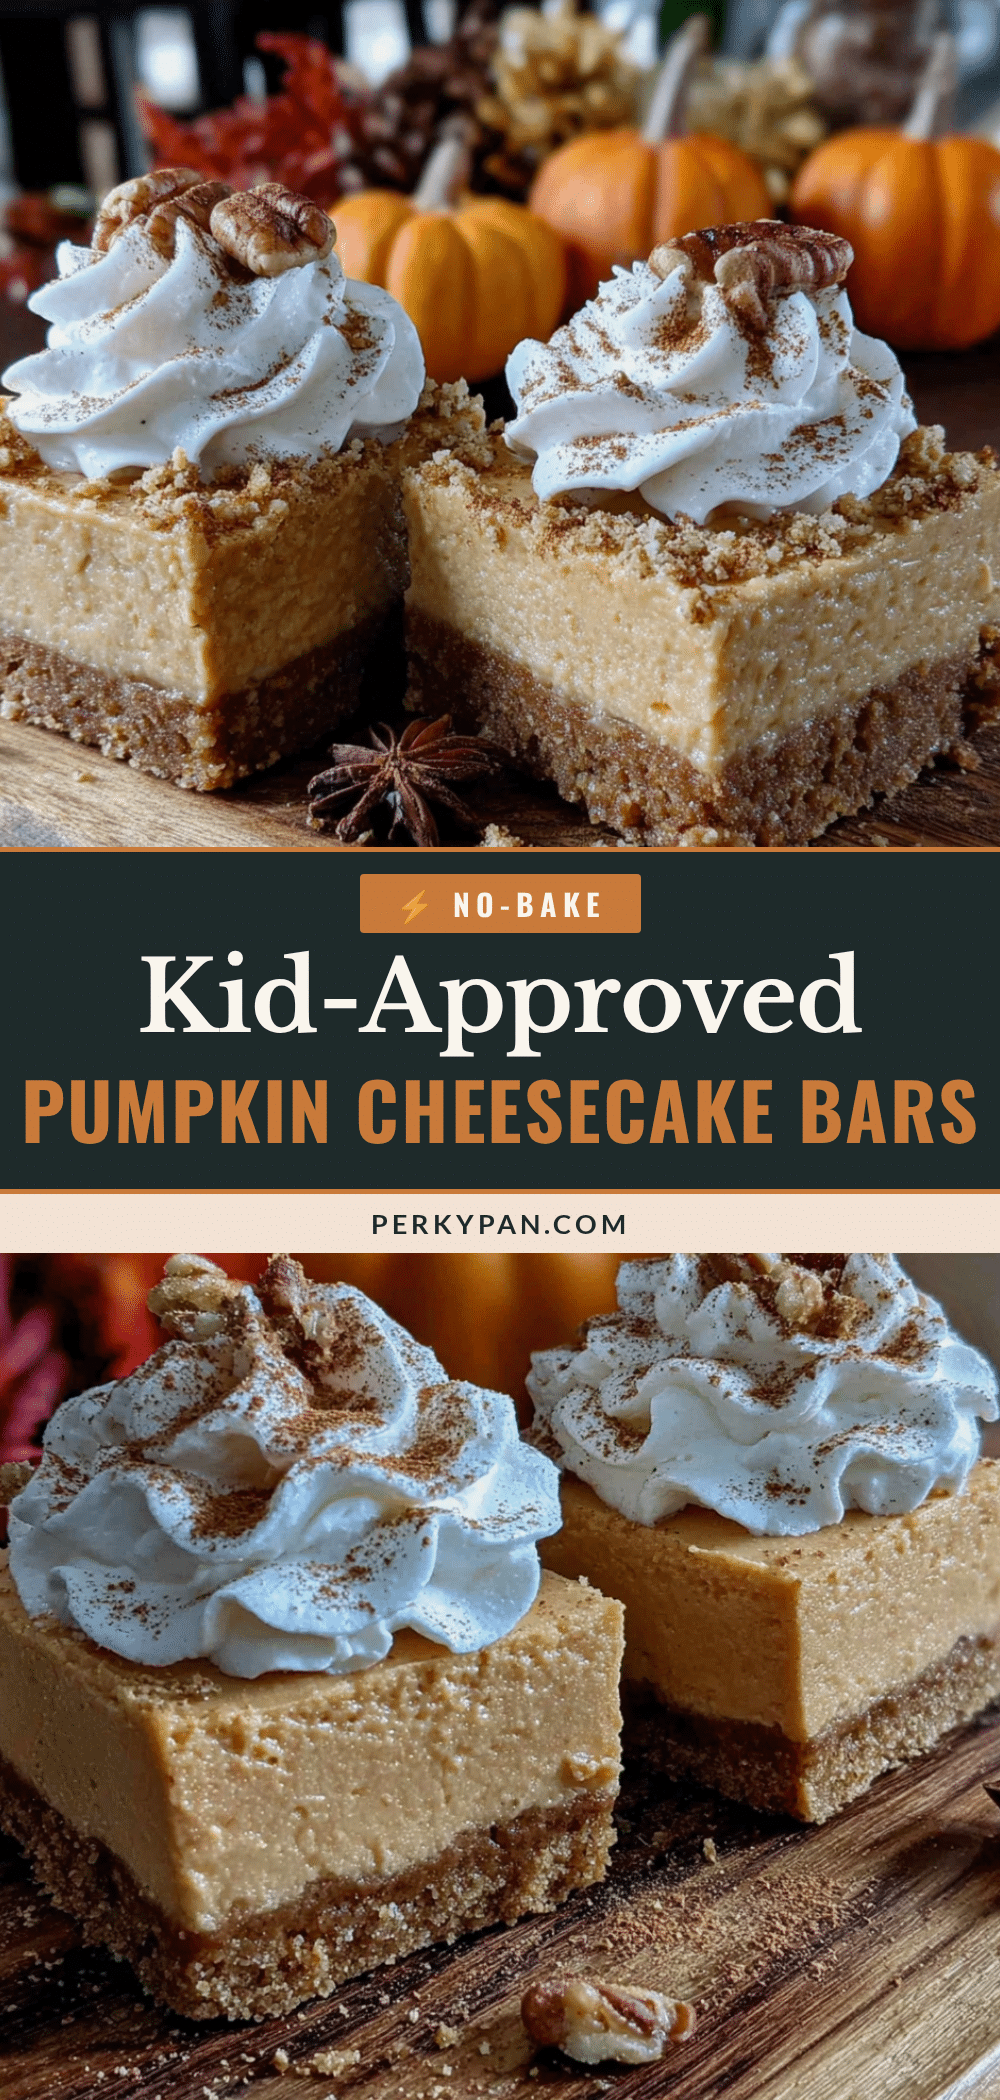
Easy No-Bake Pumpkin Cheesecake Bars Kid Approved
These no-bake pumpkin cheesecake bars are creamy, spiced to perfection, and incredibly easy to make. Perfect for busy weeknights or holiday gatherings, they require no oven and use simple ingredients.
- Prep Time: 15 minutes
- Cook Time: 0 minutes
- Total Time: 6 hours 15 minutes (includes chilling)
- Yield: 9 servings 1x
- Category: Dessert
- Cuisine: American
Ingredients
- 2 cups (200g) graham cracker crumbs (about 14–16 full sheets, crushed finely)
- 1/2 cup (113g) unsalted butter, melted
- 1/4 cup (50g) granulated sugar
- 1/4 teaspoon ground cinnamon
- 16 ounces (450g) full-fat cream cheese, softened to room temperature
- 1 cup (200g) packed light brown sugar
- 1 cup (245g) canned pumpkin puree (not pumpkin pie filling)
- 1/2 cup (120ml) heavy cream
- 2 teaspoons pumpkin pie spice
- 1 teaspoon vanilla extract
- 1 tablespoon cornstarch
- Pinch of salt
- 1 cup (240ml) heavy whipping cream (for optional topping)
- 2 tablespoons powdered sugar (for optional topping)
- 1/2 teaspoon vanilla extract (for optional topping)
- Caramel sauce, for drizzling (optional)
Instructions
- Line an 8×8-inch baking pan with parchment paper, leaving about 2 inches of overhang on two opposite sides. Set aside.
- In a medium bowl, combine graham cracker crumbs, granulated sugar, and ground cinnamon. Pour melted butter over the mixture and stir with a fork until all crumbs are moistened. Press firmly into the bottom of the prepared pan. Refrigerate for 10 minutes.
- In a large mixing bowl, beat softened cream cheese with a hand mixer on medium speed until smooth, about 2 minutes. Scrape down sides. Add packed brown sugar and beat until light and fluffy, about 2 more minutes.
- Add pumpkin puree, pumpkin pie spice, vanilla extract, and a pinch of salt. Beat on low speed until just combined. In a small bowl, whisk cornstarch with 2 tablespoons of the heavy cream until smooth. Pour this slurry and the remaining heavy cream into the filling. Beat on low speed until smooth and thick.
- Remove crust from refrigerator. Pour filling over crust and spread evenly. Tap pan gently on counter to release air bubbles. Smooth top.
- Cover pan with plastic wrap or foil. Refrigerate for at least 6 hours, preferably overnight.
- Once fully set, use parchment handles to lift the block out of the pan. Place on a cutting board. Slice into 9 or 16 squares using a sharp knife, wiping clean between cuts. Serve cold or at room temperature. Top with whipped cream and caramel sauce if desired.
Notes
For best results, chill overnight. Use full-fat cream cheese for proper setting. Do not skip the cornstarch. For clean slices, use a warm knife and wipe between cuts.
Nutrition
- Serving Size: 1 bar (based on 9 se
- Calories: 410
- Sugar: 26
- Fat: 28
- Saturated Fat: 17
- Carbohydrates: 36
- Fiber: 2
- Protein: 5
Keywords: no-bake pumpkin cheesecake bars, easy pumpkin dessert, kid-friendly, fall dessert, no-bake cheesecake


