Love this? Save it for later!
Share the inspiration with your friends
I was standing in the frozen foods aisle last October, staring at a box of crescent rolls, when the smell hit me. Not a real smell, you know — a memory smell. The sharp, slightly metallic scent of Halloween candy wrappers mixed with the warm, buttery aroma of something baking in the oven. And suddenly I was seven years old at my aunt Carol’s house, standing on a step stool in her tiny kitchen, watching her wrap strips of dough around hot dogs like she was wrapping tiny presents.
My aunt Carol passed away about five years ago, and honestly, I hadn’t thought about those mummy hot dogs in decades. But there I was, in the middle of a grocery store, feeling that specific mix of excitement and anticipation that only Halloween night can bring. I grabbed the crescent rolls, the hot dogs, and some candy eyes, and I practically ran home. Let me tell you, I messed up the first batch pretty badly — the dough tore, the eyes fell off, and one of them looked less like a mummy and more like a sad, bandaged caterpillar. But the second batch? That was the one.
Maybe you’ve been there, chasing a taste from your childhood that you can’t quite describe but you’d know the second it hit your tongue. That’s what these mummy hot dogs are for me. They’re not fancy, they’re not complicated, and they’re definitely not gourmet. But they’re the thing I make every Halloween now, and every time I pull a tray of those googly-eyed little monsters out of the oven, I feel like I’m seven years old again, standing on that step stool, covered in flour, absolutely certain that this was the best night of the whole year. This is the recipe that brings that feeling back, and I think once you try it, you’ll see why it’s become my go-to for every Halloween gathering.
Why You’ll Love This Recipe
Let’s be real for a second — Halloween entertaining can be stressful. You’re juggling costumes, candy, decorations, and somehow trying to feed a crowd of hungry ghosts and goblins. That’s exactly why this recipe has become my secret weapon for every Halloween party I host.
- Incredibly Quick & Easy : These come together in under 25 minutes, start to finish. I’m talking 10 minutes of prep and 12 minutes in the oven. When the doorbell is about to start ringing with trick-or-treaters, that’s a game-changer.
- Simple Ingredients : You only need three main ingredients — hot dogs, crescent roll dough, and candy eyes. Chances are, you already have everything except maybe the candy eyes in your kitchen right now.
- Perfect for Halloween Gatherings : Whether you’re hosting a costume party, a spooky movie night, or just feeding the kids before they hit the neighborhood, these fit right in. They’re fun enough for the kids table and charming enough for the adults to sneak a few too.
- Total Crowd-Pleaser : I’ve made these for parties where the guests ranged from age 4 to 84, and every single person smiled when they saw them. There’s something about food that looks back at you that just makes people happy.
- Unbelievably Delicious : The combination of flaky, buttery crescent roll wrapped around a juicy hot dog is classic comfort food. Add those little candy eyes, and you’ve got something that tastes as good as it looks.
This isn’t just another Halloween snack idea you’ll find on Pinterest. What makes this version different is the technique — I’ve tested every possible way to wrap these little guys so the dough stays put and the eyes actually stay on. I’ve learned the hard way what works and what doesn’t, so you don’t have to make the same mistakes I did. Trust me, your future self will thank you when you’re not chasing runaway candy eyes across the kitchen floor.
This is the kind of recipe that makes you close your eyes after the first bite, not because it’s fancy, but because it tastes exactly like it should. It’s Halloween on a plate — fun, slightly silly, and absolutely delicious. Perfect for impressing your guests without any stress, or turning a regular weeknight into something special.
What Ingredients You Will Need
This recipe keeps things wonderfully simple, using pantry-friendly ingredients that come together to create something genuinely fun and tasty. Here’s everything you’ll need, along with a few tips I’ve picked up from making these more times than I can count.
For the Mummies
- 1 can (8 oz) refrigerated crescent roll dough : I recommend Pillsbury for the best flaky texture, but any brand works. The key is getting the seamless sheet style if you can find it — it makes cutting the strips so much easier. If you can only find the perforated triangles, just pinch the seams together before cutting.
- 8 beef or turkey hot dogs : Use your favorite brand here. I personally like Hebrew National or Oscar Mayer for their snap. For a party, I usually go with regular-size hot dogs, but cocktail wieners work great for appetizer portions. Just adjust your baking time down by a couple of minutes.
- 16 candy eyeballs : You can find these at most grocery stores in the baking aisle around Halloween, or online year-round. Wilton makes good ones. Pro tip: buy two packs because you will eat some while you’re decorating. I speak from experience.
For the Glue (Yes, Food Glue)
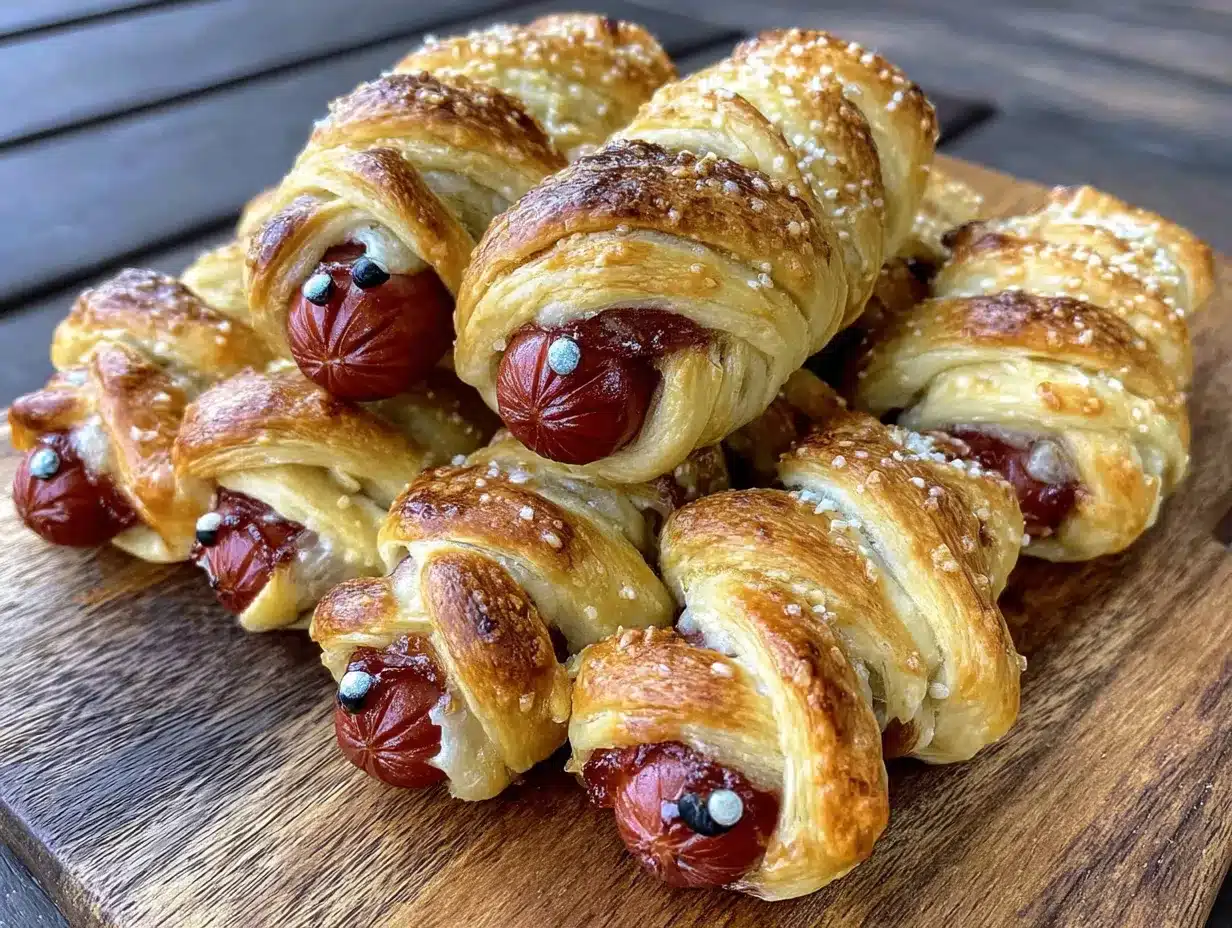
- 1 large egg, beaten : This is your edible glue that keeps the eyes in place. You could also use a tiny dab of mustard or ketchup if you don’t want to use egg, but the egg wash gives the best hold and a beautiful golden shine.
- 1 tablespoon water : Mix this with the beaten egg to make your egg wash. It helps the wash spread more evenly without being too thick.
For Serving (Optional but Recommended)
- Ketchup, mustard, or ranch dressing for dipping : The kids in my house insist on ketchup, but I’ve seen adults go for spicy mustard or sriracha mayo. Set out a little dipping station — it makes the presentation feel more like a party.
- Pretzel sticks or carrot sticks : If you want to get really creative, you can stick a pretzel rod into the end of each hot dog before wrapping to make your mummies look like they’re carrying little weapons. It’s completely unnecessary but absolutely hilarious.
The beauty of this ingredient list is its flexibility. You can swap in turkey or chicken hot dogs for a lighter option, use dairy-free crescent dough if you can find it, or experiment with flavored sausages like cheddar brats for a grown-up version. Just keep in mind that different hot dogs have different moisture levels, which can affect how well the dough sticks. I’ve found that standard beef hot dogs give the most reliable results.
Equipment Needed
You don’t need any fancy equipment for this recipe, which is honestly one of the reasons I love it so much. Here’s what you’ll need:
- Baking sheet : A standard half-sheet pan works perfectly. I use my Nordic Ware aluminum sheet pans because they heat evenly and nothing sticks to them. If your baking sheet is dark or non-stick, you might need to reduce the oven temperature by 25 degrees to prevent over-browning.
- Parchment paper or silicone baking mat : This is non-negotiable, honestly. The crescent dough can stick to bare metal, and nobody wants to peel their mummies off the pan. Silpat mats are my favorite, but parchment paper works just as well.
- Sharp knife or pizza cutter : You’ll be cutting the crescent dough into thin strips, and a pizza roller makes this so much faster and more precise. A sharp chef’s knife works too, just make sure it’s not dull or you’ll drag the dough.
- Small bowl : For beating your egg wash. Any small bowl works — I use my grandmother’s old ceramic one because it makes me feel connected to her kitchen, even though she never made mummy hot dogs in her life.
- Pastry brush : For applying the egg wash. A silicone brush is easier to clean, but a natural bristle brush gives a more even coating. In a pinch, you can use a paper towel, but it won’t be as neat.
- Cooling rack : Not strictly necessary, but it helps the mummies cool evenly without getting soggy on the bottom. I use a simple wire cooling rack from IKEA.
If you’re making these for a big party and don’t have enough baking sheets, you can prep the mummies on a piece of parchment paper on your counter and transfer them to the pan right before baking. Just be careful moving them so the dough doesn’t unravel.
Preparation Method
Alright, let’s get to the fun part. I’ve broken this down into clear steps, and I’ve included all the little details I wish someone had told me the first time I made these.
- Preheat your oven to 375°F (190°C). Line your baking sheet with parchment paper or a silicone mat. Getting the oven hot before you start assembling is crucial — cold dough hitting a hot oven gives you those beautiful flaky layers.
- Prepare your hot dogs. Pat each hot dog dry with a paper towel. This is important — excess moisture will make the dough soggy and it won’t brown properly. If you’re using cocktail wieners, leave them whole. For regular hot dogs, you can leave them whole or cut them in half crosswise for shorter, more snackable mummies.
- Unroll the crescent dough. Open the can carefully — I’ve had one pop open on me and scare the living daylights out of everyone in the kitchen. Unroll the dough onto a clean cutting board. If you’re using the perforated sheets, gently press the seams together with your fingers to seal them. You want one solid rectangle of dough.
- Cut the dough into strips. Using a sharp knife or pizza cutter, cut the dough lengthwise into 8 to 10 thin strips, each about 1/4 to 1/2 inch wide. Don’t stress about making them perfectly even — slight imperfections give your mummies character. I’ve found that thinner strips look more like authentic mummy wrappings, while thicker strips are easier to work with.
- Wrap the hot dogs. Take one strip of dough and wrap it around a hot dog, starting at one end and working your way to the other. Leave a small gap near the top of the hot dog for the face — about 1/2 inch of exposed hot dog. Don’t wrap too tightly, or the dough will tear as it expands during baking. Leave the ends of the dough slightly loose so they look like unraveling bandages. Repeat with the remaining hot dogs and dough strips.
- Place on the baking sheet. Arrange the wrapped hot dogs on your prepared baking sheet, leaving about 1 inch of space between each one. They won’t spread much, so you can fit all 8 on a standard sheet pan.
- Apply the egg wash. In your small bowl, beat the egg with 1 tablespoon of water until well combined. Using your pastry brush, lightly brush the egg wash over each wrapped mummy. This is what gives them that gorgeous golden-brown color. Don’t oversaturate — you just want a thin, even coat. Any excess will pool at the bottom and make the dough soggy.
- Bake for 10-12 minutes. Place the baking sheet on the center rack of your preheated oven. Bake until the crescent dough is puffed and golden brown, about 10 to 12 minutes. The hot dogs should be heated through. If you’re using cocktail wieners, check them at 8 minutes — they cook faster.
- Cool slightly. Remove the baking sheet from the oven and let the mummies cool on the pan for 2 to 3 minutes. This is critical — if you try to add the eyes while the dough is too hot, the candy eyes will melt right off. Ask me how I know.
- Add the eyes. While the mummies are still warm but not hot, use a tiny dab of egg wash (or a dot of mustard or ketchup) to attach two candy eyes to the exposed hot dog face area. Press gently so they stick. The warmth of the hot dog will help set the “glue.” Don’t press too hard or you’ll squish the hot dog.
- Serve immediately. Transfer the mummies to a serving platter and watch them disappear. They’re best enjoyed warm, within 30 minutes of baking. If you’re serving them later, keep them in a warm oven (200°F) for up to 30 minutes.
One thing I learned the hard way — don’t skip the patting-dry step. My first batch came out with pale, doughy spots where the moisture from the hot dogs had steamed the dough instead of letting it brown. Now I always take an extra 30 seconds to dry each hot dog thoroughly, and the difference is night and day.
Cooking Tips & Techniques
After making these mummy hot dogs for every Halloween party, potluck, and spooky movie night for the past five years, I’ve collected a few tricks that make the process smoother and the results more reliable.
Temperature matters. Cold dough is your friend here. If the dough gets too warm while you’re working with it, it becomes sticky and tears easily. If you live in a warm climate or your kitchen is particularly hot, pop the wrapped mummies in the fridge for 10 minutes before baking. This firms up the butter in the dough and gives you those perfect flaky layers.
Don’t overwork the dough. When you’re pressing the seams together or rerolling scraps, handle the dough as little as possible. The more you touch it, the tougher it gets. I learned this after a particularly frustrating batch where I kept trying to fix every little tear, and the result was dense, chewy dough instead of light and flaky.
Watch the oven like a hawk. Oven temperatures vary wildly. Your 375°F might run hot or cold. Start checking at 9 minutes — you’re looking for deep golden brown, not pale tan. If the edges are browning faster than the center, rotate the pan halfway through baking. I’ve had ovens that needed a full 14 minutes and others that were done at 10.
Make-ahead strategy for parties. If you’re hosting, you can wrap the mummies up to 4 hours ahead of time and keep them covered in the refrigerator. Brush with egg wash right before baking. This is my go-to strategy when I’m having people over — I do all the wrapping while the kids are getting their costumes on, then pop them in the oven right as guests start arriving. The kitchen fills with that buttery smell, and everyone gathers around when they come out.
The eyes are the hardest part. I’m not kidding. Getting those little candy eyes to stay on is genuinely the most challenging aspect of this recipe. Here’s what works best: apply the eyes when the mummies are still warm but not hot — about 2-3 minutes out of the oven. Use the tiniest amount of egg wash as glue. If you’re transporting these to a party, wait until you arrive to add the eyes, or they might fall off in the car. I learned this the hard way when I showed up to a party with a platter of eyeless mummies.
Variations & Adaptations
One of the best things about this recipe is how easily it adapts to different tastes, dietary needs, and occasions. Here are some of my favorite variations:
Spicy Mummy Dogs : Use spicy Italian sausages or jalapeño-cheddar hot dogs instead of regular ones. Add a thin strip of pepper jack cheese under the dough for extra heat. My neighbor Dave requests these every year, and they’ve become a tradition at our annual Halloween block party.
Veggie Mummy Dogs : Swap the hot dogs for vegetarian or vegan sausages. Field Roast makes excellent plant-based options that hold up well to wrapping. Use a plant-based milk wash instead of egg wash for a vegan version. I made these for a friend who’s vegan, and she said they reminded her of the Halloween snacks she ate as a kid.
Breakfast Mummies : Use breakfast sausages instead of hot dogs and serve them with maple syrup for dipping. These are perfect for Halloween morning before school or a spooky brunch party. The sweet-and-savory combination is surprisingly addictive.
Cheesy Mummy Dogs : Cut a slit lengthwise in each hot dog and stuff it with a thin strip of cheddar or mozzarella cheese before wrapping. The cheese oozes out slightly during baking, which looks like mummy guts. Kids find this hilarious. Adults find it delicious.
Pizza Mummies : Brush the wrapped mummies with garlic butter and sprinkle with dried oregano and parmesan cheese before baking. Serve with warm marinara sauce for dipping. This is my personal favorite variation — it feels more grown-up while still being fun.
Gluten-Free Option : Use gluten-free crescent roll dough (I’ve had good luck with the brand from Whole Foods) and gluten-free hot dogs. The texture will be slightly different — a bit more crumbly — but the taste is still fantastic.
Don’t be afraid to experiment. I once made a batch using puff pastry instead of crescent dough, and while it was definitely more work, the results were incredibly flaky and buttery. Just cut the puff pastry into thinner strips and bake at 400°F for about 15 minutes.
Serving & Storage Suggestions
These mummy hot dogs are at their absolute best straight from the oven, but I’ve got plenty of tips for serving them at parties and storing leftovers.
Serving Temperature : Serve warm, ideally within 30 minutes of baking. If you’re serving them at a party, you can keep them warm in a 200°F oven for up to 30 minutes. Just don’t cover them with foil or the steam will make the dough soggy. I like to arrange them on a platter with the dipping sauces in the center, and maybe some fake spiderwebs around the edge for presentation.
What to Serve Alongside : These pair beautifully with other Halloween party foods. I usually put together a spread that includes pumpkin-shaped cheese crackers, veggie sticks with ranch dip (colored green or orange with food coloring), and a bowl of popcorn tossed with nutritional yeast for a cheesy flavor. For drinks, apple cider or a punch made with orange sherbet and ginger ale fits the theme perfectly.
Storage : If you somehow have leftovers, store them in an airtight container in the refrigerator for up to 3 days. The candy eyes might fall off during storage, but you can reattach them with a tiny dab of ketchup when you reheat. I’ve never actually had leftovers, though — these things vanish.
Reheating : The best way to reheat mummy hot dogs is in a 350°F oven for 5-7 minutes. The microwave works in a pinch (30 seconds on high), but the dough will be soft instead of crispy. An air fryer at 350°F for 3 minutes is actually my favorite method — it crisps the dough right back up.
Flavor Development : Honestly, these are best fresh. The magic of the flaky, just-baked crescent dough is hard to replicate after refrigeration. That said, the flavors do meld together nicely overnight, and my kids happily eat cold mummy hot dogs straight from the fridge for lunch the next day. So don’t throw them away — they’re still delicious, just different.
Nutritional Information & Benefits
I’m not going to pretend these are health food, but let’s look at what you’re actually getting. Each mummy hot dog (using standard ingredients) contains approximately:
- Calories : 220-250
- Protein : 8-10 grams
- Fat : 14-16 grams
- Carbohydrates : 16-18 grams
- Sodium : 600-700 mg
These numbers will vary based on your specific hot dog and dough brands. Turkey hot dogs will cut the fat and calories significantly, while using reduced-fat crescent dough can save about 30 calories per serving.
On the positive side, hot dogs do provide a decent amount of protein and iron. The crescent dough offers some B vitamins and iron from enriched flour. And honestly, the biggest benefit here might be the joy factor — there’s something genuinely mood-boosting about eating food that looks back at you. I firmly believe that fun food has its place in a balanced diet, especially during holiday celebrations.
If you’re watching your sodium intake, look for low-sodium hot dogs and pair these with fresh vegetables or a salad to balance out the meal. For a lower-carb option, you can wrap the hot dogs in thinly sliced cheese instead of dough — it won’t be the same, but it’s a creative alternative.
Conclusion
These mummy hot dogs have become such a beloved tradition in my household that my kids start asking about them in September. They’re simple enough that even young children can help with the wrapping (with supervision, of course), and impressive enough that your adult guests will snap photos before they eat them.
What I love most about this recipe is how it brings people together. There’s something about the act of wrapping those little dough strips, carefully placing the eyes, and watching them emerge from the oven golden and grinning that feels like pure magic. It’s not fancy cooking — it’s fun cooking, and sometimes that’s exactly what we need.
I’d love to hear how yours turn out! Did you try any of the variations? Did your kids come up with their own creative twists? Drop a comment below and let me know — I genuinely read every single one, and your ideas might end up in next year’s batch. And if you’re looking for more Halloween fun, don’t forget to check out our spider web dip and ghost banana pops for the complete spooky spread.
Happy Halloween, and happy cooking! May your mummies be golden, your eyes stay on, and your kitchen be filled with laughter.
Frequently Asked Questions
Can I make these ahead of time for a party?
Absolutely! You can wrap the mummies up to 4 hours ahead and keep them covered in the refrigerator. Brush with egg wash right before baking. I wouldn’t recommend baking them more than an hour ahead, as the dough loses its crispness over time.
Why did my dough tear while wrapping?
This usually happens when the dough is too warm or you’re wrapping too tightly. If your kitchen is warm, try refrigerating the dough for 10 minutes before cutting strips. Also, leave a little slack when wrapping — the dough needs room to expand as it bakes.
Can I use puff pastry instead of crescent rolls?
Yes, you can! Puff pastry gives a flakier, more buttery result. Cut it into thinner strips and bake at 400°F for about 15 minutes. Just keep in mind that puff pastry is more delicate and can be trickier to work with than crescent dough.
How do I keep the candy eyes from falling off?
The key is timing and the right “glue.” Wait until the mummies have cooled for 2-3 minutes after baking — the eyes will melt if the dough is too hot. Use a tiny dab of egg wash, mustard, or ketchup to attach them. Press gently and let them set for a minute before moving the mummies.
Are these suitable for kids to help make?
Definitely! Kids as young as 4 can help with wrapping the dough strips around the hot dogs (with supervision for the hot oven part). Placing the candy eyes is also a perfect job for little hands. It’s a wonderful way to create Halloween memories together in the kitchen.
Pin This Recipe!
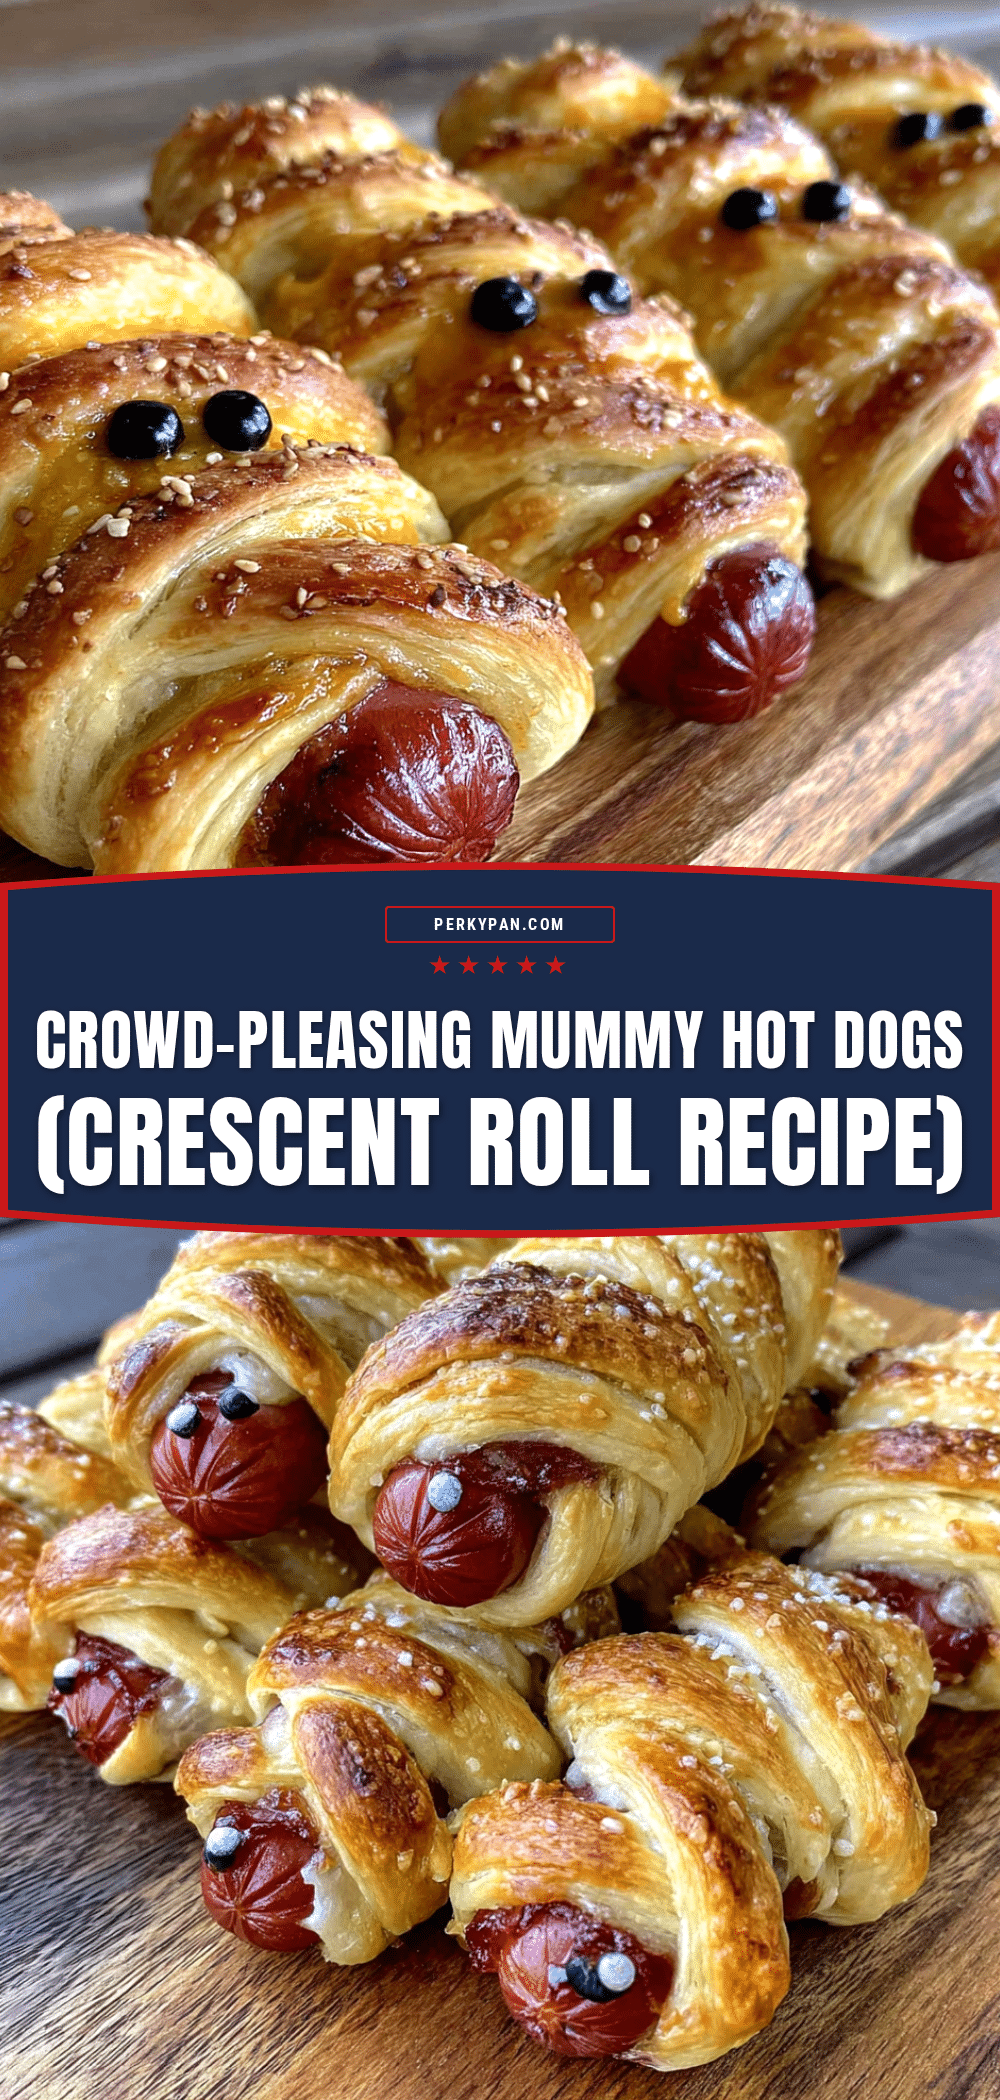
Best Easy Mummy Hot Dogs Recipe – Perfect Halloween Treat

These mummy hot dogs are a quick and fun Halloween treat made with crescent roll dough wrapped around hot dogs and topped with candy eyes. Ready in under 25 minutes, they’re perfect for parties and guaranteed to bring smiles.
- Prep Time: 10 minutes
- Cook Time: 12 minutes
- Total Time: 22 minutes
- Yield: 8 servings 1x
- Category: Appetizer
- Cuisine: American
Ingredients
- 1 can (8 oz) refrigerated crescent roll dough
- 8 beef or turkey hot dogs
- 16 candy eyeballs
- 1 large egg, beaten
- 1 tablespoon water
- Ketchup, mustard, or ranch dressing for dipping (optional)
- Pretzel sticks or carrot sticks (optional)
Instructions
- Preheat your oven to 375°F (190°C). Line a baking sheet with parchment paper or a silicone mat.
- Pat each hot dog dry with a paper towel to remove excess moisture.
- Unroll the crescent dough onto a clean cutting board. If using perforated sheets, gently press the seams together to form one solid rectangle.
- Using a sharp knife or pizza cutter, cut the dough lengthwise into 8 to 10 thin strips, each about 1/4 to 1/2 inch wide.
- Take one strip of dough and wrap it around a hot dog, starting at one end and working to the other. Leave a small gap near the top for the face (about 1/2 inch of exposed hot dog). Do not wrap too tightly. Leave the ends slightly loose.
- Place the wrapped hot dogs on the prepared baking sheet, leaving about 1 inch of space between each.
- In a small bowl, beat the egg with 1 tablespoon of water. Lightly brush the egg wash over each wrapped mummy.
- Bake for 10-12 minutes, until the dough is puffed and golden brown.
- Remove from the oven and let cool on the pan for 2-3 minutes.
- While still warm but not hot, use a tiny dab of egg wash (or mustard/ketchup) to attach two candy eyes to the exposed hot dog face area. Press gently.
- Serve immediately. Best enjoyed warm within 30 minutes.
Notes
Pat hot dogs dry to avoid soggy dough. Cold dough is easier to work with; refrigerate wrapped mummies for 10 minutes if kitchen is warm. Add eyes 2-3 minutes after baking to prevent melting. For make-ahead, wrap up to 4 hours ahead and refrigerate; brush with egg wash just before baking.
Nutrition
- Serving Size: 1 mummy hot dog
- Calories: 235
- Sugar: 3
- Sodium: 650
- Fat: 15
- Saturated Fat: 5
- Carbohydrates: 17
- Protein: 9
Keywords: mummy hot dogs, Halloween appetizer, crescent roll hot dogs, spooky snacks, easy Halloween recipe


