Love this? Save it for later!
Share the inspiration with your friends
There used to be this tiny bakery tucked inside an old gas station on Route 9—the kind of place you’d drive right past if you didn’t know better. The woman who ran it, Mrs. Delgado, made these pumpkin muffins that had this nutty, almost caramel-like flavor I’d never tasted anywhere else. When she retired and the bakery closed three years ago, I honestly felt a little lost. I mean, those muffins were my fall ritual. After about twelve tries—and some truly sad, hockey-puck-like failures—I finally figured out her secret was brown butter. Who knew a little browning could make such a difference?
I remember the Tuesday it finally clicked. My kitchen looked like a flour bomb went off, and I’d burned my finger on the saucepan handle (again). But when I pulled that tray out of the oven, the smell was exactly right. That deep, toasty, slightly sweet aroma that filled Mrs. Delgado’s little bakery. My kids came running from the living room, asking, “What is that?!” And that’s when I knew I had it. These Kid-Approved Brown Butter Pumpkin Chocolate Chip Muffins are my little victory—a recreation of a memory I thought was gone forever.
Maybe you’ve been there, chasing a taste from your past that feels just out of reach. These muffins are the answer. They’re tender, perfectly spiced, and studded with melty chocolate chips that make them irresistible to kids and adults alike. Honestly, they’ve become our family’s new favorite fall tradition. Let me show you how to make them—you’re going to love having this recipe in your back pocket.
Why You’ll Love This Recipe
These aren’t just any pumpkin muffins. The brown butter adds a nutty, complex flavor that takes them from good to absolutely unforgettable. My kids—who can be picky about pumpkin stuff—devour these every single time. Here’s why this recipe works so well for busy families:
- Quick & Easy: Ready in about 35 minutes from start to finish. Perfect for hectic school mornings or last-minute bake sale requests.
- Simple Ingredients: You probably already have most of these in your pantry. No fancy trips to specialty stores required.
- Perfect for Fall Gatherings: Great for Halloween parties, Thanksgiving brunch, or just a cozy weekend treat with hot cocoa.
- Crowd-Pleaser: Kids love the chocolate chips, adults love the sophisticated brown butter flavor. Everyone wins.
- Unbelievably Delicious: The texture is incredibly moist and tender, with a slightly crisp top. Honestly, it’s next-level comfort food in muffin form.
What makes this recipe different from the rest? It’s the brown butter. That one extra step transforms ordinary pumpkin muffins into something special. I’ve tested this recipe with my own family—three kids, two of whom are notoriously suspicious of anything with pumpkin in the name—and they gave it two thumbs up. This isn’t just another pumpkin muffin recipe; it’s the one you’ll come back to year after year.
What Ingredients You Will Need
This recipe uses simple, wholesome ingredients to deliver that incredible brown butter flavor and satisfying texture. Most of these are pantry staples, which makes these muffins perfect for spontaneous baking sessions with the kids.
- Unsalted butter (1 cup / 2 sticks): You’ll brown this to create that nutty, toasty flavor. I recommend using a good-quality butter like Kerrygold for best results—it browns more evenly and tastes richer.
- Pumpkin puree (1 cup / 240g): Make sure you’re using 100% pure pumpkin puree, not pumpkin pie filling. Libby’s is my go-to brand because it’s consistently thick and not too watery.
- Granulated sugar (¾ cup / 150g): Adds sweetness and helps create that slightly crisp top. You can reduce this to ½ cup if you prefer less sweet muffins.
- Light brown sugar (½ cup / 100g), packed: Adds moisture and a hint of molasses flavor that pairs beautifully with the brown butter. Dark brown sugar works too, for a deeper flavor.
- Large eggs (2, room temperature): Room temperature eggs incorporate more evenly into the batter. If you forgot to take them out of the fridge, place them in a bowl of warm water for 5 minutes.
- Vanilla extract (2 teaspoons): Pure vanilla extract makes a difference here. Avoid imitation vanilla if you can—it just doesn’t have the same depth.
- All-purpose flour (2 cups / 240g): Spoon and level your flour for accurate measuring. Scooping directly from the bag can pack in too much flour and make muffins dry.
- Baking soda (1 teaspoon): Helps the muffins rise and gives them a nice dome.
- Baking powder (½ teaspoon): Adds extra lift for a lighter texture.
- Salt (½ teaspoon): Balances the sweetness and enhances all the flavors.
- Pumpkin pie spice (2 teaspoons): You can use store-bought or make your own with cinnamon, nutmeg, ginger, and cloves. I prefer making my own—it’s fresher and you can adjust the ratios to your taste.
- Cinnamon (½ teaspoon): Adds an extra layer of warm spice. Trust me, you won’t regret this little addition.
- Semi-sweet chocolate chips (1 cup / 175g): I like using mini chocolate chips because they distribute more evenly throughout the batter. But regular-sized chips work great too. For a less sweet option, try dark chocolate chips (60% cacao or higher).
Substitution Guidance: For a dairy-free version, use vegan butter (I recommend Earth Balance) and make sure your chocolate chips are dairy-free. For a gluten-free option, swap the all-purpose flour with a 1:1 gluten-free baking flour blend. If you don’t have pumpkin pie spice, mix 1 teaspoon cinnamon, ½ teaspoon nutmeg, ¼ teaspoon ginger, and ¼ teaspoon cloves.
Equipment Needed
You don’t need any fancy equipment to make these muffins. Here’s what you’ll need:
- Muffin tin (12-cup): A standard non-stick muffin tin works perfectly. If yours is older, you might want to line it with paper liners to prevent sticking.
- Paper muffin liners (optional but recommended): They make cleanup a breeze and give the muffins a nice presentation. I like using unbleached parchment liners.
- Medium saucepan: For browning the butter. A light-colored saucepan is best so you can see the butter change color easily.
- Large mixing bowl: For combining the dry ingredients.
- Medium mixing bowl: For whisking the wet ingredients.
- Whisk: For mixing the wet ingredients smoothly.
- Rubber spatula: For folding in the chocolate chips without overmixing.
- Ice cream scoop or large spoon: For evenly portioning the batter into the muffin cups.
- Cooling rack: For cooling the muffins completely. This prevents the bottoms from getting soggy.
I’ve made these muffins with a cheap $10 muffin tin and with a fancy professional one, and honestly? They turned out great both times. Don’t stress about having the “perfect” equipment. A bowl, a whisk, and an oven are really all you need. If you don’t have a cooling rack, just use a clean dish towel on the counter.
Preparation Method
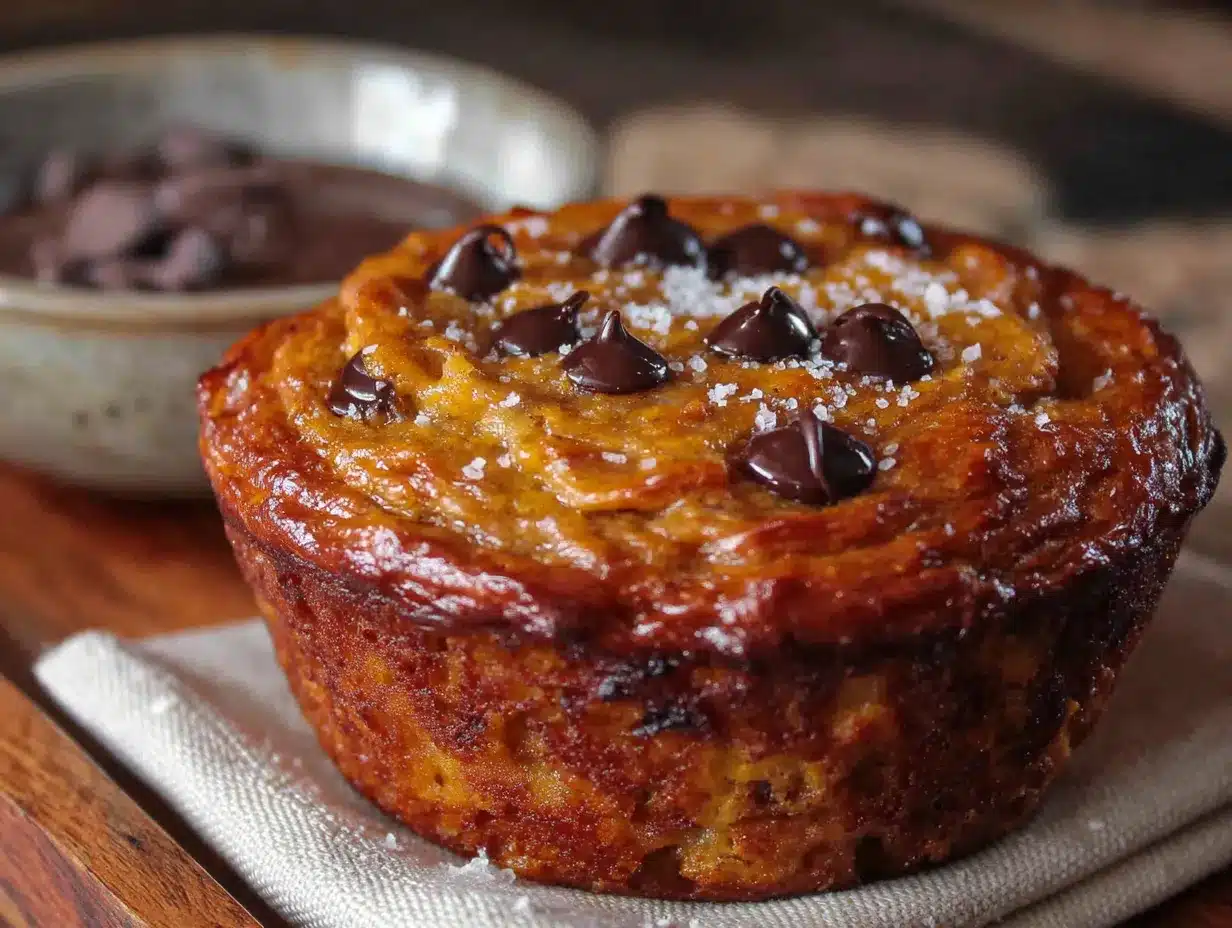
Let’s get baking! These steps are straightforward, but I’ll include all the little details I’ve learned from making these muffins more times than I can count.
- Preheat your oven to 375°F (190°C). Line a 12-cup muffin tin with paper liners or lightly grease each cup with butter or non-stick spray. Getting the oven hot before you start mixing is important—you want it ready when the batter is done.
- Brown the butter. Place the butter in a medium saucepan over medium heat. Stir frequently with a rubber spatula or wooden spoon as it melts. The butter will start to foam and bubble—that’s normal. Keep stirring and watch closely as the foam subsides and the butter turns a golden-amber color. You’ll see little brown specks forming at the bottom of the pan, and it will smell nutty and amazing. This takes about 5-7 minutes. Once it reaches that color, remove it from the heat immediately and pour it into a heat-safe bowl to stop the cooking process. Let it cool for about 10 minutes. Don’t walk away during this step—brown butter can go from perfect to burnt in seconds.
- Combine the dry ingredients. In a large mixing bowl, whisk together the all-purpose flour, baking soda, baking powder, salt, pumpkin pie spice, and cinnamon. Set aside.
- Mix the wet ingredients. In a medium mixing bowl, whisk together the pumpkin puree, granulated sugar, brown sugar, eggs, vanilla extract, and the cooled brown butter (make sure it’s not hot, or it might cook the eggs). Whisk until everything is smooth and well combined. The mixture will look thick and glossy.
- Combine wet and dry ingredients. Pour the wet ingredients into the bowl with the dry ingredients. Use a rubber spatula to fold everything together gently. Mix just until you see no more streaks of flour—overmixing will make the muffins tough. A few small lumps are totally fine.
- Fold in the chocolate chips. Add the chocolate chips to the batter and fold them in with the spatula. Be gentle here. You want the chips evenly distributed without overworking the batter. Reserve a handful of chips to sprinkle on top of the muffins before baking—this makes them look extra pretty.
- Fill the muffin cups. Use an ice cream scoop or a large spoon to divide the batter evenly among the 12 muffin cups. Fill each cup about ¾ full. Sprinkle the reserved chocolate chips on top of each muffin, pressing them in slightly with your finger.
- Bake. Place the muffin tin in the preheated oven and bake for 18-22 minutes, or until a toothpick inserted into the center of a muffin comes out clean or with just a few moist crumbs. The tops should be golden and spring back when lightly touched. My oven runs hot, so I start checking at 18 minutes.
- Cool. Let the muffins cool in the tin for 5 minutes. Then transfer them to a cooling rack to cool completely. If you try to take them out too soon, they might fall apart. Trust me, I’ve learned this the hard way.
Cooking Tips & Techniques
After making these muffins more times than I care to admit, I’ve picked up a few tricks that make the process smoother and the results more consistent. Here are my best tips:
- Watch the butter like a hawk. Brown butter can go from perfect to burnt in about 30 seconds. Once you see it turn amber and smell that nutty aroma, pull it off the heat immediately. Pour it into a cool bowl to stop the cooking process. I’ve ruined a batch by getting distracted—it’s not fun scraping burnt butter out of a pan.
- Don’t overmix the batter. This is the number one mistake people make with muffins. Overmixing develops gluten, which makes muffins tough and dense instead of tender and fluffy. Stir just until the flour disappears. A few lumps are your friend here.
- Use room temperature eggs. Cold eggs can seize up the brown butter and create an uneven batter. If you forgot to take them out of the fridge, place them in a bowl of warm water for 5 minutes. Problem solved.
- Measure your flour correctly. Spoon the flour into your measuring cup and level it off with a knife. Scooping directly from the bag packs in too much flour, which leads to dry muffins. This simple trick makes a huge difference.
- Let the muffins cool in the tin. I know it’s tempting to dig in right away, but letting them sit for 5 minutes helps them set properly. They’ll be too fragile to handle straight out of the oven.
- Double the batch. These muffins freeze beautifully, so I always make a double batch. One for now, one for later. Future you will thank you on a busy morning.
Variations & Adaptations
One of the best things about this recipe is how adaptable it is. Here are some of my favorite variations:
- Dairy-Free Version: Substitute the butter with vegan butter (I like Miyoko’s or Earth Balance) and use dairy-free chocolate chips. The brown butter flavor won’t be exactly the same, but it’s still delicious. My friend Sarah makes these for her son who has a dairy allergy, and they’re a hit.
- Gluten-Free Version: Use a 1:1 gluten-free baking flour blend. I’ve had great results with Bob’s Red Mill. Add an extra tablespoon of milk (dairy or non-dairy) to help with moisture, as gluten-free flours tend to absorb more liquid.
- Nutty Twist: Fold in ½ cup of chopped pecans or walnuts along with the chocolate chips. The crunch adds a lovely texture contrast. Toast the nuts first for extra flavor—just spread them on a baking sheet and bake at 350°F for 5-7 minutes.
- Spice It Up: Add ¼ teaspoon of cardamom or allspice to the spice mix for a warm, aromatic twist. Cardamom pairs beautifully with pumpkin and brown butter.
- Mini Muffins: Use a mini muffin tin and bake for 10-12 minutes instead. These are perfect for lunchboxes or toddler snacks. My youngest loves these bite-sized versions.
- Streusel Topping: Mix ¼ cup flour, ¼ cup brown sugar, 2 tablespoons cold butter, and ½ teaspoon cinnamon until crumbly. Sprinkle on top of the muffins before baking for a bakery-style finish. It adds a lovely crunch.
Serving & Storage Suggestions
These muffins are incredibly versatile when it comes to serving. Here’s how to make the most of them:
Serving: Serve these muffins warm or at room temperature. If you want to warm them up, pop them in the microwave for 10-15 seconds or in a 300°F oven for 5 minutes. They’re delicious on their own, but a pat of butter or a drizzle of honey takes them over the top. For a special treat, serve them alongside a cup of hot apple cider or a warm latte. They also make a fantastic breakfast on the go—just grab one and head out the door.
Storage: Store leftover muffins in an airtight container at room temperature for up to 3 days. If your kitchen is warm, you can store them in the refrigerator to extend their shelf life to about 5 days. The flavors actually deepen and meld together after a day or two—they might taste even better on day two!
Freezing: These muffins freeze beautifully. Let them cool completely, then place them in a single layer in a freezer-safe bag or container. They’ll keep for up to 3 months. To thaw, leave them on the counter for about an hour, or microwave one for 20-30 seconds. I like to freeze a batch for busy mornings or unexpected visitors.
Reheating: For the best texture, reheat muffins in a 350°F oven for 5-7 minutes. The microwave works in a pinch, but it can make them a bit soft. If you’re reheating from frozen, add a couple of extra minutes.
Nutritional Information & Benefits
Here’s the approximate nutritional breakdown for one muffin (based on 12 servings):
| Nutrient | Amount per Muffin |
|---|---|
| Calories | 310 |
| Total Fat | 16g |
| Saturated Fat | 10g |
| Cholesterol | 65mg |
| Sodium | 280mg |
| Total Carbohydrates | 40g |
| Dietary Fiber | 2g |
| Sugars | 24g |
| Protein | 4g |
| Vitamin A | 80% DV |
| Iron | 8% DV |
These muffins offer some surprising nutritional benefits. Pumpkin is packed with vitamin A, which supports eye health and immune function. The brown butter provides a good source of vitamin A and healthy fats. And the dark chocolate chips contain antioxidants that can help reduce inflammation. Plus, the fiber from the pumpkin and flour helps keep you full and satisfied. While these are definitely a treat, they’re a more nutritious option than many store-bought muffins. I feel good about giving them to my kids as an after-school snack or a weekend breakfast.
Conclusion
These Kid-Approved Brown Butter Pumpkin Chocolate Chip Muffins are more than just a recipe—they’re a little piece of nostalgia that you can recreate in your own kitchen. The brown butter adds a depth of flavor that will surprise and delight everyone who tries them. My kids ask for these muffins every single weekend during the fall, and I never get tired of making them. There’s something magical about that nutty, sweet aroma filling the house on a crisp autumn morning.
I hope you give these muffins a try and make them your own. Maybe you’ll add extra chocolate chips, or swap in pecans, or double the spice blend. Whatever you do, I’d love to hear about it. Drop a comment below and tell me how they turned out—did your kids love them as much as mine? Did you try a fun variation? Share a photo on Pinterest and tag me so I can see your beautiful creations. Happy baking, friends!
Frequently Asked Questions
Can I use pumpkin pie filling instead of pumpkin puree?
No, I wouldn’t recommend it. Pumpkin pie filling is pre-sweetened and spiced, which would throw off the sugar and spice balance in this recipe. Stick with 100% pure pumpkin puree for the best results. If you only have pumpkin pie filling on hand, reduce the sugar by half and skip the pumpkin pie spice, but honestly, the texture might still be off.
Can I make these muffins ahead of time?
Absolutely! These muffins are perfect for meal prep. You can bake them up to 3 days in advance and store them in an airtight container at room temperature. They also freeze beautifully for up to 3 months. I often make a double batch on Sunday and freeze half for busy weekday mornings.
Why did my muffins turn out dry?
Dry muffins usually come from one of two mistakes: overmixing the batter or overbaking them. Mix just until the flour disappears, and start checking for doneness at 18 minutes. Also, make sure you’re measuring your flour correctly—spoon it into the measuring cup and level it off, don’t scoop directly from the bag.
Can I use white chocolate chips instead of semi-sweet?
Yes, you can! White chocolate chips will make the muffins sweeter, which some kids absolutely love. If you go this route, you might want to reduce the granulated sugar to ½ cup to balance the sweetness. Dark chocolate chips are another great option if you prefer a less sweet muffin.
Can I make these into pumpkin bread instead of muffins?
Definitely! Pour the batter into a greased 9×5-inch loaf pan and bake at 350°F for 50-60 minutes, or until a toothpick inserted into the center comes out clean. You might need to cover the top with foil after 30 minutes to prevent over-browning. The baking time will be longer, so keep an eye on it. This is my go-to for holiday brunches.
Pin This Recipe!
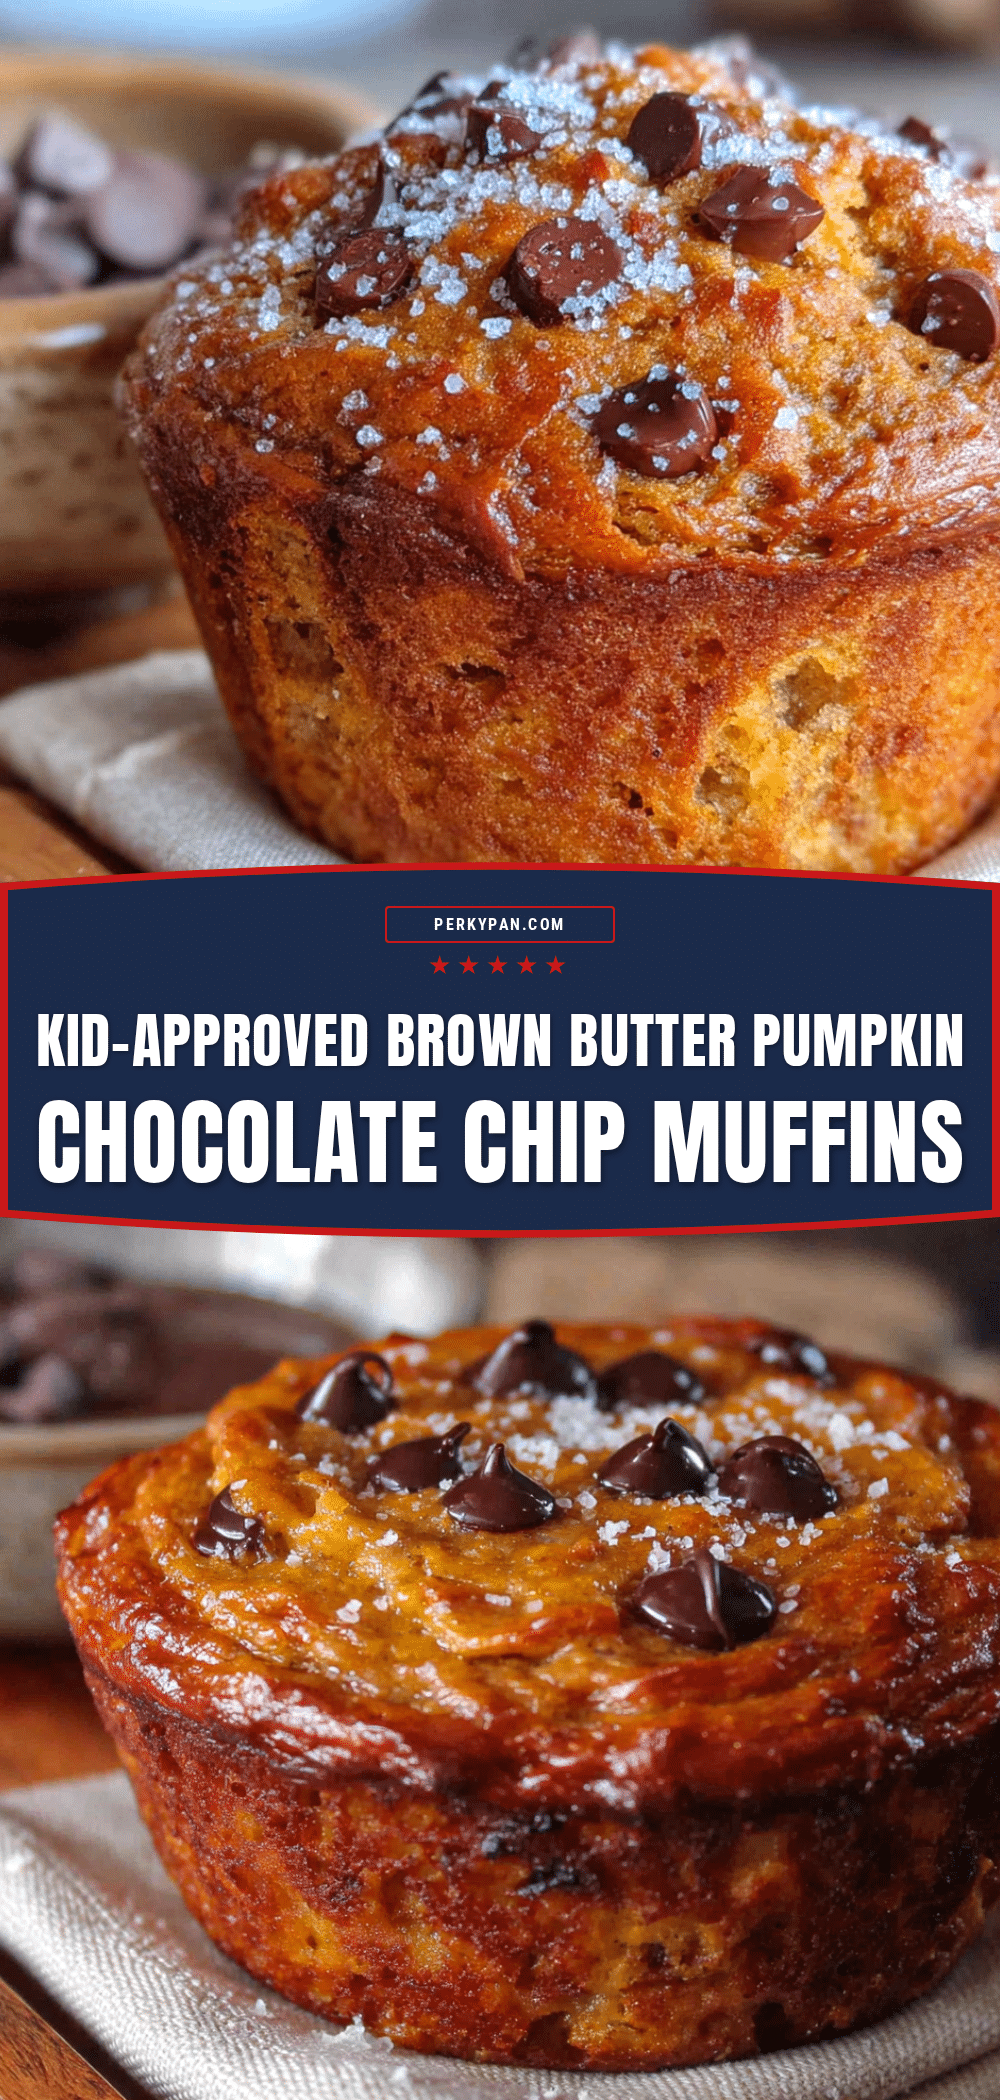
Best Kid-Approved Brown Butter Pumpkin Chocolate Chip Muffins
These tender, perfectly spiced muffins are studded with melty chocolate chips and feature a nutty, caramel-like flavor from brown butter. They’re a family favorite fall tradition that kids and adults alike will love.
- Prep Time: 15 minutes
- Cook Time: 20 minutes
- Total Time: 35 minutes
- Yield: 12 muffins 1x
- Category: Dessert
- Cuisine: American
Ingredients
- 1 cup (2 sticks) unsalted butter
- 1 cup (240g) pumpkin puree
- 3/4 cup (150g) granulated sugar
- 1/2 cup (100g) packed light brown sugar
- 2 large eggs, room temperature
- 2 teaspoons vanilla extract
- 2 cups (240g) all-purpose flour
- 1 teaspoon baking soda
- 1/2 teaspoon baking powder
- 1/2 teaspoon salt
- 2 teaspoons pumpkin pie spice
- 1/2 teaspoon cinnamon
- 1 cup (175g) semi-sweet chocolate chips
Instructions
- Preheat your oven to 375°F (190°C). Line a 12-cup muffin tin with paper liners or lightly grease each cup with butter or non-stick spray.
- Brown the butter: Place the butter in a medium saucepan over medium heat. Stir frequently as it melts. The butter will foam and bubble; keep stirring until it turns a golden-amber color with brown specks at the bottom and smells nutty (about 5-7 minutes). Remove from heat immediately and pour into a heat-safe bowl to cool for about 10 minutes.
- Combine the dry ingredients: In a large mixing bowl, whisk together the all-purpose flour, baking soda, baking powder, salt, pumpkin pie spice, and cinnamon. Set aside.
- Mix the wet ingredients: In a medium mixing bowl, whisk together the pumpkin puree, granulated sugar, brown sugar, eggs, vanilla extract, and the cooled brown butter until smooth and well combined.
- Combine wet and dry ingredients: Pour the wet ingredients into the bowl with the dry ingredients. Use a rubber spatula to fold together gently until just combined (a few lumps are fine). Do not overmix.
- Fold in the chocolate chips: Add the chocolate chips to the batter and fold gently until evenly distributed. Reserve a handful of chips to sprinkle on top before baking.
- Fill the muffin cups: Use an ice cream scoop or large spoon to divide the batter evenly among the 12 muffin cups, filling each about 3/4 full. Sprinkle reserved chocolate chips on top and press in slightly.
- Bake: Place the muffin tin in the preheated oven and bake for 18-22 minutes, or until a toothpick inserted into the center comes out clean or with a few moist crumbs. The tops should be golden and spring back when lightly touched.
- Cool: Let the muffins cool in the tin for 5 minutes, then transfer to a cooling rack to cool completely.
Notes
Watch the butter carefully when browning; it can go from perfect to burnt in seconds. Do not overmix the batter to avoid tough muffins. Use room temperature eggs for even incorporation. Measure flour by spooning and leveling for accuracy. Let muffins cool in the tin for 5 minutes before transferring to a rack.
Nutrition
- Serving Size: 1 muffin
- Calories: 310
- Sugar: 24
- Sodium: 280
- Fat: 16
- Saturated Fat: 10
- Carbohydrates: 40
- Fiber: 2
- Protein: 4
Keywords: pumpkin muffins, brown butter, chocolate chip, fall baking, kid-friendly, easy muffins


