Love this? Save it for later!
Share the inspiration with your friends
The neighborhood block party was in forty-five minutes and I had absolutely nothing to bring. Everyone else was already prepping their contributions. I saw Mrs. Gable in the house next door rolling out pie crusts that looked like they’d been measured with a laser. The Johnsons were firing up the grill for a three-hour brisket smoke. I stood in my kitchen, staring at an empty fridge, feeling that familiar knot of panic tighten in my chest. I mean, honestly, I’m not the type to show up empty-handed. That’s just social suicide.
I had a half-gallon of heavy cream that had been sitting there since Tuesday. I also had a can of sweetened condensed milk that I’d bought for a coffee project I never finished. And then I found a tiny, sad-looking vanilla bean pod in the back of my spice drawer. It was dried out, but it smelled like heaven if you held it close enough. I didn’t have an ice cream maker. I didn’t have time to go to the store. I just had these three things and a desperate need to not look like a bad neighbor.
I remember mixing them together in a large metal bowl, scraping those tiny black seeds into the white cream. It looked messy. It looked weird. I poured it into a loaf pan lined with parchment paper and shoved it in the freezer. I was so flustered that I almost forgot to cover it with foil, and I had to run back inside to grab it while answering a work email. Talk about multitasking disasters.
When I pulled it out that evening, I was terrified it would be icy. You know that feeling when you’re afraid to take the first bite because you know it’s going to disappoint everyone? I took a spoonful. It was creamy. Actually creamy. Not icy at all. The vanilla flavor was intense and rich, cutting through the sweetness of the condensed milk perfectly. I brought it in a plastic container, looking a bit frazzled from the whole ordeal.
The next morning, I had three neighbors stop by just to ask for the recipe. I didn’t try to be fancy. I didn’t spend days perfecting it. I just used what I had. That creamy no-churn vanilla bean ice cream became a staple in my house because it taught me that sometimes the best recipes are born from panic and pantry staples. It’s the kind of dessert that makes you feel like a genius, even when you’re just trying to survive a social event.
Why You’ll Love This No-Churn Vanilla Bean Ice Cream
This isn’t just another ice cream recipe you’ll find buried on page ten of a cookbook. This is the one I make when I want something luxurious without the hassle. After testing dozens of no-churn methods, I’ve found that this specific ratio of heavy cream to sweetened condensed milk is the sweet spot. It’s not too sweet, and it doesn’t turn into a solid brick in the freezer.
Here is why this recipe has earned a permanent spot in my weekly rotation:
- Quick & Easy: You don’t need an ice cream maker. That alone saves you $100 and counter space. The entire process takes about 15 minutes of active time, and then the freezer does the heavy lifting. It’s perfect for those nights when you want a treat but don’t want to spend an hour churning.
- Simple Ingredients: You likely have everything in your kitchen right now. Heavy cream, sweetened condensed milk, vanilla, and a pinch of salt. No fancy ingredients you have to hunt for at a specialty store. It’s humble, but the result is anything but.
- Perfect for Summer Evenings: There is something magical about eating cold ice cream on a warm porch. This recipe is ideal for casual dinners, post-barbecue desserts, or just a midnight snack when you need to treat yourself.
- Crowd-Pleaser: I’ve served this to picky eaters and ice cream snobs alike. Kids love the creamy texture, and adults appreciate the real vanilla bean specks. It gets rave reviews every single time because it tastes like it came from a high-end gelato shop.
- Unbelievably Delicious: The texture is silky and smooth. The vanilla flavor is bold and aromatic. It’s comfort food in its purest form. When you close your eyes after the first spoonful, you’ll understand why I keep making it.
What makes this version different from other no-churn recipes is the attention to the vanilla. Most people use extract, which is fine, but using a real vanilla bean pod changes the game. The seeds provide that beautiful visual speckle and a deeper, more complex flavor profile. It’s a small detail that makes a huge difference. This recipe isn’t just about convenience; it’s about achieving a high-quality result with minimal effort. It’s the kind of dish that makes you look like you spent hours in the kitchen, when really, you just whipped up something simple and let time do the work.
What Ingredients You Will Need
The beauty of this recipe lies in its simplicity. You don’t need a pantry full of specialized baking supplies. You just need high-quality basics. The flavor of the ice cream is directly related to the quality of the ingredients you use. Since there are only four main components, each one plays a critical role in the final texture and taste.
Here is what you will need to make this creamy masterpiece:
- Heavy Whipping Cream: You’ll need 2 cups (480 ml). It is crucial that this is cold straight from the fridge. The fat content in heavy cream is what creates the air bubbles that keep the ice cream soft. Look for a brand with at least 36% milk fat. I prefer organic brands because the flavor is cleaner and richer.
- Sweetened Condensed Milk: You’ll need one 14-ounce (397g) can. This is not evaporated milk. It is the thick, syrupy stuff that is sweetened. It acts as the base and the sweetener. It prevents the ice cream from becoming too icy. Make sure the can is full and not dented. I usually keep a few cans in my pantry just for this purpose.
- Vanilla Bean Pod: One full pod. This is the star of the show. If you can’t find fresh pods, you can use 2 tablespoons of high-quality vanilla extract, but the pod gives you those beautiful black specks and a more authentic flavor. Look for plump, oily beans, not dry, brittle ones. Madagascar or Tahitian beans are excellent choices.
- Salt: Half a teaspoon of fine sea salt. This might seem odd in a sweet dessert, but salt balances the sweetness and makes the vanilla flavor pop. It’s a secret weapon in almost all baking. Do not skip this step. It’s what takes the recipe from “good” to “addictive.”
If you want to get fancy, you can add mix-ins, but for the base, these four ingredients are all you need. The heavy cream provides the structure, the condensed milk provides the sweetness and creaminess, the vanilla provides the aroma, and the salt ties it all together. It’s a simple equation that works every time.
Can I use substitutes?
If you are lactose intolerant, you can use coconut cream instead of heavy cream, but the texture will be slightly different. You’ll need to chill the coconut milk cans overnight and scoop out the solid cream. The flavor will be more tropical. For the vanilla, if you don’t have a pod, use pure vanilla extract. Avoid imitation vanilla at all costs, as it will taste chemical and harsh.
Equipment Needed
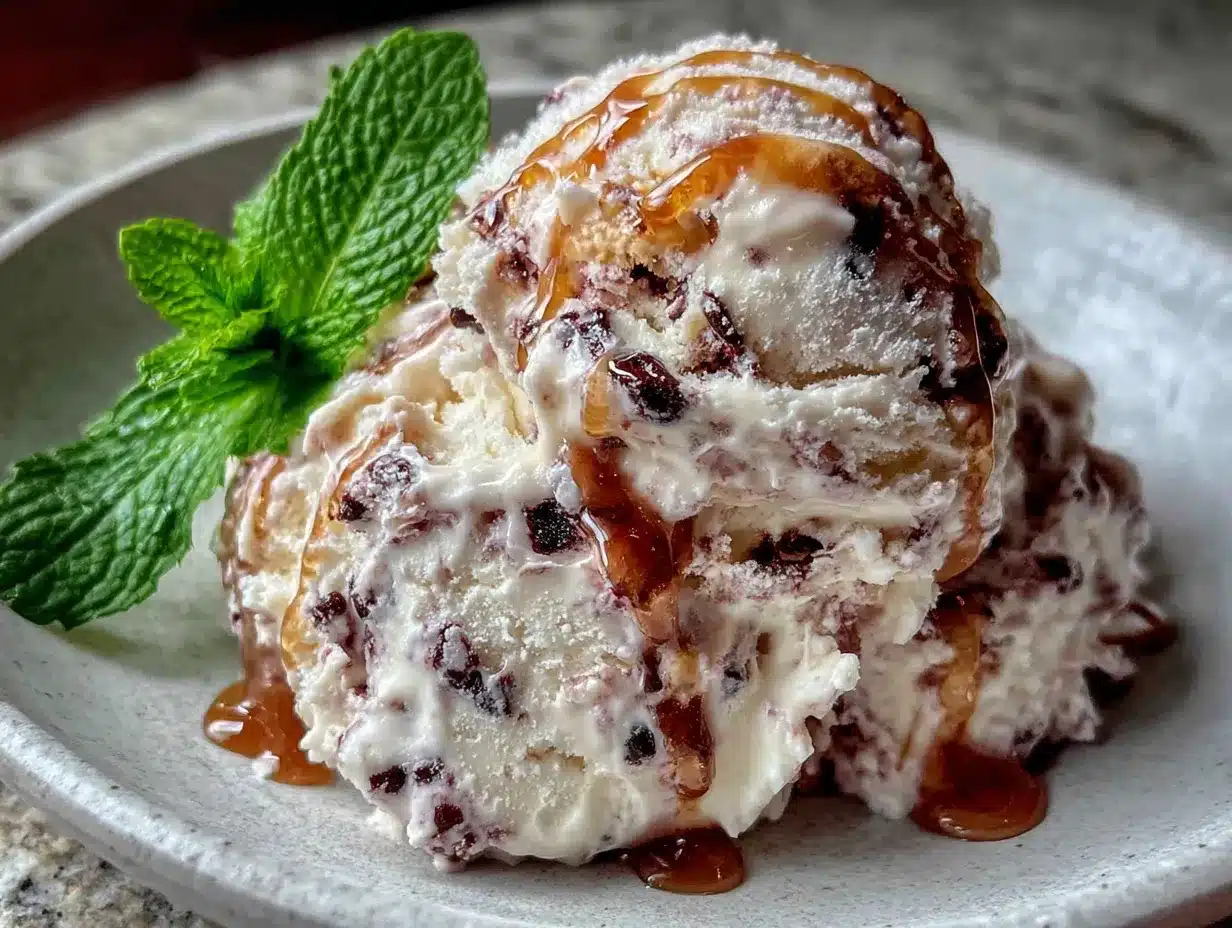
You don’t need much to make this ice cream, but having the right tools makes the process much smoother. I’ve tried making this with flimsy bowls, and it’s a struggle. Here is what you should have on hand:
- A Large Metal or Glass Bowl: Avoid plastic if you can. Metal conducts cold better and helps keep the cream stable while you whip it. A stainless steel bowl is ideal. If you don’t have one, a large glass mixing bowl works fine.
- An Electric Hand Mixer or Stand Mixer: You need to whip the cream to stiff peaks. Doing this by hand is possible but exhausting. A hand mixer will get the job done in about 3-5 minutes. If you have a stand mixer, use the whisk attachment.
- A Loaf Pan: An 8×4-inch loaf pan is perfect for this amount of mixture. It creates a nice shape for scooping. You can also use a 9×5-inch pan, but the ice cream will be thinner and freeze faster.
- Parchment Paper: Lining the pan is essential. It makes removing the ice cream block much easier and reduces cleanup. Just press a sheet into the pan, leaving some overhang on the sides.
- A Small Knife or Spoon: You’ll need this to split the vanilla bean and scrape out the seeds. A paring knife works best for splitting the pod lengthwise.
You don’t need an ice cream maker, which is the best part. This equipment list is budget-friendly and likely already in your kitchen. If you don’t have a loaf pan, you can use any airtight container that fits in your freezer. The key is to have something that seals well to prevent freezer burn.
Preparation Method
Making this ice cream is straightforward, but there are a few key steps to get the texture just right. Follow these instructions carefully for the best results.
- Prep the Pan: Line your 8×4-inch loaf pan with parchment paper. Press it into the corners and let the excess hang over the edges. This will act as a sling to lift the ice cream out later. Set it aside in the freezer to chill while you prepare the mixture. (Time: 2 minutes)
- Prepare the Vanilla: Take your vanilla bean pod and use a small paring knife to split it lengthwise down the middle. You don’t need to cut all the way through; just score it. Then, use the back of the knife to scrape out the tiny black seeds. These seeds are packed with flavor. Save the pod; you can use it to infuse milk or cream in other recipes later. (Time: 1 minute)
- Whip the Cream: Pour the cold heavy cream into your large mixing bowl. Using an electric mixer on medium-high speed, whip the cream until it forms stiff peaks. This means when you lift the beaters, the cream stands up in sharp points and doesn’t droop. Be careful not to over-whip, or it will turn into butter. This should take about 3-5 minutes. Watch it closely as it goes from soft peaks to stiff peaks quickly. (Time: 5 minutes)
- Combine the Base: In a separate medium bowl, pour in the sweetened condensed milk. Add the scraped vanilla bean seeds and the pod (if you want extra flavor) and the salt. Whisk this mixture gently to combine. The condensed milk is thick, so you might need to whisk a bit to smooth it out. (Time: 2 minutes)
- Fold the Mixtures Together: This is the most important step. Add about one-third of the whipped cream to the condensed milk mixture. Gently whisk it in to lighten the dense condensed milk. Then, pour this lightened mixture back into the bowl with the remaining whipped cream. Using a spatula, gently fold the two mixtures together. Use a cutting motion, lifting from the bottom and folding over. Do not stir vigorously, or you will deflate the air you just whipped into the cream. Fold until just combined and no white streaks remain. (Time: 3 minutes)
- Transfer to Pan: Pour the mixture into the prepared loaf pan. Use the spatula to smooth the top. It should be level and even. (Time: 1 minute)
- Freeze: Cover the pan tightly with plastic wrap or aluminum foil. Make sure the wrap is touching the surface of the ice cream to prevent ice crystals from forming. Place it in the freezer for at least 6 hours, but overnight is best. (Time: 6+ hours)
- Serve: When ready to serve, lift the ice cream out of the pan using the parchment paper sling. Let it sit at room temperature for 5-10 minutes to soften slightly for easier scooping. Scoop and enjoy. (Time: 10 minutes)
Cooking Tips & Techniques
Getting the texture right with no-churn ice cream requires a bit of technique. Here are some tips I’ve learned through trial and error to ensure your ice cream is always smooth and creamy.
- Keep Everything Cold: The temperature of your cream is critical. If the cream is warm, it won’t whip properly. Keep your bowl and beaters in the freezer for 15 minutes before you start whipping. This extra cold helps the cream stabilize faster.
- Don’t Overmix: When folding the cream into the condensed milk, be gentle. You are trying to keep the air bubbles intact. These air bubbles are what make the ice cream light and scoopable. If you mix too hard, you’ll lose the air, and your ice cream will be dense and hard.
- Check the Peaks: When whipping the cream, stop when you see stiff peaks. If you go past that point, the cream will start to separate and look grainy. That’s the first sign of butter formation. If you accidentally over-whip, you can try to rescue it by adding a splash of fresh cold cream and folding gently, but it’s better to be careful.
- Use Real Vanilla: I can’t stress this enough. Vanilla extract has alcohol and water in it, which can make the ice cream icy. A vanilla bean has no water content, just flavor and seeds. It’s worth the extra effort to buy a few pods. They last for months if stored in an airtight container.
- Softening Before Serving: No-churn ice cream freezes very hard. Letting it sit out for 5-10 minutes before scooping makes a huge difference. If you try to scoop it straight from the freezer, you might break a spoon. Patience is key here.
I once made this recipe with room-temperature cream, and it was a disaster. It turned into a soup. Don’t make my mistake. Always chill your equipment. It’s a small step that makes a big difference in the final product.
Variations & Adaptations
While the classic vanilla bean version is my favorite, this base recipe is incredibly versatile. You can adapt it to suit different tastes, dietary needs, or seasons. Here are a few variations I love to try.
- Chocolate Chip Cookie Dough: Fold in 1 cup of mini chocolate chips and 1 cup of small cookie dough balls in the last step of folding. This is a huge hit with kids and adults alike. The chunks add texture and surprise.
- Strawberry Swirl: Puree 1 cup of fresh strawberries with 1 tablespoon of sugar. Let it cool completely, then swirl it into the ice cream mixture before freezing. Do not add it while it’s warm, or it will melt the cream. The red swirls look beautiful against the white ice cream.
- Mint Chocolate Chip: Add 1 teaspoon of peppermint extract and 1/2 cup of dark chocolate chips. The mint pairs beautifully with the vanilla base. It tastes like a fancy dessert from a restaurant.
- Dairy-Free Option: Use full-fat coconut cream instead of heavy cream. You’ll need to chill the coconut milk cans overnight and scoop out the solid part. The texture will be slightly denser, but it’s still creamy and delicious. Skip the vanilla bean if you don’t like the coconut flavor, or use a neutral oil-based vanilla.
- Lower Sugar: Use a sugar-free sweetened condensed milk alternative. These are available in some health food stores. The texture might be slightly different, but it’s a good option for those watching their sugar intake.
I often experiment with different mix-ins depending on what I have in the pantry. The base recipe is forgiving, so don’t be afraid to try new flavors. Just remember to keep the mix-ins to about 1 cup so the ice cream remains scoopable.
Serving & Storage Suggestions
This ice cream is best served fresh, but it stores well if you have leftovers. Here is how to keep it at its peak quality.
- Serving Temperature: As mentioned, let the ice cream sit at room temperature for 5-10 minutes before scooping. This allows it to soften just enough for a creamy texture. Serve in chilled bowls for an extra nice touch.
- Complementary Dishes: This ice cream pairs beautifully with warm desserts like apple pie, brownies, or warm cookie skillets. The contrast of hot and cold is always a winner. It also goes well with fresh fruit, like berries or peaches.
- Storage: Store the ice cream in an airtight container. If you freeze it in the loaf pan, make sure the plastic wrap is tight. It will keep well in the freezer for up to 2 weeks. After that, it may start to develop freezer burn or icy crystals.
- Reheating: You don’t need to reheat this ice cream. Just let it soften at room temperature. If it gets too hard, you can microwave it for 10-15 seconds, but be careful not to melt it. Stirring it briefly can help restore the creamy texture.
- Flavor Development: The flavors meld together over time. The vanilla becomes more pronounced after a day in the freezer. If you add mix-ins like fruit, they may become icy. For best texture, add mix-ins right before serving if possible.
I usually make a double batch because it disappears so quickly. Having a container in the freezer is a lifesaver for unexpected guests or late-night cravings. Just remember to label the container with the date so you know how old it is.
Nutritional Information & Benefits
This ice cream is rich and indulgent, so it’s best enjoyed in moderation. Here is a rough estimate of the nutritional value per serving (1/2 cup):
- Calories: Approximately 250-300 calories
- Fat: 18-20g (mostly from the heavy cream)
- Carbohydrates: 20-25g (from the sweetened condensed milk)
- Protein: 3-4g
- Sugar: 20-25g
The heavy cream provides saturated fat, which can be satiating. The sweetened condensed milk is high in sugar, so be mindful of portions. If you are looking for a healthier option, consider using light condensed milk or reducing the amount slightly. However, the full-fat version is what gives it that luxurious texture.
This recipe is naturally gluten-free, making it safe for those with celiac disease or gluten sensitivity. It is not suitable for vegans unless you use the dairy-free variations mentioned earlier. It’s a treat to be savored, not a daily staple. Enjoy it as a special dessert after a meal or as a weekend indulgence.
Conclusion
This creamy no-churn vanilla bean ice cream is proof that you don’t need complicated equipment or hours of time to make something amazing. It’s simple, reliable, and delicious. I still remember the panic of that block party, but now I look forward to making this recipe because it always turns out perfect. It’s a reminder that sometimes the best things in life come from simple ingredients and a little bit of creativity.
I encourage you to try this recipe and make it your own. Add your favorite mix-ins, experiment with different vanilla beans, or just enjoy it plain. The beauty of this recipe is its versatility. Share it with friends and family, and watch them be impressed by your culinary skills.
If you make this recipe, I’d love to hear about it. Leave a comment below with your favorite variation or just let me know how it turned out. You can also share a photo on social media and tag me. I love seeing how you adapt this recipe to your own tastes. Thanks for reading, and happy scooping!
Frequently Asked Questions
Can I use vanilla extract instead of a vanilla bean?
Yes, you can. Use 2 tablespoons of pure vanilla extract instead of the bean. Add it along with the salt when mixing the condensed milk. The flavor will be slightly different, but still delicious. You won’t get the black specks, but the taste will be authentic.
Why is my ice cream icy?
This usually happens if the cream wasn’t whipped to stiff peaks or if the mixture wasn’t folded gently enough. Air is what keeps no-churn ice cream soft. If you lose the air, the ice cream becomes dense and icy. Also, make sure your cream is very cold before whipping.
How long does this ice cream last in the freezer?
It lasts for about 2 weeks in an airtight container. After that, it may start to develop freezer burn. For best quality, consume it within the first week.
Can I make this ahead of time?
Yes, you can make it up to 2 weeks in advance. Just make sure to cover it tightly to prevent odors from the freezer from affecting the flavor. It’s a great make-ahead dessert for parties.
Is this recipe safe for people with nut allergies?
Yes, the base recipe is nut-free. However, if you add mix-ins like nut butters or chopped nuts, it will contain nuts. Always check the labels of your ingredients to ensure they are processed in a facility that handles nuts if you have severe allergies.
Pin This Recipe!
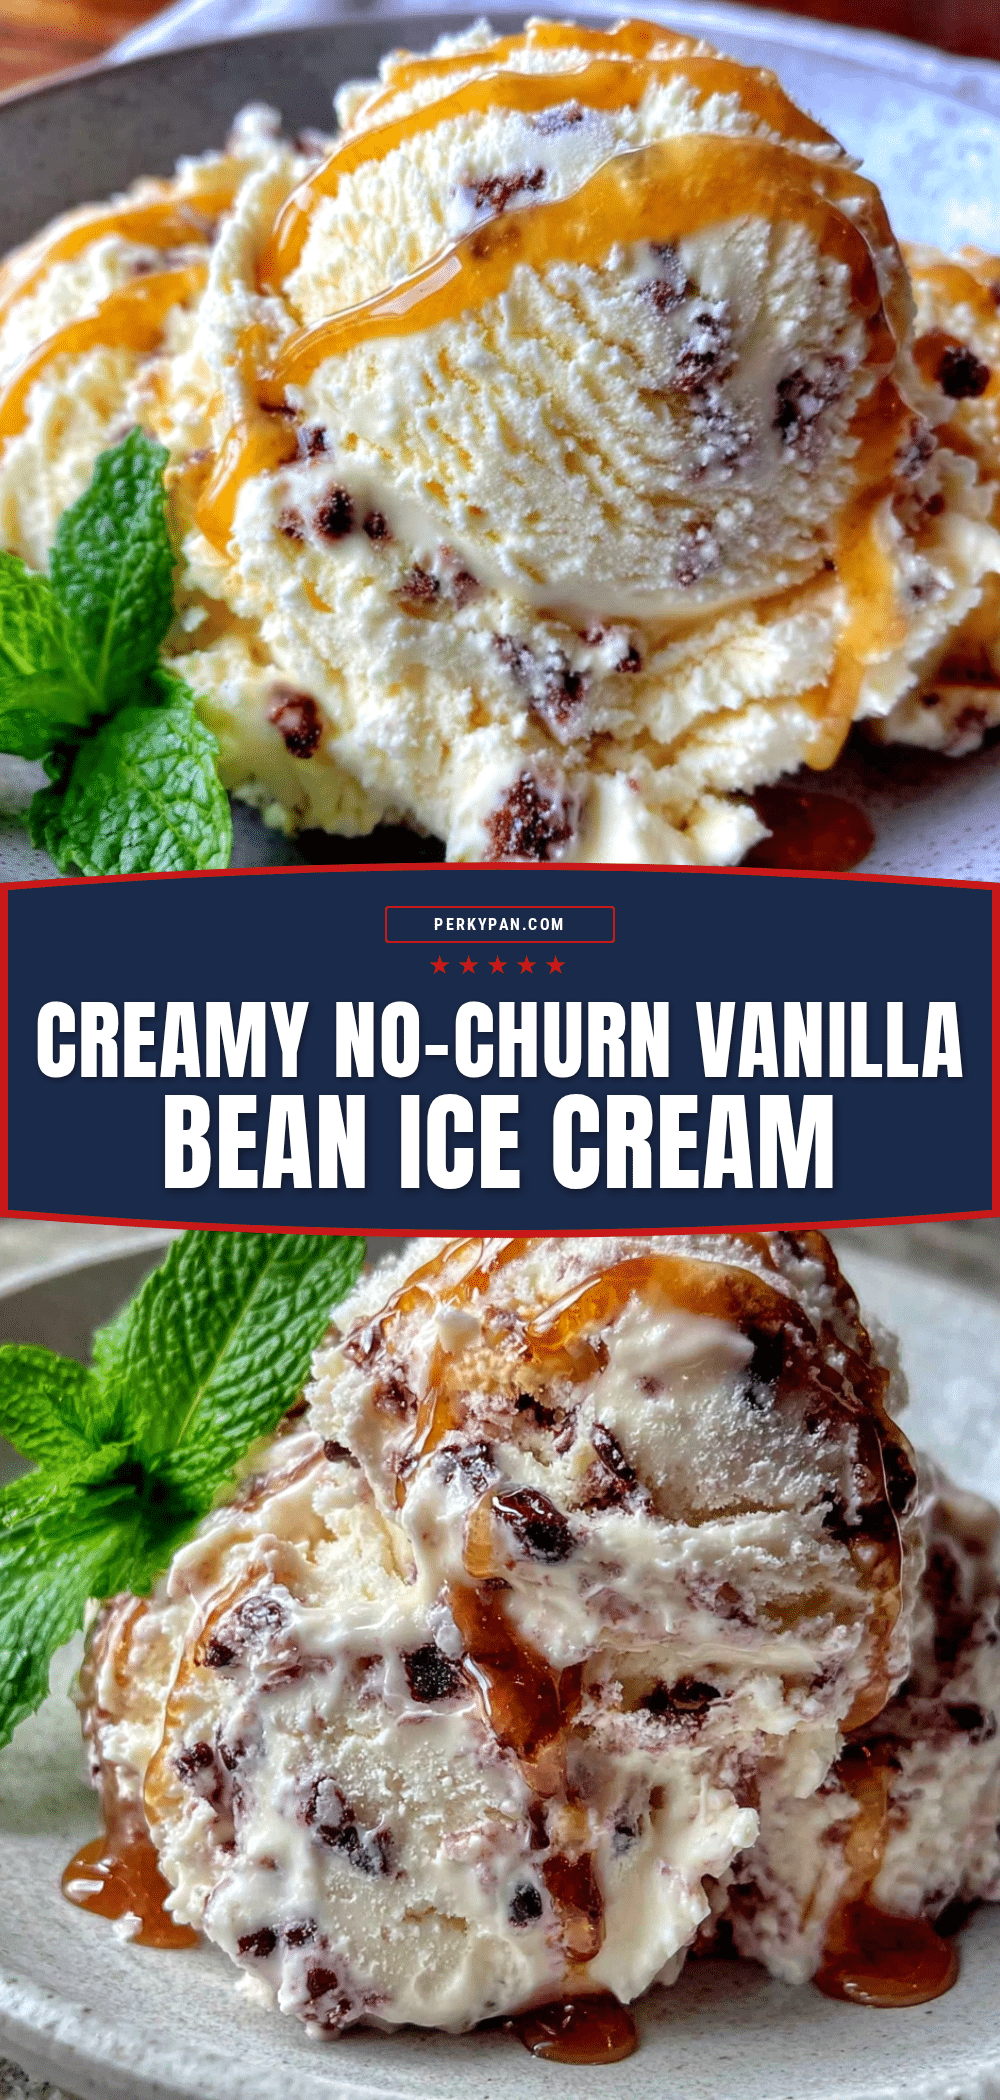
Creamy No-Churn Vanilla Bean Ice Cream: Easy 4-Ingredient Recipe

A luxurious, creamy no-churn vanilla bean ice cream made with just four simple ingredients. This easy recipe requires no ice cream maker and delivers a rich, smooth texture perfect for summer evenings.
- Prep Time: 15 minutes
- Cook Time: 0 minutes
- Total Time: 6 hours 15 minutes
- Yield: 8 servings 1x
- Category: Dessert
- Cuisine: American
Ingredients
- 2 cups (480 ml) heavy whipping cream, cold
- 1 can (14 oz / 397g) sweetened condensed milk
- 1 vanilla bean pod
- 1/2 teaspoon fine sea salt
Instructions
- Line an 8×4-inch loaf pan with parchment paper, leaving an overhang on the sides, and place it in the freezer to chill.
- Split the vanilla bean pod lengthwise with a paring knife and scrape out the seeds.
- Pour the cold heavy cream into a large metal or glass bowl. Using an electric mixer on medium-high speed, whip until stiff peaks form (about 3-5 minutes).
- In a separate medium bowl, combine the sweetened condensed milk, scraped vanilla bean seeds, and salt. Whisk gently to combine.
- Add about one-third of the whipped cream to the condensed milk mixture and whisk gently to lighten it.
- Pour the lightened mixture back into the bowl with the remaining whipped cream. Gently fold together using a spatula until just combined and no white streaks remain.
- Pour the mixture into the prepared loaf pan and smooth the top.
- Cover tightly with plastic wrap or foil, ensuring the wrap touches the surface of the ice cream to prevent ice crystals.
- Freeze for at least 6 hours, preferably overnight.
- To serve, lift the ice cream out using the parchment paper sling and let it sit at room temperature for 5-10 minutes before scooping.
Notes
Ensure all equipment and cream are very cold before whipping to help the cream stabilize. Do not over-whip the cream or it will turn into butter. When folding, be gentle to maintain air bubbles for a light texture. Let the ice cream soften for 5-10 minutes before scooping for best results.
Nutrition
- Serving Size: 1/2 cup
- Calories: 275
- Sugar: 22
- Sodium: 45
- Fat: 19
- Saturated Fat: 12
- Carbohydrates: 22
- Protein: 3.5
Keywords: no-churn ice cream, vanilla bean ice cream, easy dessert, summer dessert, gluten-free dessert, ice cream without machine