Love this? Save it for later!
Share the inspiration with your friends
The Fourth of July barbecue was in four hours and I’d completely forgotten about dessert. Everyone else would be bringing their grandmother’s famous pies, flag-decorated sugar cookies, and those fancy layered jello molds that take like two days to set. I had a box of graham crackers, a tub of Cool Whip that was defrosting on the counter, and a container of blueberries that I’d bought on a whim. Honestly, I was ready to just grab a store-bought cake and pretend I’d made it. But then I spotted the strawberries in the fridge, and something clicked. I mean, it was so simple I almost felt guilty calling it a recipe. I layered everything in a pan, crossed my fingers, and shoved it in the freezer.
When I pulled it out after dinner, I was ready for polite nods and maybe a “well, you tried.” Instead, there was silence. Then my neighbor, Carol, who is known for her award-winning cherry pie, asked for the recipe. Not just asked—demanded. The thing disappeared. People were scraping the pan. I kept saying, “It’s just, you know, cookies and whipped cream,” but nobody cared. They just wanted more.
That’s the thing about this Easy Red White and Blueberry Icebox Cake. It looks like you spent hours on it, with those gorgeous red, white, and blue layers. But really? It’s a no-bake miracle that comes together in minutes. Maybe you’ve been there—scrambling for a last-minute dish for a party. This is the recipe that saves you, and it’ll probably steal the show too. It’s been my go-to for every summer gathering since, and I keep making it because it never, ever fails.
Why You’ll Love This Recipe
Let me tell you why this Easy Red White and Blueberry Icebox Cake is about to become your new favorite summer dessert. I’ve tested this recipe more times than I can count, tweaking the layering and the chilling time to get it just right. It’s the kind of dessert that makes you look like a kitchen hero without breaking a sweat.
- No-Bake & Effortless: No oven needed. No complicated techniques. Just layer, chill, and serve. It’s the perfect dessert for hot summer days when you don’t want to turn on the stove.
- Simple Ingredients: You probably have most of these in your kitchen already. Graham crackers, cream cheese, whipped topping, and fresh fruit. No fancy trips to a specialty store.
- Perfect for Patriotic Holidays: This is the ultimate dessert for the Fourth of July, Memorial Day, or any summer cookout. The red, white, and blue layers are a showstopper.
- Crowd-Pleaser: I’ve brought this to block parties, family reunions, and backyard barbecues. It gets devoured every single time. Kids love it, and adults always go back for seconds.
- Unbelievably Delicious: The combination of creamy, tangy filling with the softened graham crackers and fresh berries is pure magic. It’s light, refreshing, and just sweet enough.
What makes this version different from the rest? It’s the perfect balance of textures. The graham crackers soften into a cake-like layer, the cream cheese filling is luscious but not too heavy, and the berries add a burst of freshness. I’ve perfected the ratio so you don’t end up with a soggy mess or a dry cake. It’s comfort food reimagined—faster, easier, but with the same soul-soothing satisfaction. Perfect for impressing guests without stress, or turning a simple meal into something memorable.
What Ingredients You Will Need
This recipe uses simple, wholesome ingredients to deliver bold flavor and satisfying texture without the fuss. You’ll be amazed at how such basic items come together to create something so special. Here’s your shopping list:
- For the Filling:
- 16 ounces cream cheese, softened to room temperature (I recommend Philadelphia brand for the smoothest texture)
- 1 cup powdered sugar
- 1 teaspoon vanilla extract
- 8 ounces frozen whipped topping (like Cool Whip), thawed (or use 2 cups of freshly whipped heavy cream if you prefer)
- For the Layers:
- 1 box (about 14 ounces) graham crackers (you’ll need about 3 sleeves)
- 2 cups fresh strawberries, hulled and sliced (look for bright red, fragrant berries)
- 2 cups fresh blueberries (choose firm, plump berries)
- For the Topping (Optional but Recommended):
- 1 cup fresh strawberries, sliced for garnish
- 1 cup fresh blueberries for garnish
- Fresh mint leaves for a pop of color (optional)
Ingredient Tips: Make sure your cream cheese is truly at room temperature. If it’s too cold, your filling will be lumpy. Leave it on the counter for about 30 minutes before you start. For a lighter filling, you can use low-fat cream cheese and light whipped topping, but the full-fat version is definitely richer and more decadent. If you’re using freshly whipped cream, make sure it’s whipped to stiff peaks so the filling holds its shape. For the berries, I like to use them at their peak ripeness for the best flavor. In a pinch, you can use frozen berries, but make sure to thaw and drain them well first so they don’t make the cake watery.
Equipment Needed
You don’t need a lot of fancy equipment for this recipe, which is part of its charm. Here’s what you’ll need:
- 9×13-inch Baking Dish: This is the perfect size for this icebox cake. A glass dish works great so you can see the beautiful layers.
- Electric Mixer: A hand mixer or stand mixer makes whipping the cream cheese filling a breeze. You could do it by hand with a whisk, but your arm will get a workout!
- Large Mixing Bowl: For combining the filling ingredients.
- Spatula: For spreading the filling evenly. An offset spatula is my favorite for this job.
- Sharp Knife and Cutting Board: For slicing the strawberries.
- Measuring Cups and Spoons: For accurate ingredient portions.
- Plastic Wrap or Aluminum Foil: For covering the cake while it chills.
If you don’t have a 9×13-inch dish, you can use a similar-sized pan or even a trifle bowl for a different look. Just adjust the layering accordingly. I’ve also made this in two 8×8-inch pans for a smaller gathering. It’s very forgiving!
Preparation Method
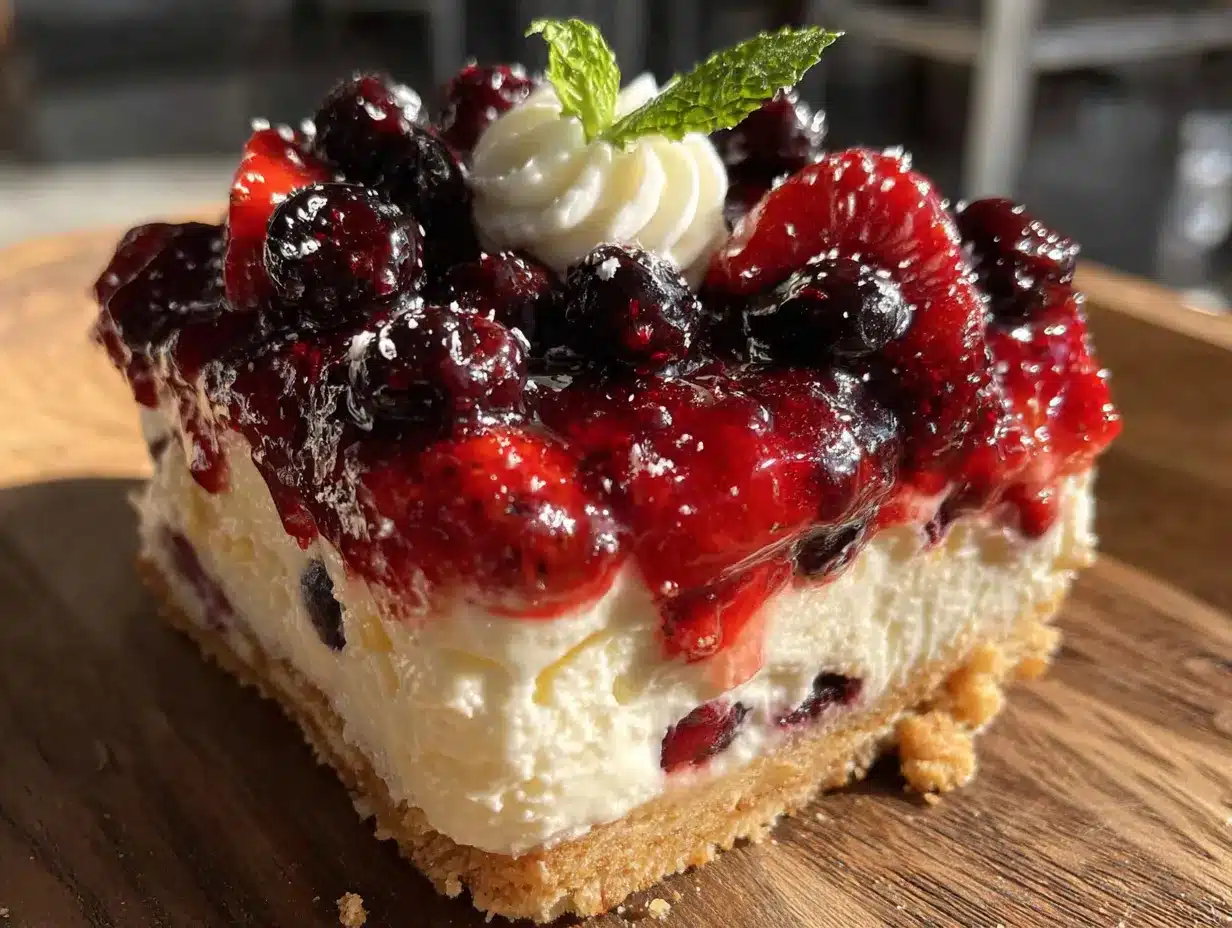
Ready to make the easiest, most impressive dessert of the summer? Follow these steps, and you’ll have a beautiful Easy Red White and Blueberry Icebox Cake in no time.
- Prepare the Cream Cheese Filling: In a large mixing bowl, beat the softened cream cheese with an electric mixer on medium speed until it’s smooth and creamy, about 2 minutes. Scrape down the sides of the bowl. Add the powdered sugar and vanilla extract, and beat again until everything is well combined and fluffy, another 2 minutes. It should be light and airy.
- Fold in the Whipped Topping: Gently fold the thawed whipped topping into the cream cheese mixture using a spatula. Don’t just stir it; use a gentle folding motion to keep the mixture light and fluffy. You want to incorporate it fully without deflating it. The final mixture should be smooth, creamy, and hold its shape.
- Prepare Your Berries: Wash and dry your strawberries and blueberries thoroughly. Hull the strawberries and slice them into even, thin slices. Pat the berries dry with a paper towel to remove excess moisture. This is important because too much water can make the graham crackers soggy.
- Start Layering: Spread a thin layer (about 1/2 cup) of the cream cheese mixture on the bottom of your 9×13-inch baking dish. This helps the first layer of graham crackers stick. Then, arrange a single layer of graham crackers over the filling, breaking them as needed to fit snugly. You want a solid, even layer.
- Add the First Berry Layer: Spread about one-third of the remaining cream cheese mixture evenly over the graham crackers. Then, scatter half of the sliced strawberries and half of the blueberries over the cream cheese layer. Don’t press them in; just let them sit on top.
- Repeat the Layers: Place another layer of graham crackers on top of the berries. Spread another third of the cream cheese mixture over the crackers. Top with the remaining sliced strawberries and blueberries.
- Final Layer: Add a final layer of graham crackers. Spread the remaining cream cheese mixture over the top, making sure to cover the crackers completely. Use your spatula to create a smooth, even surface. This is the top of your cake, so make it look pretty!
- Chill, Chill, Chill: Cover the dish tightly with plastic wrap or aluminum foil. Refrigerate for at least 6 hours, but overnight is best. This is the most important step! The graham crackers need time to soften and absorb the creamy filling, turning into a cake-like texture. If you rush this, you’ll end up with crunchy crackers. Trust me, I’ve made that mistake.
- Garnish and Serve: Just before serving, garnish the top of the cake with the reserved fresh strawberry slices, a generous handful of fresh blueberries, and a few mint leaves if you’re feeling fancy. The fresh fruit on top makes it look extra festive. Slice and serve cold.
Sensory Cue: When it’s ready, the top should feel firm but slightly springy to the touch. When you cut into it, you’ll see the beautiful layers—the soft, cake-like graham crackers, the creamy white filling, and the bright pops of red and blue berries. It should slice cleanly.
Cooking Tips & Techniques
After making this Easy Red White and Blueberry Icebox Cake about a dozen times (including a few spectacular failures), I’ve learned a few things that make all the difference. Here are my best tips:
- The Chilling Time is Non-Negotiable: I know it’s tempting to cut the chilling time short, especially when you’re hungry. But I did that once for a party, and the graham crackers were still crunchy. It was a sad, sad cake. Give it the full 6 hours, or even better, let it sit overnight. The texture is incomparable.
- Don’t Over-Whip the Filling: When you’re beating the cream cheese, stop as soon as it’s smooth. If you over-beat it, it can become too thin and runny. The same goes for folding in the whipped topping. Gentle folds are your friend.
- Pat the Berries Dry: This is a small step that makes a big difference. Wet berries release juice that can make the cake watery and the crackers soggy. A quick pat with a paper towel removes that excess moisture.
- Make it a Day Ahead: This is a perfect make-ahead dessert. In fact, it’s even better the next day. The flavors have more time to meld, and the texture is perfectly set. It’s a lifesaver for holiday entertaining.
- Use a Sharp Knife for Clean Slices: When you’re ready to serve, use a sharp chef’s knife to cut clean slices. Wipe the blade clean between cuts for the prettiest presentation. A dull knife will just squish the layers.
- Room Temperature is Key: Let the cake sit at room temperature for about 10-15 minutes before slicing. It makes it easier to cut and the flavor is more pronounced. But don’t leave it out too long, or it will get too soft.
Variations & Adaptations
One of the best things about this Easy Red White and Blueberry Icebox Cake is how easily you can change it up. Here are some of my favorite variations:
- Berry Swap: Not a fan of strawberries or blueberries? No problem! Use raspberries, blackberries, or a mix of all three. For a tropical twist, try diced mango and kiwi. The red, white, and blue theme is flexible.
- Chocolate Lover’s Version: Swap the graham crackers for chocolate graham crackers or chocolate wafer cookies. You can also add a layer of chocolate shavings between the cream cheese layers for an extra decadent treat. I made this for a friend’s birthday, and it was a huge hit.
- Lemon Blueberry Delight: Add the zest of one lemon to the cream cheese filling and a squeeze of lemon juice. The bright, citrusy flavor pairs perfectly with the blueberries and strawberries. It’s like summer in a bite.
- Dairy-Free Option: Use dairy-free cream cheese and a coconut-based whipped topping. Make sure your graham crackers are also dairy-free (most are). It works surprisingly well and is just as creamy.
- Individual Servings: Instead of a big pan, make individual servings in small mason jars or dessert cups. Layer the ingredients as instructed, and you have a perfectly portioned, portable dessert. These are great for picnics or parties.
Serving & Storage Suggestions
This cake is best served cold, straight from the refrigerator. I like to let it sit out for about 10 minutes before slicing, just to take the chill off. It makes the flavors pop a little more.
Presentation: For a stunning presentation, garnish the top generously with fresh berries and a few sprigs of mint just before serving. You can also dust the top with a little powdered sugar for a snowy effect. It looks gorgeous on a summer table.
What to Serve With It: This icebox cake is rich and creamy, so it pairs well with a simple cup of coffee or iced tea. For a complete summer spread, serve it alongside grilled meats, corn on the cob, and a fresh green salad. It’s also wonderful with a scoop of vanilla ice cream or a dollop of extra whipped cream.
Storage: Store any leftovers in the refrigerator, tightly covered with plastic wrap or in an airtight container. It will keep for up to 3 days. The texture will continue to soften, but it will still be delicious. I actually think it’s even better on the second day.
Freezing: You can freeze this cake for up to 1 month. Wrap it tightly in a layer of plastic wrap and then a layer of aluminum foil. Thaw it in the refrigerator overnight before serving. The texture might be slightly different after freezing, but it’s still a great make-ahead option.
Reheating: This is a no-bake dessert, so there’s no reheating needed! Just take it out of the fridge, slice, and serve. Simple as that.
Nutritional Information & Benefits
While this is definitely a treat, it’s not without its redeeming qualities. Here’s a look at the nutritional profile for one serving (based on 12 servings):
- Calories: Approximately 350-400 per serving
- Fat: 20-25g
- Carbohydrates: 40-45g
- Sugar: 25-30g
- Protein: 5-7g
- Fiber: 2-3g
Health Benefits: The fresh berries are the star here. Strawberries and blueberries are packed with antioxidants, vitamins, and fiber. They’re great for your immune system and skin health. The cream cheese provides some calcium and protein. While this isn’t a health food, it’s a more wholesome dessert than many store-bought options because you control the ingredients.
Dietary Considerations: This recipe is vegetarian. To make it gluten-free, use gluten-free graham crackers. For a lower-sugar version, use a sugar substitute like monk fruit sweetener in the filling and sugar-free whipped topping. Please be aware that this recipe contains dairy and gluten (if using standard graham crackers).
Personal Note: I love that this dessert lets me enjoy a sweet treat without feeling overly guilty. The fresh fruit adds a natural sweetness and a dose of vitamins. It’s a balanced indulgence, perfect for a celebration.
Conclusion
So there you have it—the Easy Red White and Blueberry Icebox Cake that saved my Fourth of July and has become a staple in my kitchen ever since. It’s proof that you don’t need fancy techniques or a long list of ingredients to create something truly memorable. This cake is simple, beautiful, and absolutely delicious.
I hope you give it a try and make it your own. Maybe you’ll add a little lemon zest, or swap in your favorite berries. That’s the beauty of this recipe—it’s a blank canvas for your summer celebrations. Don’t be afraid to experiment and see what happens. Honestly, it’s hard to go wrong with cream cheese, graham crackers, and fresh fruit.
I’d love to hear how it turns out for you! Did you make any changes? Was it a hit at your party? Drop a comment below and let me know. And if you’re looking for another easy no-bake dessert, you should check out my recipe for no-bake chocolate peanut butter bars—it’s another one of my favorites. Happy summer, and happy cooking!
Frequently Asked Questions
Can I use frozen berries for this icebox cake?
Yes, you can use frozen berries, but it’s important to thaw them completely and drain off any excess liquid. Pat them dry with a paper towel before adding them to the layers. If you skip this step, the extra moisture can make the graham crackers too soggy.
How long does the cake need to chill?
At least 6 hours, but overnight is best. The graham crackers need time to soften and absorb the creamy filling. If you rush the chilling time, the crackers will still be crunchy and the cake won’t slice cleanly.
Can I use homemade whipped cream instead of Cool Whip?
Absolutely! Use 2 cups of heavy whipping cream, whipped to stiff peaks with a little powdered sugar and vanilla. Just be aware that homemade whipped cream is less stable than store-bought, so the cake might not hold its shape as well after a few days.
What if I don’t have a 9×13-inch pan?
No problem! You can use any similar-sized baking dish. You could also make this in a trifle bowl for a beautiful layered presentation. Just adjust the layering to fit your dish. The proportions will still work.
Can I make this cake ahead of time for a party?
Yes, this is a perfect make-ahead dessert! In fact, it’s even better when made a day in advance. The flavors meld together beautifully, and the texture becomes perfectly set. Just keep it covered in the refrigerator until you’re ready to serve.
Pin This Recipe!
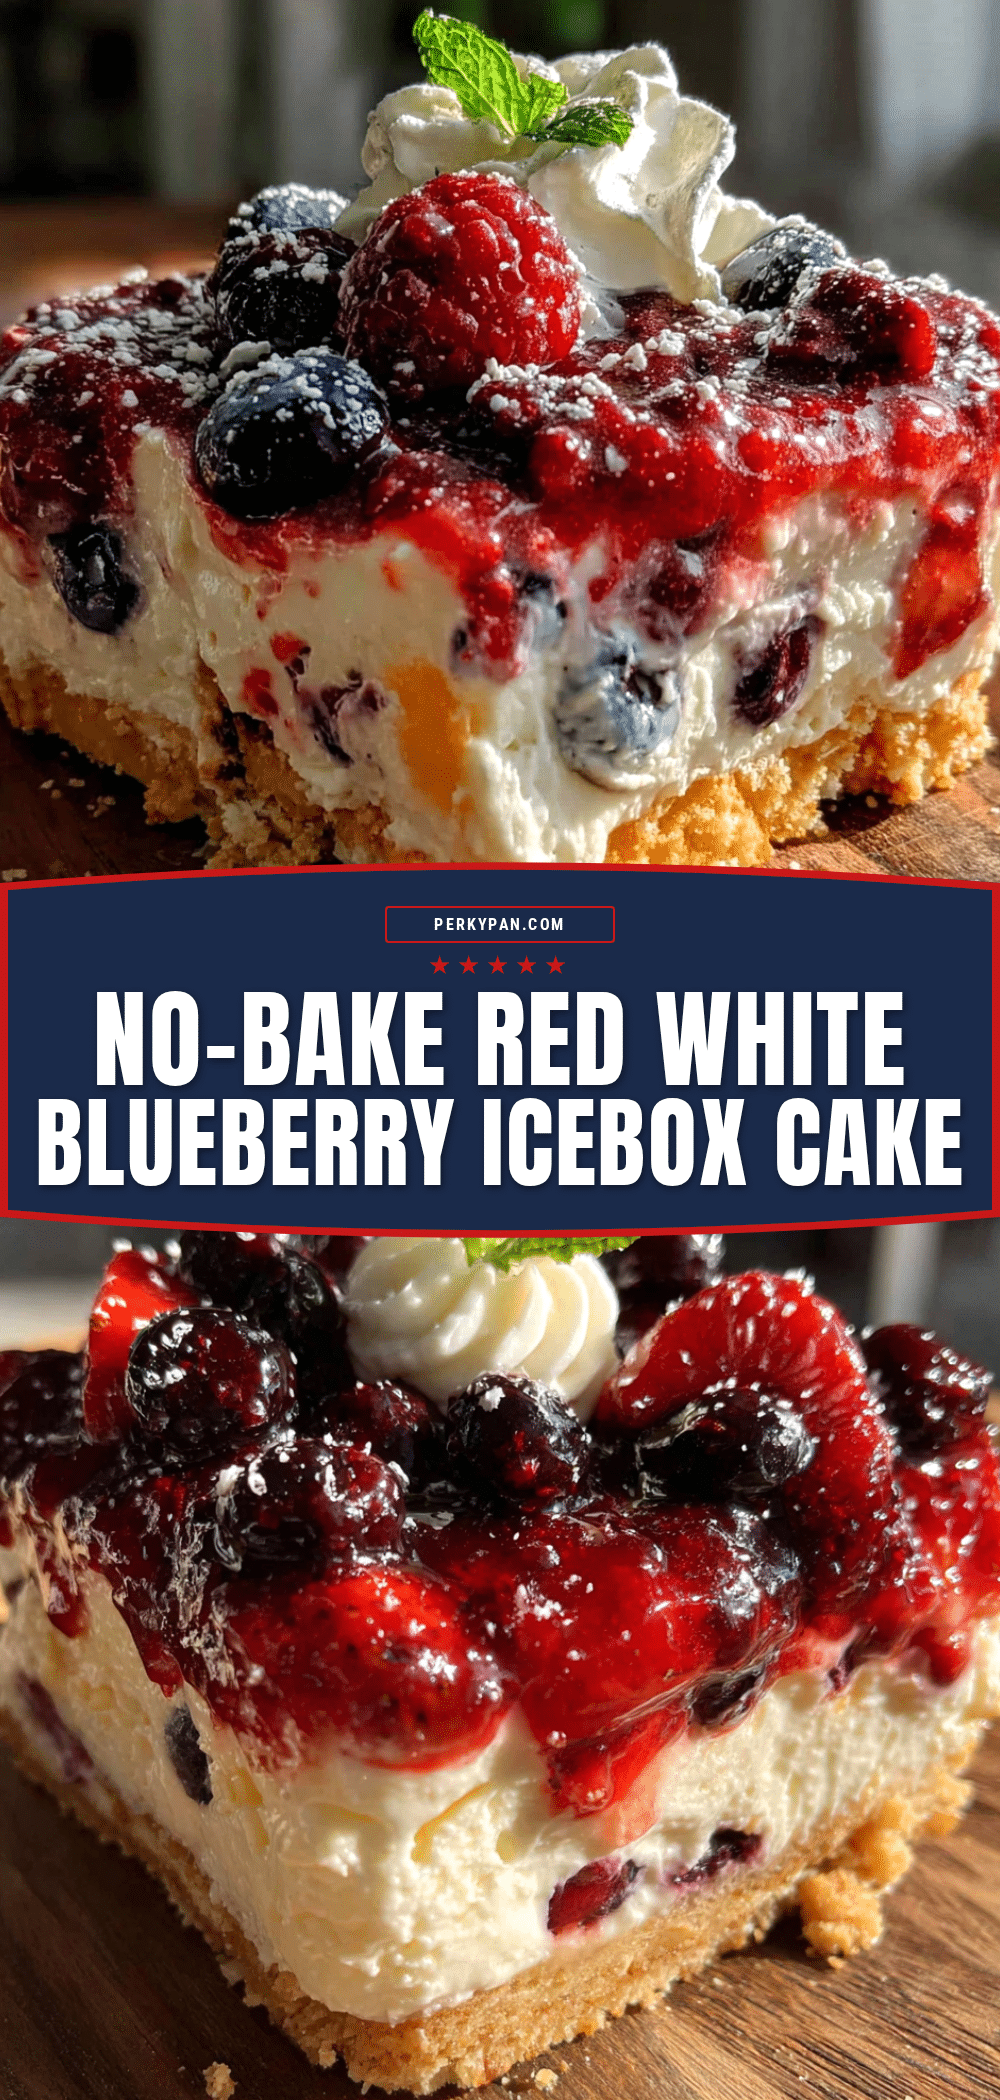
Easy Red White and Blueberry Icebox Cake

A no-bake dessert with layers of graham crackers, creamy filling, and fresh berries. Perfect for patriotic holidays like the Fourth of July and Memorial Day.
- Prep Time: 20 minutes
- Cook Time: 0 minutes
- Total Time: 6 hours 20 minutes (includes chilling time)
- Yield: 12 servings 1x
- Category: Dessert
- Cuisine: American
Ingredients
- 16 ounces cream cheese, softened to room temperature
- 1 cup powdered sugar
- 1 teaspoon vanilla extract
- 8 ounces frozen whipped topping (like Cool Whip), thawed
- 1 box (about 14 ounces) graham crackers (about 3 sleeves)
- 2 cups fresh strawberries, hulled and sliced
- 2 cups fresh blueberries
- 1 cup fresh strawberries, sliced for garnish (optional)
- 1 cup fresh blueberries for garnish (optional)
- Fresh mint leaves for garnish (optional)
Instructions
- In a large mixing bowl, beat the softened cream cheese with an electric mixer on medium speed until smooth and creamy, about 2 minutes. Scrape down the sides of the bowl.
- Add the powdered sugar and vanilla extract, and beat until well combined and fluffy, another 2 minutes.
- Gently fold the thawed whipped topping into the cream cheese mixture using a spatula until smooth and creamy.
- Wash and dry the strawberries and blueberries thoroughly. Hull the strawberries and slice them into even, thin slices. Pat the berries dry with a paper towel.
- Spread a thin layer (about 1/2 cup) of the cream cheese mixture on the bottom of a 9×13-inch baking dish.
- Arrange a single layer of graham crackers over the filling, breaking them as needed to fit snugly.
- Spread about one-third of the remaining cream cheese mixture evenly over the graham crackers.
- Scatter half of the sliced strawberries and half of the blueberries over the cream cheese layer.
- Place another layer of graham crackers on top of the berries.
- Spread another third of the cream cheese mixture over the crackers.
- Top with the remaining sliced strawberries and blueberries.
- Add a final layer of graham crackers.
- Spread the remaining cream cheese mixture over the top, covering the crackers completely. Use a spatula to create a smooth, even surface.
- Cover the dish tightly with plastic wrap or aluminum foil.
- Refrigerate for at least 6 hours, but overnight is best.
- Just before serving, garnish the top with reserved fresh strawberry slices, fresh blueberries, and mint leaves if desired.
- Slice and serve cold.
Notes
Make sure cream cheese is at room temperature to avoid lumps. Pat berries dry to prevent sogginess. Chilling time is non-negotiable for proper texture. Can be made a day ahead. For clean slices, use a sharp knife and wipe blade between cuts. Let cake sit at room temperature for 10-15 minutes before slicing.
Nutrition
- Serving Size: 1 slice (1/12 of cak
- Calories: 375
- Sugar: 27
- Sodium: 320
- Fat: 22
- Saturated Fat: 12
- Carbohydrates: 42
- Fiber: 2
- Protein: 6
Keywords: icebox cake, no-bake dessert, Fourth of July, Memorial Day, summer dessert, red white and blue, graham cracker cake, berry dessert


