Love this? Save it for later!
Share the inspiration with your friends
Introduction
There used to be a tiny bakery on the corner of Elm and 5th called “The Midnight Kitchen” that made a black velvet cupcake so good it felt illegal. When they closed their doors three years ago—just a handwritten sign saying “Thank you, neighbors” taped to the window—I honestly felt a little lost. That cupcake had become my October tradition, the thing I looked forward to when the air got crisp and the leaves started turning.
After seventeen tries—seventeen!—I finally got it. And let me tell you, the first batch I pulled out of the oven, I actually teared up a little. The secret wasn’t just the black cocoa powder (though that’s crucial), but the way the orange cream filling cuts through the dark, almost smoky richness of the cake. It’s that balance that kept me coming back to that bakery counter year after year.
These Perfect Black Velvet Halloween Cupcakes with Orange Cream are my tribute to that little bakery that couldn’t stay open, and honestly, they might be even better than the original. Maybe you’ve been there—that one dessert you can’t stop thinking about, the one you’d drive across town for. Well, now you can make it in your own kitchen, and I promise, the first bite will take you right back to whatever memory you’re holding onto.
Why You’ll Love This Recipe
I’ve tested this recipe more times than I care to admit, and each batch taught me something new. The first time, the cupcakes came out gray instead of black—total disaster. The second time, the orange cream curdled. But by batch number seven, I had it dialed in, and I’ve been perfecting it ever since. This isn’t just another Halloween cupcake recipe; it’s the one that finally made me stop searching.
- Quick & Easy: From start to finish, you’re looking at about 45 minutes. The cupcakes bake in just 15-18 minutes, so you can whip up a batch after dinner without breaking a sweat.
- Simple Ingredients: No weird additives or hard-to-find items. Black cocoa powder is the only specialty ingredient, and you can find it at most grocery stores or online.
- Perfect for Halloween Parties: These cupcakes are showstoppers. The black cake with bright orange filling is spooky but not scary—great for kids and adults alike.
- Crowd-Pleaser: I brought these to a neighborhood potluck last October, and three people asked for the recipe before the night was over. One neighbor said they were “the best cupcakes I’ve had since I was a kid.”
- Unbelievably Delicious: The texture is what gets me every time. The cake is tender and moist with a subtle tang from the buttermilk, while the orange cream filling is light, fluffy, and bright. It’s the kind of combination that makes you close your eyes after the first bite.
What makes this recipe different from the rest? It’s the technique of folding the orange zest into the cream cheese filling just before piping—it keeps the citrus flavor fresh and punchy instead of muted. Plus, I’ve found that using a mix of black cocoa and regular Dutch-process cocoa gives you that deep, true black color without any artificial food coloring. This isn’t just another version of a Halloween cupcake; it’s my best version, and I’m pretty proud of it.
This recipe is comfort food reimagined—familiar enough to feel nostalgic, but with a twist that makes it feel brand new. Perfect for impressing guests without stress, or turning a simple October evening into something memorable.
What Ingredients You Will Need
This recipe uses simple, wholesome ingredients to deliver that dramatic black color and bright orange cream filling. Most of these are pantry staples, but I’ve included notes on where to find the specialty items and how to swap things if needed.
For the Black Velvet Cupcakes:
- 1 ½ cups all-purpose flour (I prefer King Arthur for consistent results)
- ¾ cup granulated sugar
- ¼ cup black cocoa powder (I recommend Rodelle or The Cocoa Trader—regular cocoa won’t give you that deep black color)
- 2 tablespoons Dutch-process cocoa powder (adds richness and helps deepen the color)
- 1 teaspoon baking soda
- ½ teaspoon salt
- 1 cup buttermilk, room temperature (adds tenderness and a slight tang)
- ½ cup vegetable oil (use a neutral oil like canola or grapeseed)
- 2 large eggs, room temperature
- 1 teaspoon vanilla extract
- 1 teaspoon white vinegar (reacts with the baking soda for lift)
- 1 tablespoon instant espresso powder dissolved in 2 tablespoons hot water (optional, but deepens the chocolate flavor without making it taste like coffee)
For the Orange Cream Cheese Filling:
- 8 ounces cream cheese, softened (full-fat works best for stability)
- ½ cup unsalted butter, softened
- 3 cups powdered sugar, sifted
- 2 tablespoons fresh orange zest (from about 2 large oranges—don’t skip this, it’s the star)
- 1 tablespoon fresh orange juice
- ½ teaspoon vanilla extract
- Pinch of salt
For the Decoration:
- Orange sanding sugar or sprinkles (optional, but adds a nice crunch)
- Black cupcake liners (I like the Wilton brand for their vibrant color)
- Halloween-themed toothpicks or toppers (optional)
Ingredient Selection Tips: When buying black cocoa powder, look for one that’s labeled “black” or “extra dark.” Regular cocoa powder will give you a dark brown cupcake, not black. For the oranges, choose ones that feel heavy for their size—they’ll have more juice and zest. And please, use real cream cheese, not the spreadable kind in a tub. The filling needs that structure to hold up when you pipe it.
Substitution Guidance: If you don’t have buttermilk, you can make a quick substitute by adding 1 tablespoon of lemon juice or white vinegar to 1 cup of milk and letting it sit for 5 minutes. For a dairy-free version, use almond milk with the vinegar trick and swap the cream cheese for a plant-based alternative (just know the filling will be slightly softer). And if you’re out of black cocoa, you can use all Dutch-process cocoa—the cupcakes will be dark chocolate colored instead of black, but they’ll still taste amazing.
Equipment Needed
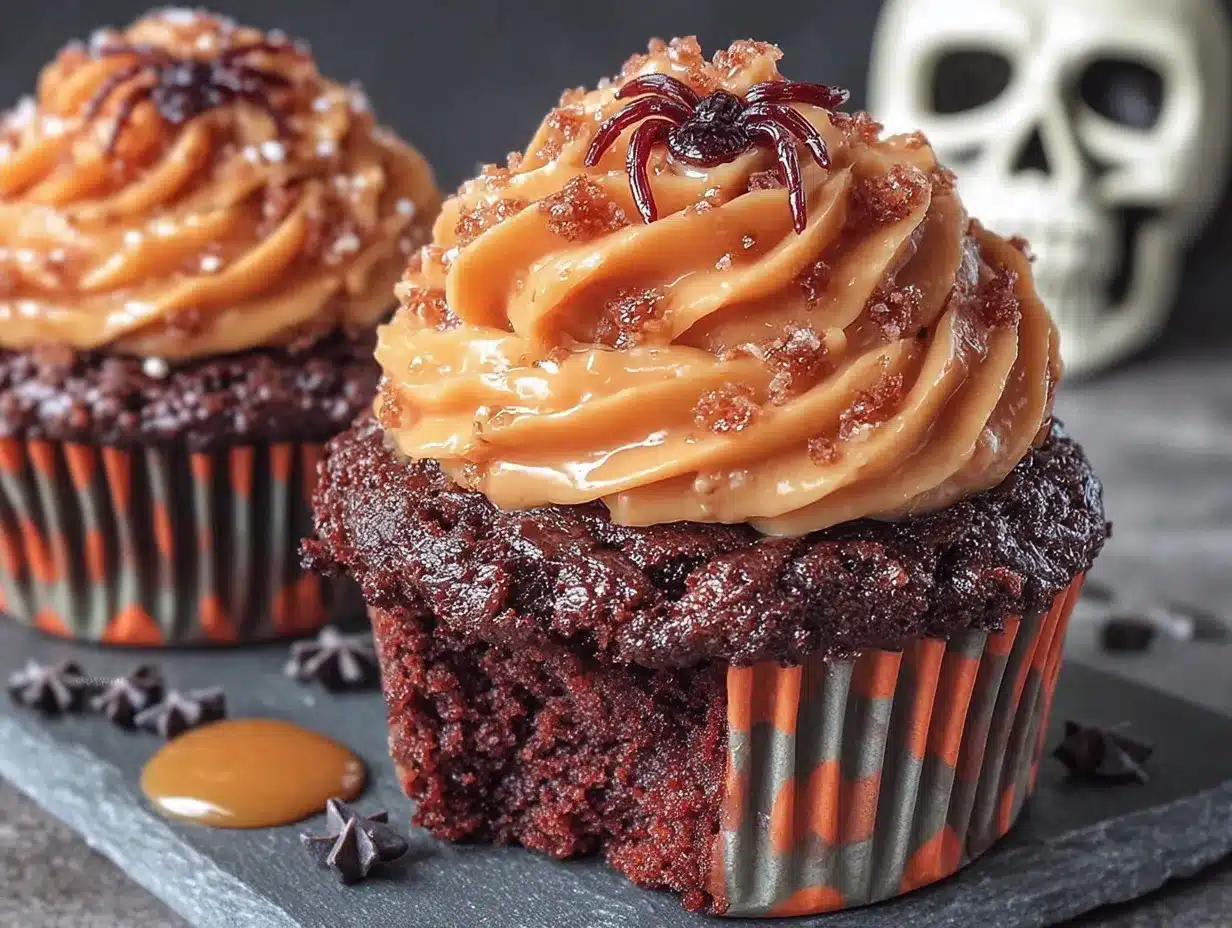
You don’t need a fancy bakery setup for these Perfect Black Velvet Halloween Cupcakes with Orange Cream, but a few key tools will make your life easier.
- Standard 12-cup muffin tin (I use a non-stick one from Chicago Metallic, and it’s never let me down)
- Black cupcake liners (the color matters for the Halloween vibe, but any liner will work)
- Electric hand mixer or stand mixer (you can whisk by hand, but your arm will thank you for the mixer)
- Large mixing bowls (at least two—one for dry ingredients, one for wet)
- Piping bags with a round tip (I use a Wilton 1A tip for filling the cupcakes)
- Small offset spatula (for smoothing the tops)
- Cooling rack (essential for even cooling)
- Microplane or fine grater (for zesting the oranges—box graters are too coarse)
- Cookie scoop or ice cream scoop (for even batter distribution)
If you don’t have a piping bag, you can use a sturdy zip-top bag with the corner snipped off. I’ve done it in a pinch, and it works fine—just be careful not to squeeze too hard or the bag might split. And if you don’t have a muffin tin, you can bake these as a 9-inch round cake instead; just increase the baking time to 25-30 minutes.
Preparation Method
Let’s make these spooky beauties. I’ve broken this down into clear steps with all the little details I wish someone had told me when I was starting out.
- Preheat and Prep: Preheat your oven to 350°F (175°C). Line your muffin tin with black cupcake liners. This might seem obvious, but make sure the liners are fully seated—I’ve had them pop up mid-bake and create a mess. Set aside.
- Mix the Dry Ingredients: In a large bowl, whisk together the all-purpose flour, granulated sugar, black cocoa powder, Dutch-process cocoa powder, baking soda, and salt. Whisk for about 30 seconds to aerate everything and break up any lumps. The black cocoa can be clumpy, so really get in there.
- Combine the Wet Ingredients: In a separate bowl, whisk together the buttermilk, vegetable oil, eggs, vanilla extract, and white vinegar. Make sure your eggs and buttermilk are at room temperature—cold ingredients can make the batter seize up. I learned this the hard way on my third batch when the cupcakes came out dense and flat.
- Add the Espresso (Optional): If you’re using the instant espresso, dissolve it in the hot water and add it to the wet ingredients. This doesn’t make the cupcakes taste like coffee; it just deepens the chocolate flavor and makes the black color pop. Trust me on this one.
- Combine Wet and Dry: Pour the wet ingredients into the dry ingredients and stir with a spatula until just combined. Do not overmix! A few small lumps are fine. Overmixing develops the gluten and makes the cupcakes tough. You want them tender and soft.
- Fill the Liners: Use your cookie scoop to divide the batter evenly among the 12 liners. Each should be about ⅔ full. The batter will be thin—that’s normal. Don’t be tempted to fill them higher, or they’ll overflow and you’ll get that sad mushroom top.
- Bake: Bake for 15-18 minutes, or until a toothpick inserted into the center comes out clean or with a few moist crumbs. The tops should spring back when lightly touched. Rotate the pan halfway through if your oven runs hot. My oven is a little uneven, so I always do this.
- Cool Completely: Let the cupcakes cool in the pan for 5 minutes, then transfer them to a wire rack to cool completely. This is critical—if you try to fill them while they’re warm, the cream cheese filling will melt into a puddle. I speak from experience. Wait until they’re completely cool to the touch.
- Make the Orange Cream Filling: While the cupcakes cool, make the filling. In a large bowl, beat the softened cream cheese and butter together until smooth and creamy, about 2 minutes. Scrape down the sides of the bowl. Add the sifted powdered sugar one cup at a time, beating on low speed to avoid a sugar cloud. Add the orange zest, orange juice, vanilla extract, and salt. Beat on medium-high for 2-3 minutes until light and fluffy. Taste it—it should be bright and tangy with a hint of sweetness. If it’s too thick, add another teaspoon of orange juice. If it’s too thin, add a little more powdered sugar.
- Fill the Cupcakes: Once the cupcakes are completely cool, use a small knife or a cupcake corer to cut a cone-shaped hole out of the center of each cupcake. Save the tops. Transfer the orange cream filling to a piping bag fitted with a round tip. Pipe the filling into each hole until it’s level with the top of the cupcake. Replace the cut-out tops to seal them. You can trim the pointy end of the cone so it sits flush.
- Decorate: If you’re using orange sanding sugar, sprinkle it over the tops of the filled cupcakes. You can also add a dollop of extra filling on top and swirl it with a toothpick for a more dramatic look. Insert a Halloween toothpick or topper for extra flair.
Sensory Cues: The batter should be smooth, dark, and slightly thin—like a milkshake. When the cupcakes are done, the kitchen will smell like rich chocolate with a hint of something almost smoky. The filling should be so fluffy it feels like you’re spreading a cloud.
Cooking Tips & Techniques
After making these Perfect Black Velvet Halloween Cupcakes with Orange Cream more times than I can count, I’ve picked up a few tricks that make a real difference.
Room Temperature Ingredients Are Non-Negotiable: I know it’s tempting to use cold eggs straight from the fridge, but trust me on this. Cold ingredients don’t emulsify properly, which means your batter can separate or turn out dense. Take the eggs and buttermilk out of the fridge about 30 minutes before you start baking. Set a timer—I’ve forgotten and ended up with lumpy batter more than once.
The Toothpick Test Trick: Don’t just poke the center. Poke the area between the center and the edge—that’s where the last bit of batter finishes baking. If the toothpick comes out clean there, the whole cupcake is done. I learned this from a pastry chef friend, and it’s saved me from overbaking countless batches.
Don’t Overfill the Liners: I know it’s tempting to get more cupcake per cupcake, but filling the liners more than ⅔ full leads to overflow and flat tops. And flat tops mean less room for that gorgeous orange cream filling. Trust the ⅔ rule.
Chill the Filling Before Piping: If your kitchen is warm, the cream cheese filling can get a little soft. Pop it in the fridge for 10-15 minutes before piping. It’ll hold its shape better and won’t ooze out the sides of the cupcakes. I learned this after a particularly warm October afternoon when my filling turned into soup.
Make Ahead Strategy: You can bake the cupcakes a day ahead and store them in an airtight container at room temperature. Make the filling and store it in the fridge, then fill and decorate the day you’re serving them. This is a lifesaver for Halloween parties when you’re already juggling a million things.
Common Mistake Warning: The biggest mistake I see people make is overmixing the batter. Mix until the flour disappears, then stop. A few lumps are fine. Overmixing develops gluten and makes the cupcakes tough and rubbery. You want them tender and soft, like a little black velvet pillow.
Variations & Adaptations
One of the things I love about this recipe is how adaptable it is. Here are some variations I’ve tried and loved.
Gluten-Free Version: Swap the all-purpose flour with a 1:1 gluten-free baking flour blend (I like Bob’s Red Mill). The texture will be slightly more delicate, so handle the cupcakes gently when coring them. Add an extra tablespoon of buttermilk to compensate for the drier flour blend.
Vegan Adaptation: Use flax eggs (1 tablespoon ground flaxseed mixed with 3 tablespoons water per egg) and plant-based buttermilk (almond milk with vinegar). For the filling, use vegan cream cheese and butter. The filling will be a bit softer, so chill it well before piping. I made these for a vegan friend’s Halloween party, and they disappeared before the regular ones.
Spiced Orange Variation: Add ½ teaspoon of cinnamon and ¼ teaspoon of nutmeg to the dry ingredients. It gives the cupcakes a warm, cozy fall flavor that pairs beautifully with the orange cream. I made this version for Thanksgiving last year, and my aunt asked for the recipe twice.
Chocolate Orange Cream: Add 2 tablespoons of melted and cooled dark chocolate to the cream cheese filling. It turns the filling a pale orange-brown color and adds a deeper chocolate flavor. This is my husband’s favorite version—he says it tastes like a fancy chocolate orange you get at Christmas.
Mini Cupcake Version: Use a mini muffin tin and bake for 8-10 minutes. You’ll get about 36 mini cupcakes. They’re perfect for Halloween parties where people want to sample multiple treats. Just use a smaller tip for piping the filling.
Serving & Storage Suggestions
These Perfect Black Velvet Halloween Cupcakes with Orange Cream are best served at room temperature. The cake is tender, the filling is creamy, and the flavors are at their peak when they’re not straight from the fridge.
Serving Temperature: Take the cupcakes out of the fridge about 20 minutes before serving. This allows the cream cheese filling to soften slightly, making it extra creamy. If you serve them cold, the filling will be firm and less flavorful.
Presentation Ideas: Arrange the cupcakes on a black cake stand or a wooden board for a striking contrast. Sprinkle orange sanding sugar around the plate for a pop of color. You can also add a few candy eyeballs or spider rings on top for a fun Halloween touch. For a more elegant look, top each cupcake with a thin slice of candied orange.
Storage Instructions: Store the filled cupcakes in an airtight container in the refrigerator for up to 4 days. The cake stays moist, and the filling holds up well. If you’ve decorated them with sanding sugar, it might dissolve slightly over time, so add that just before serving if you can.
Freezer Instructions: You can freeze the unfilled cupcakes for up to 3 months. Wrap each one tightly in plastic wrap, then place them in a freezer bag. Thaw at room temperature, then fill and decorate. The filling can also be frozen for up to 1 month—just thaw it in the fridge overnight and give it a good stir before piping.
Reheating Tip: If you want that just-baked taste, pop a cupcake in the microwave for 8-10 seconds. It warms the cake without melting the filling. I do this when I’m eating one the next day, and it brings back that fresh-from-the-oven magic.
Flavor Development: Honestly, these cupcakes taste even better the day after baking. The flavors meld together overnight, and the cake becomes even more moist. So don’t stress about making them the day of your event—they’re actually better if you bake them a day ahead.
Nutritional Information & Benefits
I’m not a nutritionist, but I’ve done my best to estimate the nutritional values for these cupcakes. Keep in mind that these are estimates and can vary based on specific ingredients and portion sizes.
| Nutrient | Per Cupcake |
|---|---|
| Calories | 385 |
| Total Fat | 22g |
| Saturated Fat | 10g |
| Carbohydrates | 44g |
| Sugar | 32g |
| Protein | 5g |
| Fiber | 1g |
Health Benefits: While these are definitely a treat, there are a few bright spots. The black cocoa powder is rich in antioxidants called flavonoids, which can help reduce inflammation. The orange zest provides a good dose of vitamin C and essential oils that support immune health. And the cream cheese filling offers a small amount of calcium and protein.
Dietary Considerations: This recipe contains gluten, dairy, and eggs. For gluten-free and vegan options, check the variations section above. The cupcakes are nut-free as written, making them a safe choice for school parties. If you’re watching your sugar intake, you can reduce the sugar in the filling by ¼ cup, but the cake needs the full amount for proper texture.
My Personal Perspective: I believe in balance. These cupcakes are a celebration treat, not an everyday snack. When I make them, I savor every bite and share them with people I love. Food is about joy and connection, and these cupcakes deliver plenty of both.
Conclusion
These Perfect Black Velvet Halloween Cupcakes with Orange Cream are more than just a Halloween dessert—they’re a little piece of bakery magic you can make at home. The dark, tender cake paired with that bright, citrusy cream filling is a combination that never gets old. Every time I make them, I think of that little bakery on Elm Street, and I feel grateful that I can recreate that experience in my own kitchen.
I hope you give these a try, whether it’s for a Halloween party, a fall gathering, or just because you deserve something special. Don’t be afraid to make them your own—add extra orange zest if you love citrus, or double the filling if you’re feeling generous. The best recipes are the ones that evolve with the cook.
I’d love to hear how yours turn out! Drop a comment below and let me know if you tried any variations, or share a photo of your cupcakes on social media. Tag me so I can see your beautiful creations. Happy baking, and have a spooktacular Halloween!
Frequently Asked Questions
Can I use regular cocoa powder instead of black cocoa?
You can, but the cupcakes won’t be black—they’ll be a dark chocolate brown. The flavor will still be delicious, just less dramatic. If you want that true black color, I recommend finding black cocoa powder online or at a specialty baking store.
How do I get the orange cream filling to be extra fluffy?
Make sure your cream cheese and butter are fully softened to room temperature before you start. Beat them together for a full 2-3 minutes until they’re light and creamy. Then add the powdered sugar gradually and beat on medium-high speed for another 2 minutes. The longer you beat it, the fluffier it gets.
Can I make these cupcakes without a piping bag?
Absolutely. Use a sturdy zip-top bag with a small corner snipped off. You can also use a small spoon to carefully fill the holes, though it’s a bit messier. For the decoration on top, a butter knife or small spatula works fine.
How far in advance can I make these for a party?
You can bake the cupcakes up to 2 days ahead and store them in an airtight container at room temperature. Make the filling up to 2 days ahead and keep it in the fridge. Fill and decorate the cupcakes the day of your party for the best texture and appearance.
Why did my cupcakes turn out gray instead of black?
This usually happens when you don’t use enough black cocoa powder, or when the baking soda reacts with the cocoa and lightens the color. Make sure you’re using the full amount of black cocoa called for in the recipe, and don’t skip the Dutch-process cocoa—it helps stabilize the color. Also, make sure your baking soda is fresh; old baking soda won’t react properly and can affect the color.
Pin This Recipe!
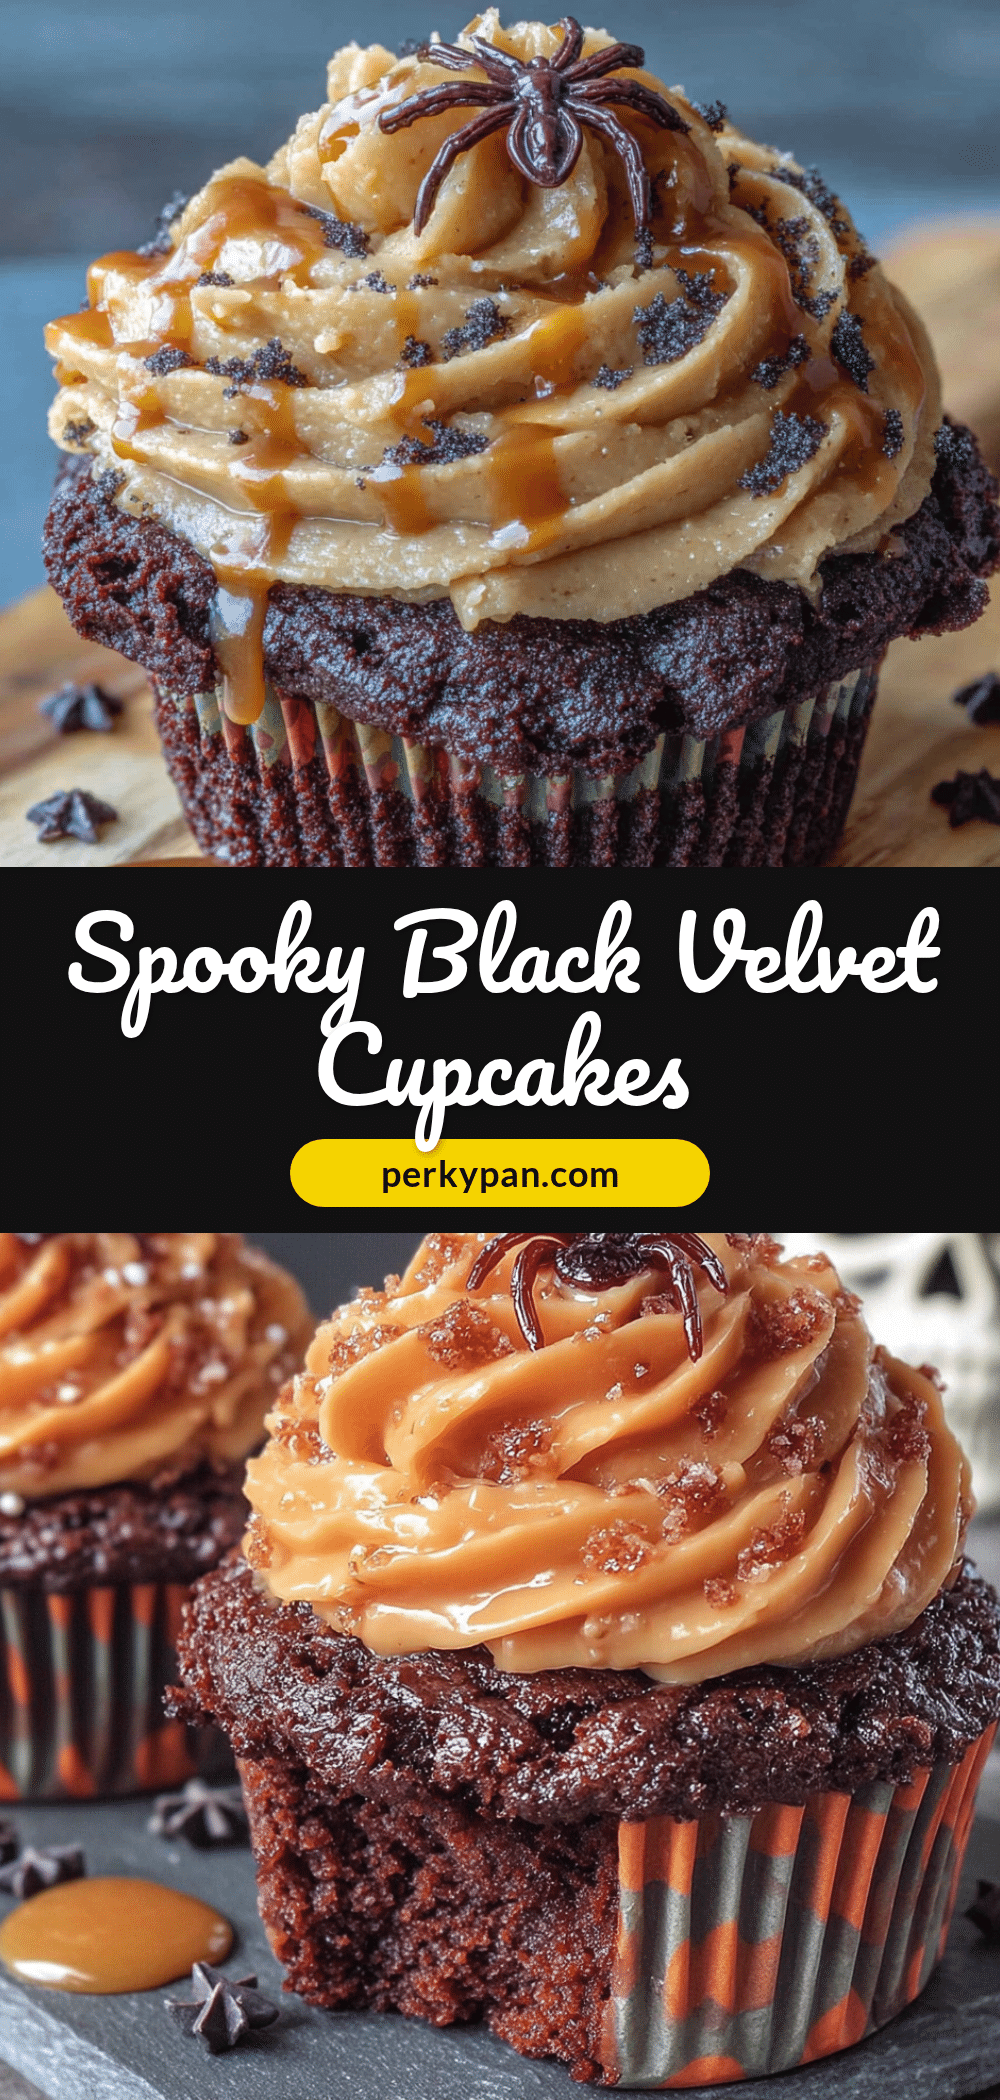
Perfect Black Velvet Halloween Cupcakes with Orange Cream
These black velvet cupcakes with a bright orange cream cheese filling are a tribute to a beloved bakery classic. The dark, tender cake paired with the citrusy cream is a perfect Halloween treat that’s both spooky and delicious.
- Prep Time: 20 minutes
- Cook Time: 18 minutes
- Total Time: 45 minutes
- Yield: 12 cupcakes 1x
- Category: Dessert
- Cuisine: American
Ingredients
- 1 ½ cups all-purpose flour
- ¾ cup granulated sugar
- ¼ cup black cocoa powder
- 2 tablespoons Dutch-process cocoa powder
- 1 teaspoon baking soda
- ½ teaspoon salt
- 1 cup buttermilk, room temperature
- ½ cup vegetable oil
- 2 large eggs, room temperature
- 1 teaspoon vanilla extract
- 1 teaspoon white vinegar
- 1 tablespoon instant espresso powder dissolved in 2 tablespoons hot water (optional)
- 8 ounces cream cheese, softened
- ½ cup unsalted butter, softened
- 3 cups powdered sugar, sifted
- 2 tablespoons fresh orange zest
- 1 tablespoon fresh orange juice
- ½ teaspoon vanilla extract
- Pinch of salt
- Orange sanding sugar or sprinkles (optional)
- Black cupcake liners
- Halloween-themed toothpicks or toppers (optional)
Instructions
- Preheat oven to 350°F (175°C). Line a 12-cup muffin tin with black cupcake liners.
- In a large bowl, whisk together flour, sugar, black cocoa powder, Dutch-process cocoa powder, baking soda, and salt.
- In a separate bowl, whisk together buttermilk, vegetable oil, eggs, vanilla extract, and white vinegar. If using, add the dissolved espresso.
- Pour wet ingredients into dry ingredients and stir until just combined. Do not overmix.
- Divide batter evenly among the liners, filling each about ⅔ full.
- Bake for 15-18 minutes, or until a toothpick inserted into the center comes out clean. Cool in pan for 5 minutes, then transfer to a wire rack to cool completely.
- For the filling: Beat cream cheese and butter until smooth. Gradually add powdered sugar, then mix in orange zest, orange juice, vanilla, and salt. Beat until light and fluffy.
- Once cupcakes are cool, cut a cone-shaped hole from the center of each. Pipe filling into the holes and replace the tops.
- Decorate with orange sanding sugar or Halloween toppers as desired.
Notes
Room temperature ingredients are crucial for proper emulsification. Do not overmix the batter. Chill the filling before piping if your kitchen is warm. Cupcakes taste even better the next day.
Nutrition
- Serving Size: 1 cupcake
- Calories: 385
- Sugar: 32
- Fat: 22
- Saturated Fat: 10
- Carbohydrates: 44
- Fiber: 1
- Protein: 5
Keywords: Halloween cupcakes, black velvet, orange cream, cream cheese filling, spooky desserts, fall baking


