Love this? Save it for later!
Share the inspiration with your friends
It was 11:47 PM on a rainy Tuesday in late September, and I was staring at a cardboard box of what I’d call “aggressively ripe” Roma tomatoes from my neighbor’s overzealous garden. I didn’t have the patience for a traditional all-day stovetop sauce that would steam up my whole kitchen, but I had a sudden, almost desperate idea—what if I just threw them in the oven until they looked sorry and then canned the whole mess? Honestly, I was tired, my back ached from hauling the box inside, and I almost just left them on the counter to turn into compost. But something about that late hour, with the rain tapping against the window, made me feel like I could break all the rules. I grabbed my biggest sheet pan, drizzled on some olive oil I probably should have been saving, and told myself, “If this fails, we’re ordering pizza.”
That first batch of homemade canned roasted tomato sauce came out so good it was almost embarrassing. I mean, I’d spent years doing the stovetop simmer method, stirring every twenty minutes like a nervous parent, and here I was, basically roasting tomatoes like they were vegetables for a side dish, and getting a sauce with this deep, almost smoky sweetness. The oven did all the work. I remember pulling the pan out at 1 AM, the tomatoes all wrinkled and caramelized, and the smell—oh, that smell—was like summer had been concentrated into a single, warm breath. I blended it up, tasted it straight from the jar (don’t judge me), and let me tell you, I actually laughed out loud. It was that good.
Maybe you’ve been there, staring down a mountain of produce with no clear plan. Or maybe you just want a canned roasted tomato sauce that tastes like you spent all day fussing over it, without actually spending all day fussing over it. This recipe stayed with me because it proved that sometimes the best cooking happens when you’re too tired to overthink it. It’s not about fancy techniques or rare ingredients—it’s about trusting the process and letting the oven do the heavy lifting. And honestly, that’s a lesson I keep coming back to, batch after batch.
Why You’ll Love This Recipe
This isn’t just another tomato sauce recipe you’ll find floating around the internet. After testing this method at least a dozen times (and ruining a few perfectly good sheet pans in the process), I can say with confidence that this homemade canned roasted tomato sauce is the real deal. Here’s why you’ll keep coming back to it:
- Set-It-and-Forget-It Method: The oven does the heavy lifting. No standing over a hot stove for hours, no constant stirring. You just roast, blend, and can.
- Intense, Developed Flavor: Roasting concentrates the natural sugars and adds a subtle smokiness that you simply cannot get from a stovetop simmer. It tastes like you used heirloom tomatoes from a fancy farmer’s market, even if you used basic grocery store Romas.
- Perfect for Pantry Stockpiling: This recipe is designed for canning, meaning you can put up a summer’s worth of flavor in a single afternoon. Winter pasta nights will thank you.
- Simple, Clean Ingredients: No preservatives, no added sugars (unless you want a pinch), no weird stabilizers. Just tomatoes, aromatics, and good olive oil.
- Incredibly Versatile: Use it as a pasta sauce, a pizza base, a braising liquid for meats, or even as a soup starter. It’s your secret weapon in the pantry.
What makes this recipe different from the rest is the roasting technique combined with a smart canning process. I’ve tweaked the oven temperature and timing to get the perfect balance between caramelization and moisture retention, so you don’t end up with a paste or a watery mess. Plus, I’ll walk you through the water bath canning method step-by-step, so even if you’re a canning newbie, you’ll feel like a pro. This sauce isn’t just good—it’s the kind that makes you close your eyes after the first bite, even if it’s February and you’re eating it over store-bought spaghetti.
What Ingredients You Will Need
This recipe relies on simple, whole ingredients to build that deep, roasted flavor. The beauty is that most of these are pantry staples, especially if you grow tomatoes or have a good farmer’s market nearby. Let’s break down what you’ll need and why each ingredient matters.
- Roma Tomatoes (10-12 pounds): These are my go-to for sauce because they have a lower water content and fewer seeds than other varieties. Look for firm, deep red tomatoes that feel heavy for their size. If you can’t find Romas, San Marzano or Amish Paste tomatoes work beautifully too. (Pro tip: If you’re using garden tomatoes, mix in a few yellow or orange ones for a slightly sweeter, more complex flavor.)
- Large Yellow Onions (2-3, roughly chopped): Onions add a savory backbone to the sauce. I prefer yellow onions for their balance of sweetness and sharpness, but sweet onions like Vidalia work in a pinch. Don’t skip these—they melt into the sauce during roasting and add incredible depth.
- Garlic Cloves (8-10, smashed): Garlic is non-negotiable here. I like to smash the cloves rather than mince them, as they roast more evenly without burning. If you’re feeling fancy, throw in a few cloves of roasted garlic from a previous batch—it’s like garlic candy.
- Extra Virgin Olive Oil (1/2 cup): Use a good quality oil here, as it’s a primary flavor component. I recommend California Olive Ranch or a local brand you trust. The oil helps the tomatoes caramelize and carries the flavors of the aromatics.
- Fresh Basil Leaves (1 cup, loosely packed): Basil adds that classic Italian herbaceous note. I add it after roasting to preserve its bright flavor. If you’re using dried basil, reduce to 2 tablespoons and add it before roasting.
- Fresh Oregano (2 tablespoons, chopped) OR 2 teaspoons dried: Oregano gives the sauce a rustic, earthy undertone. I prefer fresh when I can get it, but dried works perfectly fine.
- Kosher Salt (2 tablespoons, plus more to taste): Salt is crucial for flavor development. I use Diamond Crystal kosher salt because it’s less salty by volume, giving me more control. Start with 2 tablespoons and adjust after blending.
- Black Pepper (1 tablespoon, freshly ground): Freshly ground pepper makes a noticeable difference. Pre-ground pepper can taste flat and dusty.
- Balsamic Vinegar (2 tablespoons): This is my secret ingredient. A splash of balsamic vinegar brightens the sauce and adds a subtle sweetness that mimics a long, slow simmer. Don’t skip it—you won’t taste vinegar, I promise.
- Lemon Juice, Bottled (1 tablespoon per pint jar): This is essential for safe canning. Bottled lemon juice has a consistent acidity level, which is critical for water bath canning. Do not use fresh lemon juice here, as its acidity can vary.
- Canning Salt (optional, 1/2 teaspoon per pint jar): This is different from table salt—it doesn’t contain anti-caking agents that can cloud your jars. I use it for extra seasoning, but it’s optional if you’ve already salted the sauce well.
Equipment Needed
You don’t need a professional kitchen to make this canned roasted tomato sauce, but having the right tools makes the process smoother and safer. Here’s what I use and recommend:
- Large Sheet Pans (2-3): I prefer half-sheet pans with a rim to catch juices. Avoid non-stick pans if possible, as the high heat can damage the coating over time. I’ve been using Nordic Ware aluminum pans for years—they’re affordable and distribute heat evenly.
- Food Mill or Immersion Blender: A food mill gives you the smoothest sauce and removes seeds and skins in one step. My favorite is the Oxo Good Grips Food Mill. If you don’t have one, an immersion blender works fine (you’ll just have a slightly chunkier sauce with more texture).
- Large Canning Pot with Rack: You need a pot deep enough to cover your jars by at least 1-2 inches of water. I use a 21-quart graniteware pot that I found at a thrift store for $15. A dedicated canning rack is worth the investment—it keeps jars from touching the bottom and cracking.
- Canning Jars, Lids, and Bands: Use standard Mason jars (pints or quarts). Always inspect jars for cracks or chips before using. I reuse my bands year after year, but I always buy new lids for each batch to ensure a good seal.
- Jar Lifter and Lid Magnet: These are cheap tools that save your fingers from boiling water. A jar lifter has rubber grips that won’t slip, and a lid magnet makes fishing lids out of hot water a breeze.
- Wide-Mouth Funnel: A canning funnel has a wide opening that fits perfectly into jar mouths, making filling them less messy. Trust me, trying to pour hot sauce into a jar without one is a recipe for burns and frustration.
- Clean Kitchen Towels: You’ll need these for wiping jar rims, handling hot jars, and general cleanup. Dedicate a few old towels to canning—they’ll get stained.
Preparation Method
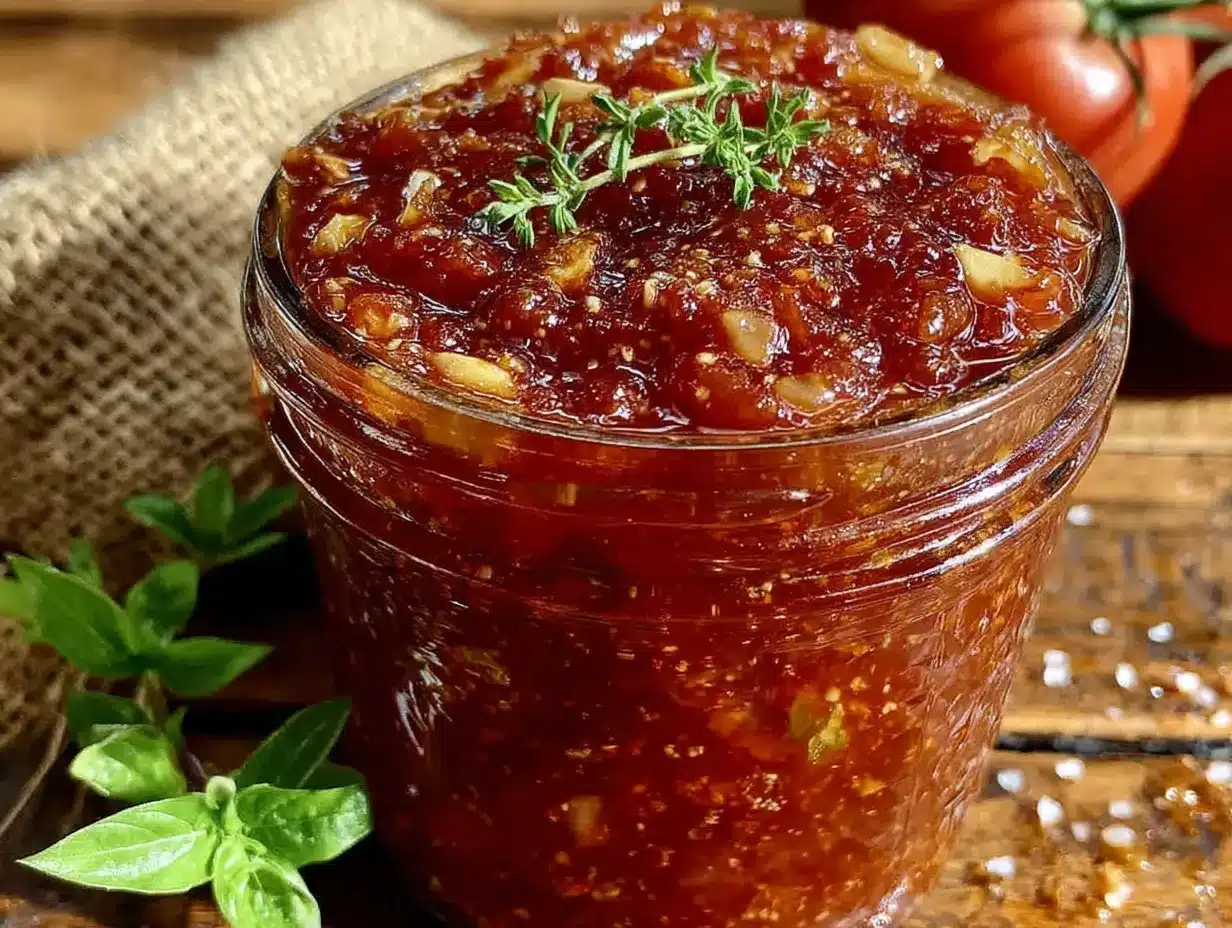
Alright, let’s get to the good part. This method has been tested and tweaked over several seasons, so follow along closely, and you’ll have pantry gold by the end of the day. The total active time is about 1 hour, with 2 hours of roasting and 45 minutes of processing time.
- Preheat Your Oven and Prep the Tomatoes: Set your oven to 400°F (200°C). While it’s heating, wash your tomatoes thoroughly and cut them in half lengthwise. If you’re using larger tomatoes, cut them into quarters. Don’t worry about removing the cores or seeds—we’ll deal with those later. Arrange the tomatoes cut-side down on your sheet pans. This position helps them release moisture and caramelize evenly.
- Add the Aromatics: Scatter your roughly chopped onions and smashed garlic cloves around the tomatoes. Drizzle everything generously with olive oil (about 1/4 cup per pan). Season with salt and pepper. Toss everything gently with your hands to coat, then spread it back into a single layer. Don’t overcrowd the pans—if the tomatoes are piled on top of each other, they’ll steam instead of roast. Use multiple pans or work in batches if needed.
- Roast Until Caramelized: Place the pans in the oven and roast for 45 minutes. After 45 minutes, rotate the pans and check for doneness. The tomatoes should be wrinkled, slightly browned on the edges, and the onions should be soft and translucent. If they need more time, continue roasting in 15-minute increments. Mine usually take about 1 hour and 15 minutes total. You’re looking for deep caramelization, not burnt edges—so keep an eye on them.
- Cool Slightly and Process: Remove the pans from the oven and let them cool for about 10 minutes. This prevents steam burns when you transfer them to your food mill or blender. If you’re using a food mill, set it up over a large bowl and pass the roasted vegetables through it. The mill will separate the skins and seeds from the smooth sauce. If you’re using an immersion blender, transfer everything directly to your stockpot and blend until smooth. The sauce will be thick and rustic—that’s perfect.
- Season and Simmer: Pour the blended sauce into a large, heavy-bottomed stockpot. Add the fresh basil, oregano, and balsamic vinegar. Bring the sauce to a gentle simmer over medium heat, then reduce the heat to low. Let it simmer for 15-20 minutes, stirring occasionally, to meld the flavors. Taste it and adjust salt and pepper as needed. This is also the time to add a pinch of red pepper flakes if you like a little heat.
- Prepare Your Canning Equipment: While the sauce simmers, wash your jars, lids, and bands in hot, soapy water. Rinse thoroughly. Place the jars in your canning pot, cover them with water, and bring to a boil. Turn off the heat and let the jars sit in the hot water until you’re ready to fill them. Place the lids in a small saucepan, cover with water, and bring to a gentle simmer (not a boil) to soften the sealing compound.
- Fill the Jars: Using your jar lifter, remove one jar at a time from the hot water, dumping the water back into the pot. Place the jar on a clean towel. Add 1 tablespoon of bottled lemon juice to each pint jar (2 tablespoons for quart jars). Using your wide-mouth funnel, ladle the hot sauce into the jar, leaving 1/2 inch of headspace. Run a clean, non-metallic spatula or chopstick around the inside of the jar to release any air bubbles. Wipe the rim of the jar with a clean, damp towel to remove any sauce residue—this is critical for a good seal.
- Seal and Process: Place a lid on the jar, center it, and screw on the band until it’s fingertip-tight (don’t overtighten). Using your jar lifter, lower the jar back into the canning pot. Repeat with the remaining jars. Once all jars are in the pot, ensure they’re covered by at least 1-2 inches of water. Bring the water to a full, rolling boil, then start your timer. Process pint jars for 35 minutes and quart jars for 40 minutes (adjust for altitude if you’re above 1,000 feet).
- Cool and Check Seals: When the timer goes off, turn off the heat and let the jars sit in the water for 5 minutes. Using your jar lifter, remove the jars and place them on a clean towel, leaving at least 1 inch of space between them. Let them cool undisturbed for 12-24 hours. You’ll hear the satisfying “pop” of the lids sealing as they cool. After 24 hours, check the seals by pressing down on the center of each lid. If it doesn’t flex or pop, it’s sealed. Any unsealed jars should be refrigerated and used within a week.
Cooking Tips & Techniques
I’ve made my fair share of mistakes with this recipe over the years, so let me save you some trouble. Here are the tips I wish someone had told me when I started canning homemade roasted tomato sauce.
Don’t Skip the Roasting Step: I know it’s tempting to just dump everything in a pot and simmer, but roasting is what gives this sauce its signature depth. The caramelization adds a complexity that you can’t replicate with stovetop cooking. Trust the oven.
Watch Your Acidity Levels: Tomatoes are borderline in terms of acidity for safe canning. That’s why the bottled lemon juice is non-negotiable. I once tried to use fresh lemon juice because I thought it was “more natural,” and my jars didn’t seal properly. Learn from my mistake—use bottled lemon juice for consistent, safe results.
Use a Timer for Processing: It’s easy to get distracted during the processing step, but timing is critical. Set a timer the moment the water returns to a full boil. If your processing time is off, you risk spoilage. I keep a dedicated kitchen timer clipped to my apron during canning days.
Don’t Overtighten the Bands: Fingertip-tight means you tighten the band just until you feel resistance, then stop. If you overtighten, air can’t escape during processing, and the lids may buckle or fail to seal. I learned this the hard way when I found a jar with a buckled lid and a sad, unsealed sauce.
Let the Jars Cool Slowly: Resist the urge to move or touch the jars while they’re cooling. Sudden temperature changes can cause the glass to crack. I once placed a hot jar on a cold countertop, and it cracked right down the middle. Now I always cool them on a folded kitchen towel, away from drafts.
Variations & Adaptations
One of the best things about this canned roasted tomato sauce is how flexible it is. Here are some variations I’ve tried and loved over the years.
Smoky Chipotle Version: Add 2-3 chipotle peppers in adobo sauce to the sauce before blending. This gives the sauce a smoky, spicy kick that’s incredible on tacos or enchiladas. I made a batch of this last summer, and my neighbor literally begged for a jar.
Herb-Infused Oil Roast: Before roasting, toss the tomatoes and aromatics with a few sprigs of fresh rosemary and thyme. The herbs infuse the oil, which then flavors the sauce. Remove the herb sprigs before blending. This version is amazing as a pizza base—it adds a subtle, earthy complexity.
Low-Sodium Option: If you’re watching your salt intake, reduce the salt in the sauce to 1 tablespoon and omit the canning salt. The flavor will still be robust thanks to the roasting and balsamic vinegar. I’ve made this for a friend with hypertension, and she said it was the best canned sauce she’d ever had.
Roasted Red Pepper Addition: Add 2-3 red bell peppers, halved and seeded, to the sheet pans during the last 30 minutes of roasting. The peppers add a natural sweetness and a beautiful color to the sauce. This is my go-to variation for fall, when bell peppers are at their peak.
Garlic Lover’s Version: Double the garlic and add 2 whole heads of garlic, cut in half horizontally, to the roasting pans. The roasted garlic cloves become sweet and spreadable, and they blend into the sauce for an intense, mellow garlic flavor. Fair warning: your kitchen will smell like a fancy Italian restaurant.
Serving & Storage Suggestions
This canned roasted tomato sauce is incredibly versatile, and how you serve it can change the whole meal. Here’s how I like to use it, plus some storage tips to keep it at its best.
Serving Temperature and Presentation: I always serve this sauce warm, straight from the jar after reheating. For pasta, I like to toss the cooked pasta directly into a skillet with the sauce and a splash of pasta water, letting it emulsify for a minute or two. Garnish with fresh basil and a drizzle of good olive oil. For pizza, spread the sauce cold onto the dough—it prevents the crust from getting soggy.
Complementary Dishes and Beverages: This sauce pairs beautifully with hearty pasta shapes like rigatoni or pappardelle. It’s also fantastic as a braising liquid for chicken thighs or meatballs. For a simple appetizer, serve it warm with crusty bread and fresh mozzarella. A medium-bodied red wine like Chianti or Sangiovese is a classic pairing—the acidity of the wine complements the sauce’s brightness.
Storage Instructions: Properly sealed jars of this sauce will keep in a cool, dark pantry for up to 18 months. I store mine in a basement cupboard, away from direct sunlight and heat sources. Once opened, refrigerate the jar and use the sauce within 5-7 days. The flavor actually deepens after a few months in the jar—it’s like the sauce is aging gracefully.
Reheating Methods: For the best texture, reheat the sauce gently on the stovetop over low heat, stirring occasionally. If you’re in a hurry, you can microwave it in a glass bowl for 2-3 minutes, stirring halfway through. Avoid boiling the sauce vigorously, as it can break the emulsion and become watery.
How Flavors Develop Over Time: I’ve noticed that this sauce tastes brighter and more acidic right after canning. After about a month, the flavors mellow and meld together, becoming more rounded and complex. If you can wait, let your jars sit for at least 4-6 weeks before opening. It’s worth the patience.
Nutritional Information & Benefits
While I’m not a nutritionist, I can tell you that this homemade canned roasted tomato sauce is packed with goodness. Here’s a rough breakdown per 1/2 cup serving (based on the recipe as written):
- Calories: Approximately 70-80
- Total Fat: 5g (mostly from heart-healthy olive oil)
- Sodium: 350-400mg (can be reduced with low-sodium option)
- Total Carbohydrates: 8g
- Dietary Fiber: 2g
- Natural Sugars: 5g
- Protein: 1.5g
- Vitamin C: 20% of Daily Value
- Vitamin A: 15% of Daily Value
- Potassium: 10% of Daily Value
Health Benefits of Key Ingredients: Tomatoes are rich in lycopene, a powerful antioxidant that’s been linked to reduced risk of heart disease and certain cancers. Roasting actually increases the bioavailability of lycopene, making it easier for your body to absorb. Olive oil provides healthy monounsaturated fats, which support heart health. Garlic and onions are prebiotic foods that feed your gut microbiome. It’s comfort food that’s actually good for you.
Dietary Considerations: This recipe is naturally gluten-free, dairy-free, vegan, and vegetarian. It’s also Whole30-compliant if you skip the sugar (which I do anyway). The only potential allergen is garlic, which is a FODMAP concern for some people with IBS—but you can omit it or use garlic-infused oil instead.
Conclusion
If you’ve made it this far, you’re probably ready to tackle a batch of this homemade canned roasted tomato sauce, and I couldn’t be more excited for you. This recipe has become a late-summer tradition in my kitchen, a way to capture the best of the season and stash it away for the cold months ahead. There’s something deeply satisfying about opening a jar in January and smelling that roasted, garlicky aroma—it’s like a little taste of sunshine when you need it most.
I encourage you to make this recipe your own. Adjust the herbs, play with the roasting time, or add a secret ingredient your grandmother used. The best recipes are the ones that evolve with you. And honestly, even if your first batch isn’t perfect, you’ll still have a pantry full of homemade sauce that’s leagues better than anything from a store-bought can.
So, grab those tomatoes, preheat your oven, and get ready to fill your pantry with jars of liquid gold. When you open that first jar in the dead of winter, you’ll thank yourself. And hey—if you come up with a killer variation, I’d love to hear about it. Drop a comment below or tag me in your photos. Happy canning, friends!
Frequently Asked Questions
Can I use this recipe for water bath canning without a pressure canner?
Yes! This recipe is specifically designed for water bath canning because it has enough acidity from the tomatoes and added lemon juice. Just make sure to use bottled lemon juice for consistent acidity levels.
Do I have to peel the tomatoes before roasting?
Nope! That’s the beauty of using a food mill—it removes the skins and seeds after roasting. If you’re using an immersion blender, the skins will blend into the sauce, creating a slightly thicker texture. Both methods work great.
How long will this canned sauce last in the pantry?
Properly sealed jars will keep for 12-18 months in a cool, dark pantry. I’ve even used jars that were two years old, and they were still delicious. Just check the seal before opening, and if the lid flexes or pops, refrigerate and use it within a week.
Can I reduce the salt in this recipe?
Absolutely. You can cut the salt in half or omit it entirely from the sauce before canning. Just keep in mind that salt is a preservative, so the sauce may not last quite as long. I recommend using the low-sodium option I mentioned in the variations section.
Why did my jars not seal?
There are a few common culprits: the jar rims weren’t wiped clean before applying the lid, the lids were old or damaged, or the headspace was incorrect. Always inspect your jars and lids before starting, and make sure to wipe those rims with a clean, damp towel. If a jar doesn’t seal, just refrigerate it and use it within a week.
Pin This Recipe!
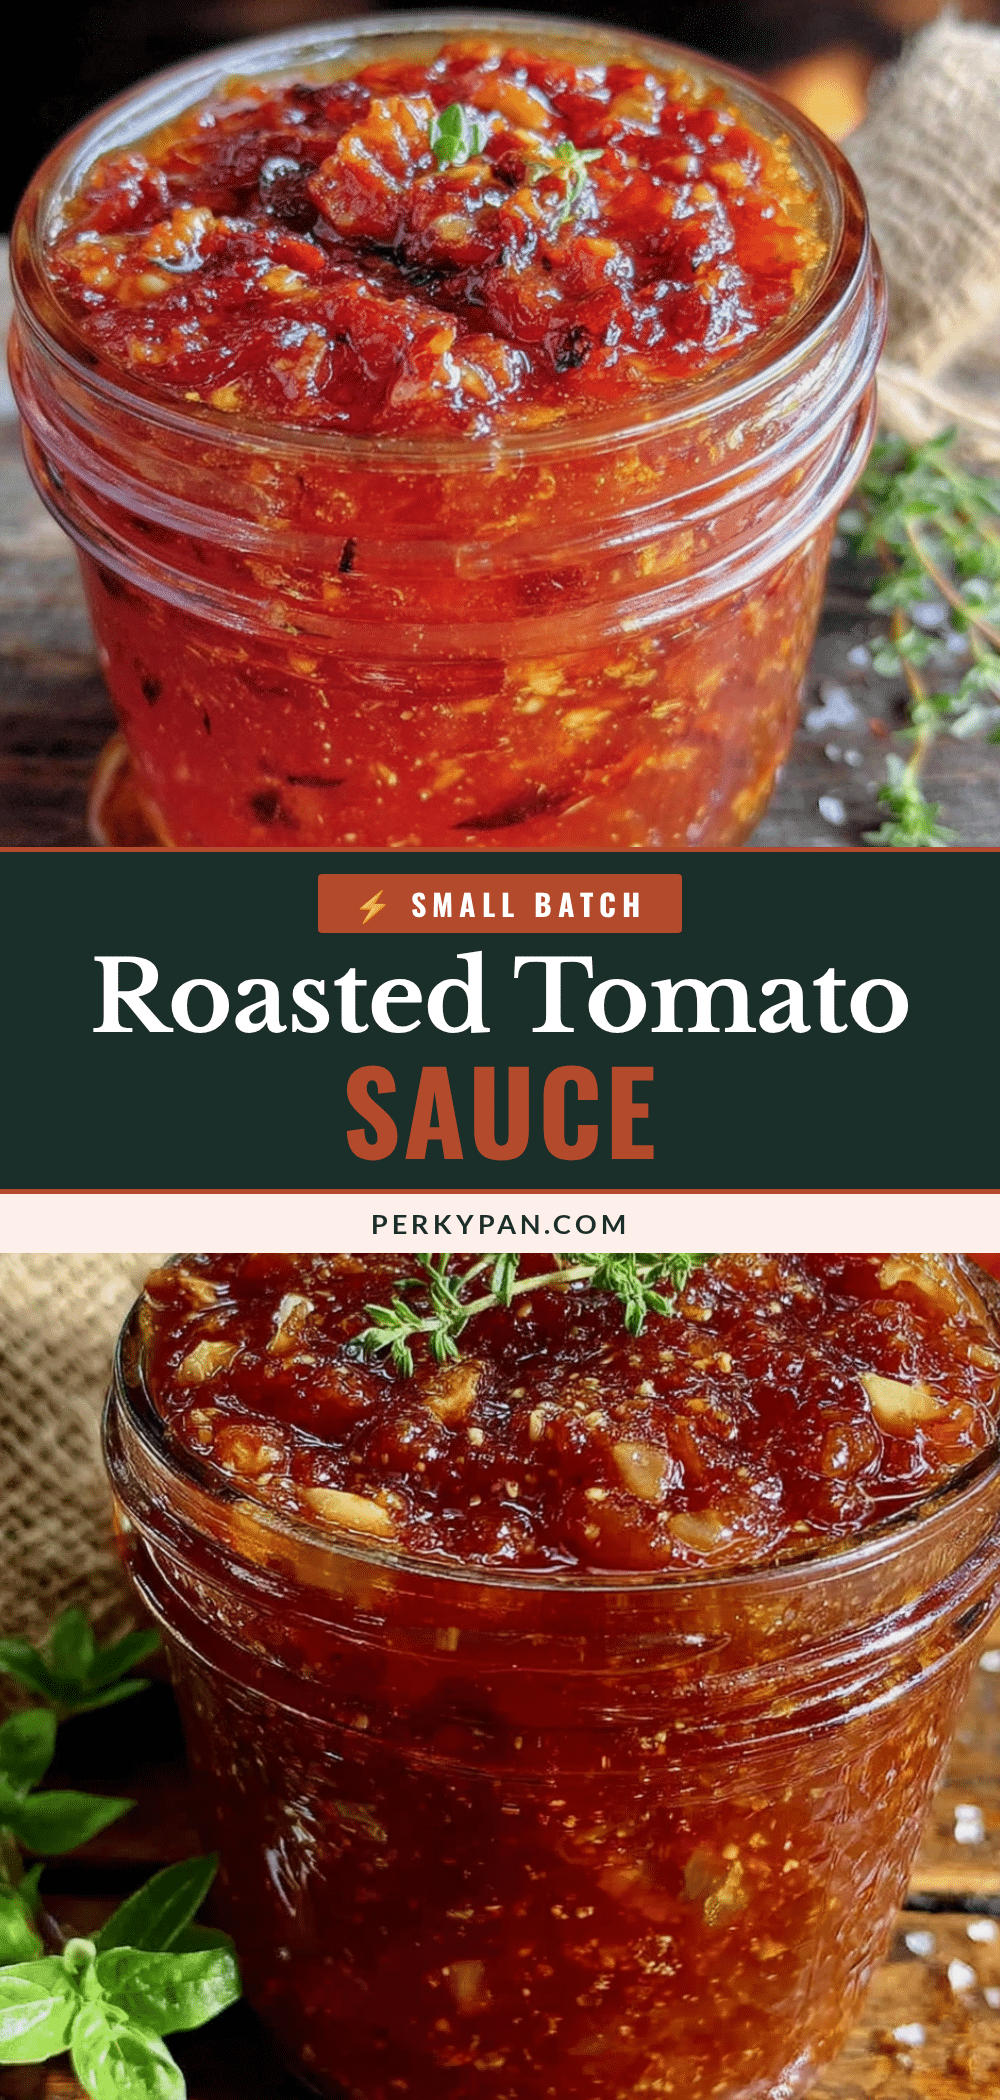
Best Homemade Canned Roasted Tomato Sauce Recipe
This homemade canned roasted tomato sauce is made by roasting tomatoes and aromatics in the oven, then blending and canning for a deep, smoky flavor. It’s a set-it-and-forget-it method that yields a versatile sauce perfect for pasta, pizza, and more.
- Prep Time: 1 hour
- Cook Time: 2 hours
- Total Time: 3 hours 45 minutes
- Yield: 6-8 pints 1x
- Category: Sauce
- Cuisine: Italian
Ingredients
- 10–12 pounds Roma tomatoes (or San Marzano/Amish Paste)
- 2–3 large yellow onions, roughly chopped
- 8–10 garlic cloves, smashed
- 1/2 cup extra virgin olive oil
- 1 cup fresh basil leaves, loosely packed
- 2 tablespoons fresh oregano, chopped (or 2 teaspoons dried)
- 2 tablespoons kosher salt (Diamond Crystal), plus more to taste
- 1 tablespoon freshly ground black pepper
- 2 tablespoons balsamic vinegar
- 1 tablespoon bottled lemon juice per pint jar (2 tablespoons per quart jar)
- 1/2 teaspoon canning salt per pint jar (optional)
Instructions
- Preheat oven to 400°F (200°C). Wash tomatoes and cut in half lengthwise (quarter if large). Arrange cut-side down on sheet pans.
- Scatter chopped onions and smashed garlic around tomatoes. Drizzle with olive oil (about 1/4 cup per pan). Season with salt and pepper. Toss gently to coat, then spread into a single layer. Do not overcrowd.
- Roast for 45 minutes. Rotate pans and check for doneness. Continue roasting in 15-minute increments until tomatoes are wrinkled, slightly browned on edges, and onions are soft and translucent (about 1 hour 15 minutes total).
- Remove from oven and let cool for 10 minutes. Pass through a food mill into a large bowl, or transfer to a stockpot and blend with an immersion blender until smooth.
- Pour blended sauce into a large heavy-bottomed stockpot. Add fresh basil, oregano, and balsamic vinegar. Bring to a gentle simmer over medium heat, then reduce to low. Simmer for 15-20 minutes, stirring occasionally. Adjust salt and pepper to taste.
- While sauce simmers, wash jars, lids, and bands in hot soapy water. Rinse. Place jars in canning pot, cover with water, and bring to a boil. Turn off heat and let jars sit in hot water. Place lids in a small saucepan, cover with water, and bring to a gentle simmer.
- Using a jar lifter, remove one jar at a time from hot water. Add 1 tablespoon bottled lemon juice per pint jar (2 tablespoons per quart). Using a wide-mouth funnel, ladle hot sauce into jar, leaving 1/2 inch headspace. Run a non-metallic spatula around inside to release air bubbles. Wipe rim with clean damp towel.
- Place lid on jar, center it, and screw on band until fingertip-tight. Lower jar into canning pot. Repeat with remaining jars. Ensure jars are covered by 1-2 inches of water. Bring to a full rolling boil. Process pint jars for 35 minutes, quart jars for 40 minutes (adjust for altitude above 1,000 feet).
- Turn off heat and let jars sit in water for 5 minutes. Remove jars with jar lifter and place on a clean towel, leaving 1 inch space between them. Cool undisturbed for 12-24 hours. Check seals after 24 hours (lid should not flex or pop). Refrigerate any unsealed jars and use within a week.
Notes
Use bottled lemon juice for safe canning (fresh lemon juice acidity varies). Do not overtighten bands; fingertip-tight is key. Let jars cool slowly on a towel to prevent cracking. For best flavor, let jars sit for 4-6 weeks before opening.
Nutrition
- Serving Size: 1/2 cup
- Calories: 7080
- Sugar: 5
- Sodium: 350400
- Fat: 5
- Saturated Fat: 0.7
- Carbohydrates: 8
- Fiber: 2
- Protein: 1.5
Keywords: homemade canned roasted tomato sauce, roasted tomato sauce, canning tomato sauce, water bath canning, homemade sauce, pantry staple


