Love this? Save it for later!
Share the inspiration with your friends
“You know that moment when you open the freezer and find those sad, half-melted popsicles from who-knows-when?” That was me last summer, staring at a freezer full of store-bought popsicles loaded with sugar and artificial colors. I was craving something fresh, natural, and actually good for me—without the hassle of complicated recipes or fancy ingredients. Honestly, the idea of making my own popsicles felt like a huge chore until I stumbled upon some simple fresh popsicle mold hacks that transformed the whole process.
It all started on a random Wednesday afternoon when I was trying to keep my restless niece entertained. I figured, why not try making homemade popsicles together? We didn’t have much—just a few fruits, some yogurt, and a bit of honey. But with a few clever tricks I’d picked up from a chat with a fellow food blogger in the checkout line (of all places!), we whipped up these vibrant, healthy treats that were gone in a flash. The best part? No sticky mess or awkward popsicle sticks breaking halfway through. I mean, let me tell you, it was a game-changer.
Maybe you’ve been there, too—wanting to serve something cool and refreshing but feeling stuck with the usual sugary options or complicated recipes. This post is for anyone who’s ever wanted to make fresh, healthy popsicles at home that actually turn out great every time. These popsicle mold hacks are straightforward, budget-friendly, and honestly, a little fun to experiment with. So, if you’ve got a freezer and a craving, let’s chat popsicles!
Why You’ll Love This Recipe
After testing dozens of combinations and popsicle mold tricks, I can say this method is my go-to for healthy homemade treats that feel special without eating up your whole afternoon. Here’s why you might want to add these fresh popsicle mold hacks to your kitchen routine:
- Quick & Easy: You can have popsicles ready to freeze in under 10 minutes—perfect for those last-minute snack cravings or hot summer afternoons.
- Simple Ingredients: No need to track down exotic items. Most recipes use everyday fruits, natural sweeteners, and a base like yogurt or juice you probably already have.
- Perfect for Any Occasion: Whether it’s a backyard BBQ, a kid’s birthday party, or a refreshing afternoon pick-me-up, these treats fit right in.
- Crowd-Pleaser: Kids love the fun shapes and fresh flavors; adults appreciate the natural sweetness and absence of artificial anything.
- Unbelievably Delicious: The texture is smooth but firm, the flavors bright and clean—like summer in a bite, really.
What makes this approach stand out? Well, it’s not just about mixing fruit and freezing it. These hacks include smart filling techniques, layering for flavor pops, and DIY ideas for popsicle sticks and molds that you can customize any time. Plus, these recipes avoid the icy, crumbly popsicles you sometimes get with homemade versions. Honestly, it’s the kind of healthy treat that makes you close your eyes and smile after the first bite.
What Ingredients You Will Need
This recipe relies on fresh, wholesome ingredients to keep things simple while delivering vibrant flavors and a satisfying texture. Most of these are pantry and fridge staples, so you won’t have to make a special trip just for this. Here’s a breakdown:
- Fresh Fruits: Berries (strawberries, blueberries, raspberries), mango chunks, kiwi slices, or peaches. (In summer, fresh is best; in off-season, frozen works fine.)
- Natural Sweeteners: Honey, maple syrup, or agave nectar—just a touch to balance tartness but totally optional if your fruit is ripe.
- Base Liquids: Coconut water, fresh fruit juice (like orange or apple), or plain Greek yogurt (I recommend Fage for creaminess).
- Herbs & Extras: Fresh mint leaves, basil, or a little grated ginger for a zingy twist.
- Optional Mix-Ins: Chia seeds for texture and nutrition, tiny bits of dark chocolate, or shredded coconut.
For an easy layered popsicle, you might want to prepare:
- Fruit Puree: Blend some fruit with a bit of juice or yogurt until smooth.
- Chunky Fruit Pieces: Cut some fruits into small cubes or thin slices for visual appeal and texture contrast.
When selecting ingredients, look for ripe, flavorful fruit—this makes all the difference. I find frozen berries from Driscoll’s to be reliable year-round. And for a creamy option, full-fat Greek yogurt keeps popsicles from turning icy and chalky.
Equipment Needed
Making these fresh popsicles is delightfully low-tech, but a few basics make your life easier. Here’s what you’ll want:
- Popsicle Molds: Silicone molds are fantastic for easy release and come in a variety of fun shapes. If you don’t have molds, you can use small paper cups or even ice cube trays with popsicle sticks.
- Popsicle Sticks: Wooden sticks are classic, but reusable plastic sticks with built-in drip guards are great for less mess.
- Blender or Food Processor: For pureeing fruit smoothly. A stick blender works wonders if you’re only making small batches.
- Mixing Bowls and Measuring Cups: Basic kitchen tools for combining ingredients.
- Freezer Space: This might sound obvious, but making sure you have enough room for your popsicle trays to freeze flat is key—no one likes slanted or misshapen treats!
If you’re on a budget, you can improvise popsicle shapes using cupcake liners and toothpicks. Just be sure to freeze them on a flat surface. Also, silicone molds are dishwasher-safe, so cleanup is a breeze—trust me, that’s a game-changer when making popsicles regularly.
Preparation Method
- Prepare Your Ingredients (10 minutes): Wash and chop your fresh fruits into bite-sized pieces. If using herbs or ginger, finely chop or grate them. Measure out your sweetener and base liquid or yogurt.
- Blend the Puree (5 minutes): Combine half of your fruit with base liquid or yogurt in a blender. Puree until smooth but still thick enough to coat the back of a spoon. Taste and add sweetener if needed. (If you want layered popsicles, reserve the other half of the fruit for chunks.)
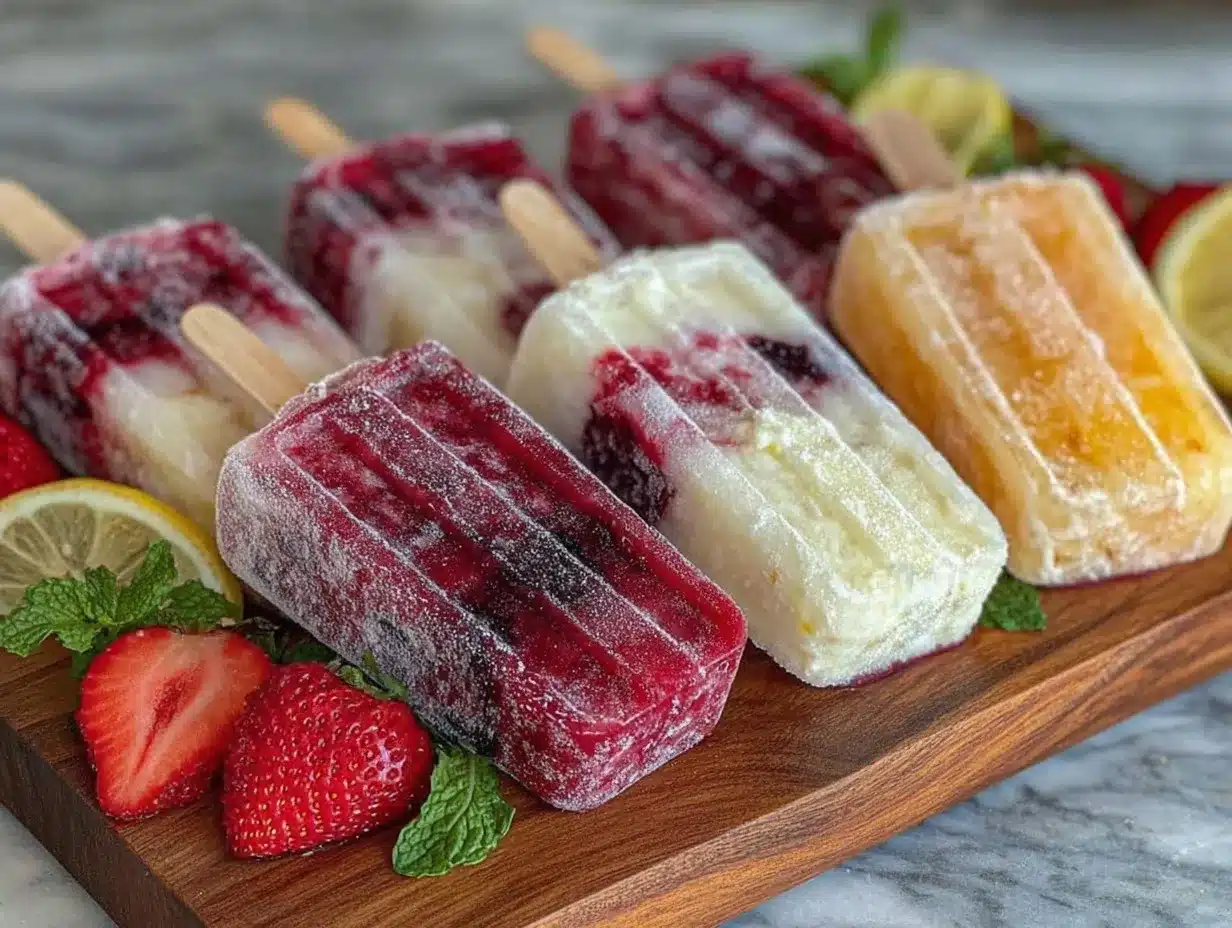
- Assemble the Popsicles (5-10 minutes): Pour a small amount of puree into the bottom of each mold—about 1/3 full. Add some fruit chunks or herbs, then layer more puree on top. Use a skewer or toothpick to gently swirl layers for a marbled effect, if you’re feeling fancy.
- Insert Sticks: Place popsicle sticks directly into the molds. If your molds don’t have built-in holders, cover the top with foil and poke sticks through to keep them upright.
- Freeze (6+ hours): Place molds on a flat surface in the freezer. Freeze until completely solid—overnight works best for clean releases.
- Unmold and Enjoy: Run warm water on the outside of molds briefly to loosen popsicles. Gently pull on sticks to release. Serve immediately or store in freezer bags for later.
Pro Tip: If your popsicles are icy or crumbly, try adding a little more yogurt or coconut water to the puree for creamier texture. Also, layering helps prevent large ice crystals from forming, making the popsicles smoother.
Cooking Tips & Techniques
Making homemade popsicles sounds simple, but a few tricks can really improve your results:
- Don’t Overfill: Leave a little space at the top of the mold to allow for expansion as the popsicles freeze. Otherwise, you might get cracked or misshapen treats.
- Use Silicone Molds: They’re forgiving and make unmolding a breeze. If you only have plastic molds, warm water baths around the mold’s exterior are your friend.
- Balance Sweetness: If your fruit is tart, a touch of natural sweetener keeps popsicles from being too sharp. Taste your puree before freezing—it should be slightly sweeter than you want the final product because freezing dulls flavors.
- Layer for Texture: Alternating smooth purees with fruit chunks or herbs adds texture and visual appeal. Plus, it helps with the melting experience—no one wants a one-note icy pop.
- Plan Freezer Time: Popsicles need at least 6 hours, preferably overnight, to freeze solid. Trying to eat them too soon means disappointment (and mess!).
- Use Fresh Bases: Greek yogurt or coconut milk bases prevent popsicles from becoming rock hard and icy, especially if you prefer creamier pops.
One time, I forgot to put the sticks in before freezing and ended up with popsicles that were impossible to eat without making a mess. Don’t be like me—insert sticks firmly before freezing!
Variations & Adaptations
These fresh popsicle mold hacks are easy to customize based on your mood, dietary needs, or what’s in your fridge. Here are some ideas to get you started:
- Dairy-Free Version: Swap Greek yogurt for coconut yogurt or almond milk for a creamy dairy-free pop.
- Green Goddess: Blend spinach or kale with pineapple and coconut water for a nutritious green pop that tastes sweeter than it looks.
- Chocolate Banana: Mix mashed banana with cocoa powder and a splash of almond milk, then layer with chopped nuts or coconut flakes.
- Seasonal Fruits: Use peaches and blueberries in summer, pomegranate and citrus in winter. Frozen fruit works well when fresh isn’t available.
- Spicy Kick: Add a pinch of cayenne or fresh ginger for a surprising but delicious twist.
Personally, I once tried layering mango puree with a drizzle of chili honey and a sprinkle of toasted coconut flakes. It was a hit at a summer potluck—unexpected but totally addictive.
Serving & Storage Suggestions
Serve your popsicles chilled straight from the freezer for that perfect refreshing snap. They look great on colorful plates or in clear glasses lined with fresh mint or citrus slices for a little flair. Pair them with light snacks like nuts, fresh fruit salad, or a chilled herbal iced tea to complement the fresh flavors.
Store leftover popsicles in an airtight freezer bag or container to prevent freezer burn and odor absorption. They keep well for up to two weeks, but honestly, they rarely last that long around here! When reheating, just let them sit at room temperature for a couple of minutes or run under warm water briefly for easy removal from molds.
Flavors often mellow and blend a bit if you store popsicles for a day or two, which I find makes them even tastier. Just don’t let them refreeze after melting, or you’ll lose that smooth texture.
Nutritional Information & Benefits
These homemade popsicles are naturally low in added sugars and packed with vitamins from fresh fruit. For example, berries provide antioxidants and vitamin C, while Greek yogurt adds protein and probiotics. Using coconut water or fresh juice keeps hydration high and calories low.
Most recipes are gluten-free and can be adapted to be vegan by swapping dairy ingredients. Just watch for potential allergens like nuts if you add mix-ins. From a wellness perspective, these treats satisfy sweet cravings without the guilt or crash that comes from processed snacks.
Conclusion
Making fresh, healthy popsicles at home doesn’t need to be complicated or messy. With these fresh popsicle mold hacks, you can whip up delicious, colorful treats that everyone will love—whether you’re feeding kids, impressing guests, or just treating yourself. I love how easy it is to customize these recipes based on what’s in my kitchen or what mood I’m in. Plus, the smiles they bring? Totally worth it.
If you try these tips, I’d be thrilled to hear what flavor combos you come up with or any fun mold hacks you’ve discovered. Go ahead, mix, match, and share your popsicle adventures—let’s keep the summer sweet and healthy!
Frequently Asked Questions
Can I use any type of fruit for these popsicles?
Absolutely! Most fruits work well, but softer fruits like bananas or mangoes blend best for creamy texture, while berries and citrus add bright flavors and color.
How do I prevent popsicles from getting icy?
Adding a creamy base like Greek yogurt or coconut milk helps reduce ice crystals. Also, layering purees with fruit chunks improves texture.
What if I don’t have popsicle molds?
You can use small paper cups or ice cube trays with popsicle sticks or toothpicks. Just freeze on a flat surface and remove carefully once solid.
How long do homemade popsicles last in the freezer?
They’re best eaten within two weeks to maintain flavor and texture, but they can be stored up to a month if well sealed.
Can I make these popsicles without added sweeteners?
Yes! If your fruit is ripe and sweet enough, you can skip sweeteners altogether. Just taste your puree before freezing to ensure it’s flavorful.
For a fun spin on cool treats, you might also enjoy the watermelon cucumber salad or the refreshing homemade lemonade I shared recently—both perfect companions on a sunny day.
Pin This Recipe!
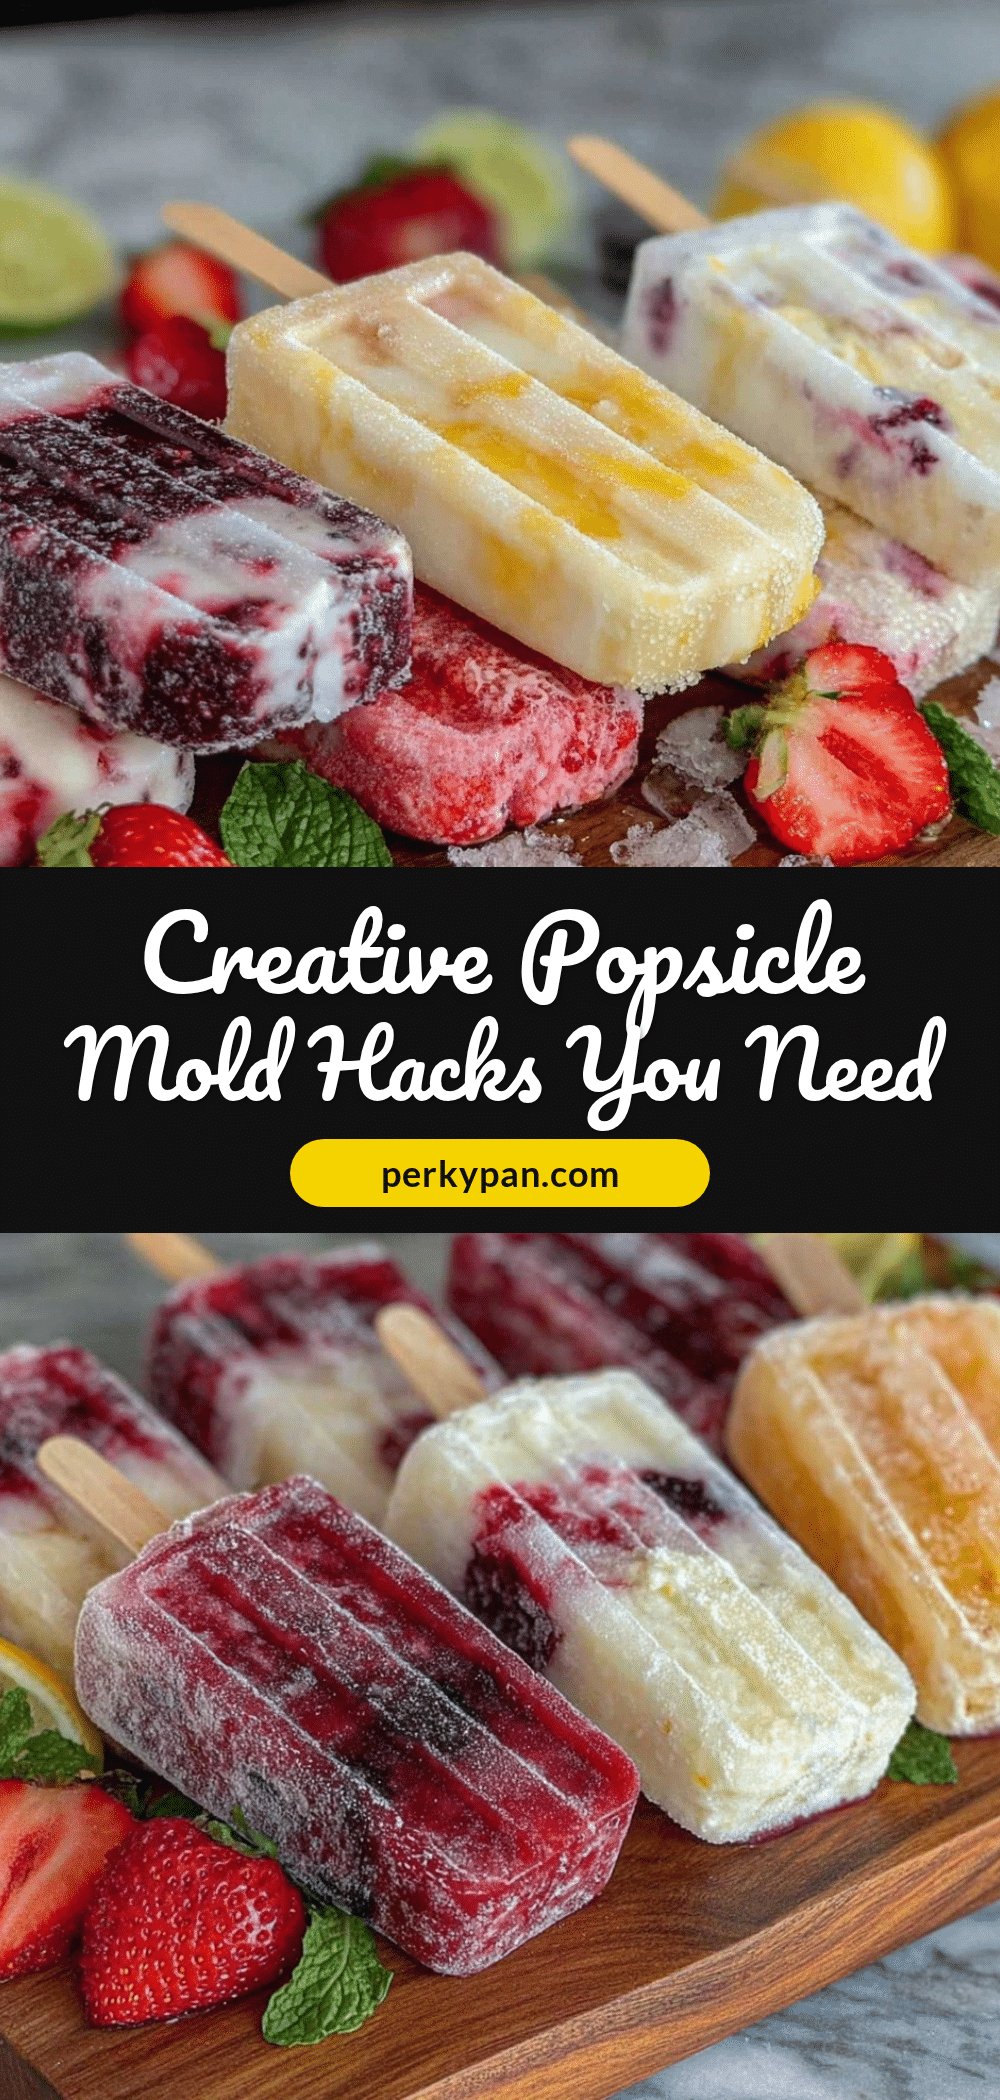
Fresh Popsicle Mold Hacks Easy Healthy Homemade Treats Ideas
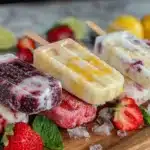
A simple and healthy method to make fresh, natural popsicles at home using everyday fruits, natural sweeteners, and yogurt or juice bases. These popsicles are quick to prepare, customizable, and perfect for any occasion.
- Prep Time: 15 minutes
- Cook Time: 6 hours
- Total Time: 6 hours 15 minutes
- Yield: 8 servings
- Category: Dessert
- Cuisine: American
Ingredients
- Fresh fruits: berries (strawberries, blueberries, raspberries), mango chunks, kiwi slices, peaches
- Natural sweeteners: honey, maple syrup, or agave nectar (optional)
- Base liquids: coconut water, fresh fruit juice (orange or apple), or plain Greek yogurt
- Herbs & extras: fresh mint leaves, basil, grated ginger (optional)
- Optional mix-ins: chia seeds, tiny bits of dark chocolate, shredded coconut
Instructions
- Prepare your ingredients by washing and chopping fresh fruits into bite-sized pieces. Finely chop or grate herbs or ginger if using. Measure out sweetener and base liquid or yogurt.
- Blend half of your fruit with base liquid or yogurt in a blender until smooth but thick enough to coat the back of a spoon. Taste and add sweetener if needed. Reserve the other half of the fruit for chunks if layering.
- Pour a small amount of puree into the bottom of each mold (about 1/3 full). Add fruit chunks or herbs, then layer more puree on top. Use a skewer or toothpick to gently swirl layers for a marbled effect if desired.
- Insert popsicle sticks directly into the molds. If molds lack built-in holders, cover the top with foil and poke sticks through to keep them upright.
- Place molds on a flat surface in the freezer and freeze for at least 6 hours or overnight until completely solid.
- Run warm water on the outside of molds briefly to loosen popsicles. Gently pull on sticks to release. Serve immediately or store in freezer bags for later.
Notes
Do not overfill molds to allow for expansion during freezing. Use silicone molds for easy unmolding. Layering purees with fruit chunks prevents icy texture. Add more yogurt or coconut water for creamier popsicles. Insert sticks before freezing to avoid mess.
Nutrition
- Serving Size: 1 popsicle
- Calories: 70
- Sugar: 10
- Sodium: 15
- Fat: 1.5
- Saturated Fat: 0.5
- Carbohydrates: 14
- Fiber: 1.5
- Protein: 1.5
Keywords: popsicles, homemade popsicles, healthy treats, fresh fruit popsicles, yogurt popsicles, natural sweeteners, summer snacks