Love this? Save it for later!
Share the inspiration with your friends
Introduction
“I wasn’t expecting to be crafting tiny, edible flags in the middle of July, but there I was, elbow-deep in pie dough and berry jam, while my neighbor’s kids buzzed around the porch like a swarm of fireflies.” That afternoon started off as a simple plan to bring a classic dessert to the neighborhood’s annual Fourth of July picnic. But honestly, it turned into something way more fun—and way cuter—than your usual apple pie or berry cobbler.
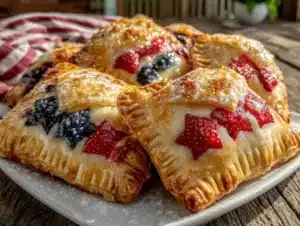
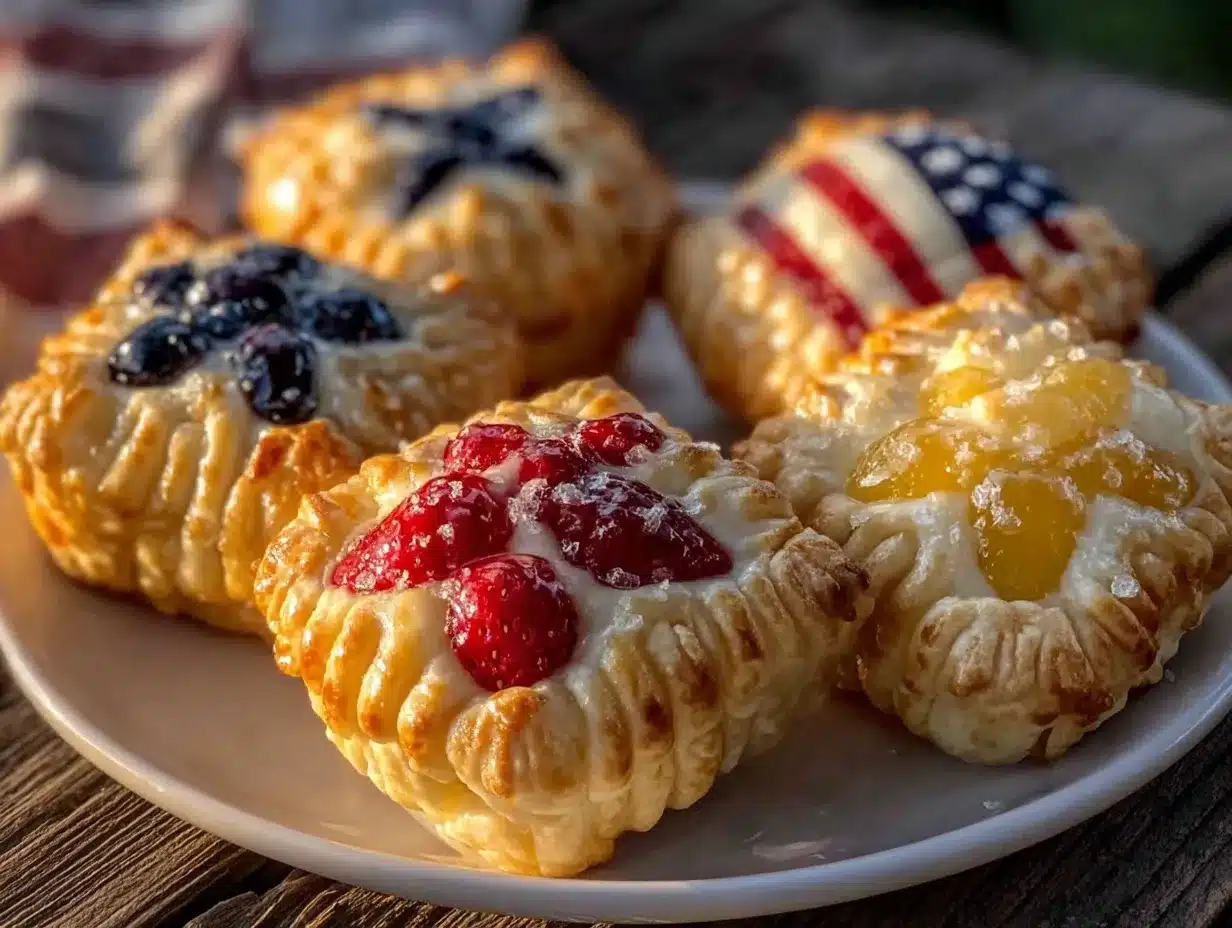
These Perfect Mini Flag Pies came to life because I forgot to grab the big pie dish and, faced with a too-small baking sheet, improvised with mini tart pans and a little creative spirit. The result? Bite-sized patriotic desserts that everyone kept reaching for again and again. You know that feeling when a recipe just surprises you with how well it works? That’s exactly what happened here. And let me tell you, between the flaky crusts, the vibrant red and blue fillings, and the star-shaped pastry cutouts, these little pies stole the show without much fuss.
Maybe you’ve been there—rushing to a summer party, realizing you need something festive and easy to share. These flag pies are the answer. They’re playful, colorful, and honestly, a bit nostalgic, reminding me of firework-lit skies and laughter ringing through the street. Stick around—I’ll share everything you need to know to make these charming mini desserts your go-to for all your patriotic celebrations.
Why You’ll Love This Recipe
Having tested this recipe through several summer gatherings and neighborhood get-togethers, I can confidently say these Perfect Mini Flag Pies are a winner for many reasons. Here’s why you’ll want to keep this one in your recipe box:
- Quick & Easy: Ready in under an hour, these pies are perfect for last-minute celebrations or impromptu dessert cravings.
- Simple Ingredients: No need for special trips to the store—most of the ingredients are pantry staples you probably have on hand.
- Ideal for Summer Parties: Whether it’s the Fourth of July, Memorial Day, or any patriotic event, these bite-sized treats add a festive touch.
- Crowd-Pleaser: Kids love them because they’re fun and easy to hold, and adults appreciate the perfect balance of flaky crust and sweet filling.
- Unbelievably Delicious: The combination of buttery pie crust, tart berries, and a touch of sweetness is pure comfort food magic.
This isn’t just another mini pie recipe. The secret lies in the perfectly flaky crust that holds its shape, even with the intricate star and stripe decorations. Plus, the use of fresh blueberries and strawberries gives vibrant color and fresh flavor that really pops on a plate. I’ve tried other versions with frozen fruit or jam only, but they never had the same zing. Honestly, these flag pies have become the highlight of our summer gatherings—something I look forward to making every year, and I bet you will too.
What Ingredients You Will Need
This recipe uses simple, wholesome ingredients to deliver bold flavor and a satisfying flaky texture without fuss. Most of these are pantry staples or easy to get at your local market, with options for substitutions if you prefer.
- For the crust:
- 2 ½ cups all-purpose flour (I like King Arthur Flour for consistent results)
- 1 cup unsalted butter, cold and cubed (keeps the crust flaky)
- 1 teaspoon salt
- 2 tablespoons granulated sugar (adds subtle sweetness)
- 6-8 tablespoons ice water (add gradually for dough consistency)
- For the filling:
- 1 cup fresh strawberries, hulled and sliced (ripe, firm berries work best)
- 1 cup fresh blueberries (or frozen, thawed and drained if out of season)
- ¼ cup granulated sugar
- 1 tablespoon cornstarch (helps thicken the filling)
- 1 teaspoon lemon juice (brightens the berry flavors)
- ½ teaspoon vanilla extract (optional, adds warmth)
- For assembly and decoration:
- 1 egg, beaten (for egg wash to get that golden crust)
- Extra flour for dusting work surface
- Optional: coarse sugar for sprinkling
For a gluten-free option, you can swap the all-purpose flour with a 1-to-1 gluten-free baking flour blend. If you want to keep it dairy-free, substitute the butter with a plant-based butter or coconut oil, though the texture will change slightly. Fresh fruit is key here, but if you only have frozen berries, just make sure they’re fully thawed and patted dry to avoid soggy crusts.
Equipment Needed
- Mini tart pans or a mini muffin tin with removable bottoms (to get those perfect bite-sized pies)
- Mixing bowls for dough and filling preparation
- Rolling pin (a small one helps with the mini crusts)
- Pastry cutter or fork (for blending butter into flour)
- Sharp knife or small cookie cutters (for making star shapes and strips)
- Baking sheet (to catch any drips and for easy oven transfer)
- Cooling rack (to let the pies rest after baking)
If you don’t have mini tart pans, a mini muffin tin works great—just press the dough into the cups carefully. I’ve even used a silicone mold once, which made unmolding a breeze but didn’t give as crisp an edge. Pro tip: chill your tart pans in the fridge before filling to help keep the dough from shrinking. Also, keep your butter cold and handle the dough gently to avoid tough crusts. No fancy equipment needed—just a bit of patience and care!
Preparation Method
- Make the crust: In a large bowl, whisk together 2 ½ cups flour, salt, and sugar. Add the cold, cubed butter. Using a pastry cutter or your fingertips, work the butter into the flour until the mixture resembles coarse crumbs with some pea-sized pieces. This texture is key to a flaky crust. Slowly add ice water, one tablespoon at a time, mixing gently until the dough just comes together. Don’t overwork it! Wrap the dough in plastic and chill for at least 30 minutes.
- Prepare the filling: In a medium bowl, combine sliced strawberries, blueberries, sugar, cornstarch, lemon juice, and vanilla extract. Mix gently to coat the fruit evenly. Set aside while you roll out the dough.
- Roll out the dough: Lightly flour your work surface and roll the chilled dough to about 1/8-inch (3 mm) thickness. Using a round cutter slightly larger than your mini tart pans, cut out circles and carefully press them into each pan. Reserve scraps for the flag decorations.
- Fill the pies: Spoon a small amount (about 1 to 1 ½ tablespoons) of the berry filling into each crust, making sure not to overfill to prevent overflow during baking.
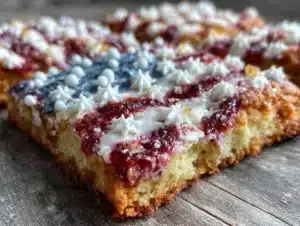
- Create the flag designs: Roll out the scraps and cut thin strips for the stripes and small star shapes using a tiny cookie cutter or the tip of a knife. Arrange the stripes across one half of the pie and cluster stars in the corner to mimic the American flag. This step is where you can get creative! Brush the edges with egg wash to help decorations stick.
- Apply the egg wash: Lightly brush the entire surface of each pie with beaten egg. This will give your mini pies that irresistible golden-brown finish. Sprinkle coarse sugar on top if you want a little sparkle.
- Bake: Place the tart pans on a baking sheet and bake in a preheated oven at 375°F (190°C) for 20-25 minutes. The crust should be golden and the filling bubbling. Keep an eye on the first batch—you might need to rotate the pans halfway through for even browning.
- Cool and enjoy: Let the pies cool in the pans for about 10 minutes before transferring to a wire rack. They’re best served warm or at room temperature, but honestly, they’re so good even cold they’ll disappear fast!
If you notice the crust edges browning too quickly, cover them with foil strips halfway through baking. And if your filling bubbles over a bit (like mine did on my first try), don’t sweat it—just wipe with a damp cloth before serving. You might get a few berry stains on your fingers, but that’s part of the fun!
Cooking Tips & Techniques
Let me share some tricks I’ve picked up that make these mini flag pies really shine. First off, keeping your butter and water cold is non-negotiable if you want that flaky, tender crust. I learned this the hard way when I tried making the dough on a warm day—ended up with a dense, chewy mess.
When rolling out the dough, flour your surface lightly but avoid overflouring, which can dry out the crust. I usually dust my rolling pin too. And don’t forget to chill the dough after mixing—this relaxes the gluten and makes it easier to handle.
The filling needs just the right amount of cornstarch. Too little, and it’ll be runny; too much, and it gets gluey. I recommend sticking to 1 tablespoon and adjusting based on how juicy your berries are. Also, stirring the filling gently preserves the berry shapes and keeps the texture appealing.
For decorating, patience is key. Those tiny pastry stars and stripes take a bit of time but add so much charm. If you’re short on time, you can skip the elaborate decoration and just cut slits on top for steam vents.
Lastly, don’t rush cooling. The filling thickens as it cools, so letting pies rest on a wire rack helps them set perfectly. If you’re baking multiple batches, keep the finished pies loosely covered with foil to prevent drying out.
Variations & Adaptations
These mini flag pies are pretty flexible, so you can make adjustments based on taste, dietary needs, or what’s in season.
- Fruit swaps: Try raspberries and blackberries for a different berry combo, or peach and blueberry for a summer twist. Just adjust sugar to taste.
- Gluten-free crust: Use a gluten-free baking blend instead of all-purpose flour. I’ve tried Cup4Cup and it works well, just chill the dough longer.
- Dairy-free option: Replace butter with a solid coconut oil or vegan margarine. The crust won’t be exactly the same but still delicious.
- Alternative shapes: If you don’t want to fuss with flag designs, make simple lattice tops or cut out heart shapes for a different patriotic vibe.
- Mini hand pies: Instead of tart pans, fold the dough over filling and crimp edges for portable handheld treats.
One experiment I loved was adding a pinch of cinnamon to the filling—it gives a subtle warmth that plays nicely with the berries. Don’t be afraid to try your own spin!
Serving & Storage Suggestions
These Perfect Mini Flag Pies are best served slightly warm or at room temperature. I like to plate them with a dollop of freshly whipped cream or a scoop of vanilla ice cream for that extra touch. They’re also great alongside a tall glass of iced tea or lemonade on a hot summer day.
Leftovers store well in an airtight container in the refrigerator for up to 3 days. To reheat, pop them in a 350°F (175°C) oven for 8-10 minutes to warm the filling and crisp back up the crust. Avoid microwaving if you want to keep that flakiness intact.
If you want to freeze them, do so before baking. Wrap each pie tightly and store in a freezer-safe container for up to a month. Bake from frozen—add a few extra minutes to the baking time.
Fun fact: the flavors actually marry together a bit after a day, making the pies taste even better the next day. So if you’re prepping ahead for a party, that’s a plus!
Nutritional Information & Benefits
Each mini flag pie contains approximately 180-220 calories, depending on the size and exact filling amounts. They provide a modest serving of fruit, mainly from the fresh berries, which are rich in antioxidants and vitamin C. The crust contributes carbohydrates and fat, primarily from butter, giving you sustained energy for summer festivities.
This recipe can be adapted for gluten-free or dairy-free diets, making it accessible for many. Just be mindful of sugar intake if you are monitoring it, as the filling does have added sugar for balance.
Overall, these bite-sized desserts strike a nice balance between indulgence and fresh fruit goodness, making them a fun and festive treat that feels just right for celebrating with friends and family.
Conclusion
So, there you have it—Perfect Mini Flag Pies that are as charming as they are delicious. Whether you’re hosting a backyard barbecue or just craving a bite of summer nostalgia, these little desserts bring joy with every flaky, fruity mouthful. I love how easy they are to customize and how much fun the decorating process can be, especially if you have little helpers around.
Give this recipe a try, tweak it to your liking, and share your creations—I’d love to hear how your mini flag pies turn out. After all, food tastes better when it’s shared, don’t you think? Happy baking and happy celebrating!
FAQs About Perfect Mini Flag Pies
Can I use frozen berries for the filling?
Yes, you can use frozen berries, but make sure to thaw and drain them well to avoid watery filling that can make the crust soggy.
How do I prevent the crust from shrinking during baking?
Chilling the dough before baking and not stretching it too thin helps. Also, avoid overworking the dough to keep it tender and stable.
Can I make these pies ahead of time?
Absolutely! You can assemble and refrigerate them a few hours before baking, or freeze them unbaked for up to a month.
What if I don’t have mini tart pans?
A mini muffin tin works well; just press the dough carefully into the cups. Alternatively, you can make hand pies by folding dough over the filling.
How do I keep the star and stripe decorations from burning?
Keep an eye on baking times and cover the decorations with foil strips if they start to brown too quickly.
For a touch of inspiration on other crowd-pleasing desserts, you might enjoy the crispy garlic chicken recipe or the blueberry lemon muffins, both perfect companions to your patriotic feast.
Pin This Recipe!
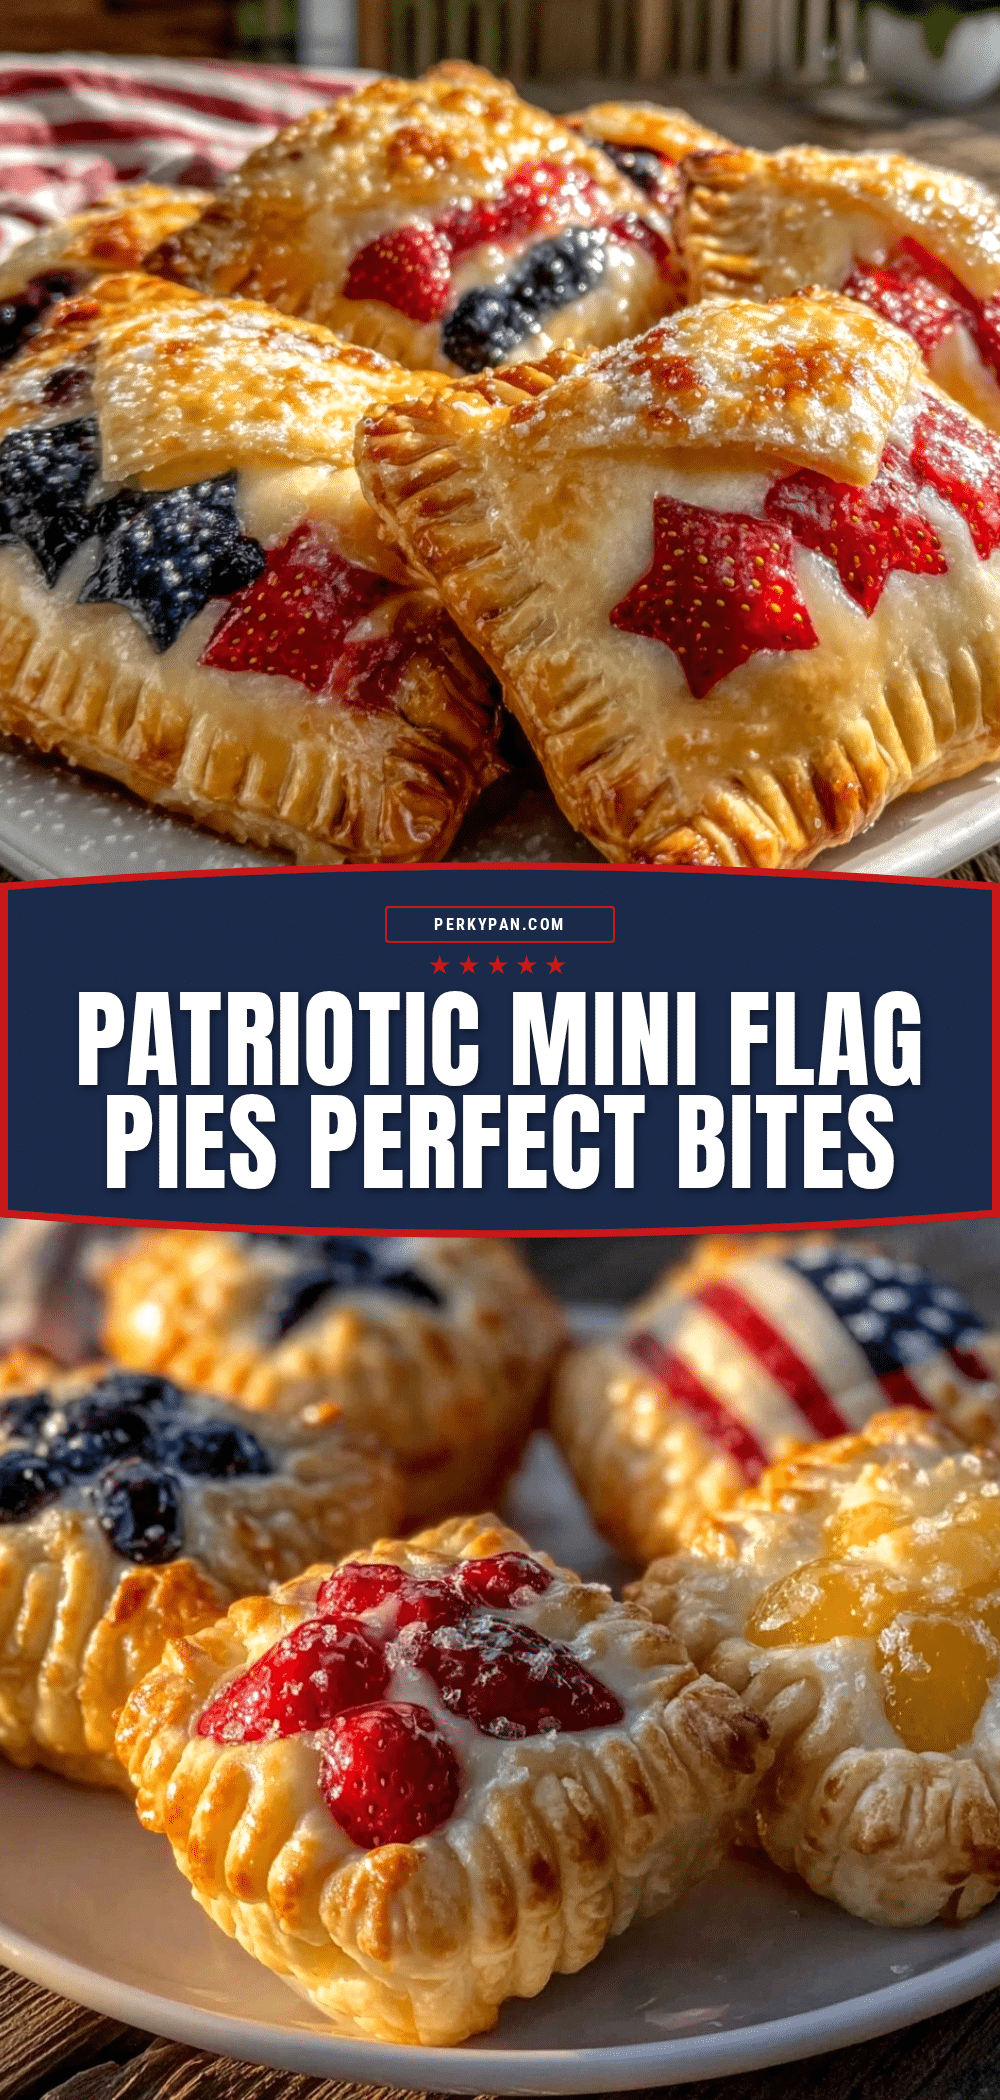
Perfect Mini Flag Pies

These bite-sized patriotic desserts feature flaky crusts filled with fresh strawberries and blueberries, decorated with star and stripe pastry cutouts, perfect for summer celebrations.
- Prep Time: 15 minutes
- Cook Time: 25 minutes
- Total Time: 40 minutes
- Yield: 12 mini pies 1x
- Category: Dessert
- Cuisine: American
Ingredients
- 2 ½ cups all-purpose flour
- 1 cup unsalted butter, cold and cubed
- 1 teaspoon salt
- 2 tablespoons granulated sugar
- 6–8 tablespoons ice water
- 1 cup fresh strawberries, hulled and sliced
- 1 cup fresh blueberries
- ¼ cup granulated sugar
- 1 tablespoon cornstarch
- 1 teaspoon lemon juice
- ½ teaspoon vanilla extract (optional)
- 1 egg, beaten (for egg wash)
- Extra flour for dusting work surface
- Optional: coarse sugar for sprinkling
Instructions
- Make the crust: In a large bowl, whisk together 2 ½ cups flour, salt, and sugar. Add the cold, cubed butter. Using a pastry cutter or your fingertips, work the butter into the flour until the mixture resembles coarse crumbs with some pea-sized pieces. Slowly add ice water, one tablespoon at a time, mixing gently until the dough just comes together. Wrap the dough in plastic and chill for at least 30 minutes.
- Prepare the filling: In a medium bowl, combine sliced strawberries, blueberries, sugar, cornstarch, lemon juice, and vanilla extract. Mix gently to coat the fruit evenly. Set aside.
- Roll out the dough: Lightly flour your work surface and roll the chilled dough to about 1/8-inch (3 mm) thickness. Using a round cutter slightly larger than your mini tart pans, cut out circles and carefully press them into each pan. Reserve scraps for the flag decorations.
- Fill the pies: Spoon about 1 to 1 ½ tablespoons of the berry filling into each crust, making sure not to overfill.
- Create the flag designs: Roll out the scraps and cut thin strips for the stripes and small star shapes using a tiny cookie cutter or knife. Arrange the stripes across one half of the pie and cluster stars in the corner to mimic the American flag. Brush edges with egg wash to help decorations stick.
- Apply the egg wash: Lightly brush the entire surface of each pie with beaten egg. Sprinkle coarse sugar on top if desired.
- Bake: Place tart pans on a baking sheet and bake at 375°F (190°C) for 20-25 minutes until crust is golden and filling is bubbling. Rotate pans halfway through baking if needed.
- Cool and enjoy: Let pies cool in pans for 10 minutes before transferring to a wire rack. Serve warm, at room temperature, or cold.
Notes
Keep butter and water cold for flaky crust. Chill dough before baking to prevent shrinking. Use fresh berries for best flavor and texture. Cover crust edges with foil if browning too quickly. Let pies cool on wire rack to set filling. Can freeze unbaked pies for up to a month.
Nutrition
- Serving Size: 1 mini pie
- Calories: 200
- Sugar: 10
- Sodium: 150
- Fat: 12
- Saturated Fat: 7
- Carbohydrates: 22
- Fiber: 2
- Protein: 2
Keywords: mini pies, patriotic dessert, Fourth of July, berry pies, bite-sized desserts, summer party dessert, flaky crust, strawberry blueberry pie